
Revision sheet
Adrenalectomy
9 steps, each one the authored title and caption from the interactive animation, with the frame captured from that step. Read it before the case, or print it and work through the steps in order.
Teaching only, not for diagnosis or treatment decisions. The text on this sheet is the animation's own step copy, reproduced verbatim.
UrOops3D · UroRef · © Nity G
- 01
Who
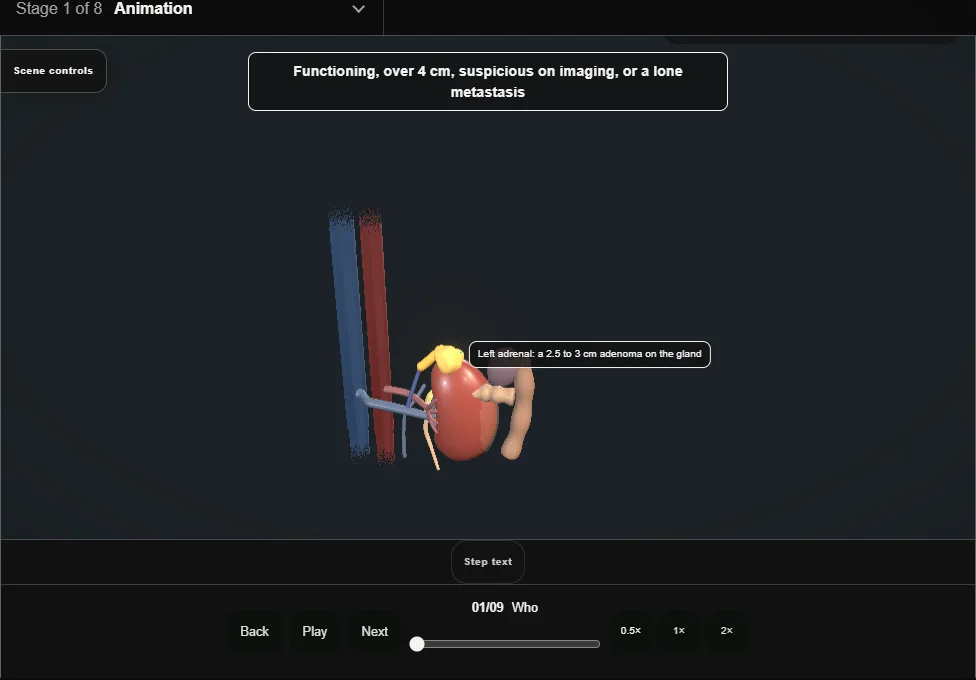
- A functioning tumour, one over four centimetres, one that looks suspicious, or a lone metastasis.
- The small, non-functioning, benign-looking incidentaloma is watched.
- 02
Preparation
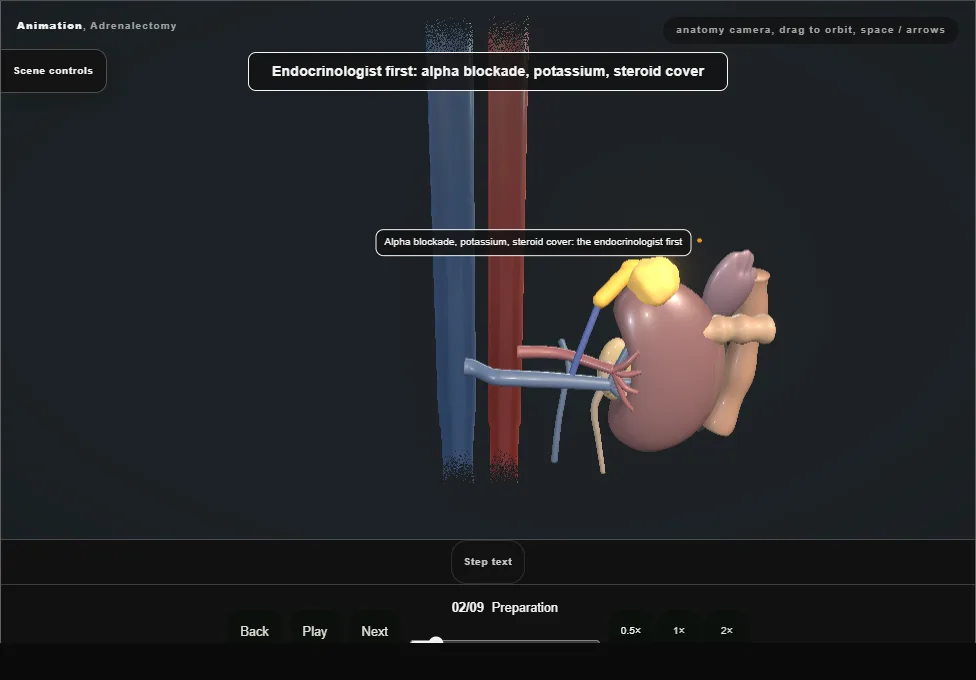
- A phaeochromocytoma alpha-blocked for two weeks and filled; a Conn's potassium corrected; a Cushing's covered with steroid.
- The anaesthetist ready for the surge when the gland is handled and the collapse when its vein is clipped.
- 03
Laparoscopic transperitoneal or retroperitoneal
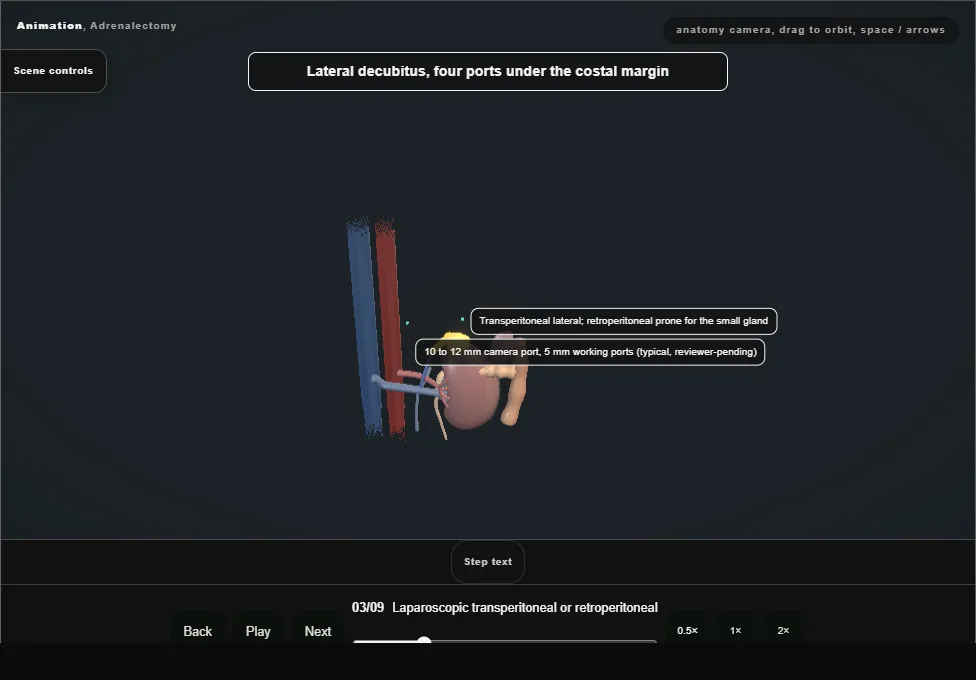
- Lateral decubitus, four ports under the costal margin, the organs falling away from the gland; retroperitoneal and prone for the small gland or the scarred abdomen; open for the large, invasive or suspected carcinoma.
- 04
Exposure on the left
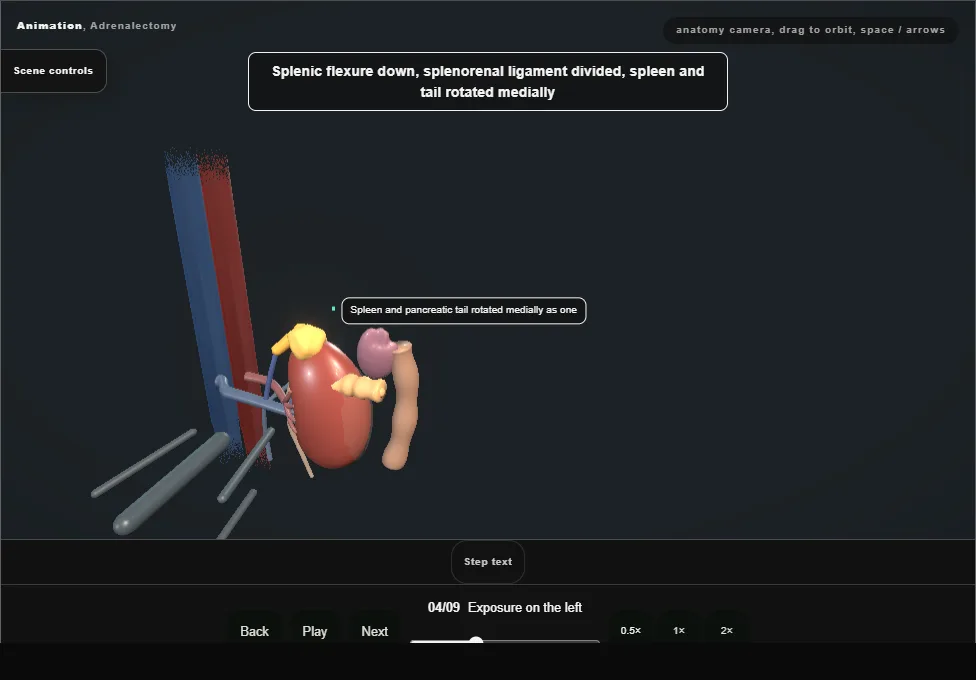
- The splenic flexure down, the splenorenal ligament divided, and the spleen and pancreatic tail rotated medially as one until the gland shows above the upper pole.
- The pancreatic tail lies on the gland: lifted, not cut.
- 05
The adrenal vein first
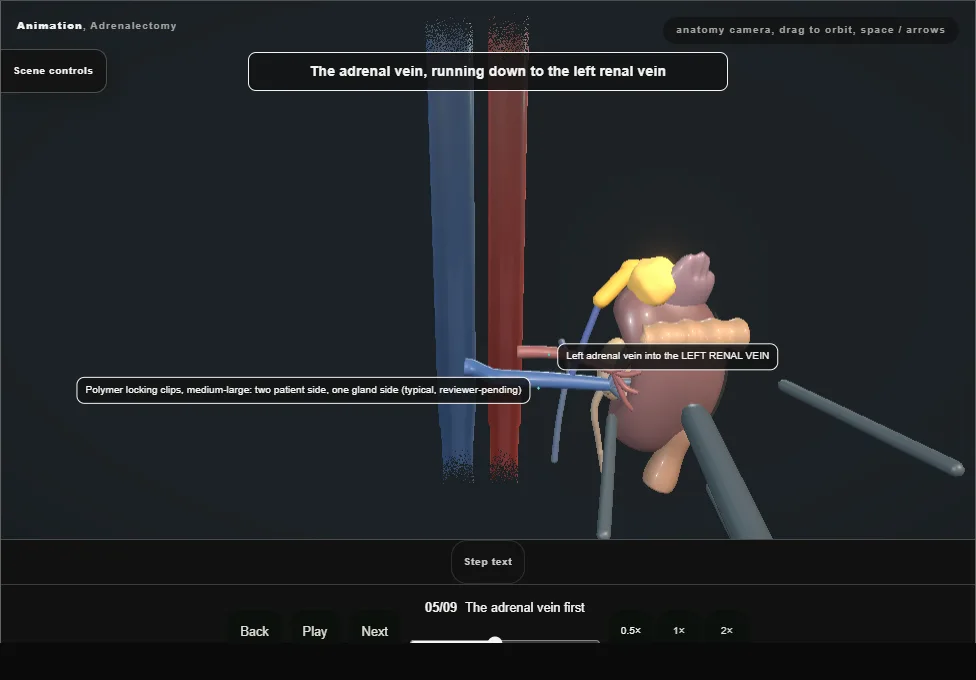
- Found at the lower medial edge of the gland running down to the renal vein: clipped twice on the patient side and divided before the gland is disturbed, so that what the gland releases goes nowhere.
- 06
Mobilising the gland
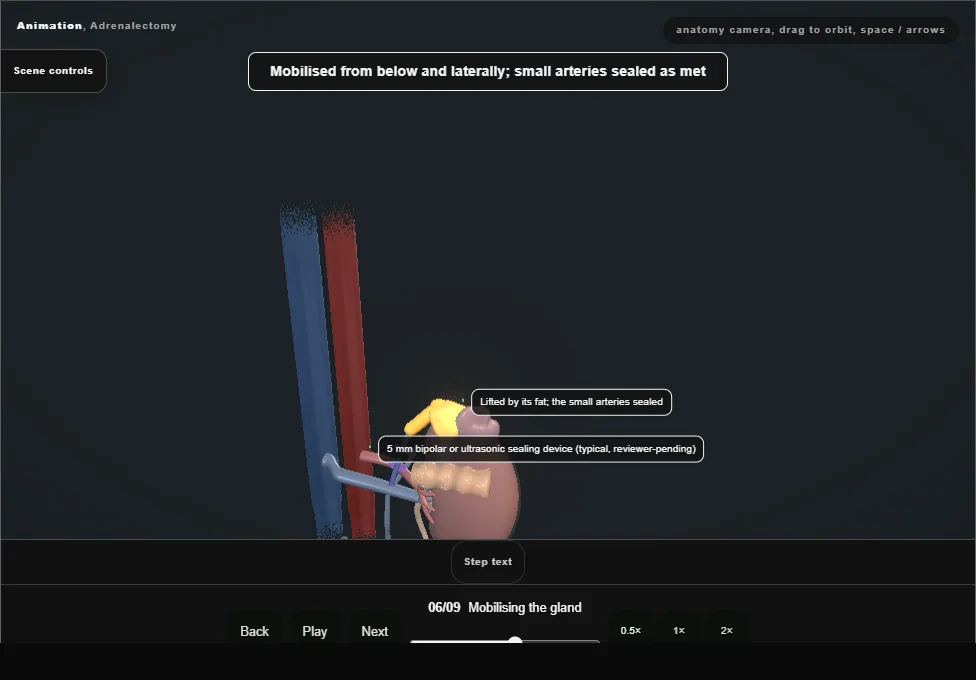
- From below and laterally with the fat around it, the small arteries sealed as they are met.
- The gland is never grasped: it fragments, and a breached capsule is the recurrence.
- It is lifted by its fat.
- 07
Extraction in a bag
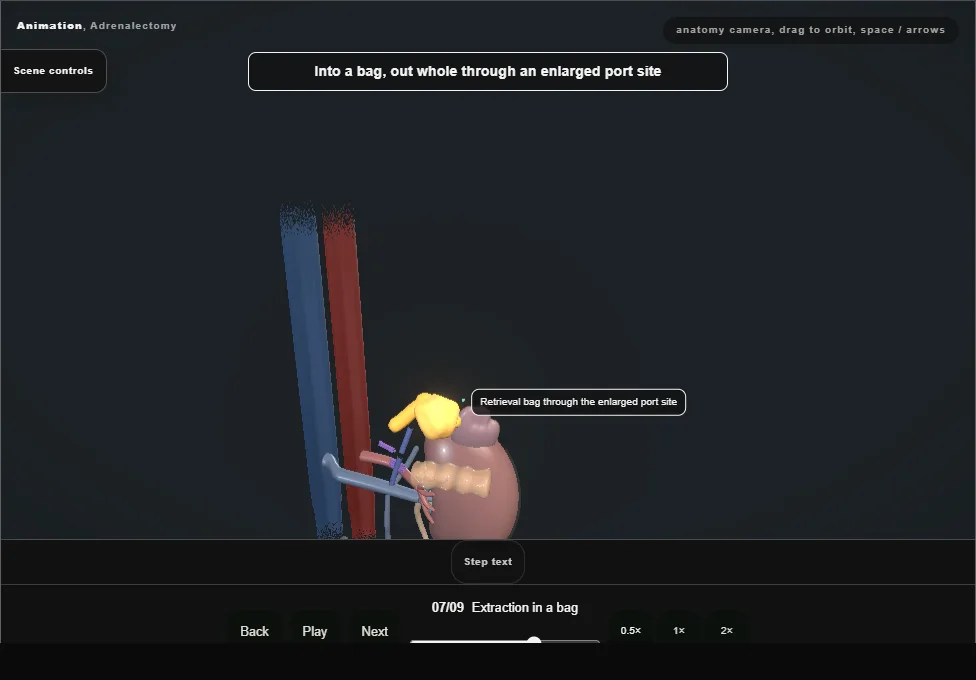
- Into a bag and out whole through a port site enlarged to fit; the bed inspected at low pressure for the bleeding the gas was hiding.
- 08
The right side
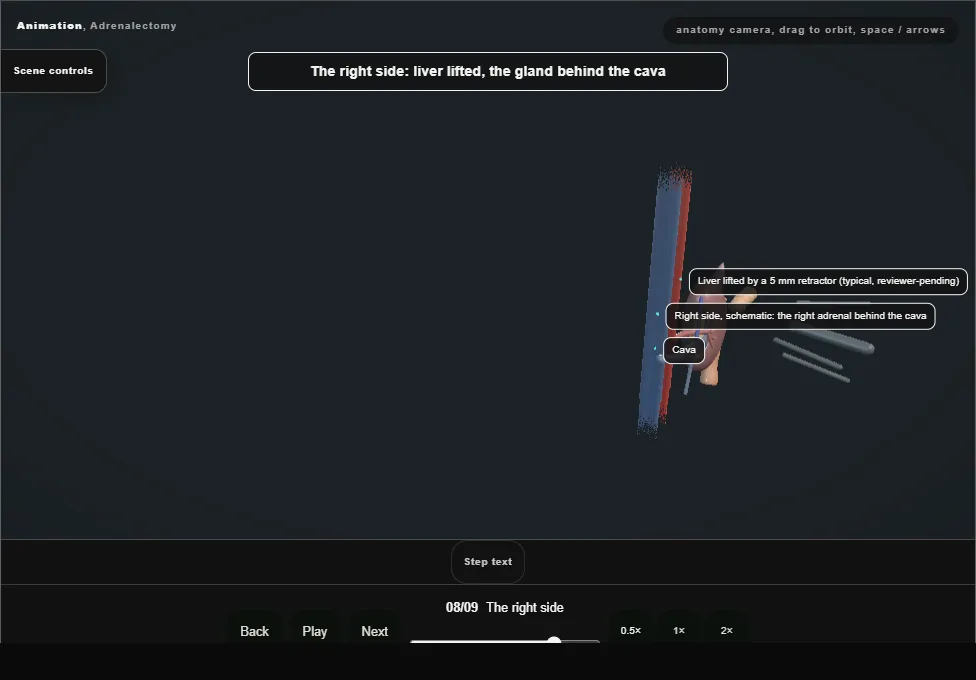
- The liver lifted, and the adrenal vein short and wide straight into the back of the cava: the most dangerous centimetre in the operation.
- The cava exposed first along its lateral border, the vein clipped with the cava in view, a clamp ready.
- 09
After
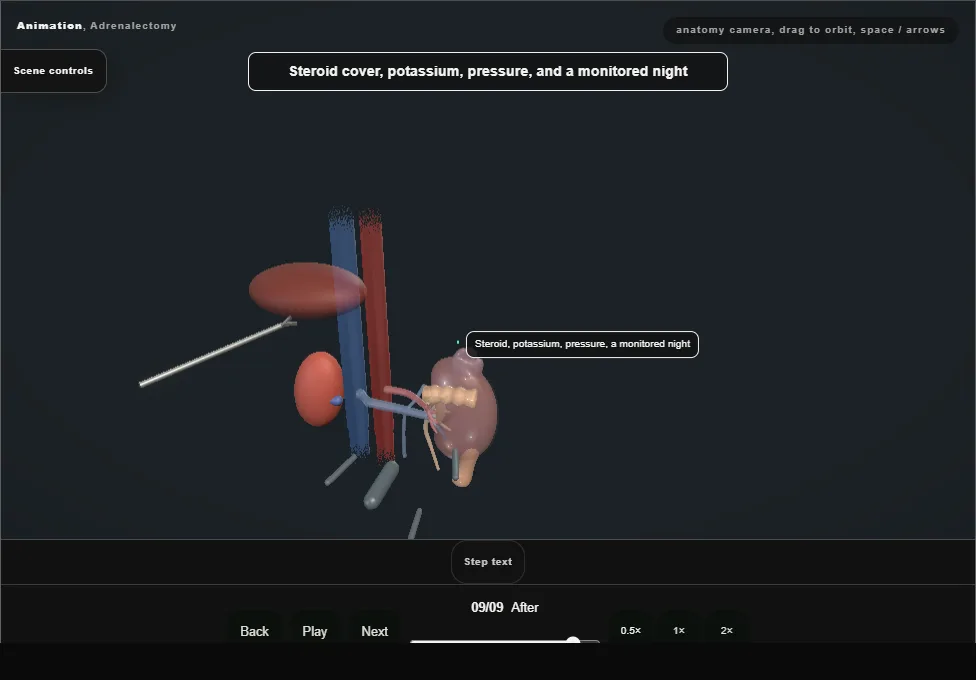
- Hydrocortisone for the Cushing's and the bilateral; potassium and pressure for the Conn's; a monitored night for the phaeochromocytoma.
- Histology and the endocrinologist decide the follow-up.
Derived from kidney/AdrenalectomyScene.tsx at build time: every step title and caption above is the authored
ProcedureDef text, reproduced verbatim, and this page shares its readable-points renderer with the animation
itself. 9 of 9 steps have a captured frame.
Text fingerprint 5a96a4adec8bbccf. A caption edit without a re-capture fails the production
check, so the sheet and the animation cannot drift apart silently.