
Revision sheet
Renal allograft biopsy
8 steps, each one the authored title and caption from the interactive animation, with the frame captured from that step. Read it before the case, or print it and work through the steps in order.
Teaching only, not for diagnosis or treatment decisions. The text on this sheet is the animation's own step copy, reproduced verbatim.
UrOops3D · UroRef · © Nity G
- 01
Who
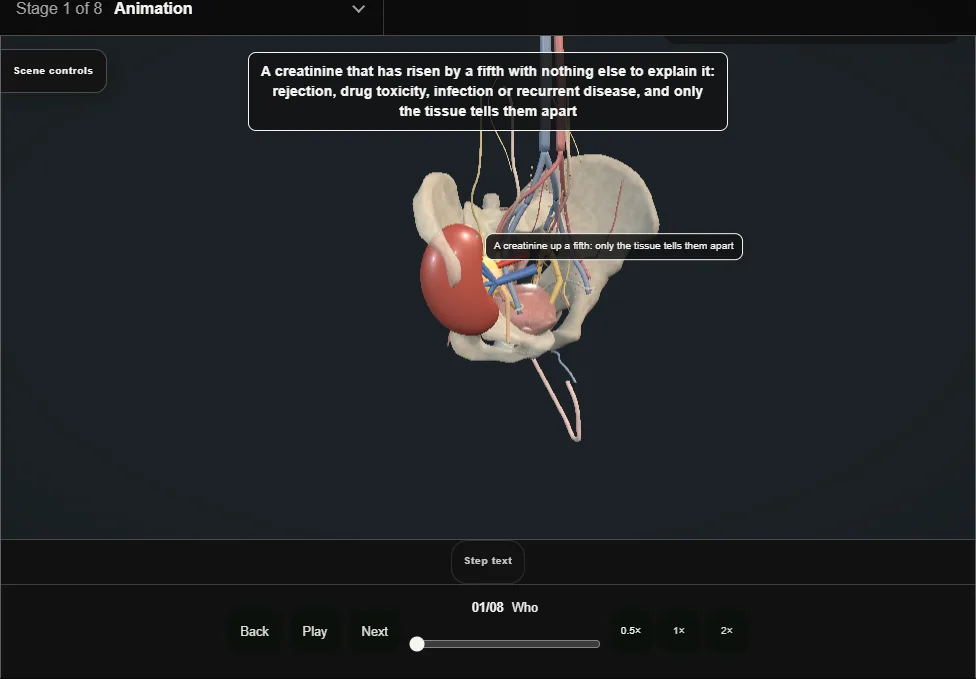
- A creatinine that has risen by a fifth with nothing else to explain it: rejection, drug toxicity, infection or recurrent disease, and only the tissue tells them apart.
- Ultrasound and a Doppler first, because obstruction and a vessel are treated without a needle.
- 02
Protocol and for-cause
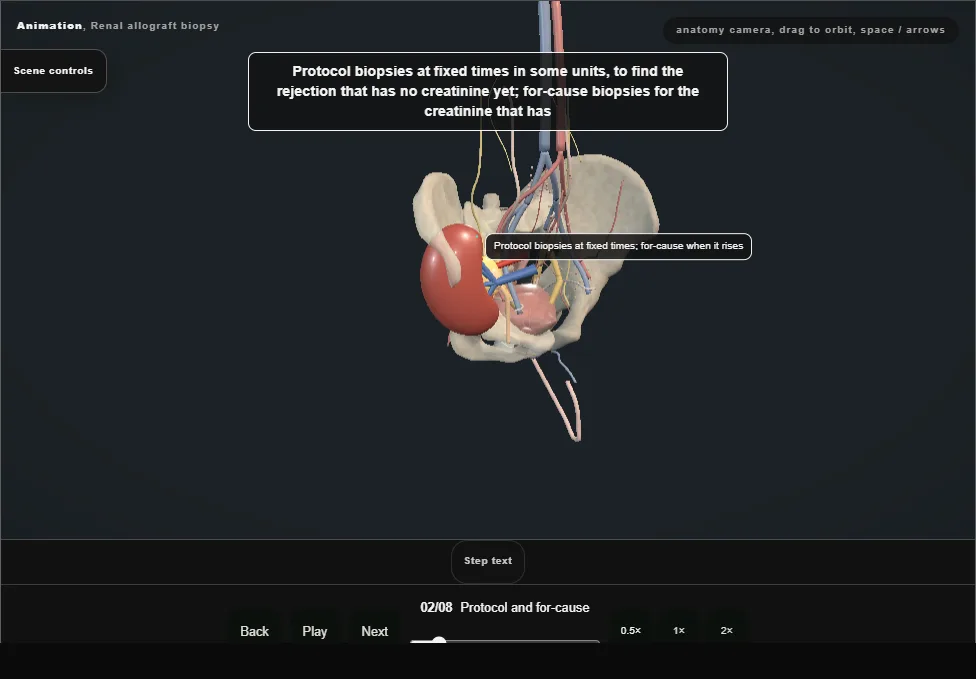
- Protocol biopsies at fixed times in some units, to find the rejection that has no creatinine yet; for-cause biopsies for the creatinine that has.
- The same needle, the same risk, and the same argument with the patient who feels well.
- 03
Consent, clotting and the antiplatelets
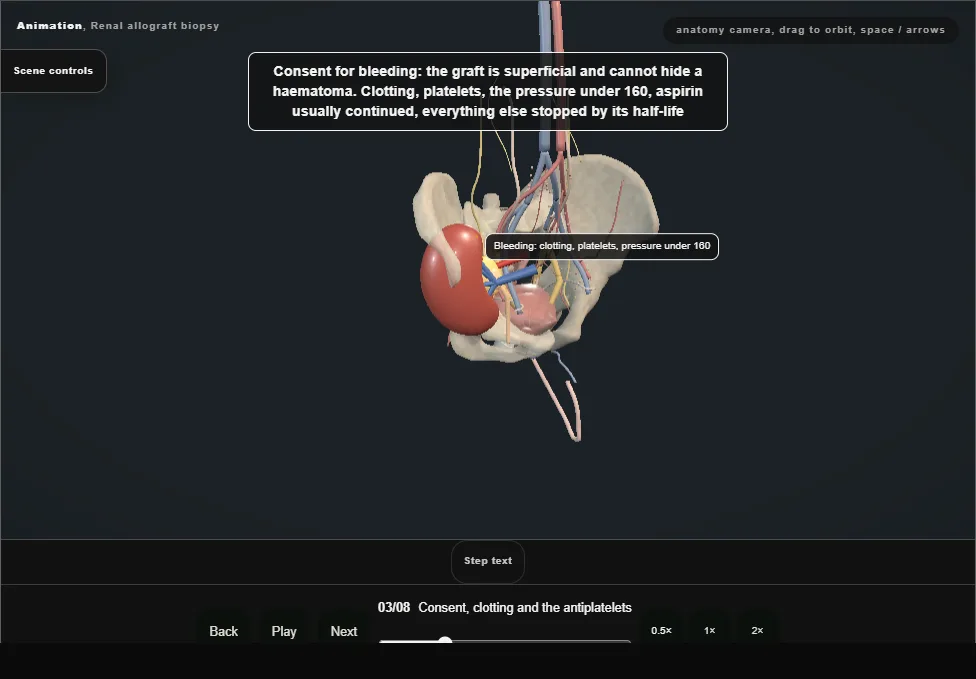
- The graft is superficial and cannot hide a haematoma.
- Clotting, platelets, the pressure under 160, aspirin usually continued and everything else stopped by its half-life.
- The rare loss of a graft to bleeding is on the form; the transfusion that is not rare is on it too.
- 04
Ultrasound
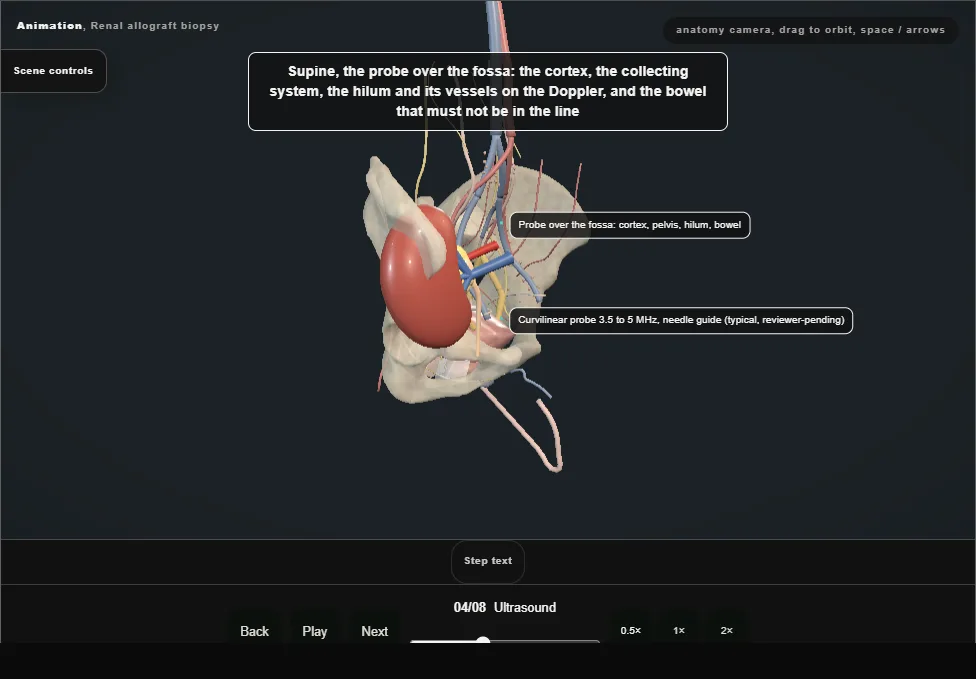
- Supine, the probe over the fossa: the cortex, the collecting system, the hilum and its vessels on the Doppler, and the bowel that must not be in the line.
- The target: cortex at a pole on the lateral border, away from the hilum and the pelvis.
- 05
The needle
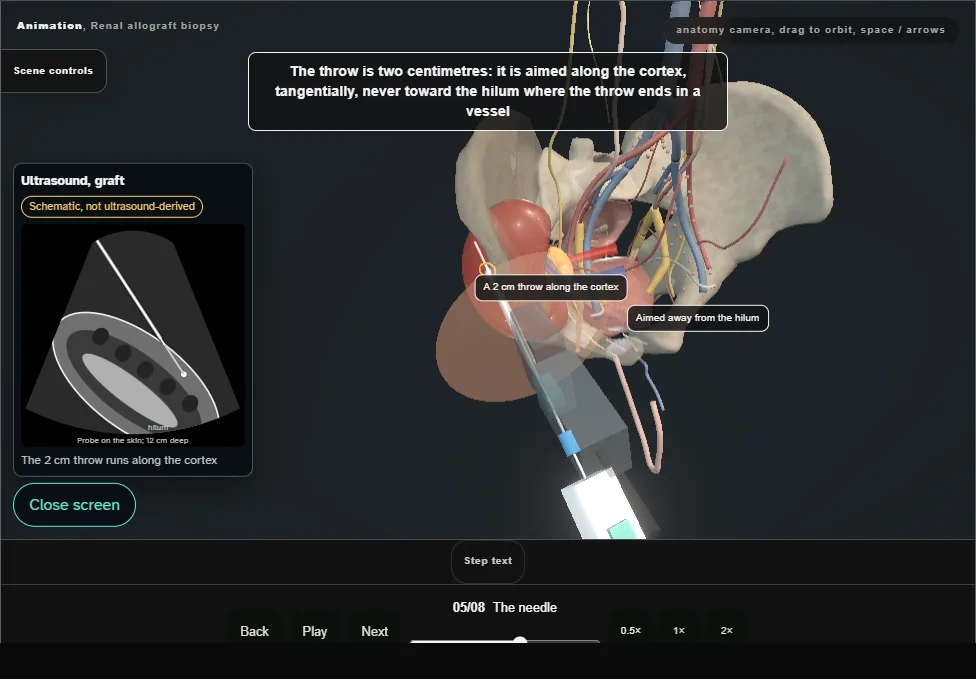
- Local anaesthetic along the track to the capsule; a 16 or 18 gauge spring-loaded needle through a coaxial sheath, its tip seen at the capsule before it fires.
- The two centimetre throw is aimed along the cortex, tangentially, never toward the hilum.
- 06
Two cores and the pathologist
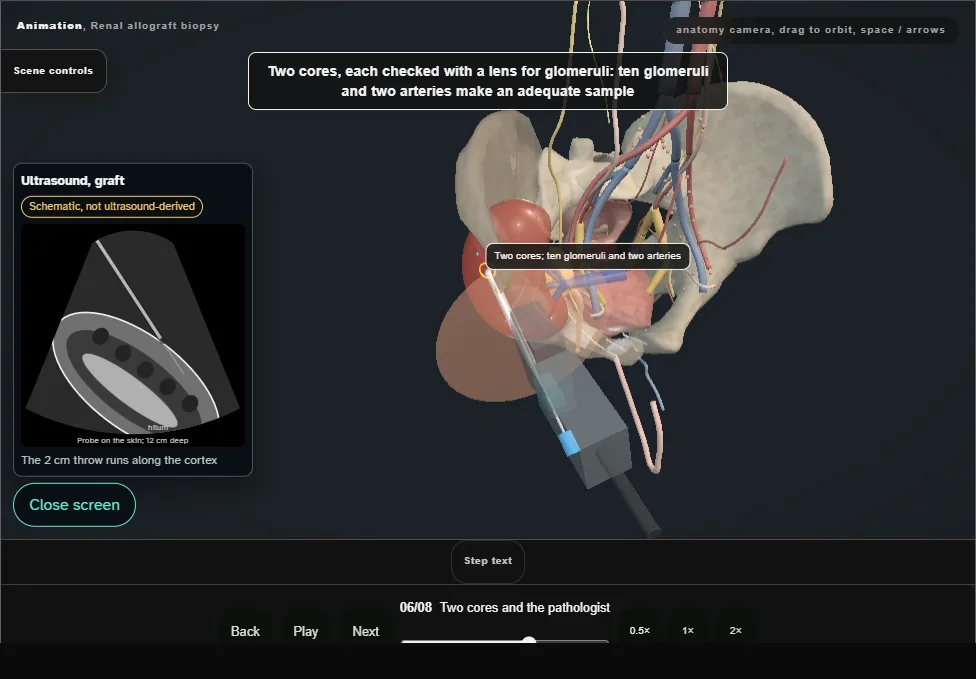
- Each core checked with a lens for glomeruli; ten glomeruli and two arteries make an adequate sample.
- One in formalin, one in transport medium for immunofluorescence and electron microscopy; the pathologist phoned.
- 07
After
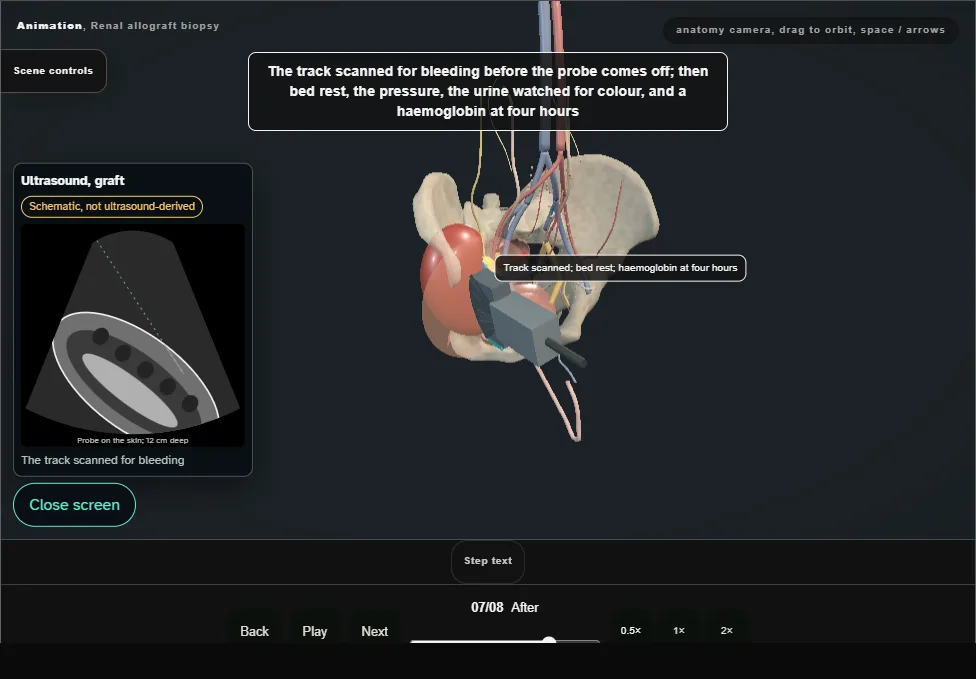
- The track scanned before the probe comes off, then bed rest, the pressure, the urine watched, a haemoglobin at four hours.
- Some haematuria settles; clots and retention need a catheter and washout.
- 08
The result and the treatment
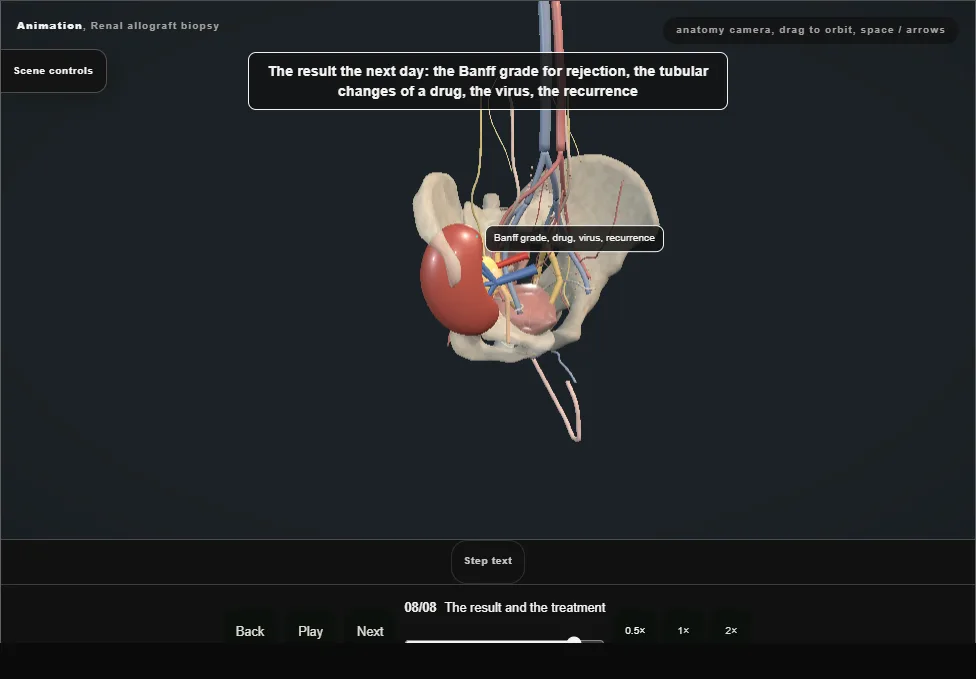
- The Banff grade for rejection, the tubular changes of a drug, the virus, the recurrence.
- Treatment follows the tissue, and the creatinine three days later says whether it was right.
Derived from pelvis/AllograftBiopsyScene.tsx at build time: every step title and caption above is the authored
ProcedureDef text, reproduced verbatim, and this page shares its readable-points renderer with the animation
itself. 8 of 8 steps have a captured frame.
Text fingerprint a9d044a3935343d7. A caption edit without a re-capture fails the production
check, so the sheet and the animation cannot drift apart silently.