
Revision sheet
Retrograde pyelogram and JJ stent
7 steps, each one the authored title and caption from the interactive animation, with the frame captured from that step. Read it before the case, or print it and work through the steps in order.
Teaching only, not for diagnosis or treatment decisions. The text on this sheet is the animation's own step copy, reproduced verbatim.
UrOops3D · UroRef · © Nity G
- 01
Why a stent
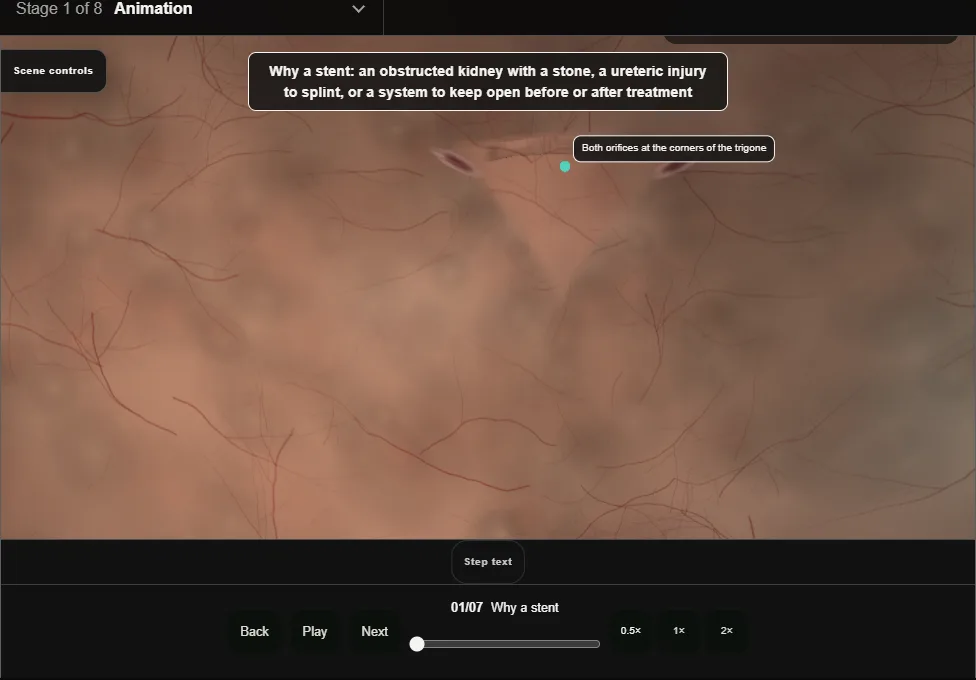
- An obstructed kidney with a stone, a ureter to splint after injury, a system to keep open around treatment.
- An obstructed infected kidney is drained tonight, stent or nephrostomy, by a decision made with radiology and anaesthetics.
- 02
Cystoscopy: the orifice
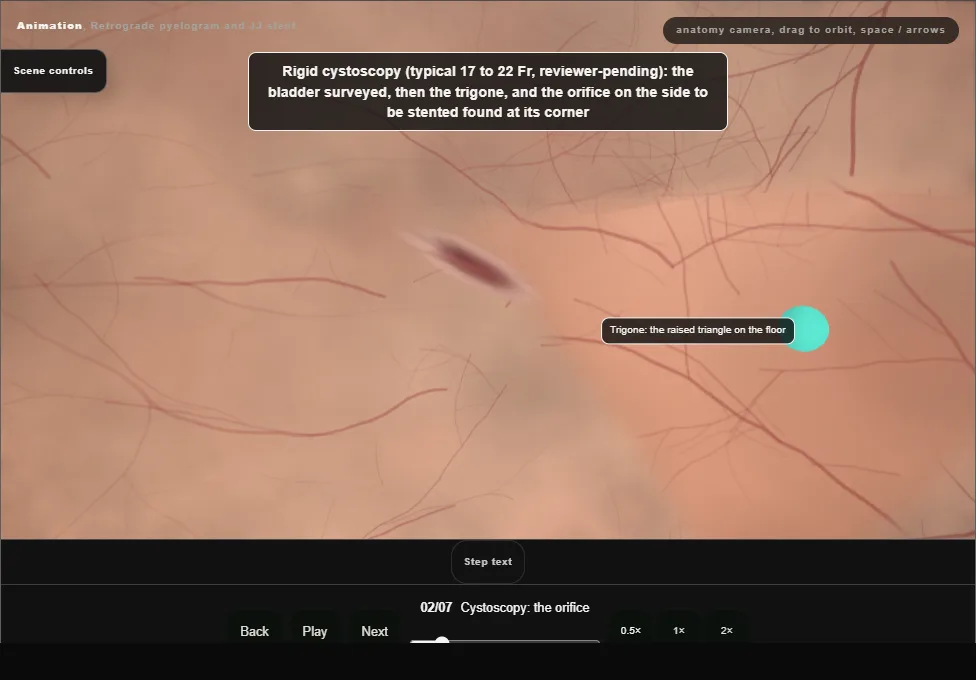
- Rigid cystoscopy, the bladder surveyed, the trigone found and the orifice on the side to be stented centred in the view.
- A lateral right orifice: the scope turned so the 12 o'clock arrow faces 3 o'clock, and the wire leaves angled towards 9 o'clock.
- 03
The retrograde pyelogram
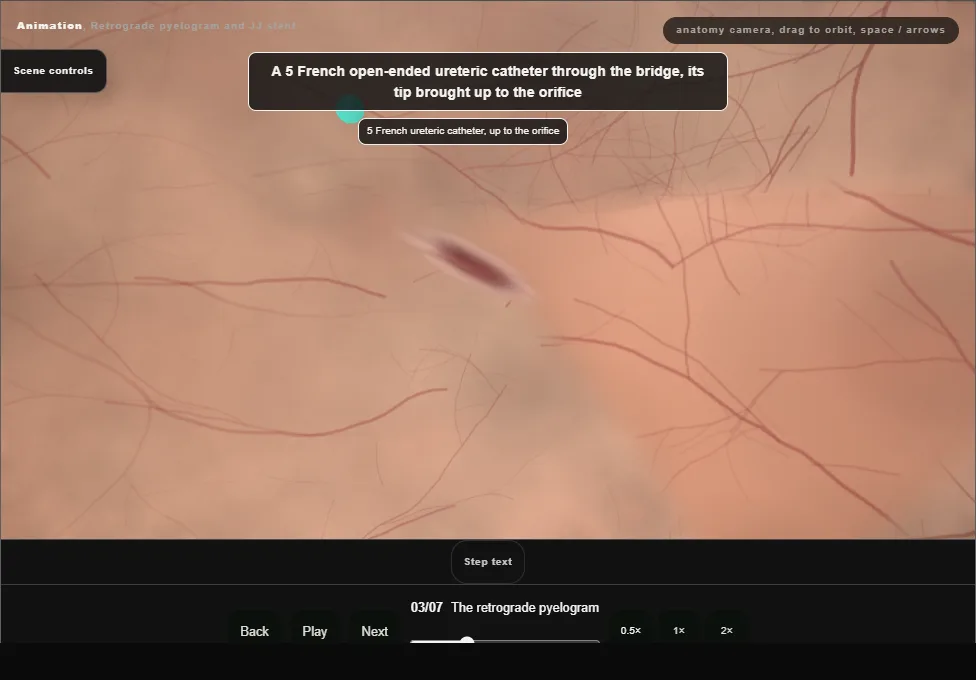
- A 5 French open-ended ureteric catheter up to the orifice.
- If it will not go up at once, a guidewire through it with the soft tip just beyond the end leads it in.
- Dilute contrast injected gently under screening outlines the ureter, the stone, the stricture or the leak.
- 04
The guidewire
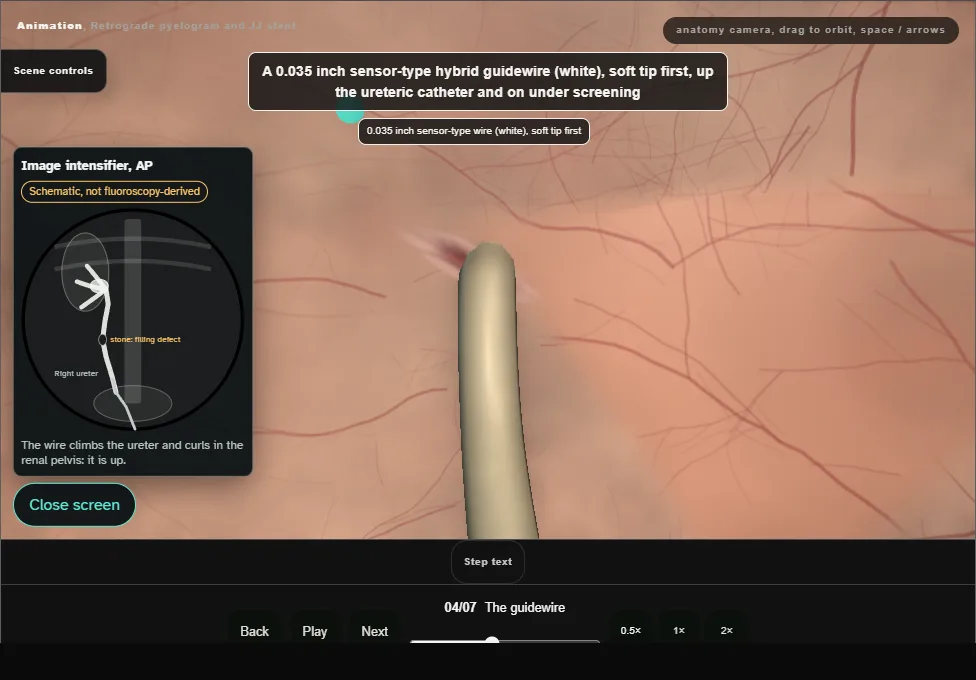
- A 0.035 inch sensor-type hybrid wire, soft tip first, up the catheter and on under screening.
- Curled in the renal pelvis means it is up.
- Stopped by a stone: the catheter up to just below it, a little contrast, then a Terumo hydrophilic wire.
- Never force.
- 05
The stent over the wire
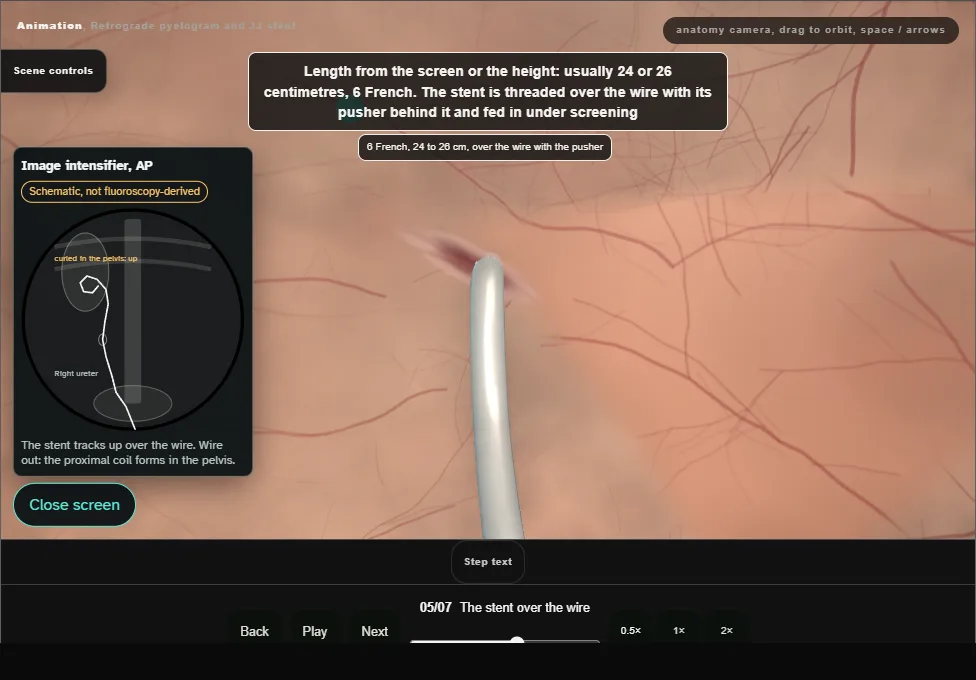
- 6 French, 24 or 26 cm, over the wire with the pusher behind it.
- Four thin black dashes pass into the orifice, then the thick band: the scope comes back to the bladder neck and the stent is pushed until the golden tip of the pusher is seen.
- The wire then comes out completely while the pusher holds.
- 06
The check
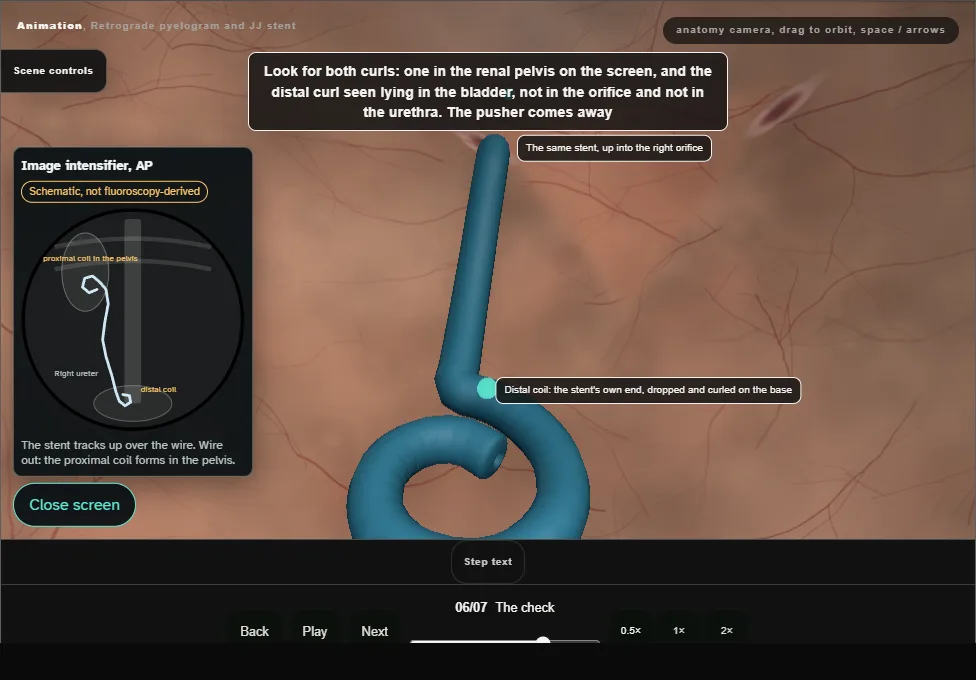
- Both curls seen: the proximal curl in the renal pelvis on the screen, and the stent's own distal end curled free in the bladder, not in the orifice, not in the urethra.
- The pusher comes away and the bladder is emptied.
- 07
The note and the register
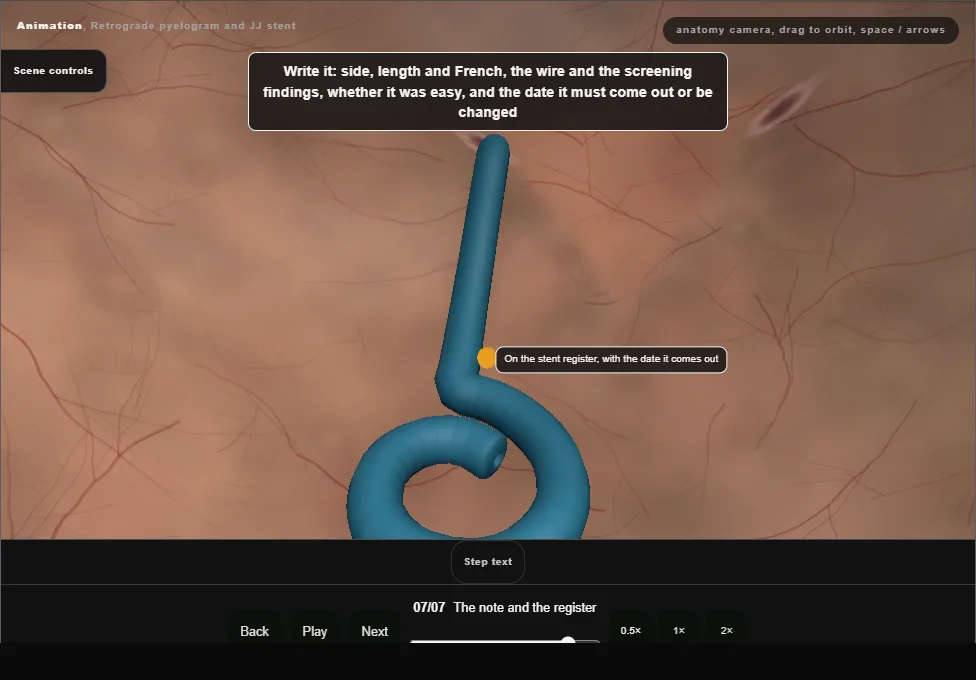
- Side, length and French, the screening findings, the ease of passage, and the date it must come out or be changed.
- Onto the stent register before the patient leaves theatre.
Derived from endoscopy/JjStentScene.tsx at build time: every step title and caption above is the authored
ProcedureDef text, reproduced verbatim, and this page shares its readable-points renderer with the animation
itself. 7 of 7 steps have a captured frame.
Text fingerprint b5e7a9b4684a33d9. A caption edit without a re-capture fails the production
check, so the sheet and the animation cannot drift apart silently.