
Revision sheet
Malleable penile prosthesis
9 steps, each one the authored title and caption from the interactive animation, with the frame captured from that step. Read it before the case, or print it and work through the steps in order.
Teaching only, not for diagnosis or treatment decisions. The text on this sheet is the animation's own step copy, reproduced verbatim.
UrOops3D · UroRef · © Nity G
- 01
Choose the device: one component
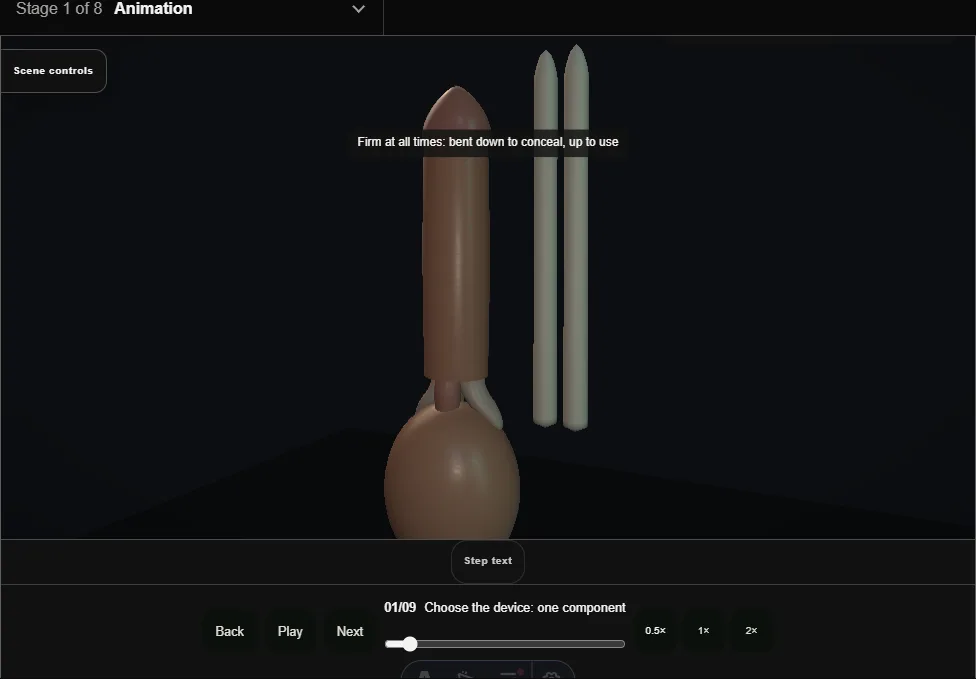
- A malleable rod in each corpus, firm at all times and positioned by hand: down to conceal, up to use.
- Nothing else is implanted.
- Chosen here by a man with limited hand dexterity after counselling about a permanently firm penis and reduced concealability.
- 02
Penoscrotal exposure
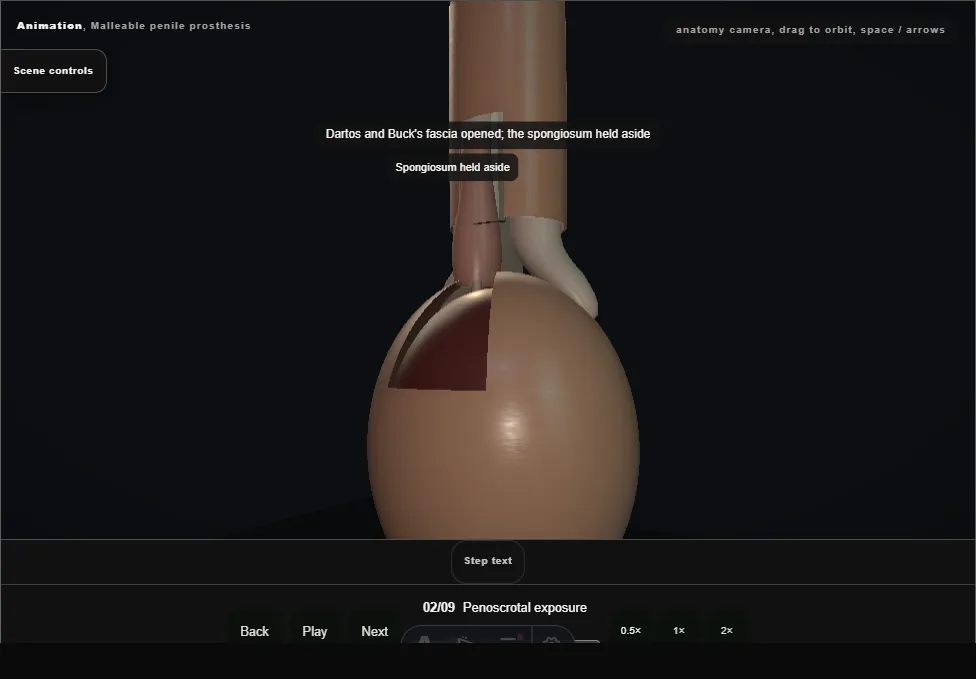
- Catheter in so the urethra is felt throughout.
- A vertical incision on the median raphe at the penoscrotal junction, through dartos and the superficial layer of Buck's fascia; the spongiosum is held aside and the tunica of one corpus exposed.
- 03
Corporotomy
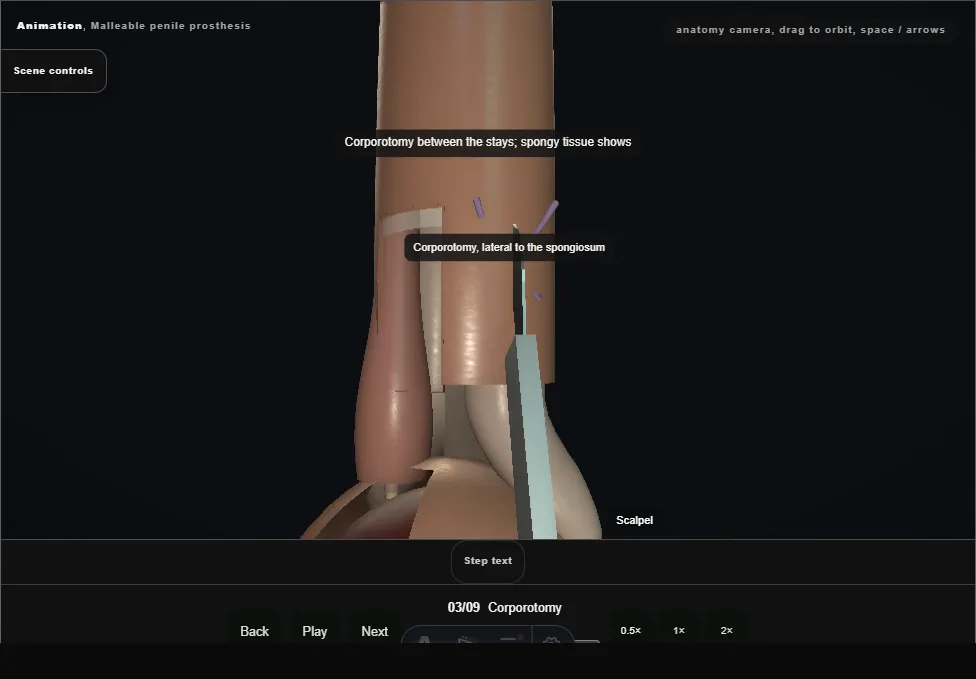
- Two stay sutures in the tunica, lateral to the spongiosum, and a corporotomy between them.
- Cavernosal tissue shows in the opening; the stays will close it over the rod.
- 04
Dilate proximally: the lateral wall
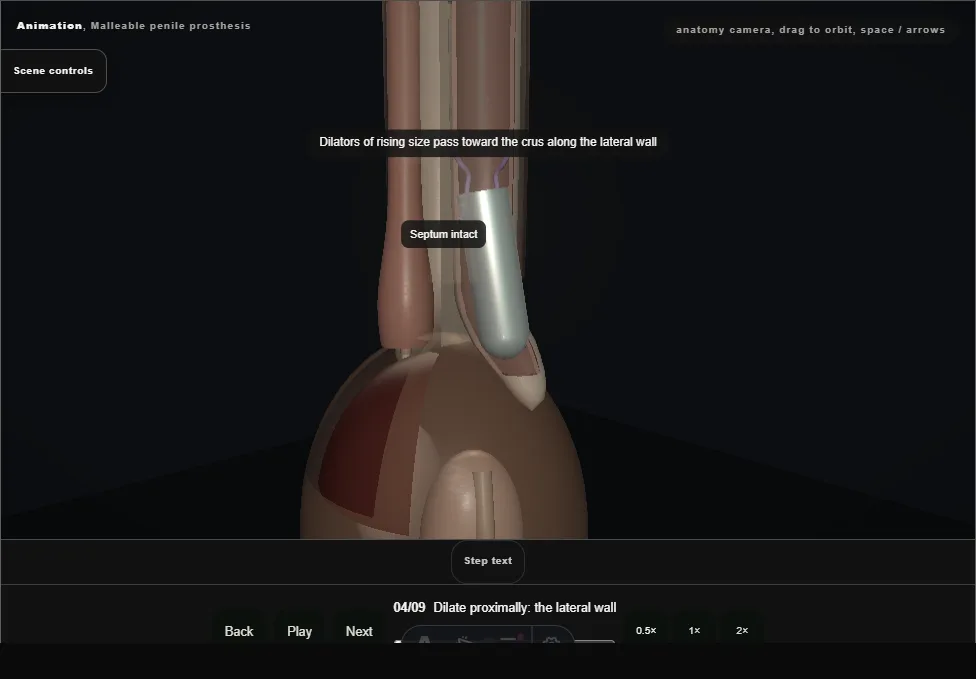
- Scissors with the tips pointed laterally start the track, then dilators of rising size pass toward the crus along the lateral corporal wall.
- The septum is medial: a dilator that drifts medially crosses it; one that drives on past the crus perforates.
- 05
Dilate distally: the ventral urethra
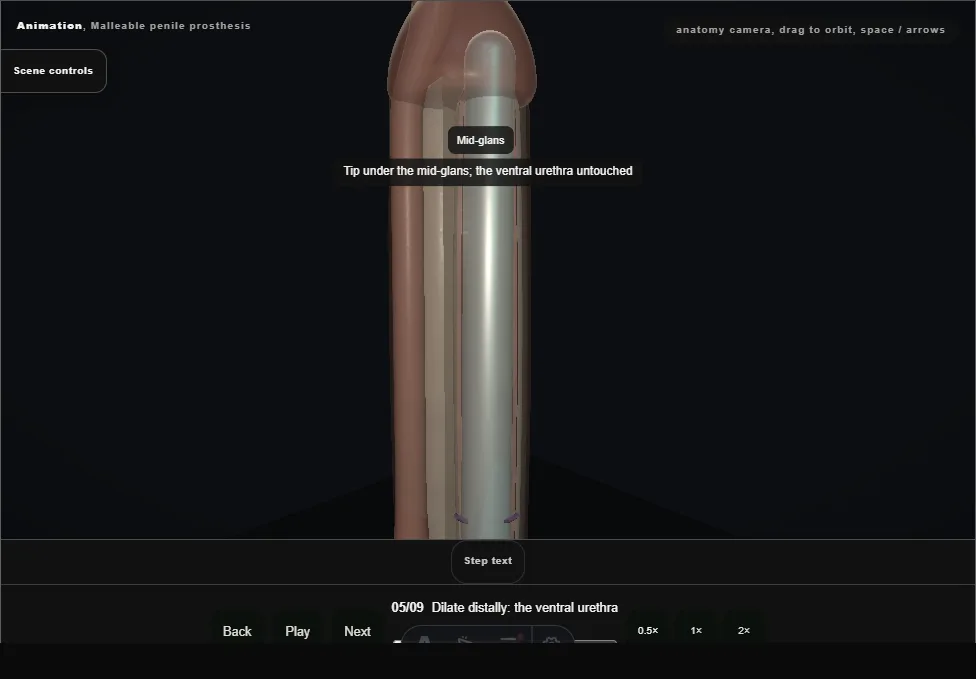
- The same along the lateral wall toward the mid-glans.
- Ventral drift threatens the urethra under the corpus; over-eager passage perforates the distal dome.
- The catheter is the guide the hand feels.
- 06
Measure both sides
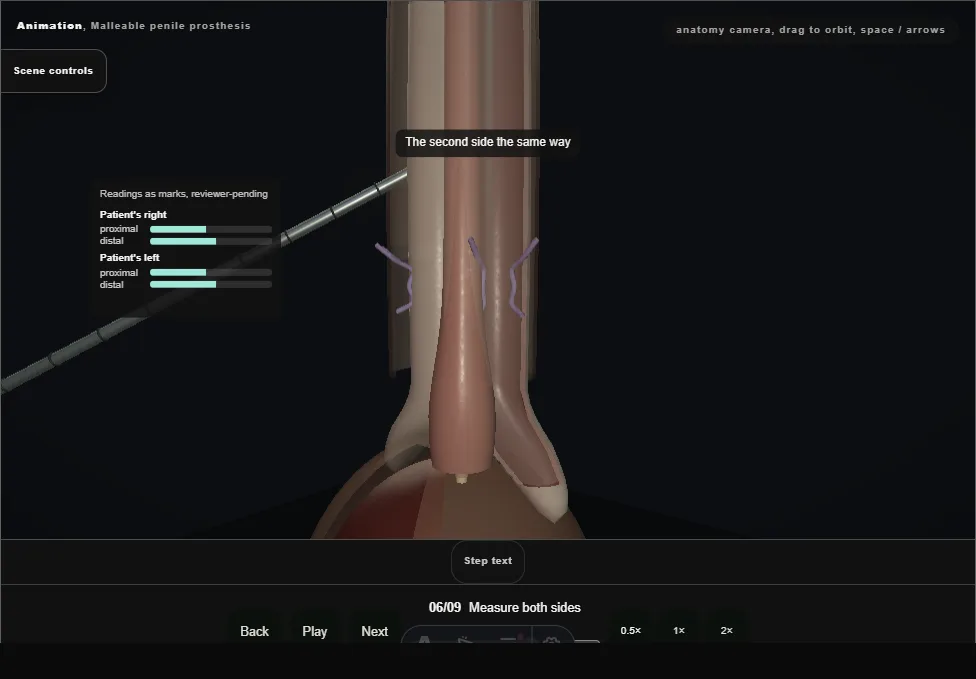
- With the penis on stretch the measuring tool reads the proximal and distal lengths of each corpus at the corporotomy; the second side is dilated and read the same way.
- The two sums are compared: a mismatch means a wrong track, not a wrong rod.
- 07
Size and trim
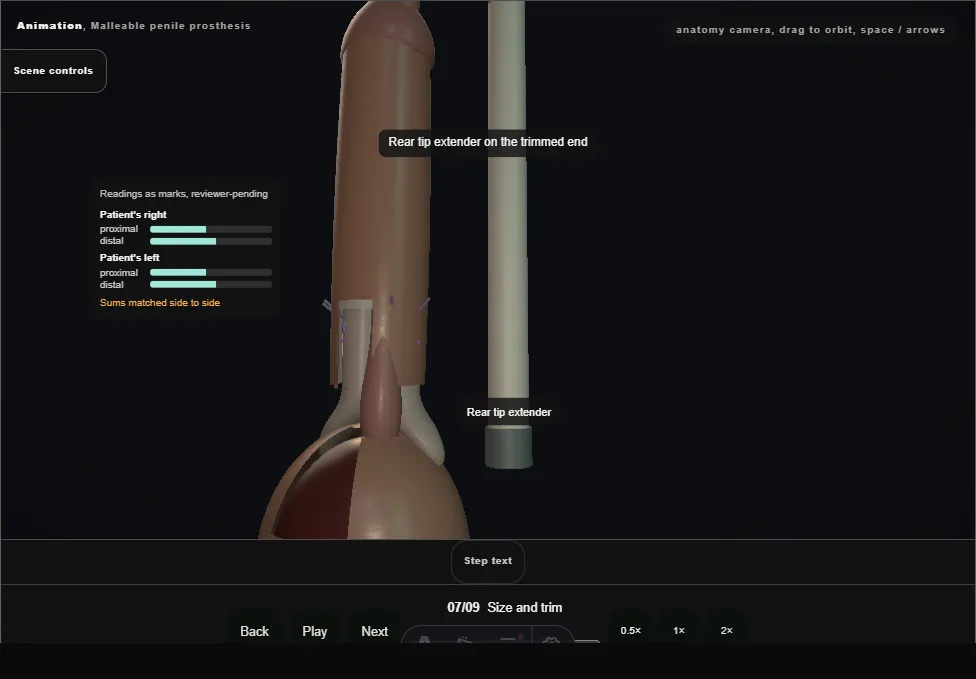
- Rod length is chosen from the measurements and the end trimmed to fit, with a rear tip extender on the trimmed end.
- Undersizing leaves a drooping glans; oversizing risks erosion.
- 08
Place the rods
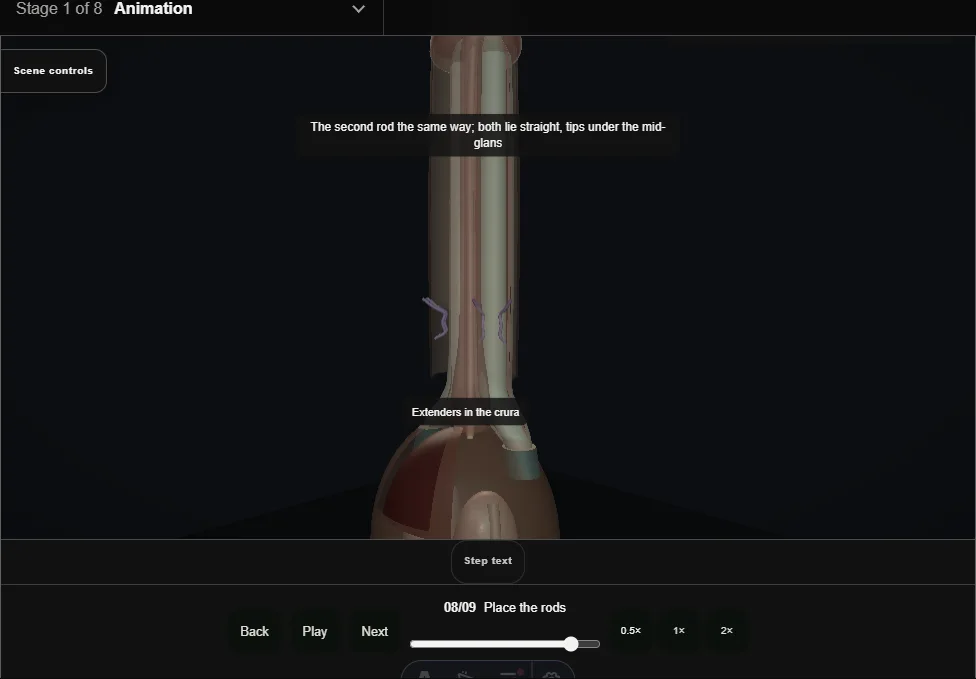
- The distal tip is seated under the mid-glans, the rod folded on itself so the proximal end passes into the crus, and it straightens in the corpus.
- The second side the same.
- Nothing is forced: a rod that will not lie straight means the track or the length is wrong.
- 09
Close and position
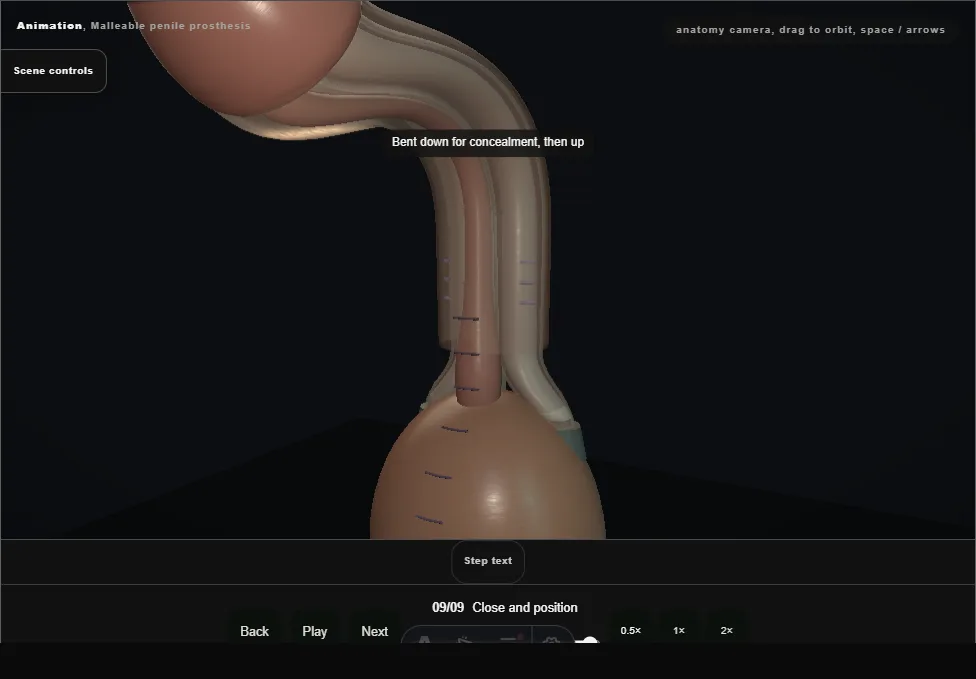
- The stays are tied over the rod with the needle kept clear of it, then dartos and skin in layers.
- The penis is bent down for concealment, and shown to bend up; that is how he will use it.
Derived from MalleableProsthesisScene.tsx at build time: every step title and caption above is the authored
ProcedureDef text, reproduced verbatim, and this page shares its readable-points renderer with the animation
itself. 9 of 9 steps have a captured frame.
Text fingerprint 29a3719d4d824119. A caption edit without a re-capture fails the production
check, so the sheet and the animation cannot drift apart silently.