
Revision sheet
Orthotopic neobladder
8 steps, each one the authored title and caption from the interactive animation, with the frame captured from that step. Read it before the case, or print it and work through the steps in order.
Teaching only, not for diagnosis or treatment decisions. The text on this sheet is the animation's own step copy, reproduced verbatim.
UrOops3D · UroRef · © Nity G
- 01
Who
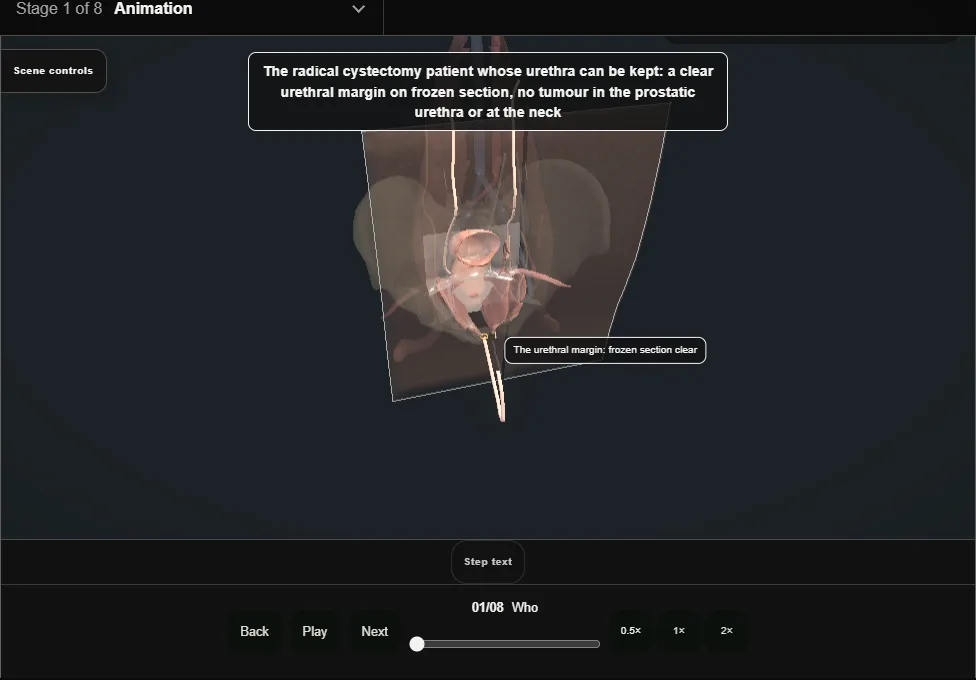
- The cystectomy patient whose urethra can be kept: a clear urethral margin on frozen section, no tumour in the prostatic urethra or at the neck, kidneys and liver that can handle the reabsorption, and a patient who will void by the clock and catheterise if they must.
- 02
The ileal segment
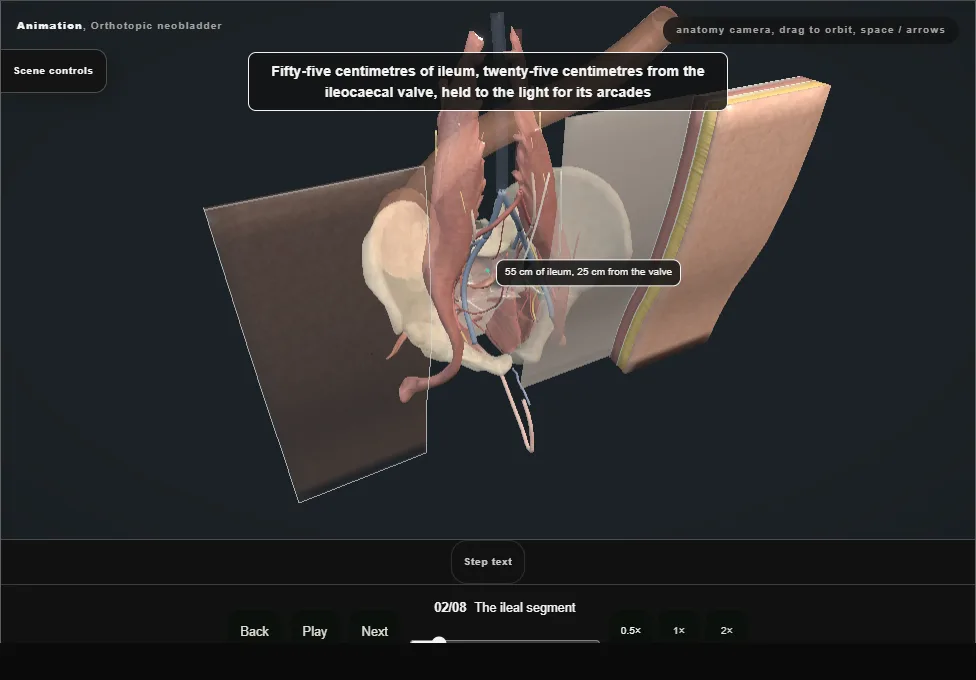
- Fifty-five centimetres of ileum, twenty-five from the ileocaecal valve, held to the light for its arcades, isolated on its mesentery, the bowel rejoined above it.
- 03
Detubularised, except the afferent limb
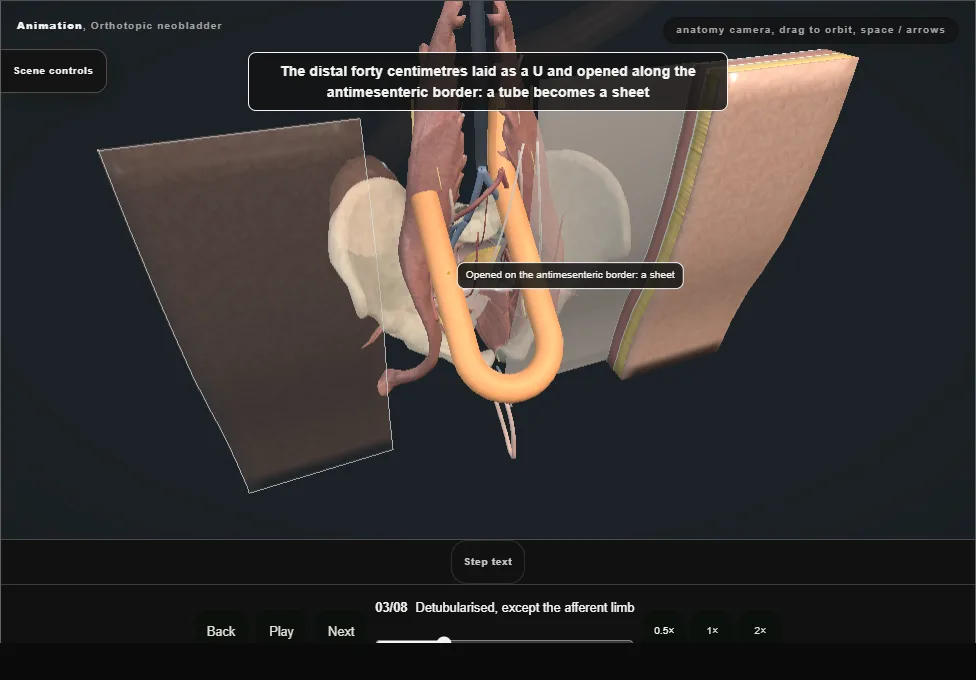
- The distal forty centimetres laid as a U and opened along the antimesenteric border.
- The proximal fifteen are left as the afferent limb, an isoperistaltic chimney the ureters will join.
- 04
Folding and sewing the sphere
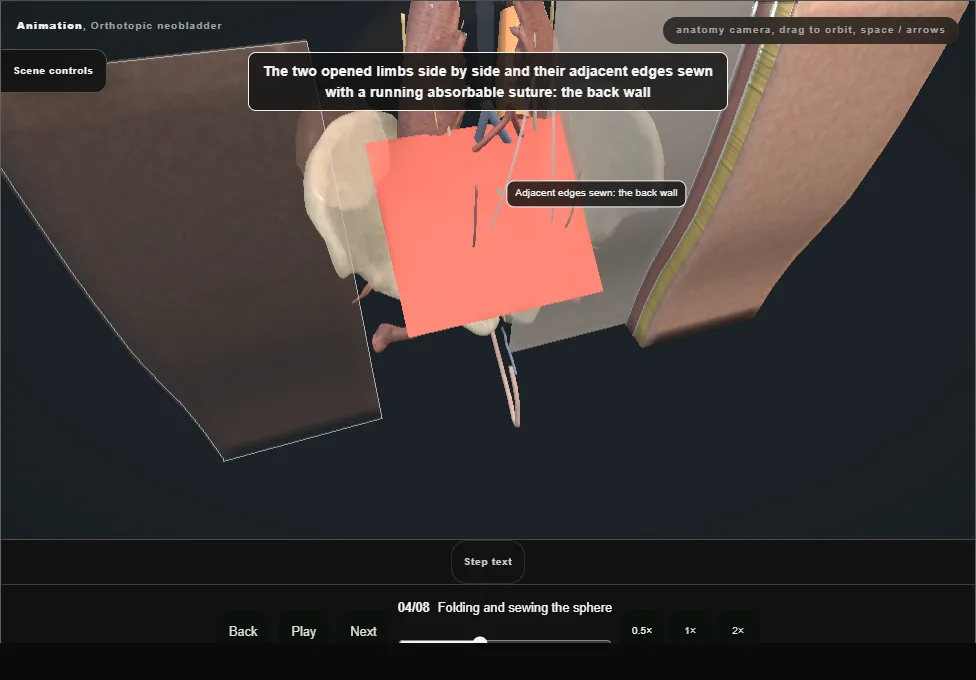
- The adjacent edges of the two opened limbs sewn as the back wall; the plate folded over and the front closed into a sphere, so no length of ileum can contract as a ring.
- The dependent point marked for the urethra; the mesentery slack and untwisted.
- 05
The ureters into the afferent limb
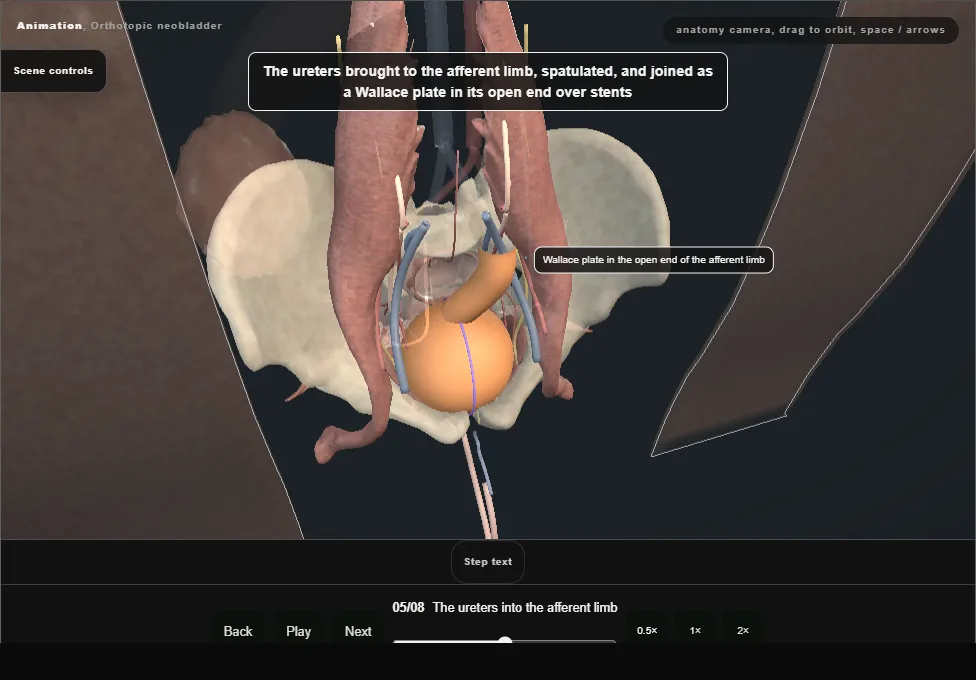
- Spatulated and joined as a Wallace plate in the open end of the afferent limb (or end to side) over stents, the left brought under the sigmoid mesentery.
- No kink, no tension, no twist.
- 06
The urethral anastomosis
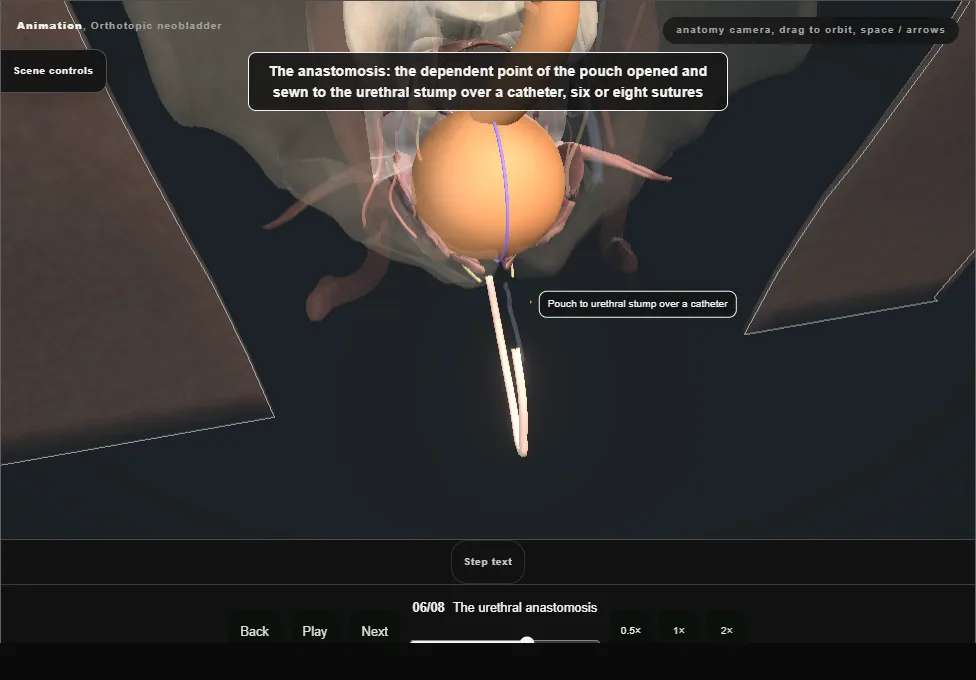
- The dependent point opened and sewn to the urethral stump over a catheter with six or eight full-thickness sutures.
- The sphincter is the only continence there will be, so nothing is sewn through it.
- 07
Stents, drain and the catheter
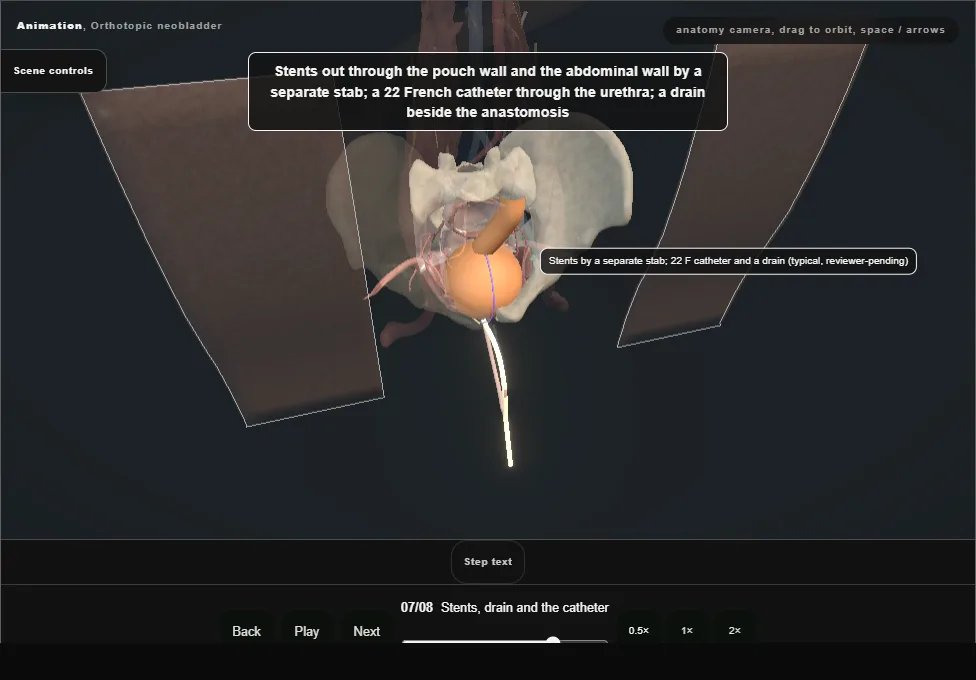
- Stents out through the pouch wall and the abdominal wall by a separate stab, a 22 French catheter through the urethra, a drain beside the anastomosis.
- The pouch irrigated for mucus from day one; a blocked catheter over-distends it and blows the line.
- 08
After
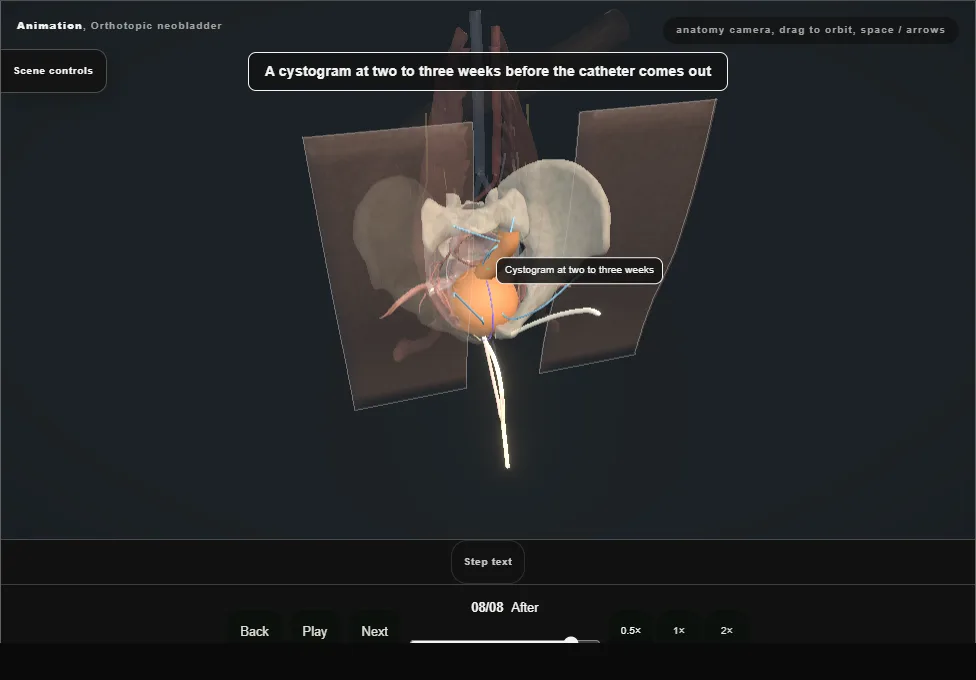
- A cystogram at two to three weeks before the catheter comes out, then voiding by the clock, sitting, relaxing the floor and straining.
- Day continence comes over months; the night is imperfect for good.
Derived from pelvis/NeobladderScene.tsx at build time: every step title and caption above is the authored
ProcedureDef text, reproduced verbatim, and this page shares its readable-points renderer with the animation
itself. 8 of 8 steps have a captured frame.
Text fingerprint 18c0305028de3a22. A caption edit without a re-capture fails the production
check, so the sheet and the animation cannot drift apart silently.