
Revision sheet
Pelvic exenteration
9 steps, each one the authored title and caption from the interactive animation, with the frame captured from that step. Read it before the case, or print it and work through the steps in order.
Teaching only, not for diagnosis or treatment decisions. The text on this sheet is the animation's own step copy, reproduced verbatim.
UrOops3D · UroRef · © Nity G
- 01
Who, and the MDT
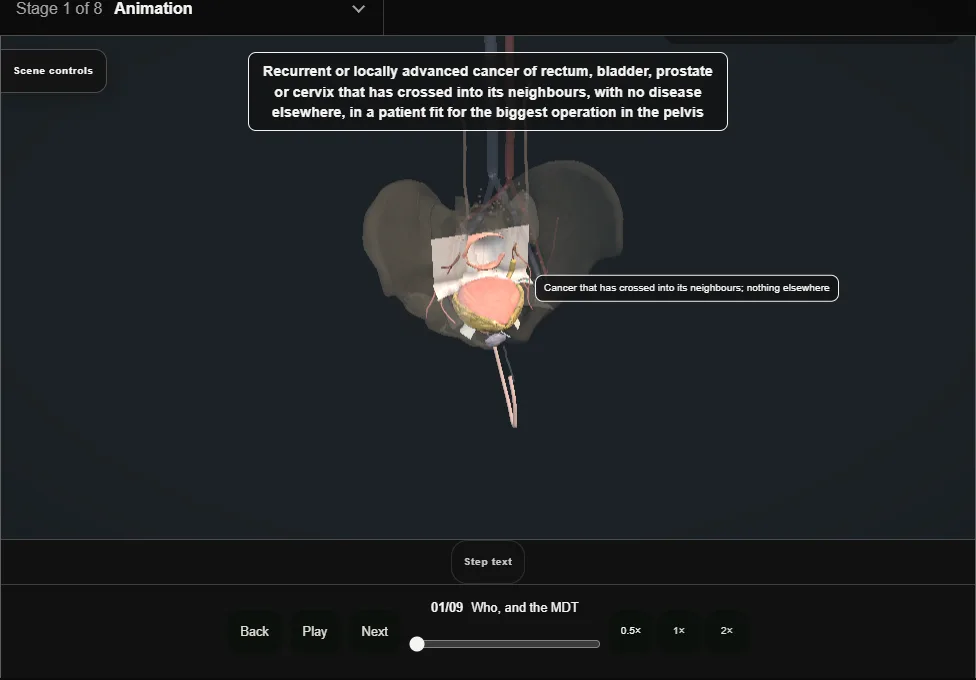
- Recurrent or locally advanced pelvic cancer that has crossed into its neighbours, with no disease elsewhere, in a patient fit for the biggest operation in the pelvis.
- Decided at a specialist MDT with all three specialties in the room.
- 02
Planning the sidewall
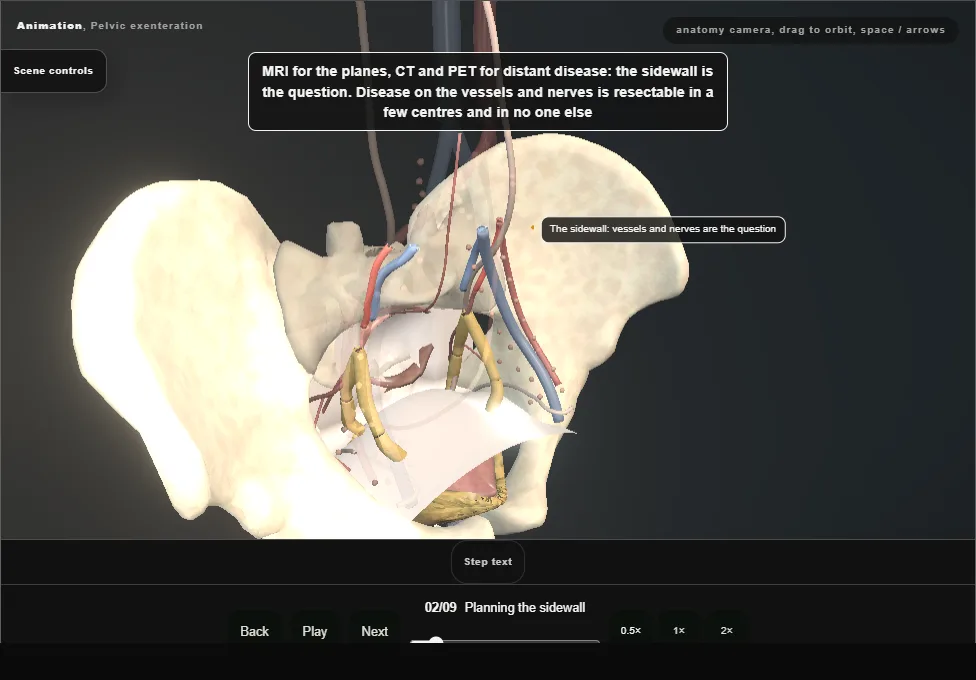
- MRI for the planes, CT and PET for distant disease.
- Disease on the sidewall vessels and nerves is resectable in a few centres and in no one else; sacral involvement below S2 goes with the sacrum, above it does not.
- 03
Position, incision and the stoma sites
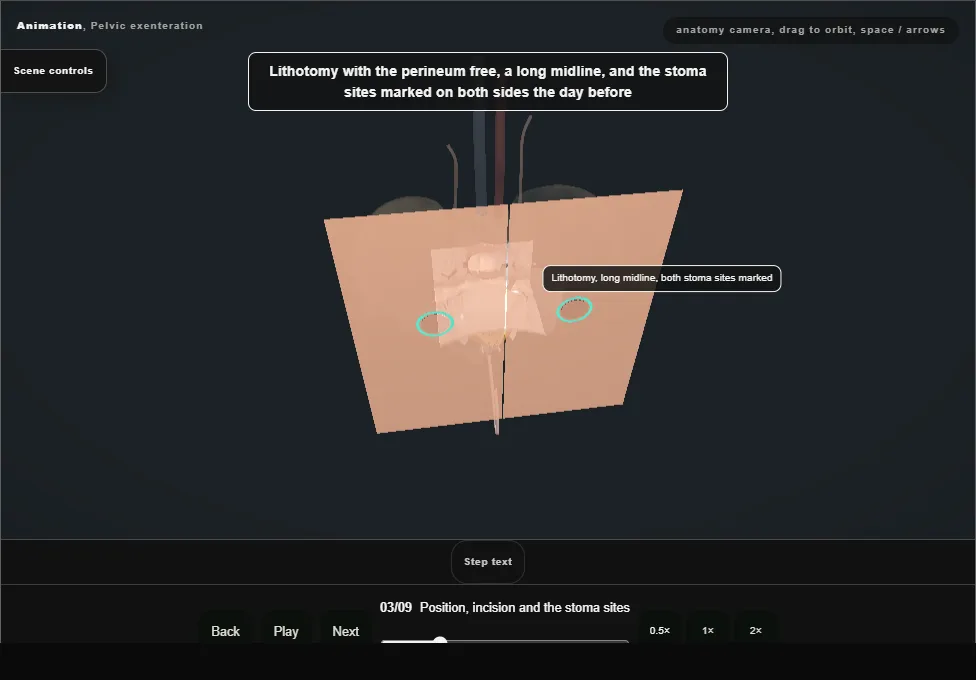
- Lithotomy with the perineum free, a long midline, both stoma sites marked the day before.
- The abdomen explored first: liver, peritoneum, nodes, and a frozen section of anything that would stop the operation.
- 04
The en bloc dissection
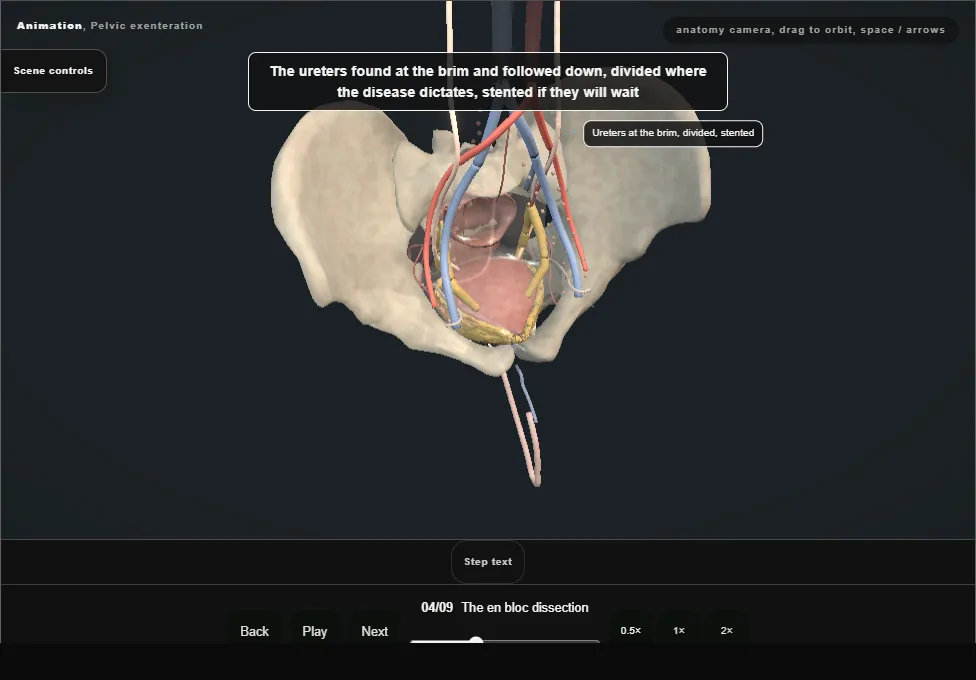
- The ureters found at the brim and divided where the disease dictates.
- The plane runs outside the bladder, outside the rectum and outside the disease; the pouch of Douglas is not opened.
- 05
The sidewall and the internal iliac vessels
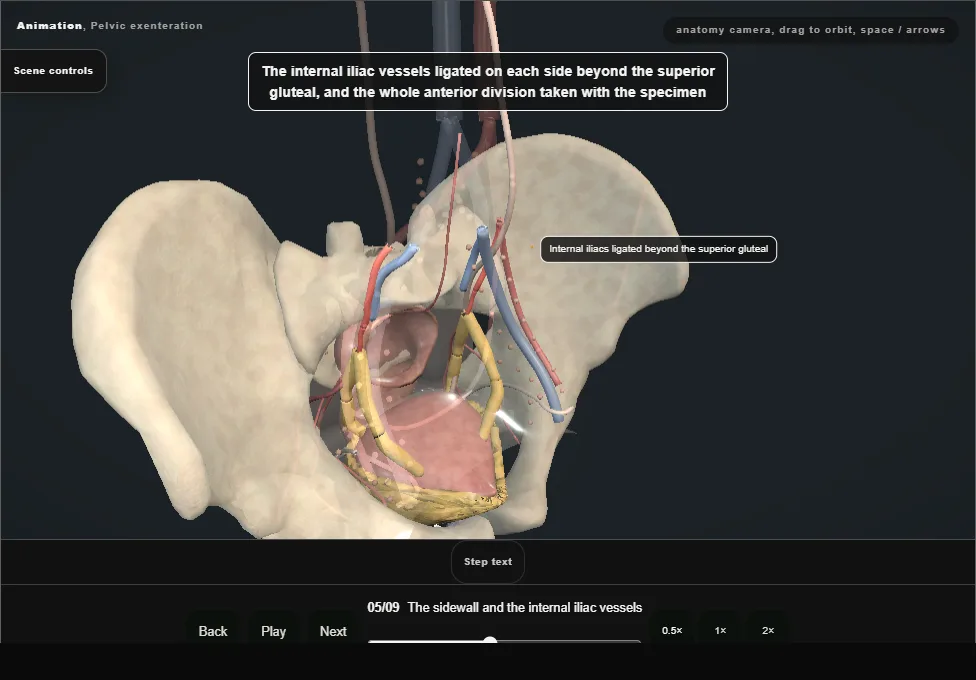
- The internal iliac artery and vein ligated on each side beyond the superior gluteal, the anterior division taken with the specimen.
- The presacral and sidewall veins: bleeding prevented by ligation and controlled by packing when it comes.
- 06
The perineal phase
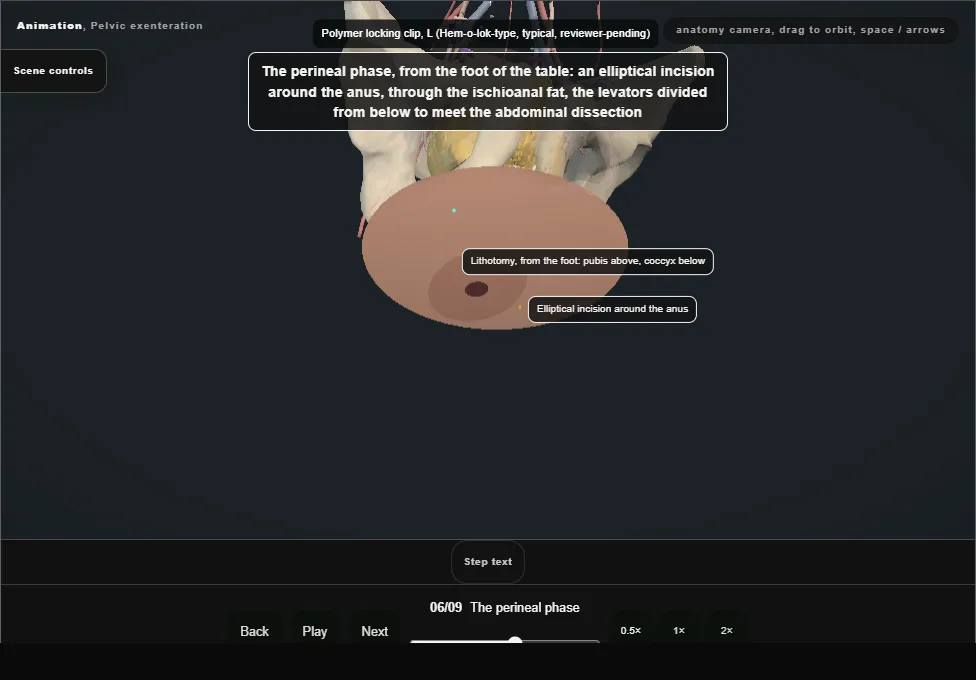
- An elliptical incision around the anus, the ischiorectal fat, the levators divided from below to meet the abdominal dissection, the urethra divided below the prostate, and the specimen delivered as one piece.
- 07
Reconstruction: conduit and colostomy
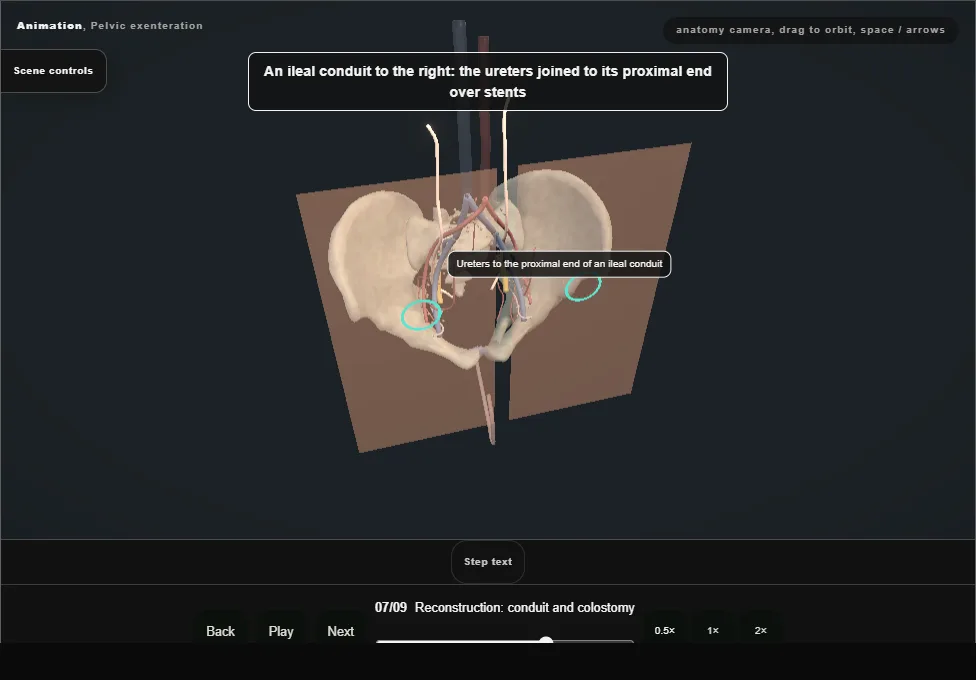
- An ileal conduit to the right with the ureters joined over stents; an end colostomy to the left, or a double-barrelled wet colostomy where one stoma is wanted.
- 08
Filling the pelvis
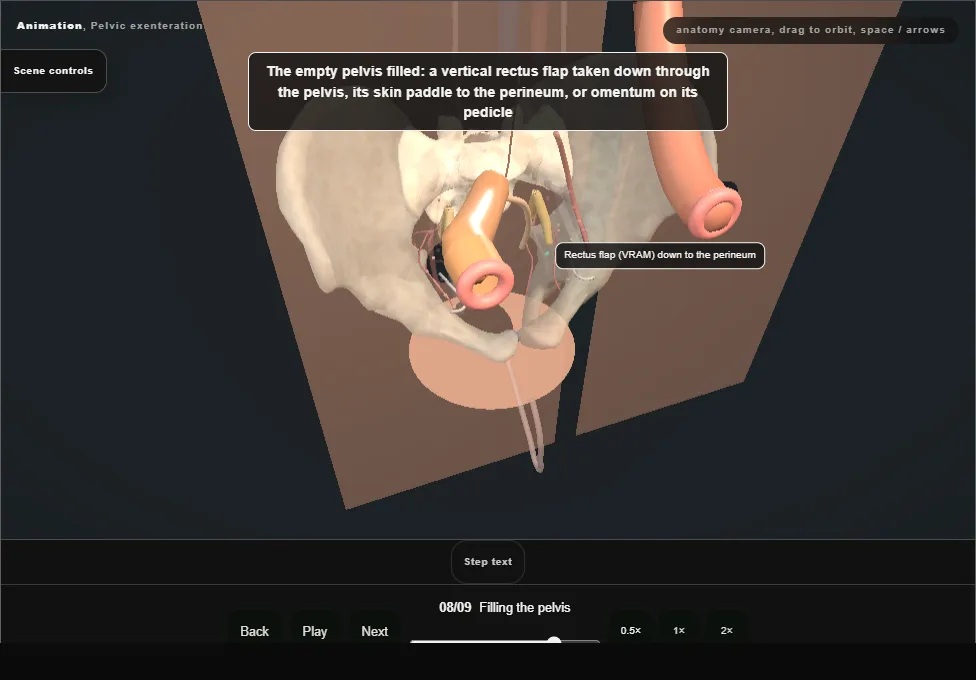
- Omentum on its pedicle or a vertical rectus flap taken down through the pelvis to the perineum.
- An empty pelvis fills with small bowel, which obstructs, fistulates and breaks down the perineal wound.
- 09
After
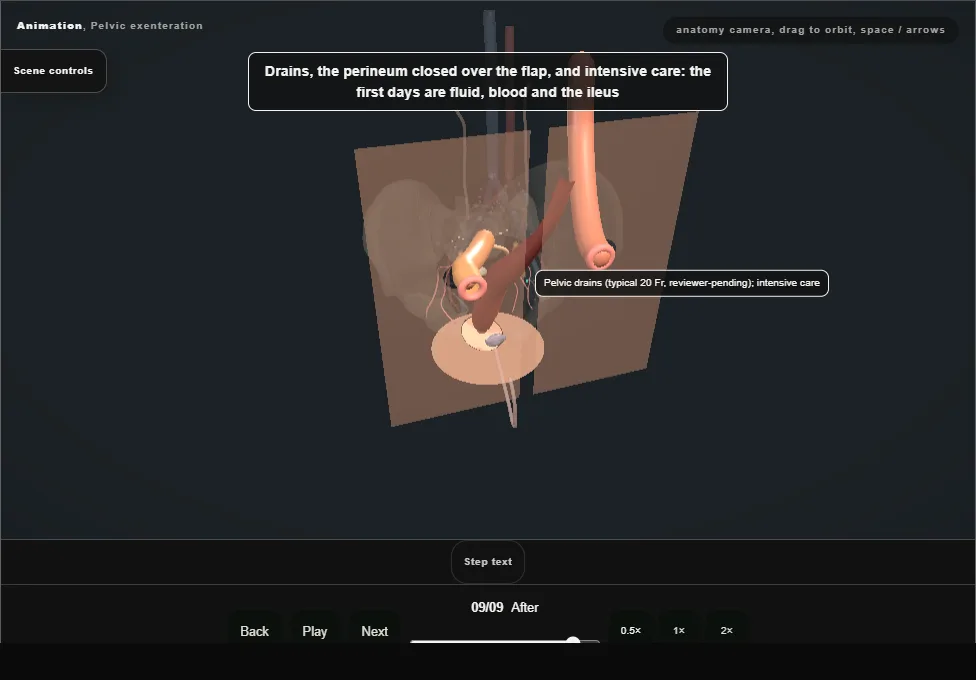
- Drains, the perineum closed over the flap, intensive care: fluid, blood and the ileus.
- Half will have a major complication; the register is kept so the next patient is told the truth.
Derived from pelvis/ExenterationScene.tsx at build time: every step title and caption above is the authored
ProcedureDef text, reproduced verbatim, and this page shares its readable-points renderer with the animation
itself. 9 of 9 steps have a captured frame.
Text fingerprint 2f87f6c2b631d0a3. A caption edit without a re-capture fails the production
check, so the sheet and the animation cannot drift apart silently.