
Revision sheet
Inflatable penile prosthesis
7 steps, each one the authored title and caption from the interactive animation, with the frame captured from that step. Read it before the case, or print it and work through the steps in order.
Teaching only, not for diagnosis or treatment decisions. The text on this sheet is the animation's own step copy, reproduced verbatim.
UrOops3D · UroRef · © Nity G
- 01
Counselling: an irreversible prosthetic option
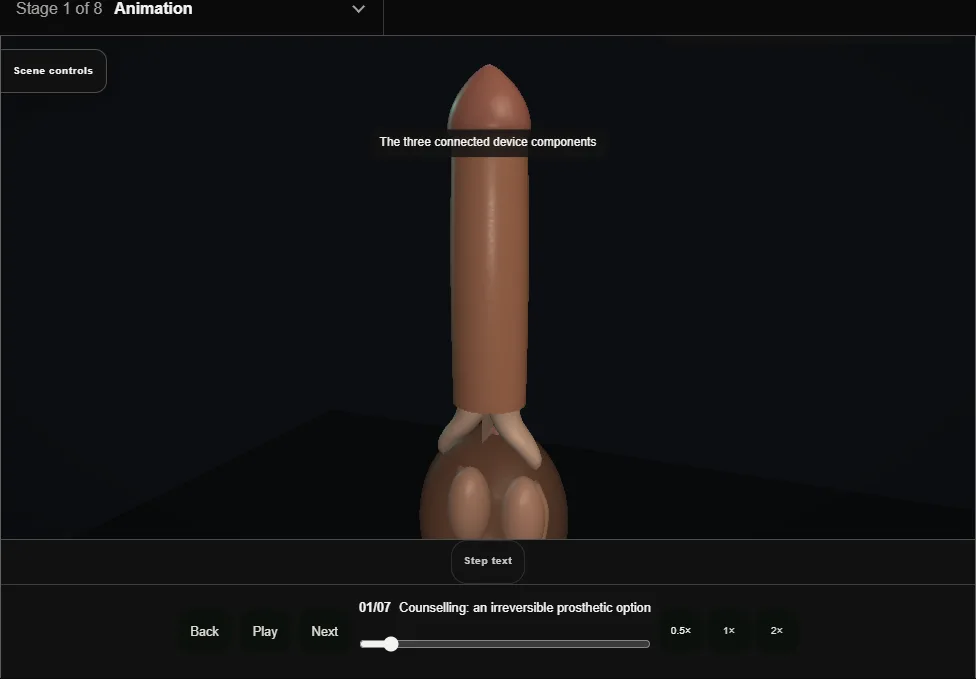
- The consultation sets realistic expectations about length, girth, sensation and device use before this irreversible operation.
- Malleable versus inflatable is a shared decision based on goals, anatomy and dexterity.
- 02
Penoscrotal approach
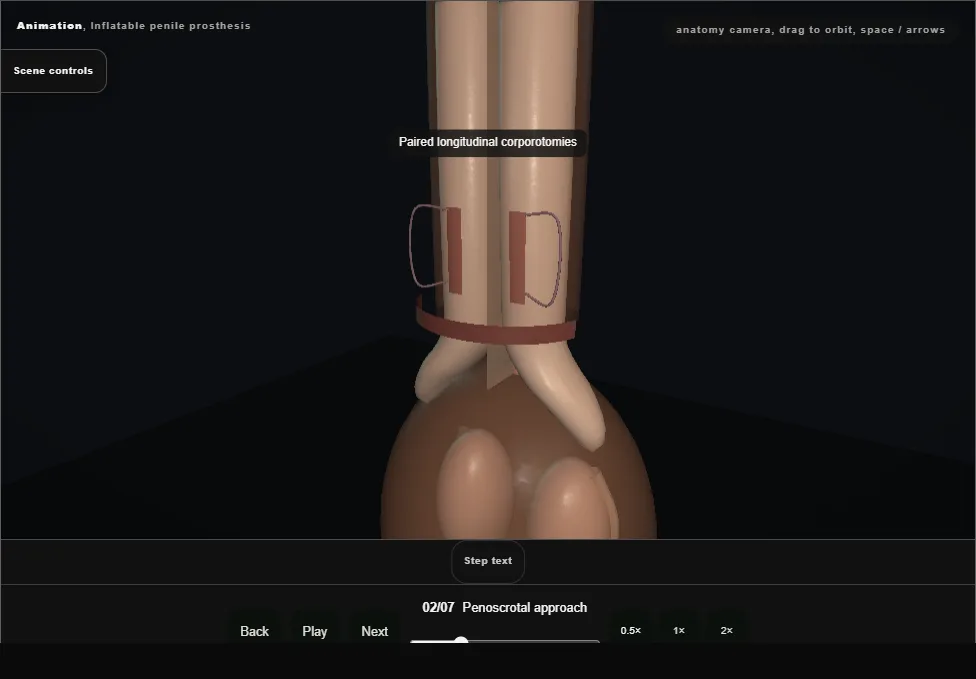
- A transverse penoscrotal incision, dartos divided, Buck's fascia opened and each corporal body delineated.
- Longitudinal corporotomies are marked on the axis, away from the ventral spongiosum.
- 03
Corporal dilatation: the danger moment
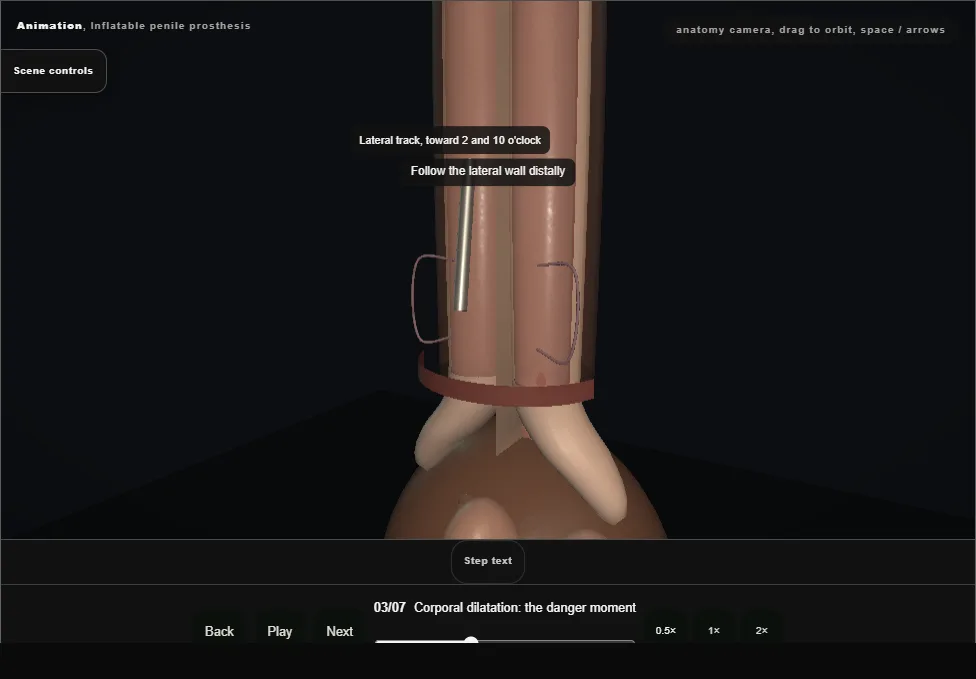
- Sounds advance gradually, proximal then distal, following the ipsilateral lateral corporal wall toward roughly 2 and 10 o'clock.
- Medial deviation causes crossover; ventral deviation threatens the urethra; over-eager distal passage can perforate the dome.
- Compare total measurements side to side.
- 04
Cylinder sizing + insertion
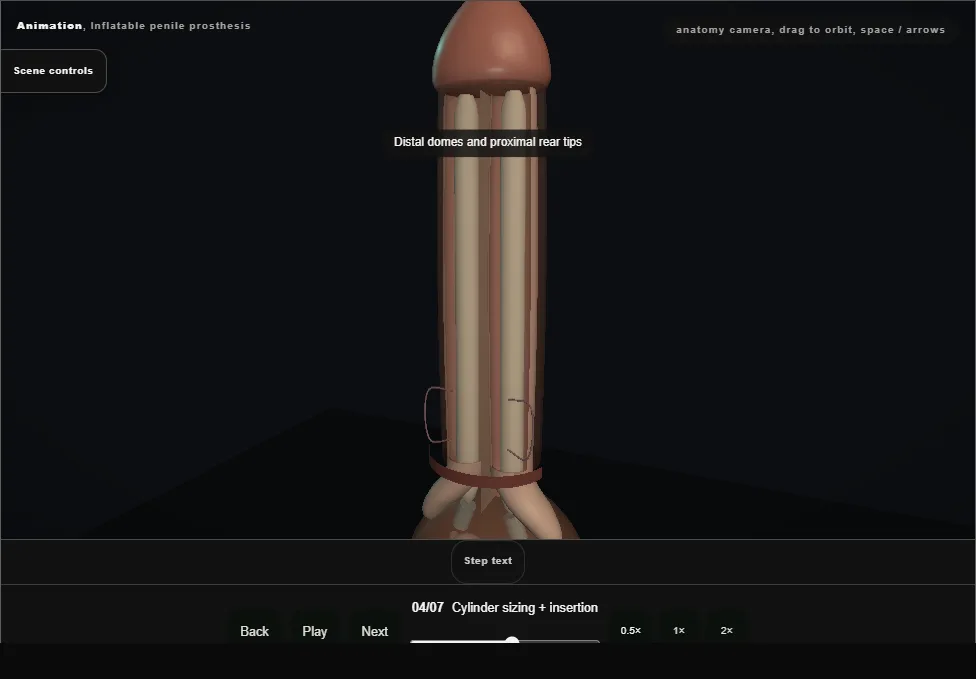
- Sizes are chosen from the measured channels: a cylinder that is too long pistons and may erode, while one that is too short buckles.
- Each cylinder is seated distally with its rear tip extender seated proximally.
- 05
Pump in the dependent scrotum
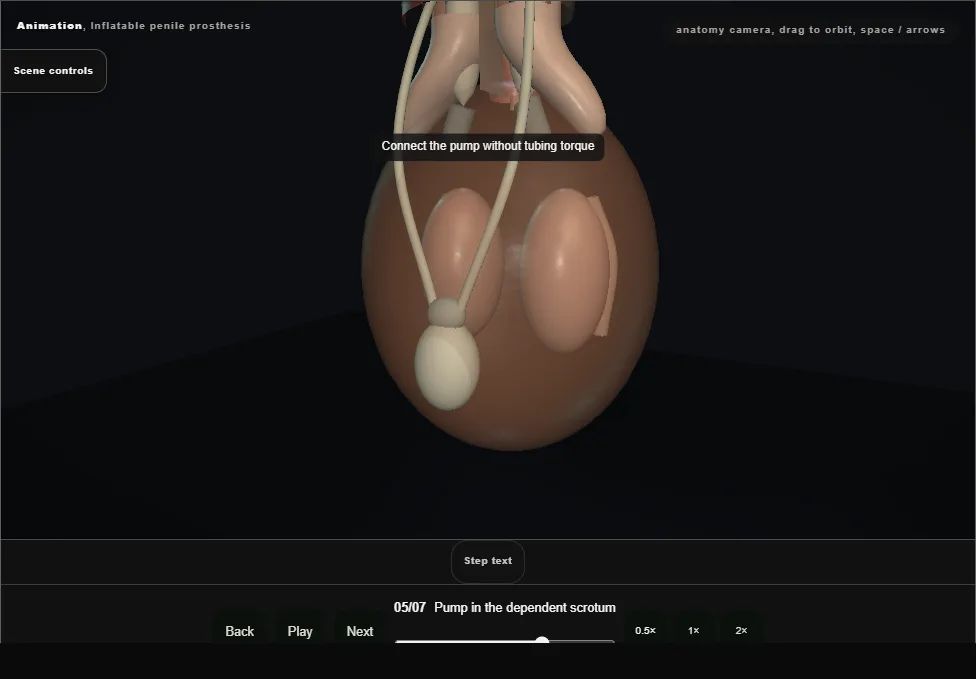
- The pump sits in the most dependent part of the scrotum, anterior to the testes, so the patient can find and squeeze it.
- Tubing is routed without torque.
- 06
Reservoir: the paravesical space
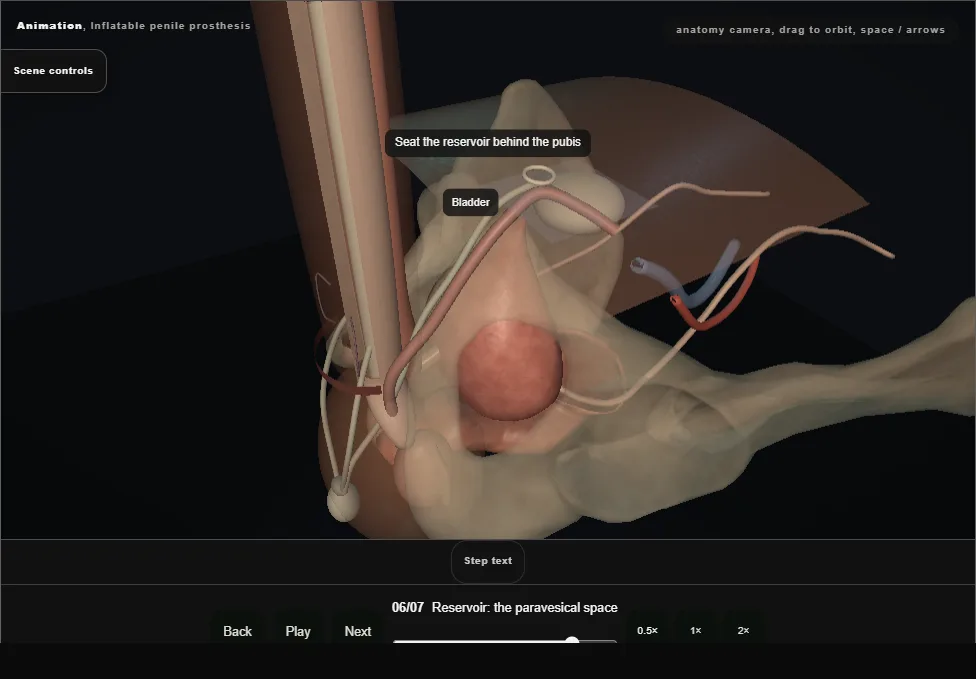
- With the bladder decompressed, enter medially at the external ring while keeping the cord lateral, pierce transversalis fascia and develop the extraperitoneal space behind the pubis and anterior to the bladder.
- Confirm a clear pocket away from iliac vessels before filling the reservoir.
- 07
Closure + cycling after healing
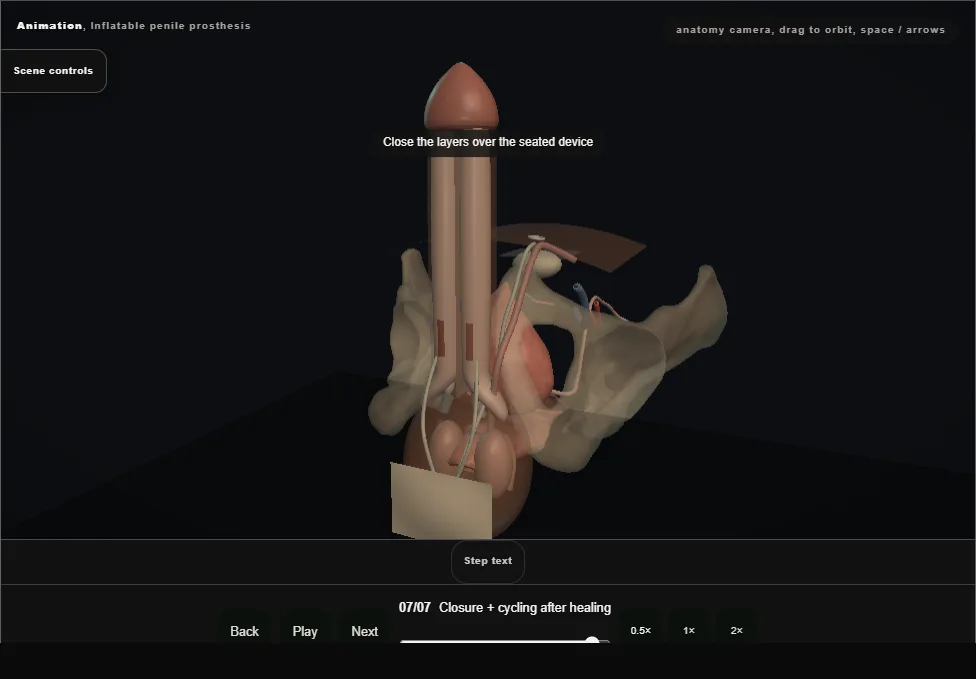
- Test function in theatre, leave the device partly inflated, then perform layered closure and apply a flat scrotal dressing.
- Patient cycling begins only after wound healing; instruction is reinforced at follow-up.
Derived from PenileImplantScene.tsx at build time: every step title and caption above is the authored
ProcedureDef text, reproduced verbatim, and this page shares its readable-points renderer with the animation
itself. 7 of 7 steps have a captured frame.
Text fingerprint eccefb54ccb47193. A caption edit without a re-capture fails the production
check, so the sheet and the animation cannot drift apart silently.