
Revision sheet
Suprapubic catheter insertion
8 steps, each one the authored title and caption from the interactive animation, with the frame captured from that step. Read it before the case, or print it and work through the steps in order.
Teaching only, not for diagnosis or treatment decisions. The text on this sheet is the animation's own step copy, reproduced verbatim.
UrOops3D · UroRef · © Nity G
- 01
Balloon integrity test + full deflation
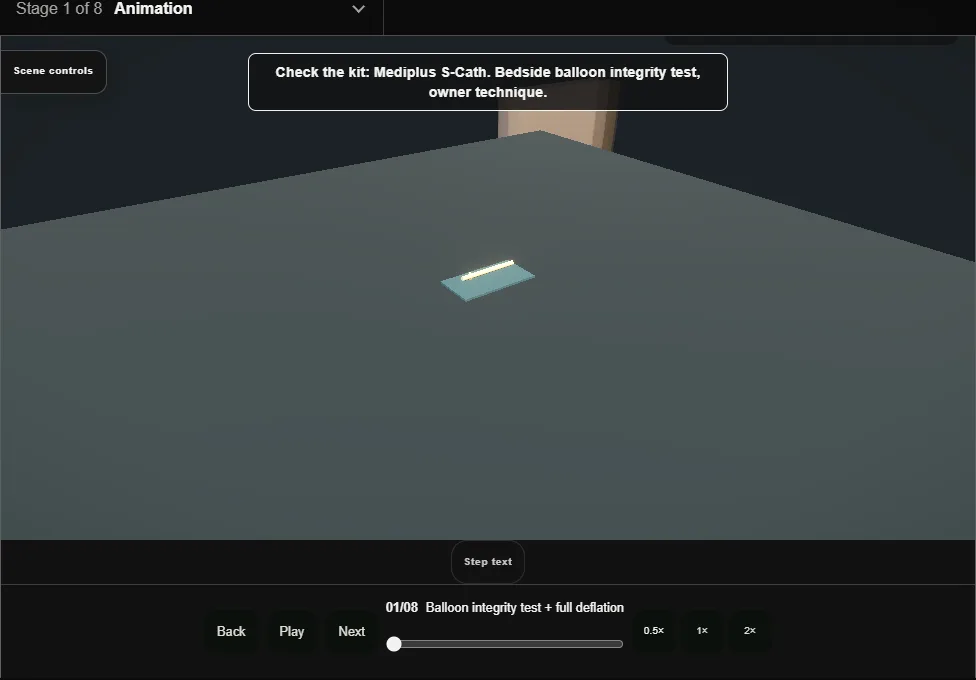
- Check the Mediplus S-Cath kit.
- In this owner-specified technique, test balloon integrity at the bedside, then deflate the balloon completely before insertion.
- Check the catheter size and balloon volume printed on the valve.
- This preparatory test is distinct from inflation inside the bladder.
- 02
Confirm bladder filling
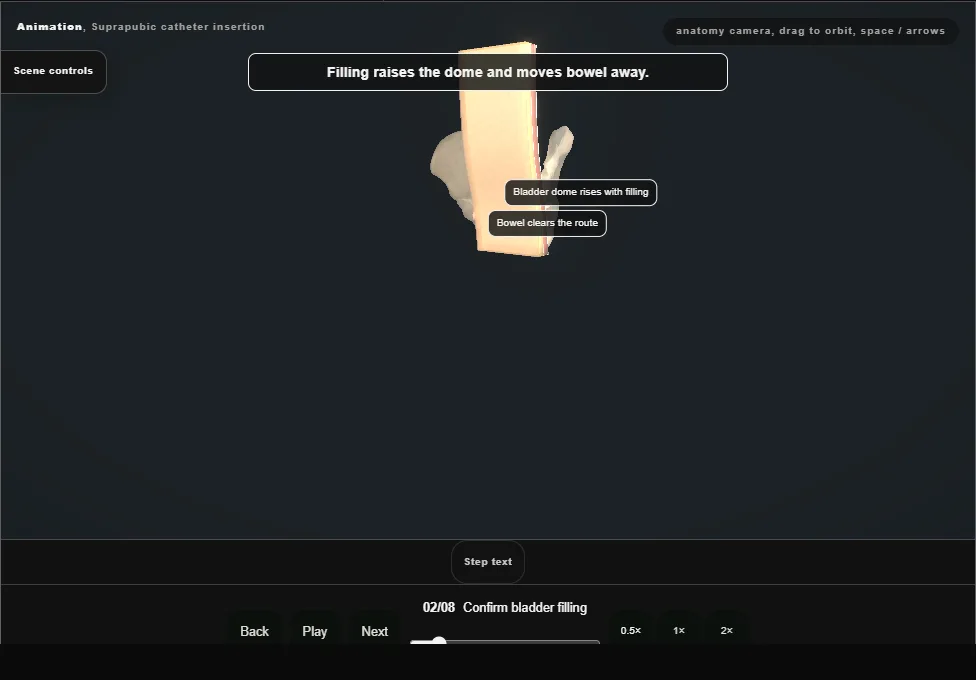
- A palpable or ultrasound-confirmed full bladder is the safety of the whole procedure: an empty bladder collapses away from the wall and bowel takes its place.
- Never insert against an unfilled bladder.
- 03
Landmark + ultrasound
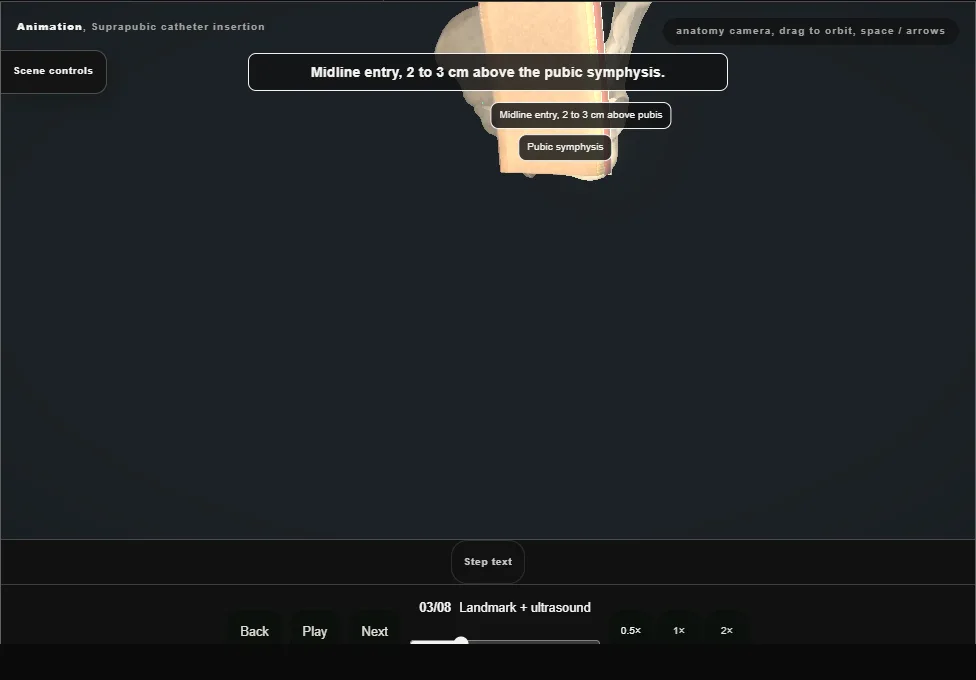
- Entry 2 to 3 cm above the pubic symphysis, in the midline.
- Ultrasound confirms a clear window into the dome with bowel displaced cranially.
- 04
Local anaesthetic + test puncture
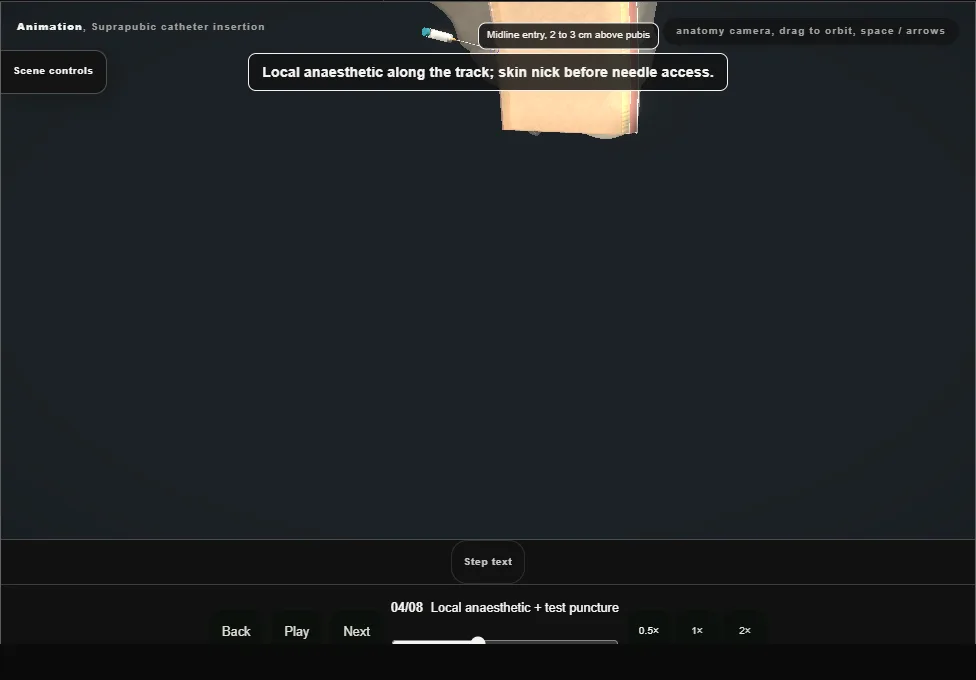
- Local anaesthetic along the planned track and a skin nick precede needle access.
- Urine returns through the needle into the syringe.
- Remove the syringe while holding the needle steady; absent aspirate requires reassessment before proceeding.
- 05
Guidewire: floppy tip first
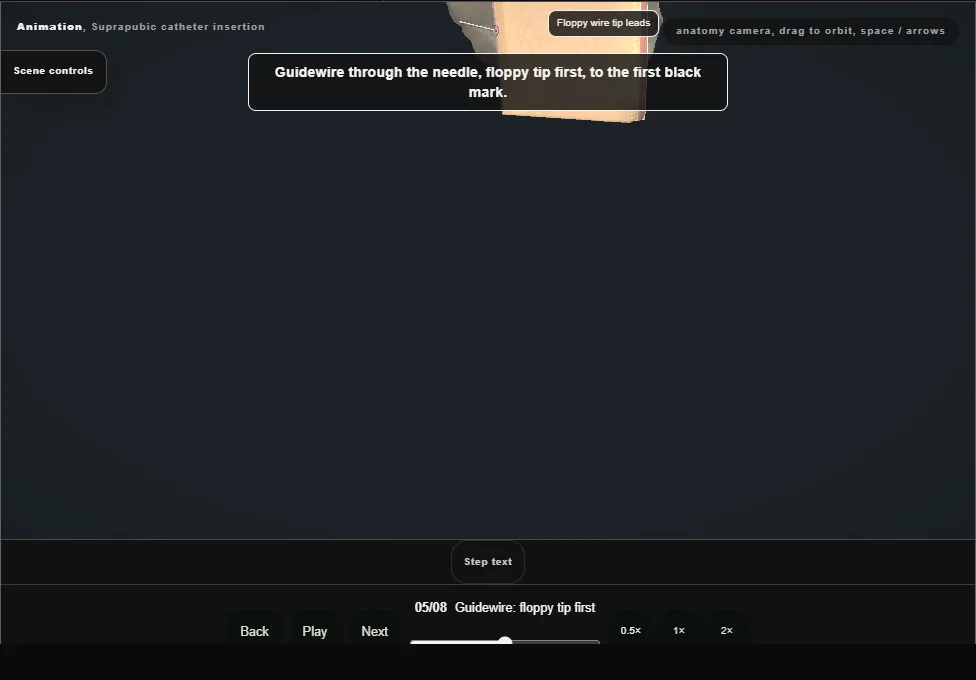
- Pass the guidewire through the needle, floppy tip first, to the first black mark.
- The needle is withdrawn over the wire while the wire is held: the wire alone preserves access.
- Do not force resistance.
- 06
Introducer in; inner component out
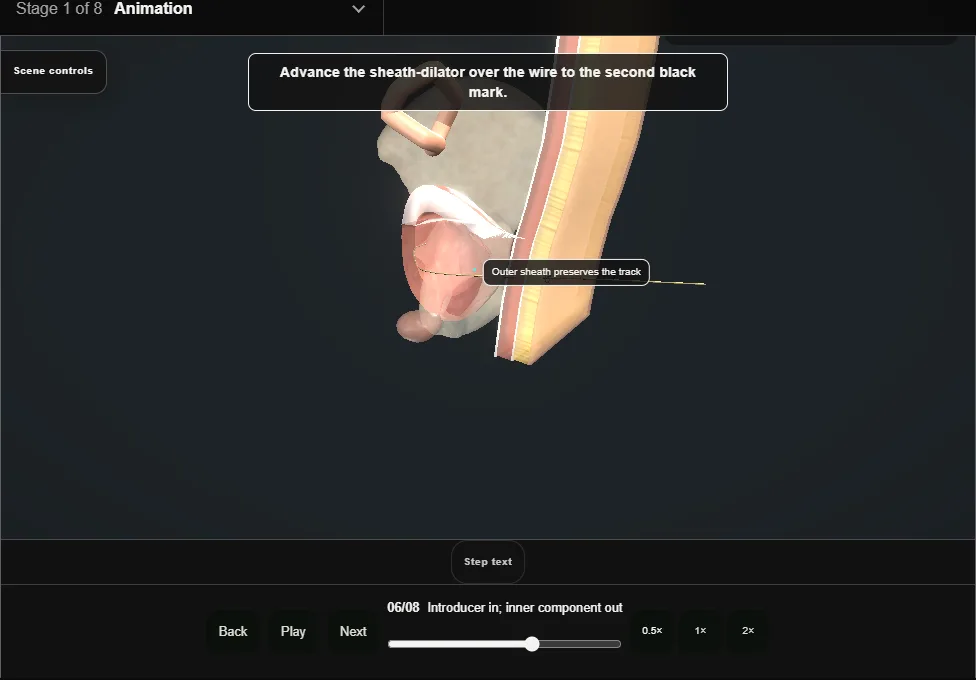
- Advance the sheath-dilator over the wire to the second black mark.
- The inner dilator and guidewire are removed together; the outer peel-away sheath remains in the bladder.
- A thumb occludes the sheath outlet to limit loss of filling.
- 07
Catheter placement + balloon
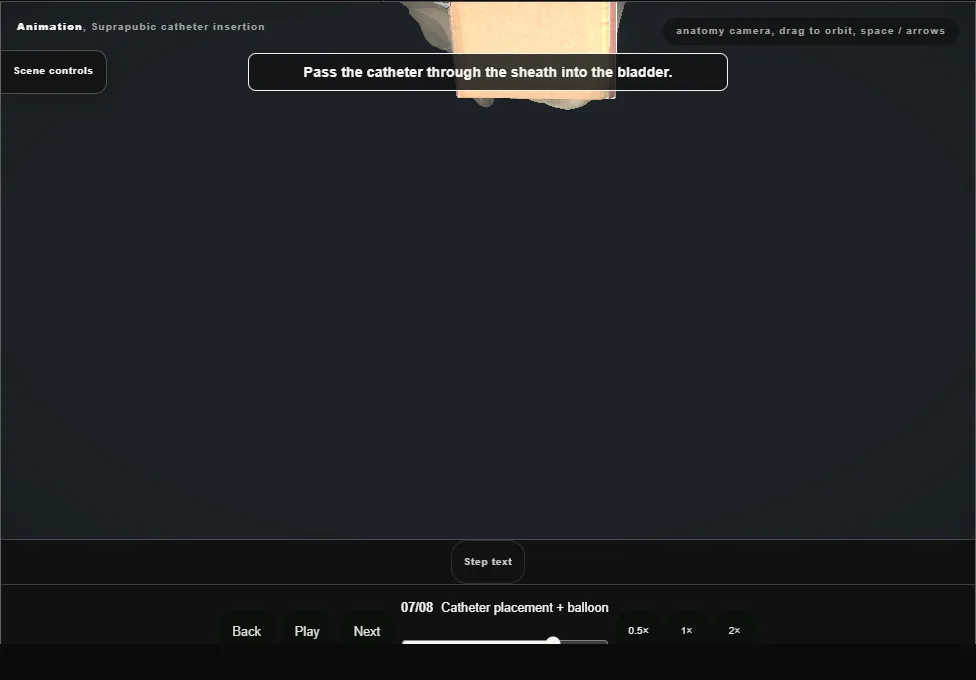
- Pass the catheter through the sheath.
- Urine drains through the catheter and its intravesical position is confirmed before the balloon inflates.
- Use the volume specified on the catheter valve; stop if position is uncertain or inflation meets resistance.
- Withdraw the outer sheath, then split away its halves outside the abdomen.
- 08
Secure + aftercare
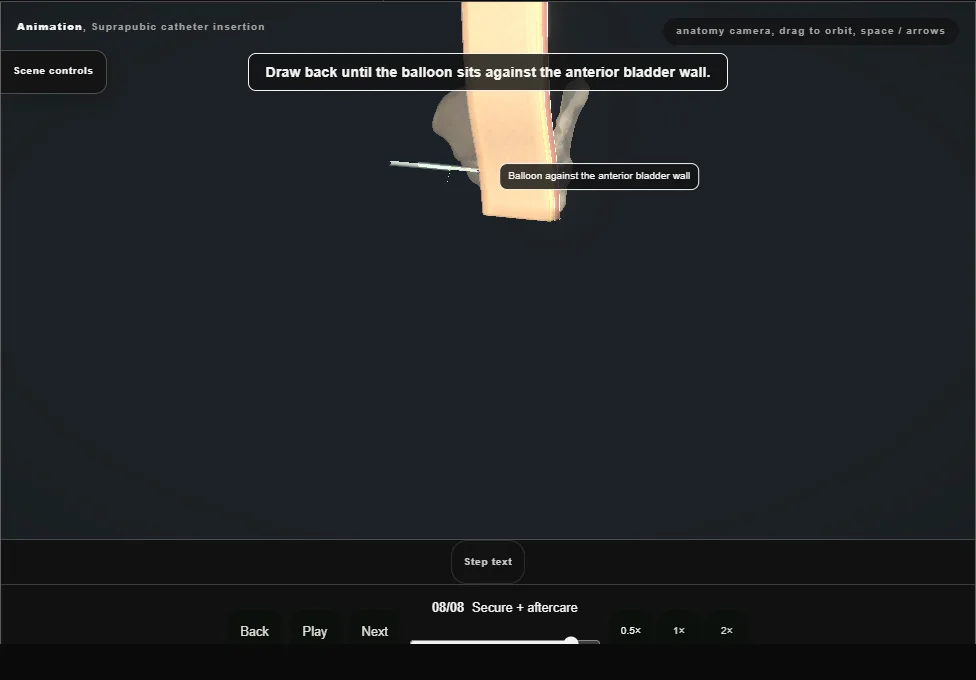
- Draw the catheter back until the balloon sits against the anterior bladder wall, then secure it without traction.
- An optional silk drain stitch is shown schematically; it must not occlude the catheter.
- Confirm free drainage and record the insertion date, balloon volume and aftercare plan.
Derived from SpcScene.tsx at build time: every step title and caption above is the authored
ProcedureDef text, reproduced verbatim, and this page shares its readable-points renderer with the animation
itself. 8 of 8 steps have a captured frame.
Text fingerprint ab3b6f80e811a4da. A caption edit without a re-capture fails the production
check, so the sheet and the animation cannot drift apart silently.