
Revision sheet
Transperineal prostate biopsy
9 steps, each one the authored title and caption from the interactive animation, with the frame captured from that step. Read it before the case, or print it and work through the steps in order.
Teaching only, not for diagnosis or treatment decisions. The text on this sheet is the animation's own step copy, reproduced verbatim.
UrOops3D · UroRef · © Nity G
- 01
Who, and the MRI first
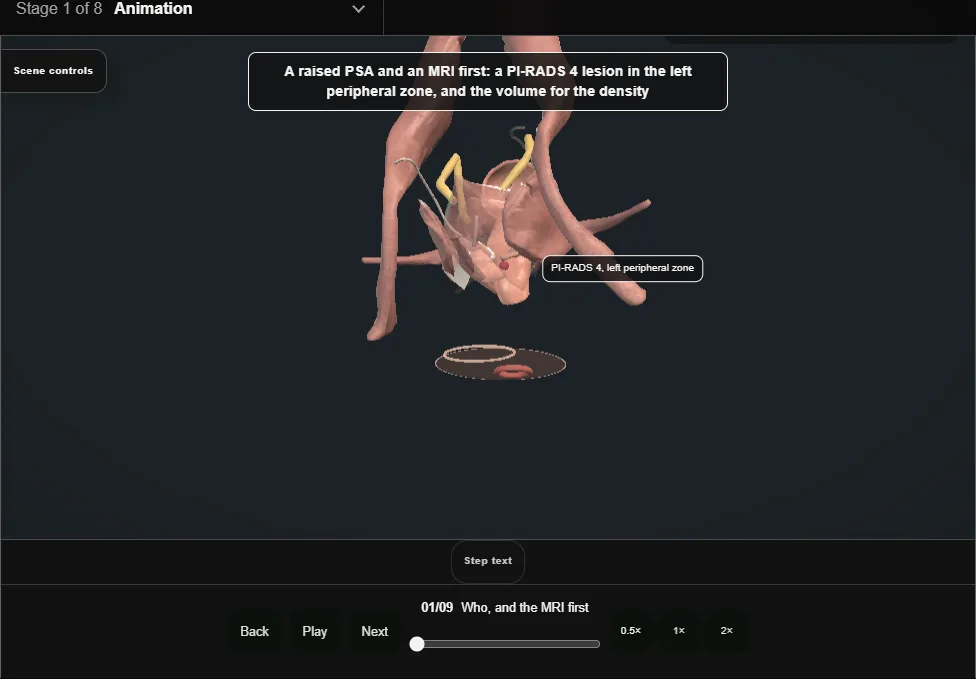
- A raised PSA and a multiparametric MRI before any needle: the lesion, its PI-RADS score, and the volume for the density.
- The MRI decides who is biopsied and where.
- 02
Consent and preparation
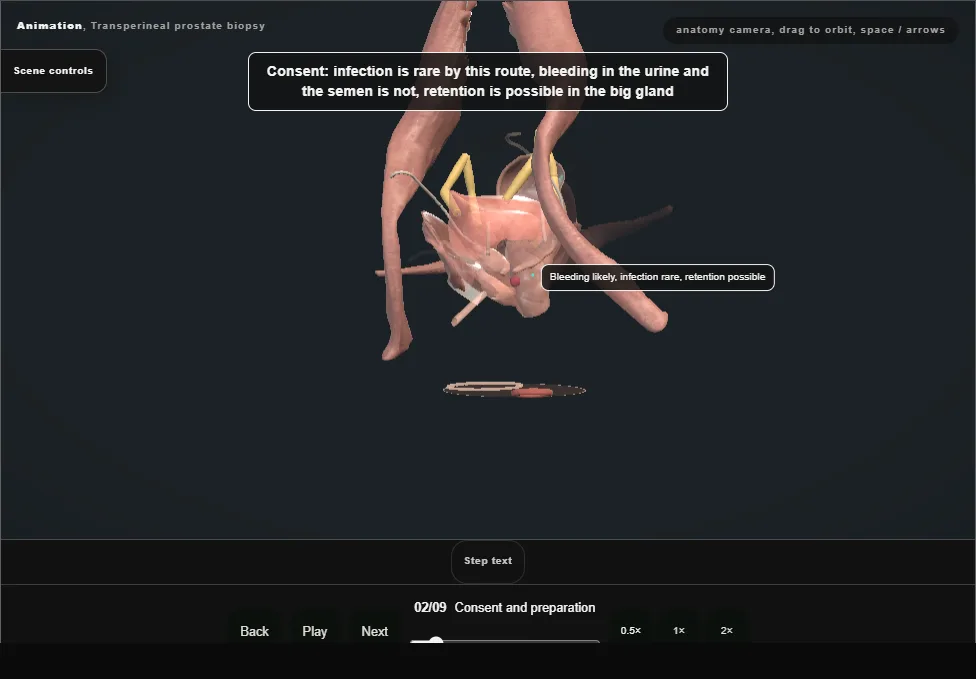
- Infection is rare by this route because nothing crosses the rectal wall; bleeding in the urine and the semen is expected; retention is possible in the big gland.
- Anticoagulants by the department rule.
- 03
Position, the probe and the guide
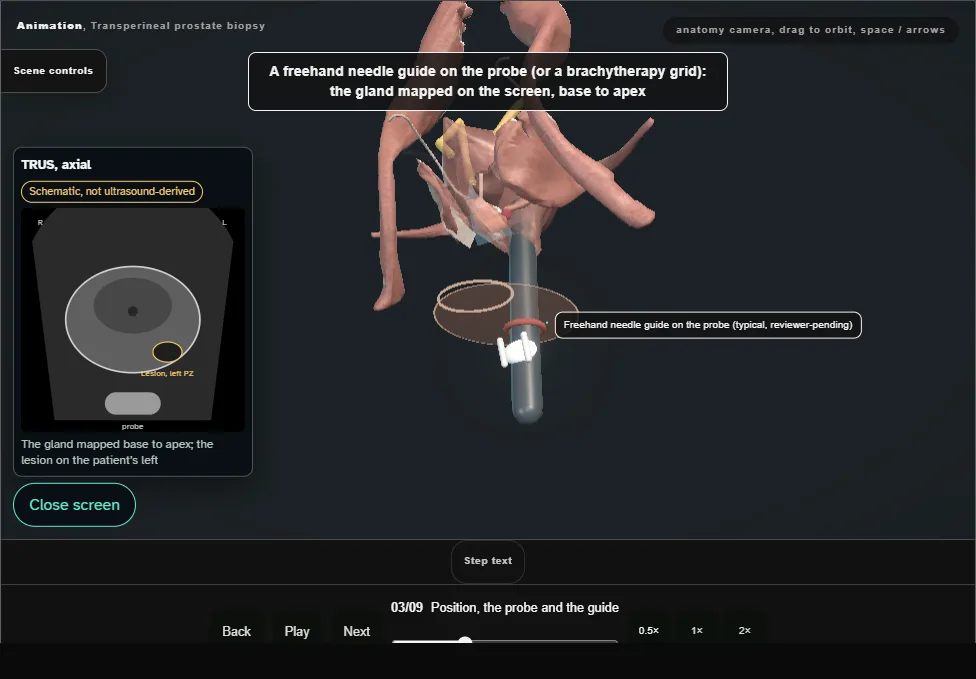
- Lithotomy, the perineum prepared, the biplanar ultrasound probe in the rectum on its stepper, and a freehand needle guide on the probe or the brachytherapy grid: the prostate mapped on the screen from base to apex.
- 04
Local anaesthetic
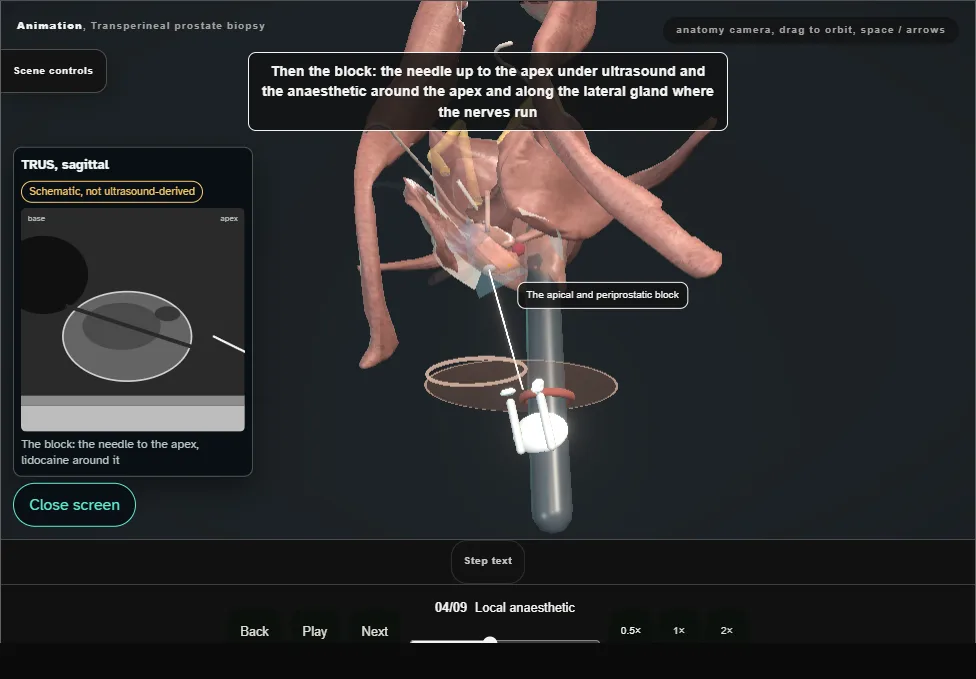
- Lidocaine to the skin each side of the midline, then the needle up to the apex under ultrasound and the anaesthetic around the apex and along the lateral gland where the nerves run.
- 05
Targeted cores
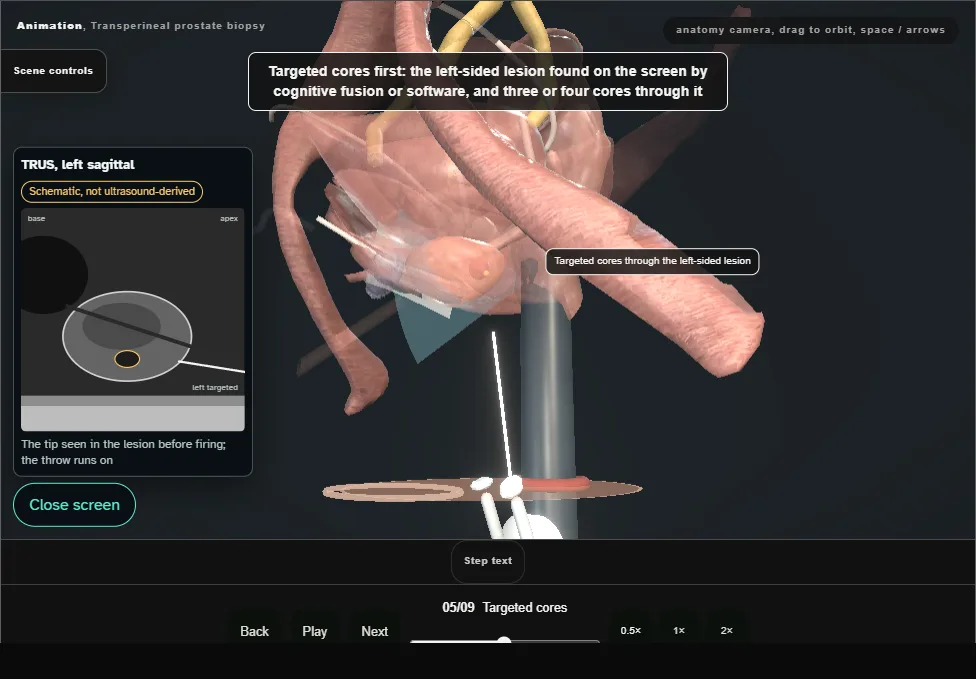
- The left-sided lesion found on the screen by cognitive fusion or software and three or four cores through it, each seen entering the lesion before it is fired: the throw runs about two centimetres beyond the tip.
- 06
Systematic cores
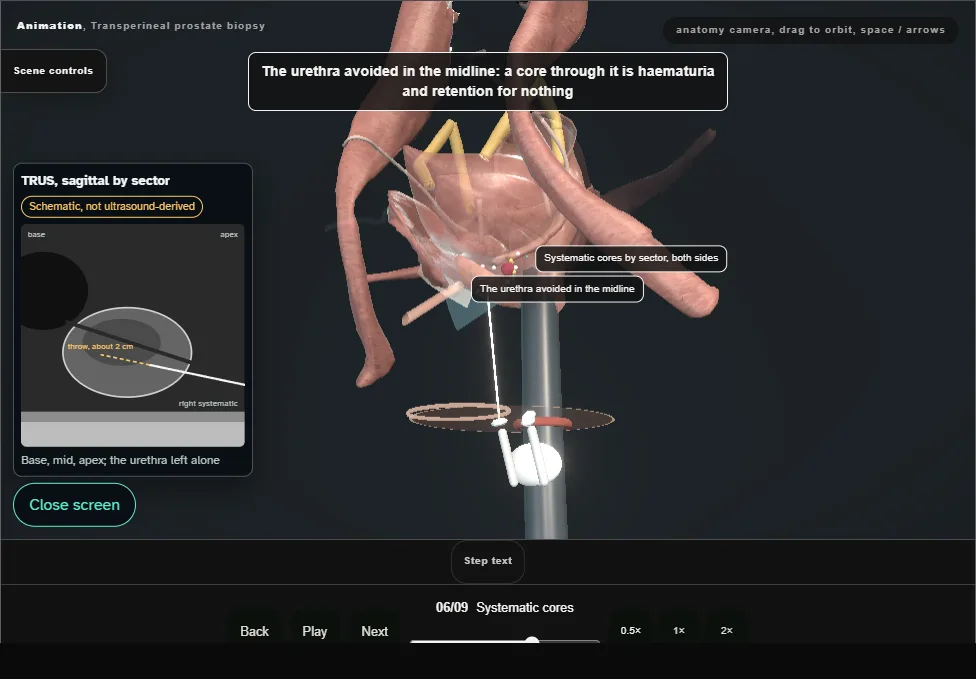
- By sector, both sides: base, mid and apex, medial and lateral, the peripheral zone first, and the urethra avoided in the midline.
- 07
The apex and the anterior gland
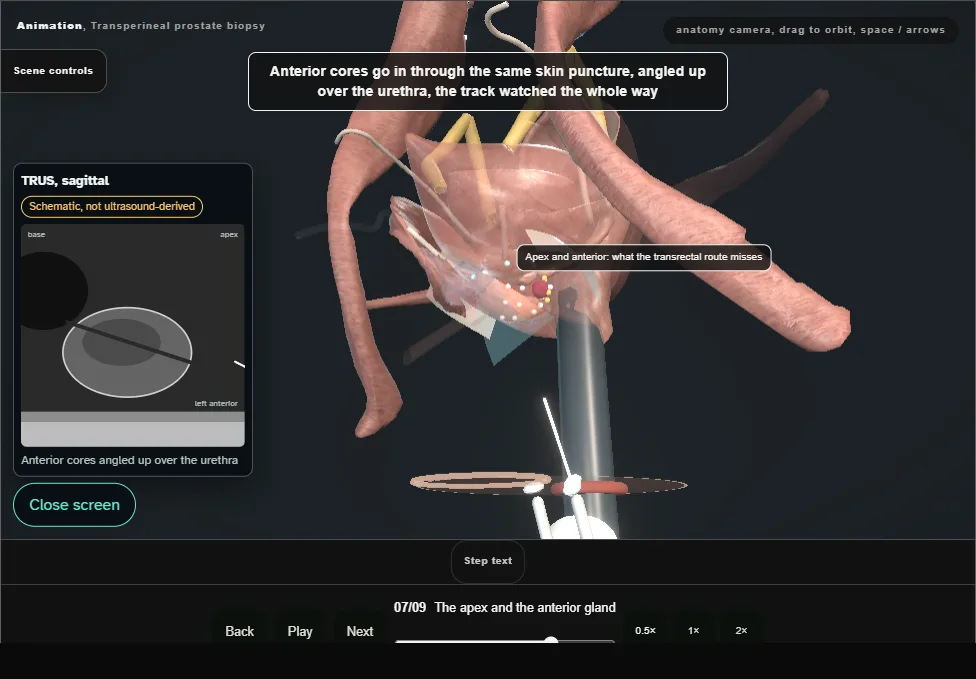
- The reason for this route: the apex and the anterior gland are where a transrectal needle does not reach.
- Anterior cores through the same puncture, angled up over the urethra, the track watched all the way.
- 08
After
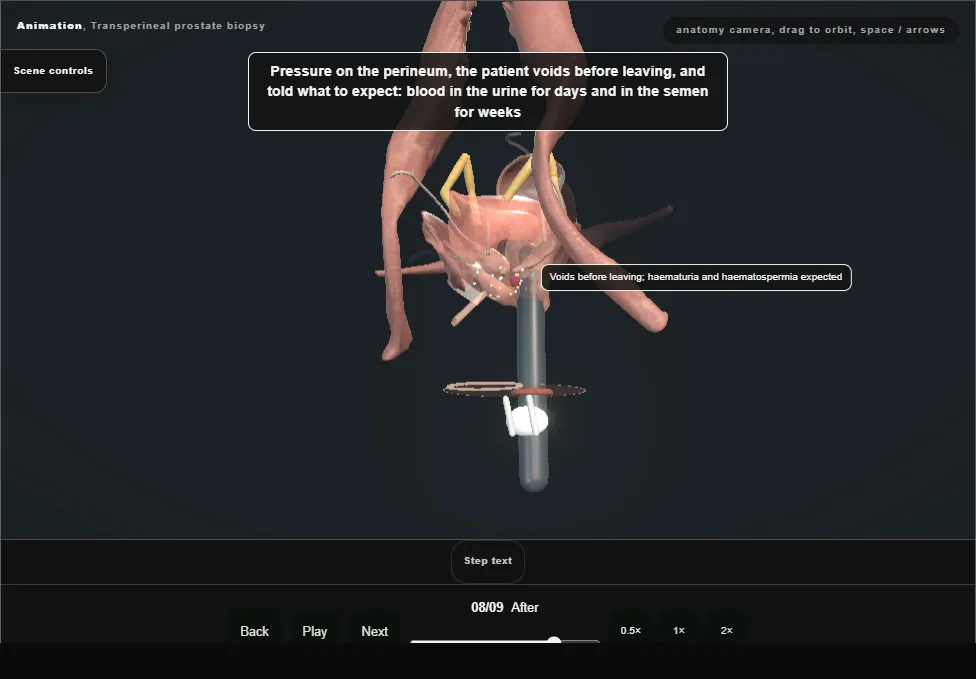
- Pressure on the perineum, the patient voids before leaving, and told what to expect.
- Retention in the big gland means a catheter, an alpha blocker and a trial without it in a few days.
- 09
Results and the MDT
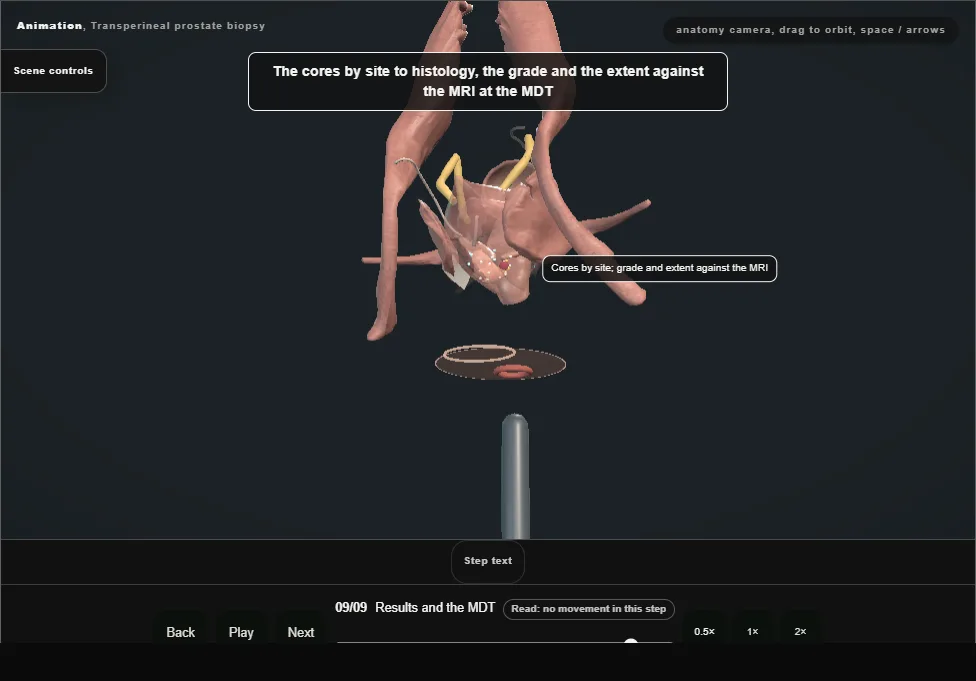
- Cores by site to histology; the grade and the extent set against the MRI at the MDT.
- A negative biopsy with a persisting lesion is not the end: repeat imaging, and the density followed.
Derived from pelvis/TransperinealBiopsyScene.tsx at build time: every step title and caption above is the authored
ProcedureDef text, reproduced verbatim, and this page shares its readable-points renderer with the animation
itself. 9 of 9 steps have a captured frame.
Text fingerprint 3d9e103ba874b894. A caption edit without a re-capture fails the production
check, so the sheet and the animation cannot drift apart silently.