
Revision sheet
Urethral bulking injection
8 steps, each one the authored title and caption from the interactive animation, with the frame captured from that step. Read it before the case, or print it and work through the steps in order.
Teaching only, not for diagnosis or treatment decisions. The text on this sheet is the animation's own step copy, reproduced verbatim.
UrOops3D · UroRef · © Nity G
- 01
Who
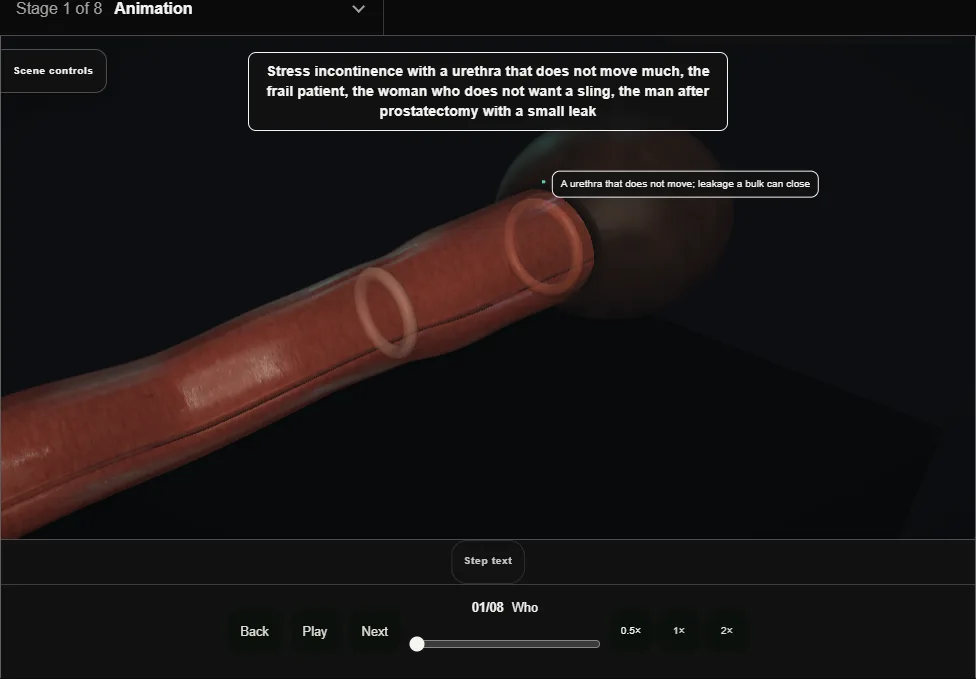
- Stress incontinence with a poorly mobile urethra, the frail, the woman who does not want a sling, the man after prostatectomy with mild leakage.
- Better in about two thirds, dry in fewer, repeats likely; a sling or a sphincter still possible afterwards.
- 02
The agents and the consent
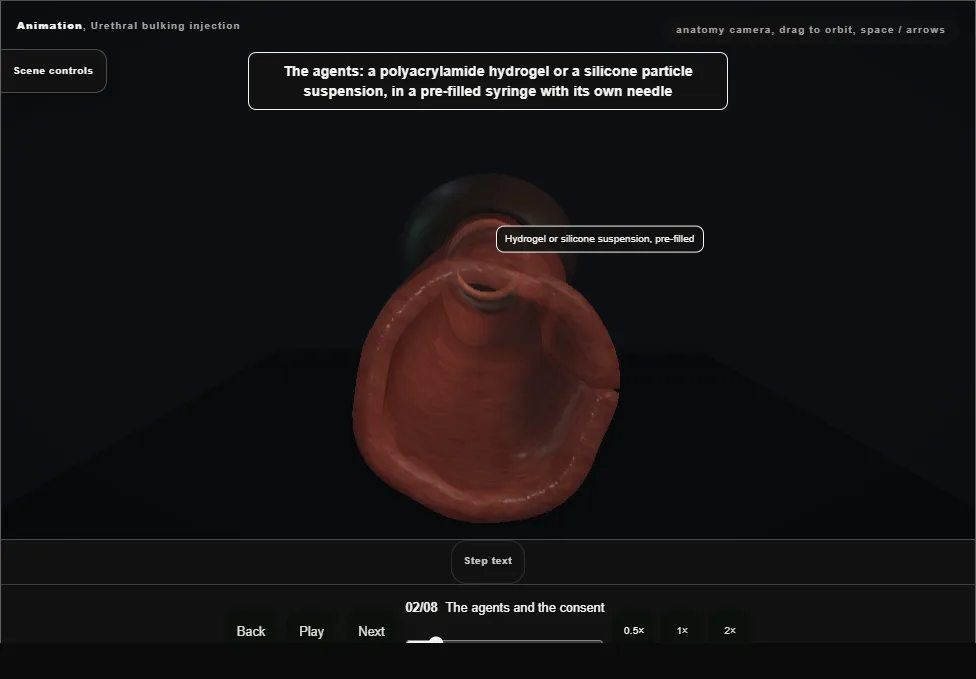
- A polyacrylamide hydrogel or a silicone particle suspension in a pre-filled syringe.
- Consent for retention, infection, haematuria, extrusion, pain, and the treatment that does not work.
- 03
Cystoscopy
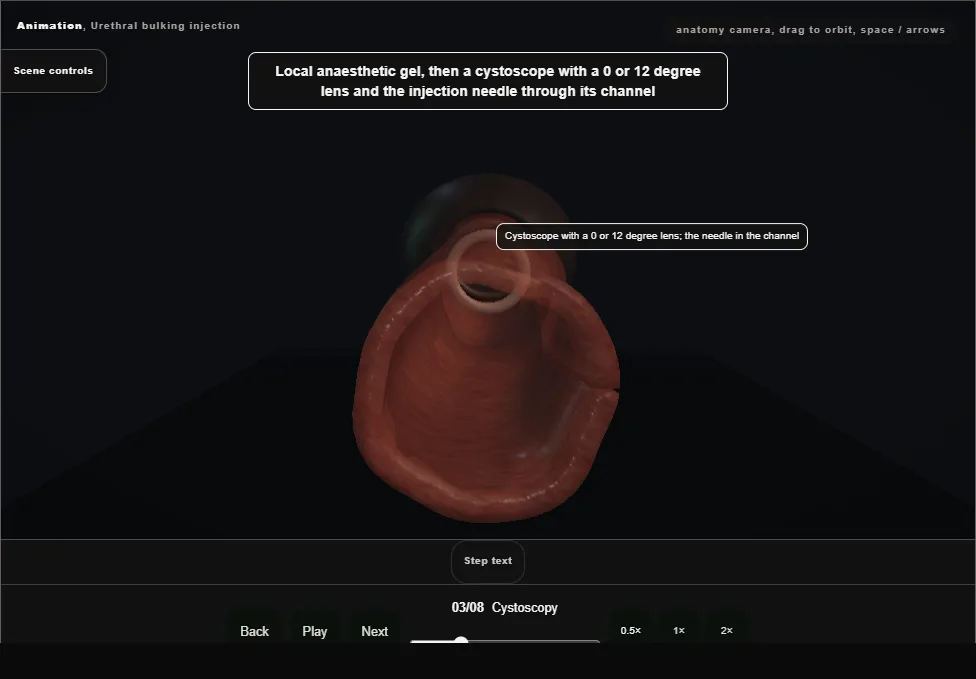
- Local anaesthetic gel, a cystoscope with a 0 or 12 degree lens and the injection needle through its channel.
- The neck found and the level chosen: a centimetre distal, where the wall is thickest.
- 04
Transurethral injection
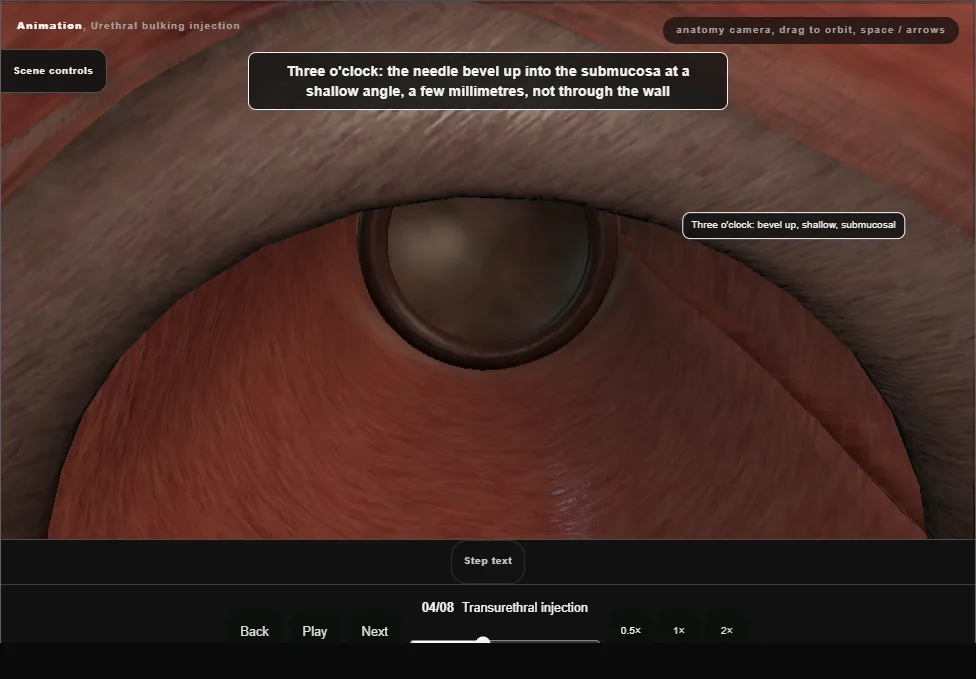
- The needle into the submucosa at three o'clock at a shallow angle, a few millimetres and not through the wall; then nine.
- In a woman often four and eight; in a man just distal to the anastomosis.
- 05
Slowly, watching
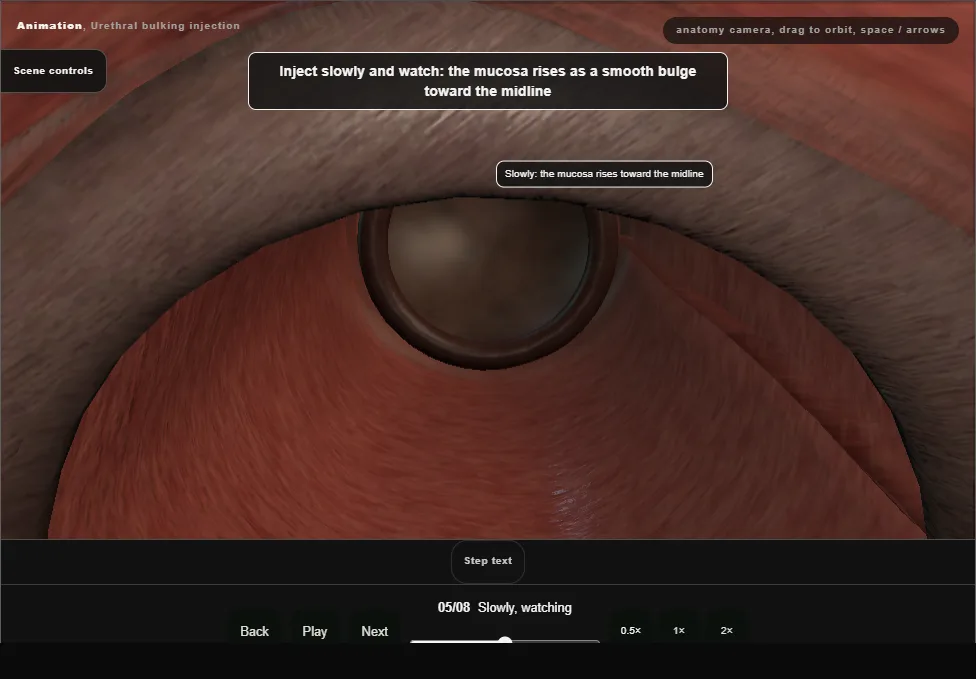
- The mucosa rises as a smooth bulge toward the midline; the other side the same, the bulges meeting, a third site if a gap remains.
- 06
The endpoint
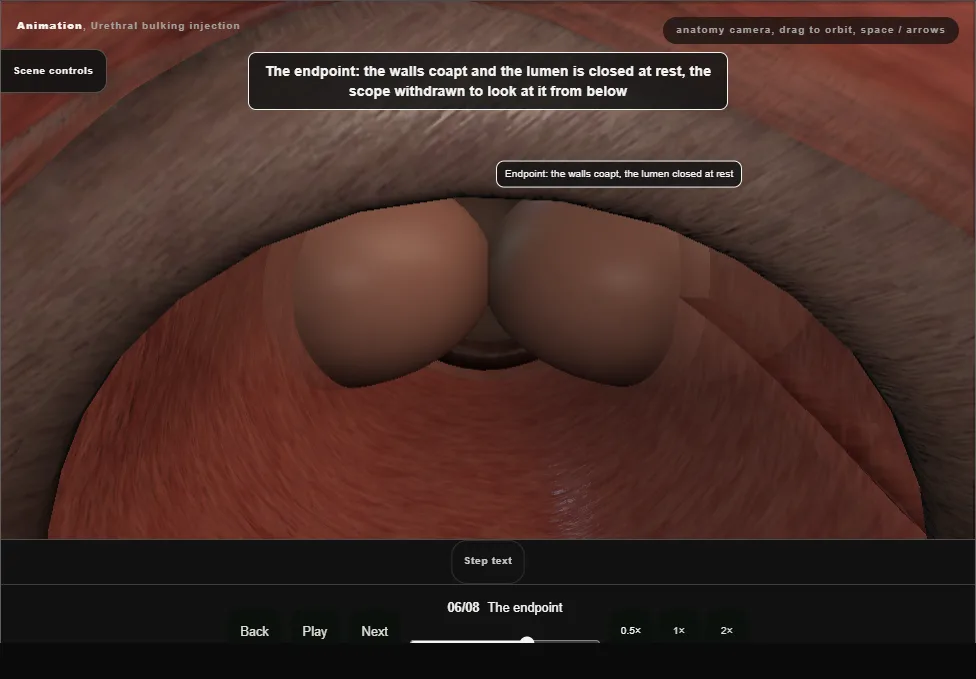
- The walls coapt and the lumen is closed at rest, seen from below.
- Not more: a lumen that will not open is retention.
- 07
The periurethral alternative and the check
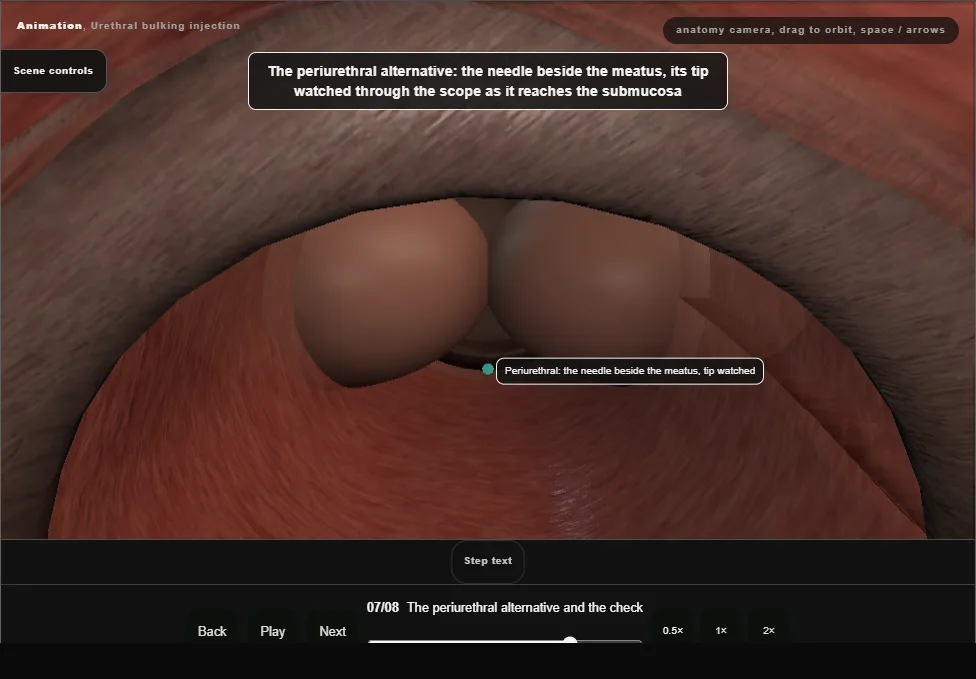
- The needle beside the meatus with its tip watched through the scope as it reaches the submucosa.
- Then the check: no material in the lumen, no bleeding, the bladder emptied.
- 08
After
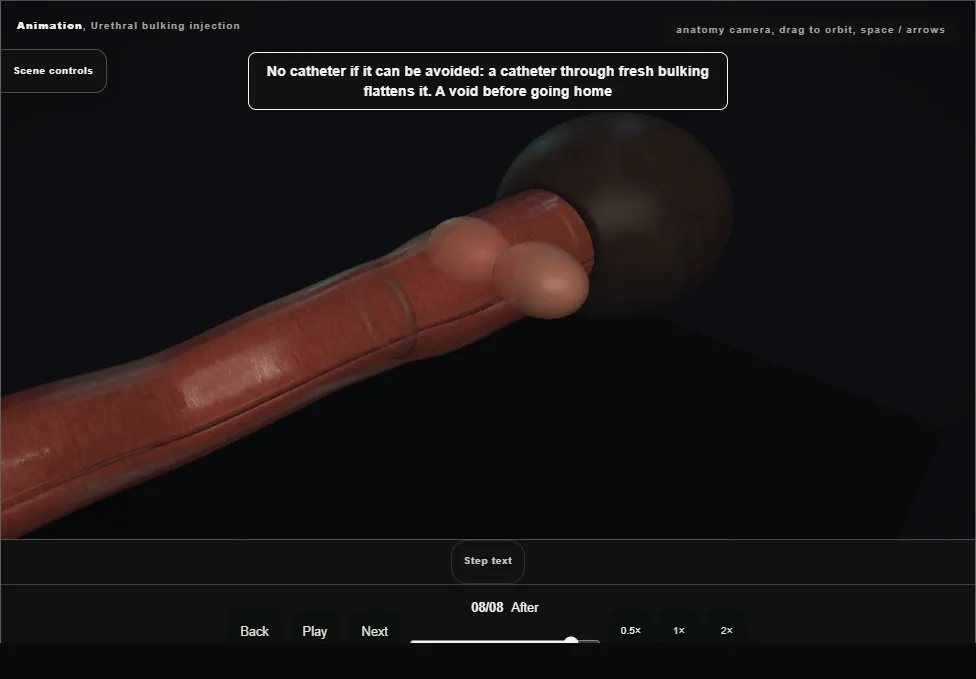
- No catheter if it can be avoided, because a catheter flattens fresh bulking; a void before home.
- Retention gets a small catheter or intermittent catheterisation.
- Repeat at three months; after three injections, something else.
Derived from endoscopy/UrethralBulkingScene.tsx at build time: every step title and caption above is the authored
ProcedureDef text, reproduced verbatim, and this page shares its readable-points renderer with the animation
itself. 8 of 8 steps have a captured frame.
Text fingerprint ba1e4662cec2dd44. A caption edit without a re-capture fails the production
check, so the sheet and the animation cannot drift apart silently.