
Revision sheet
Vasectomy: no-scalpel access
8 steps, each one the authored title and caption from the interactive animation, with the frame captured from that step. Read it before the case, or print it and work through the steps in order.
Teaching only, not for diagnosis or treatment decisions. The text on this sheet is the animation's own step copy, reproduced verbatim.
UrOops3D · UroRef · © Nity G
- 01
Consent, palpation, local anaesthetic
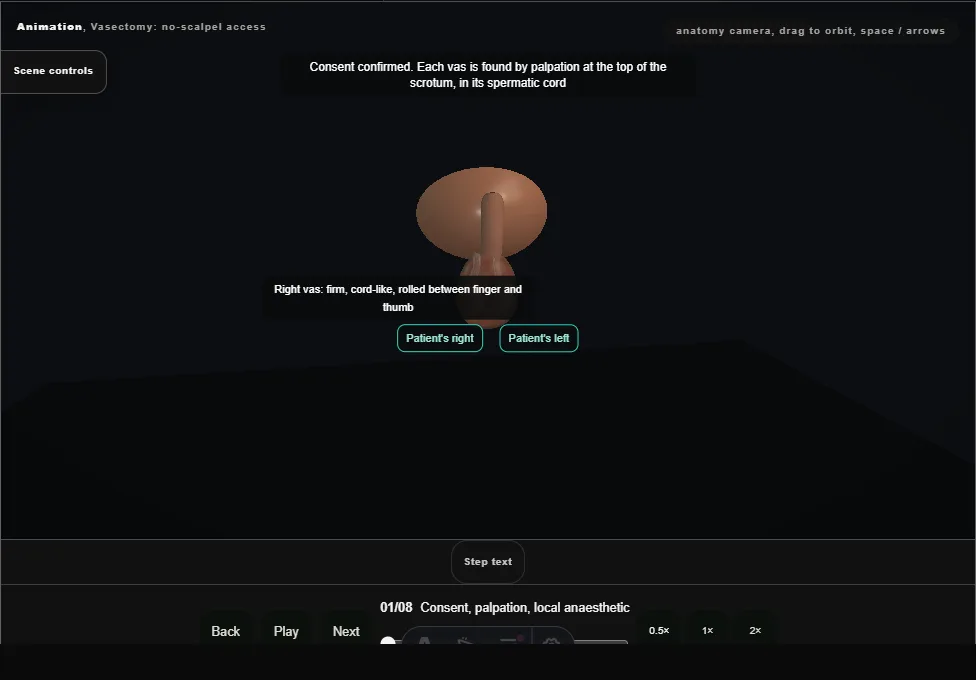
- Consent and the contraceptive plan are confirmed.
- Both vasa are palpated at the top of the scrotum, each rolled between finger and thumb, and local anaesthetic is infiltrated round each one.
- 02
Three-finger hold and ring clamp
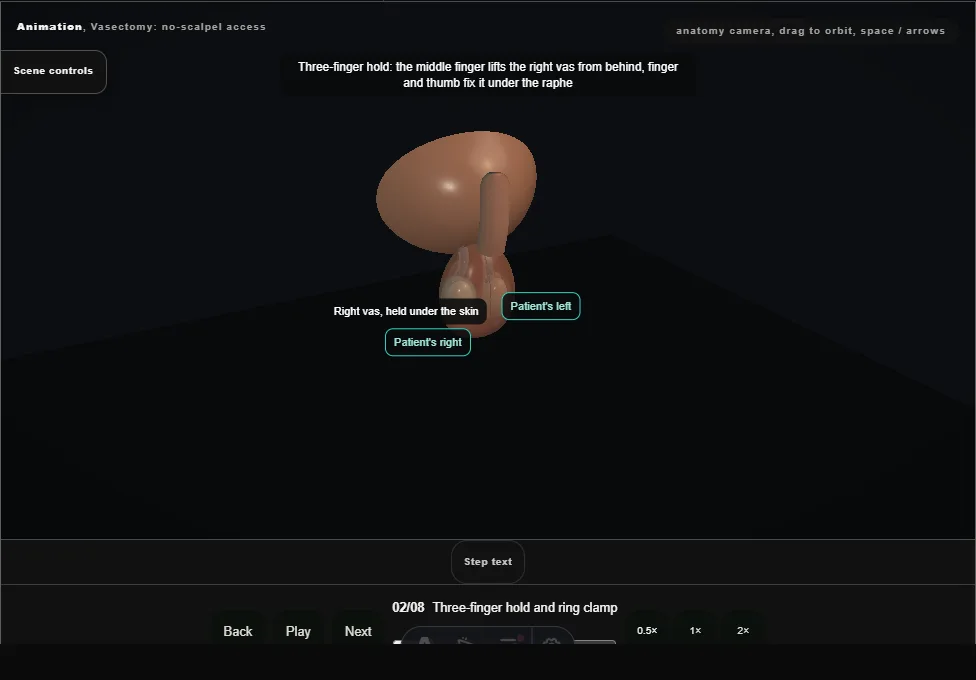
- The right vas is lifted from behind by the middle finger and fixed under the median raphe by finger and thumb.
- The ring-tipped fixation clamp is closed round it through the skin.
- 03
Puncture
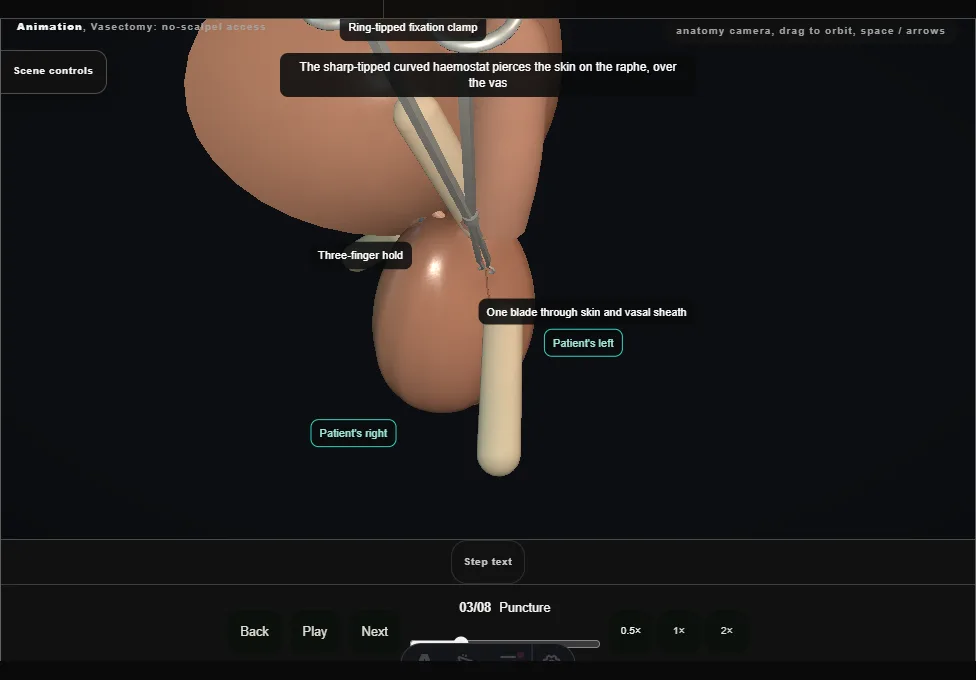
- The sharp-tipped curved haemostat pierces the skin on the raphe over the vas.
- Its tips are spread to open a small hole down to the vas.
- No scalpel is used.
- 04
Delivery and isolation
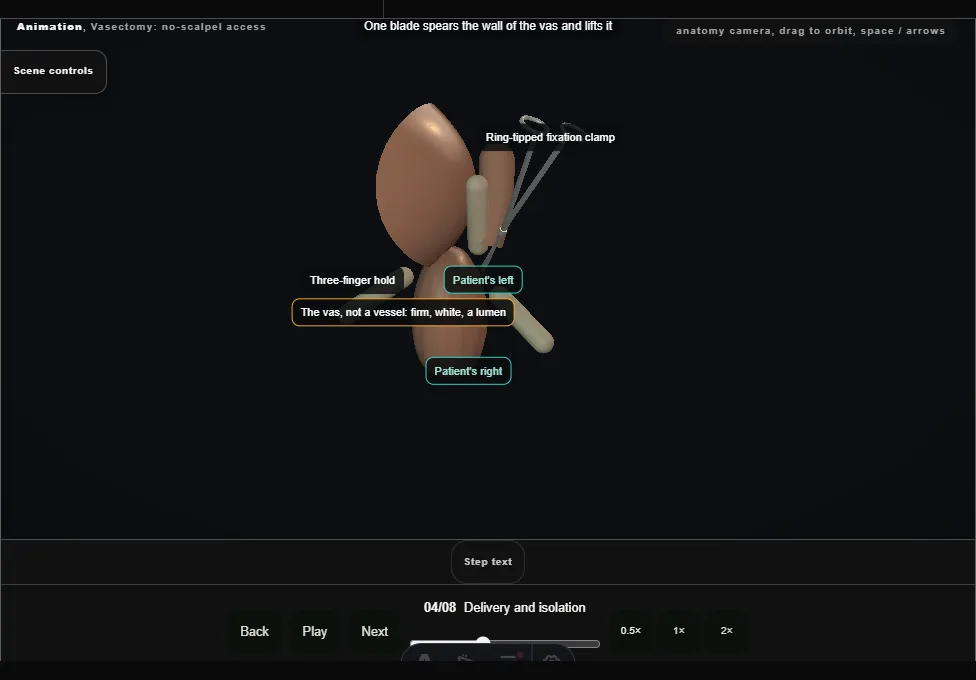
- One blade spears the wall of the vas and a loop is delivered through the opening.
- The clamp takes the loop.
- The sheath is opened and stripped back so that a segment of bare vas is isolated.
- 05
Clip, divide, cauterise
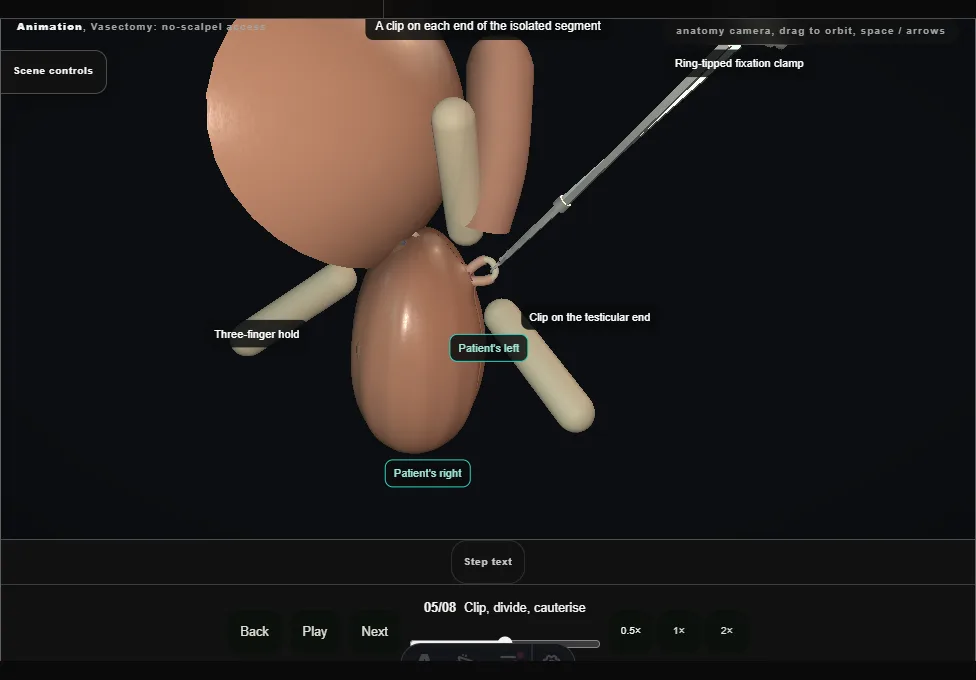
- A clip on each end of the segment, and the segment between them divided out and sent for pathology.
- Both cut ends and their lumens are cauterised.
- 06
Sheath over one end, return
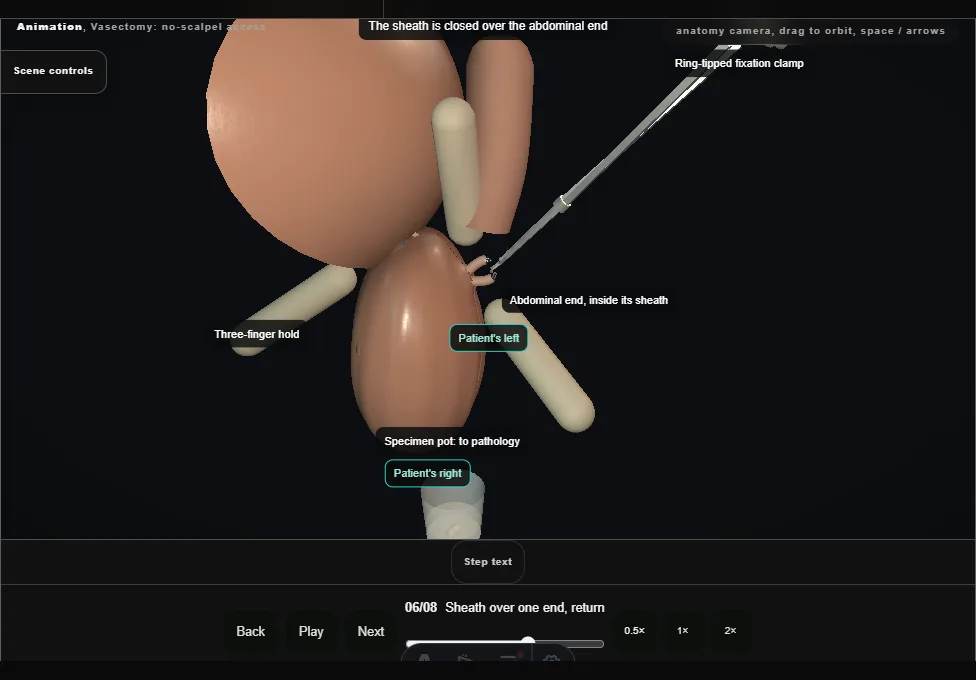
- The sheath is closed over the abdominal end, so that the testicular end lies outside it.
- The ends drop back into the scrotum; nothing is bleeding.
- 07
The other side
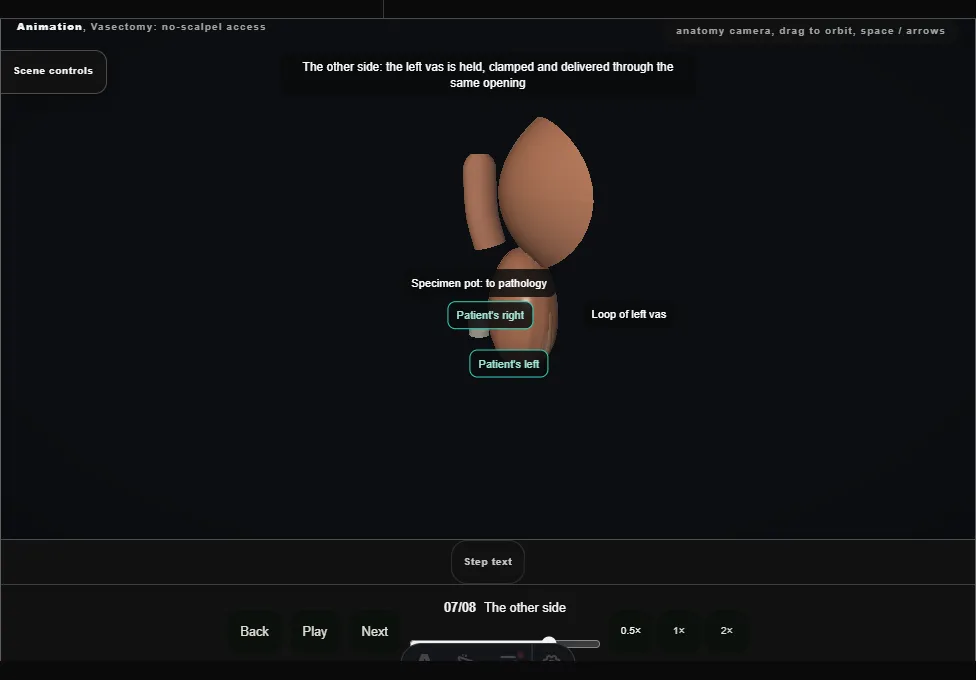
- The left vas is held, clamped and delivered through the same opening, and divided and occluded in the same way.
- The second segment goes to the pot.
- 08
Haemostasis, closure, advice
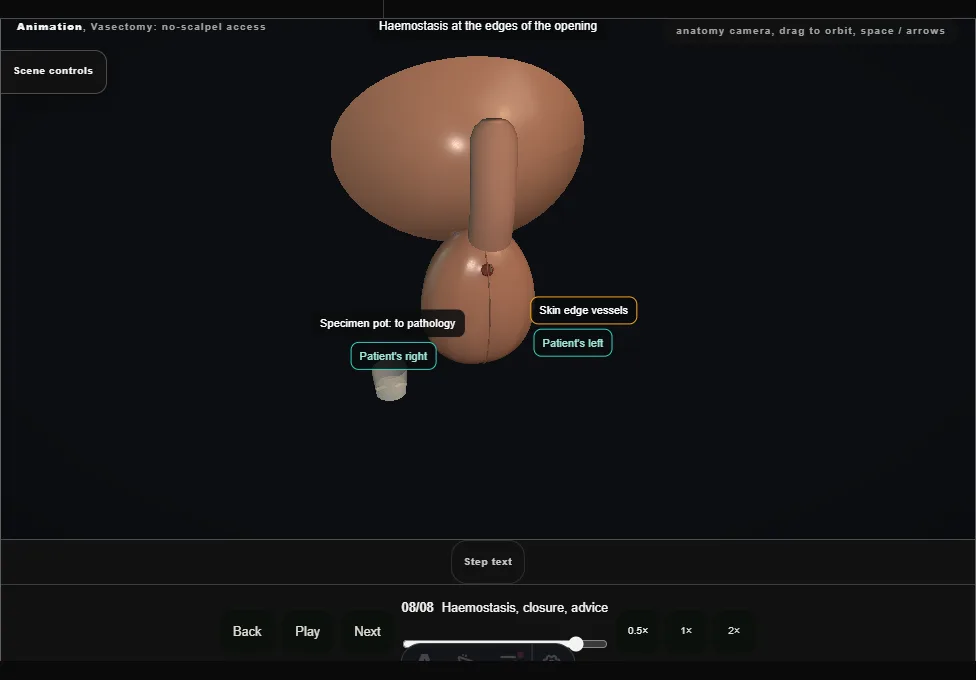
- Haemostasis at the opening, one absorbable stitch to the skin, a dressing and a support.
- He is not yet sterile: contraception continues until semen analysis shows clearance.
Derived from scrotal/VasectomyScene.tsx at build time: every step title and caption above is the authored
ProcedureDef text, reproduced verbatim, and this page shares its readable-points renderer with the animation
itself. 8 of 8 steps have a captured frame.
Text fingerprint c2b6961d4fe98d8e. A caption edit without a re-capture fails the production
check, so the sheet and the animation cannot drift apart silently.