
Revision sheet
Robotic vesicovaginal fistula repair
8 steps, each one the authored title and caption from the interactive animation, with the frame captured from that step. Read it before the case, or print it and work through the steps in order.
Teaching only, not for diagnosis or treatment decisions. The text on this sheet is the animation's own step copy, reproduced verbatim.
UrOops3D · UroRef · © Nity G
- 01
Cystoscopy and catheters
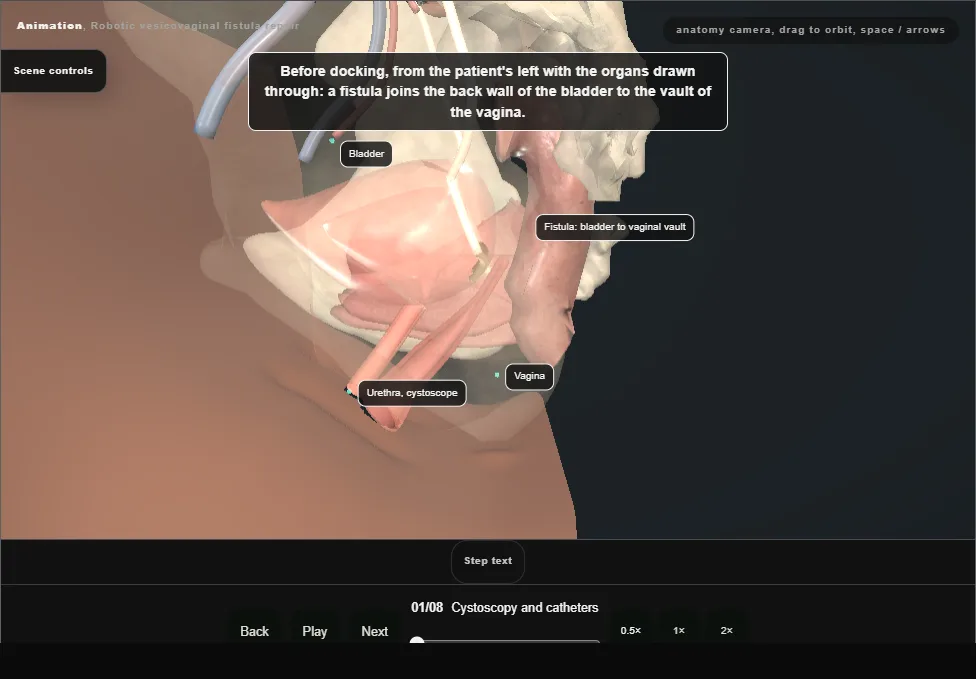
- Lithotomy.
- Cystoscopy first: both ureteric orifices are seen and an open-ended catheter is passed over a wire up each ureter.
- The fistula is found and intubated with a fine catheter, which is brought out through the vagina.
- A urethral catheter drains the bladder and the ureteric catheters are secured to it.
- 02
Ports and docking
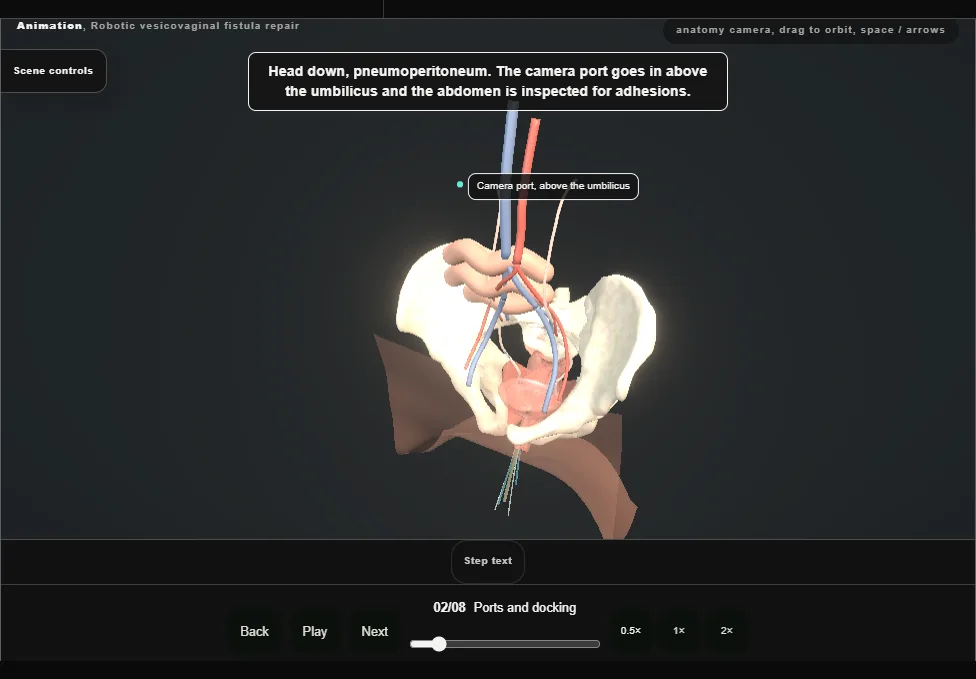
- Head down.
- Pneumoperitoneum, then the camera port above the umbilicus and a look round the abdomen for adhesions and landmarks.
- A robotic port at each rectus margin a little below the camera, a third medial to one anterior superior iliac spine, and two ports for the assistant.
- The robot is docked.
- 03
Vesicovaginal plane
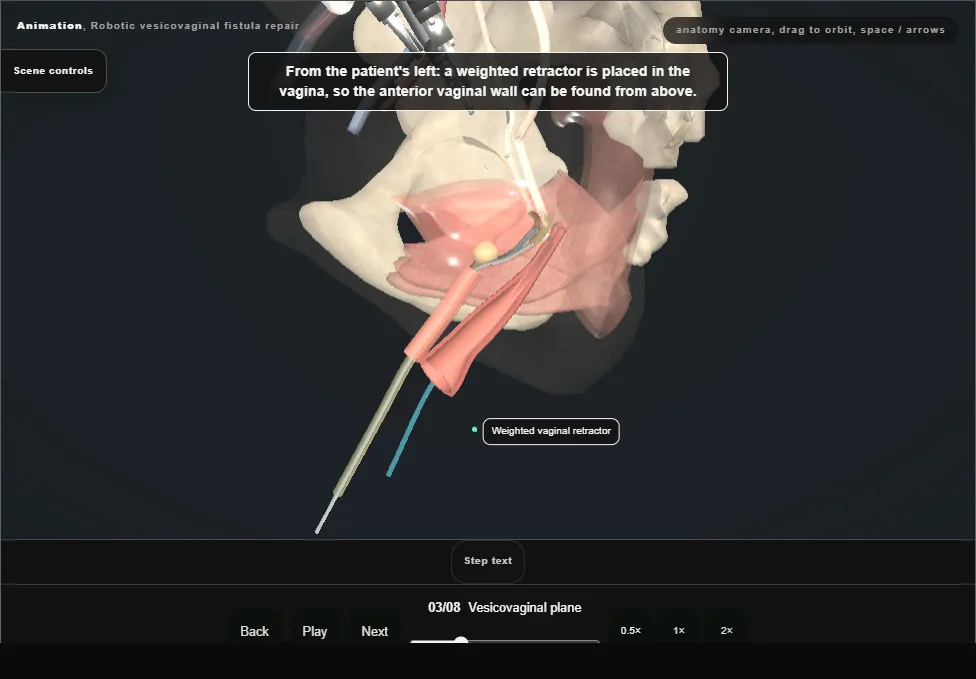
- The peritoneum over the vesicovaginal space is incised sharply, with a weighted retractor in the vagina to show the anterior vaginal wall.
- The bladder is dissected off it until the catheter is seen crossing the tract, then all round the tract until it is separate from the vagina.
- The ureters are kept out of the dissection.
- 04
Excise the fistula
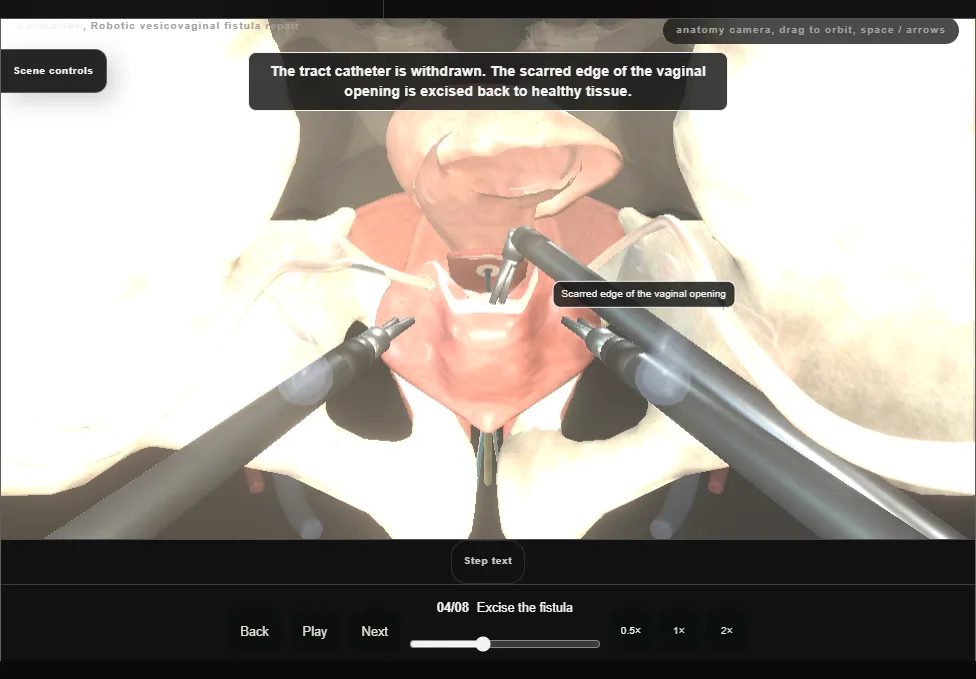
- The fistula is widely excised to healthy margins of bladder and vagina and the tissue is sent for histology.
- Two separate openings are left: one in the back wall of the bladder, one in the anterior vaginal wall.
- 05
Close the vagina
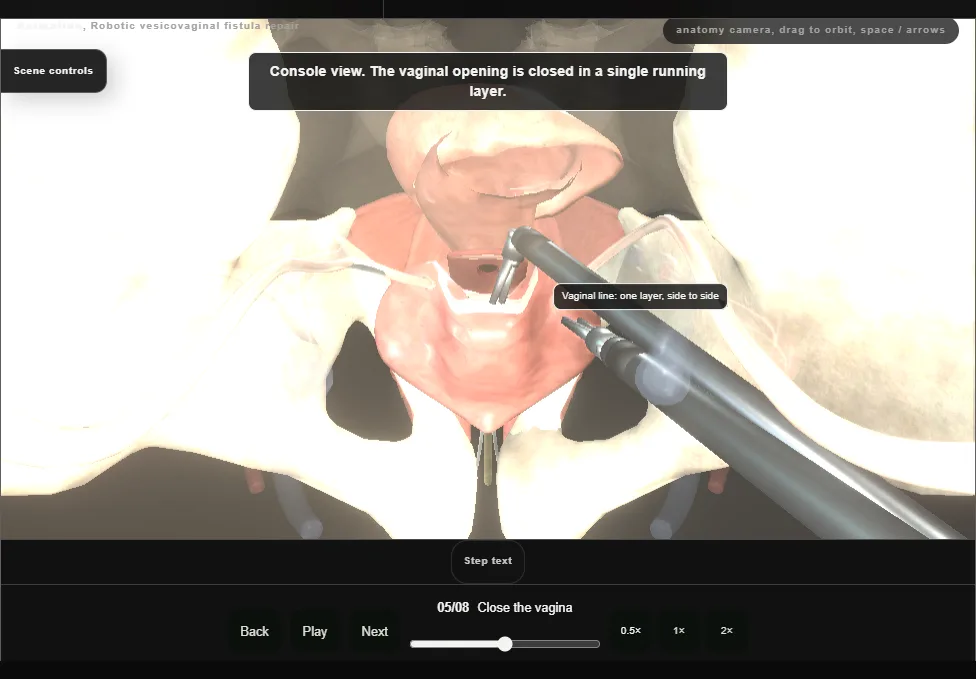
- The vaginal defect is closed in a single running layer of absorbable suture.
- 06
Close the bladder
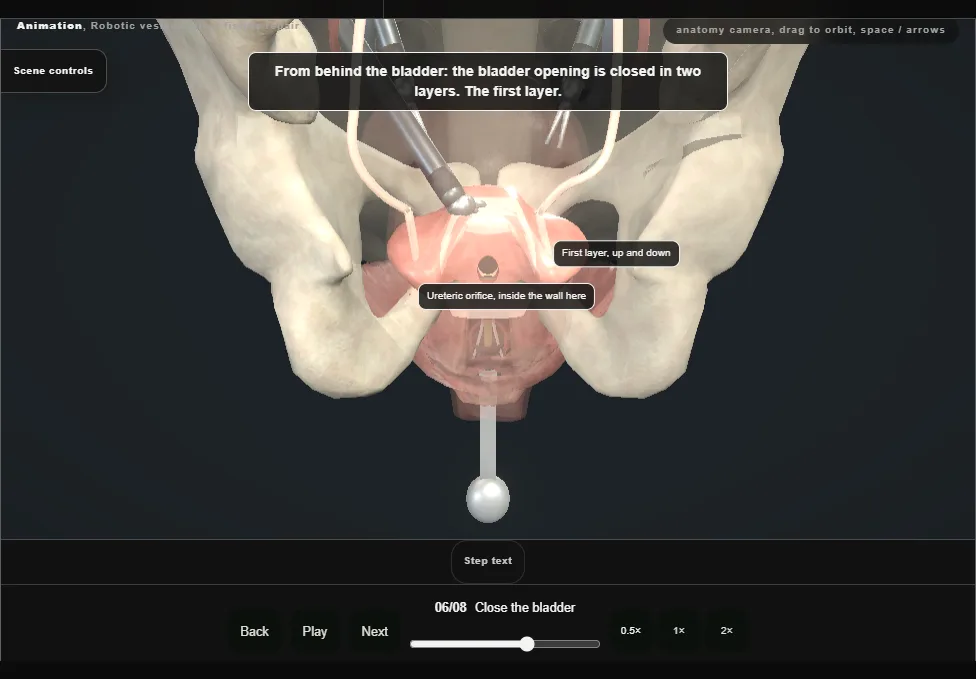
- The bladder defect is closed in two layers of absorbable suture.
- The ureteric catheters mark each orifice while the bites are placed.
- 07
Leak test
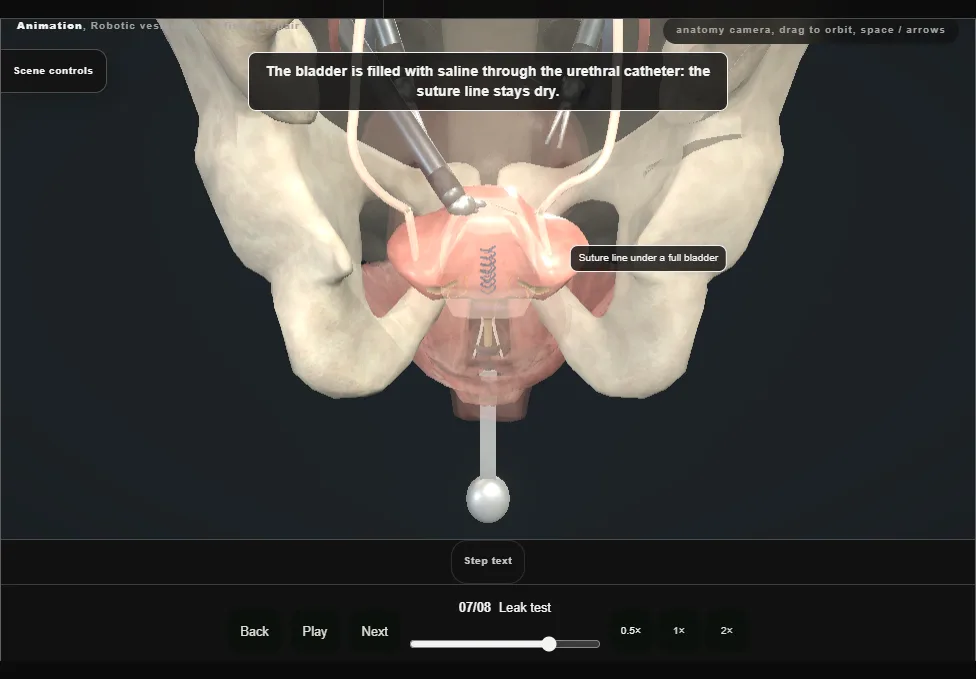
- With a urethral catheter in the bladder, the bladder is irrigated with saline to confirm a watertight closure.
- The field is inspected for bleeding and injury, and again with the insufflation pressure reduced.
- 08
Interpose and finish
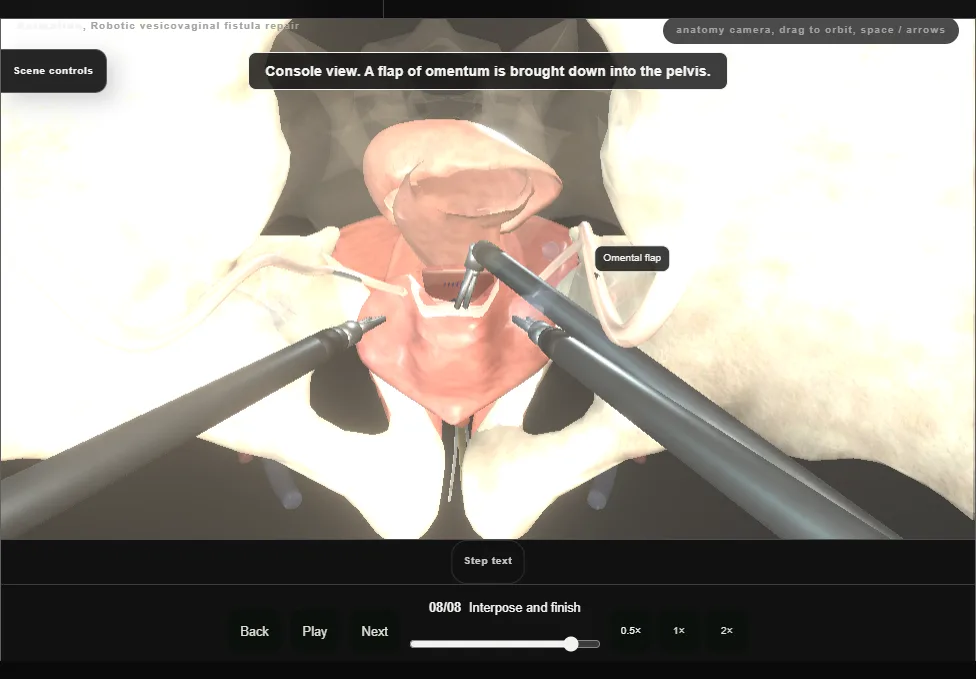
- A flap of omentum is interposed between the bladder and vaginal suture lines and anchored to the vagina over the repair.
- A drain is placed in the pelvis through a port.
- The robot is undocked, and the ports and the vaginal retractor are withdrawn under vision.
Derived from female/VvfRoboticScene.tsx at build time: every step title and caption above is the authored
ProcedureDef text, reproduced verbatim, and this page shares its readable-points renderer with the animation
itself. 8 of 8 steps have a captured frame.
Text fingerprint aa576e0a2b12930c. A caption edit without a re-capture fails the production
check, so the sheet and the animation cannot drift apart silently.