
Revision sheet
Vesicovaginal fistula repair, transvaginal
8 steps, each one the authored title and caption from the interactive animation, with the frame captured from that step. Read it before the case, or print it and work through the steps in order.
Teaching only, not for diagnosis or treatment decisions. The text on this sheet is the animation's own step copy, reproduced verbatim.
UrOops3D · UroRef · © Nity G
- 01
Cystoscopy
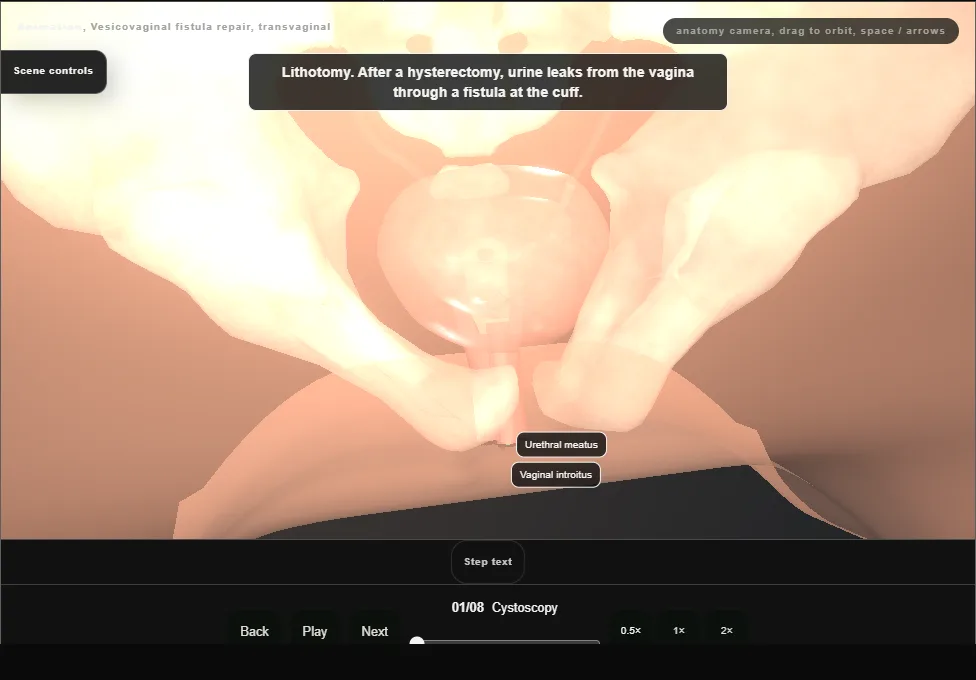
- Cystoscopy comes first.
- It finds the fistula from inside the bladder and places it against the trigone and the two ureteric orifices.
- Both orifices are seen in their normal position, each with clear efflux.
- 02
Exposure and the catheter through the fistula
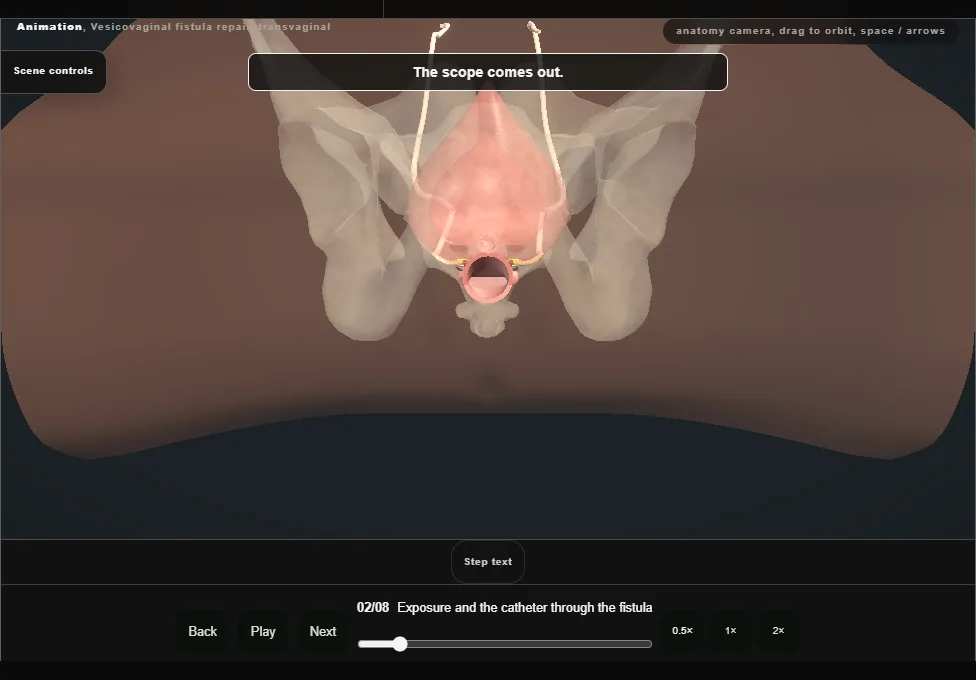
- A urethral catheter empties the bladder.
- A weighted speculum and a self-retaining retractor open the vagina and the anterior epithelium is infiltrated.
- The fistula, at the vault, is intubated from the vagina with a small balloon catheter.
- 03
The inverted U and the flaps
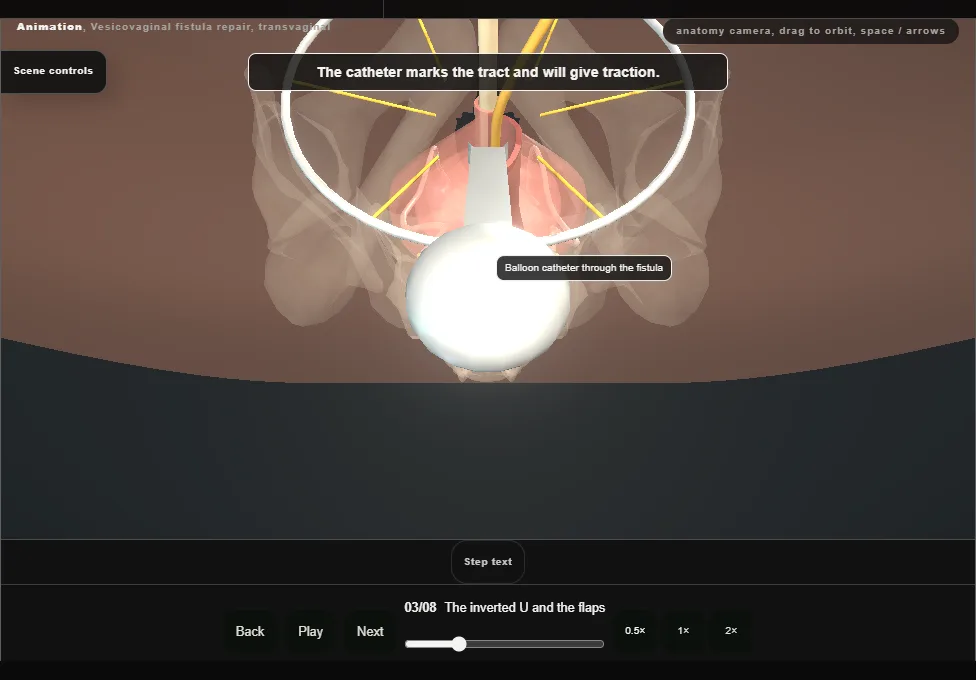
- The epithelium round the fistula is incised circumferentially.
- An inverted-U incision has its apex on that incision and its base at the bladder neck.
- The vaginal wall is dissected off the perivesical fascia, making flaps anterior and posterior to the fistula.
- 04
The tract, down to the detrusor
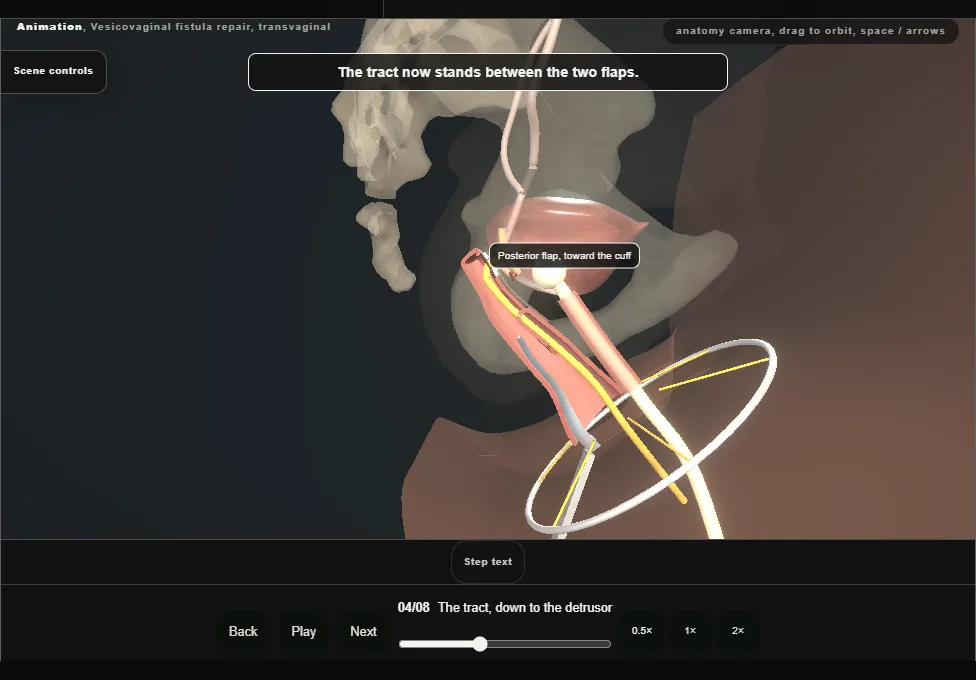
- With gentle traction on the catheter, the tract is dissected proximally to the level of the detrusor, until it is free all the way round.
- 05
Excision of the tract
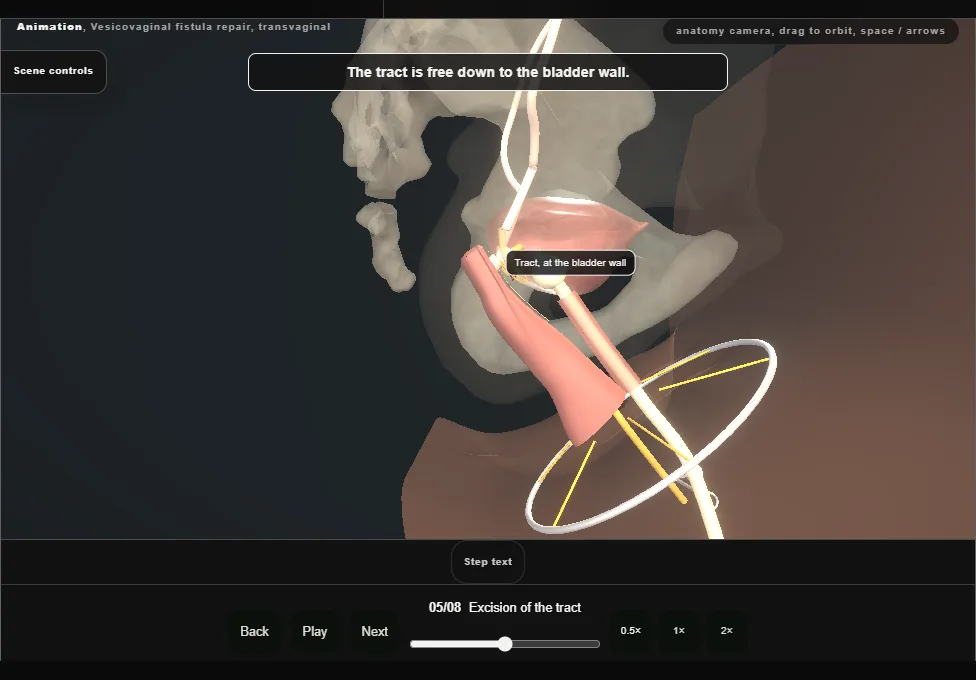
- The whole tract and the inflamed tissue round it are excised, and the catheter is removed.
- What is left is an opening with healthy edges in the bladder wall.
- 06
Two opposing layers
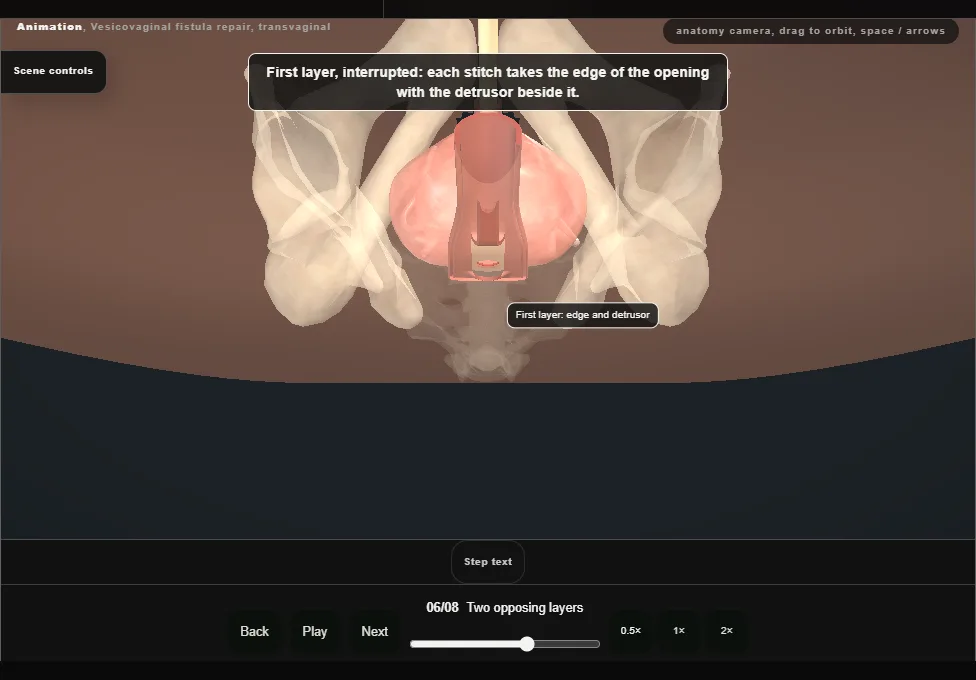
- The fistula is closed in two opposing layers of interrupted absorbable stitches.
- The deep layer takes the edges of the opening with the adjacent detrusor; the superficial layer imbricates the perivesical fascia over it.
- Opposing them limits overlap of the suture lines.
- 07
Second cystoscopy and the dye fill
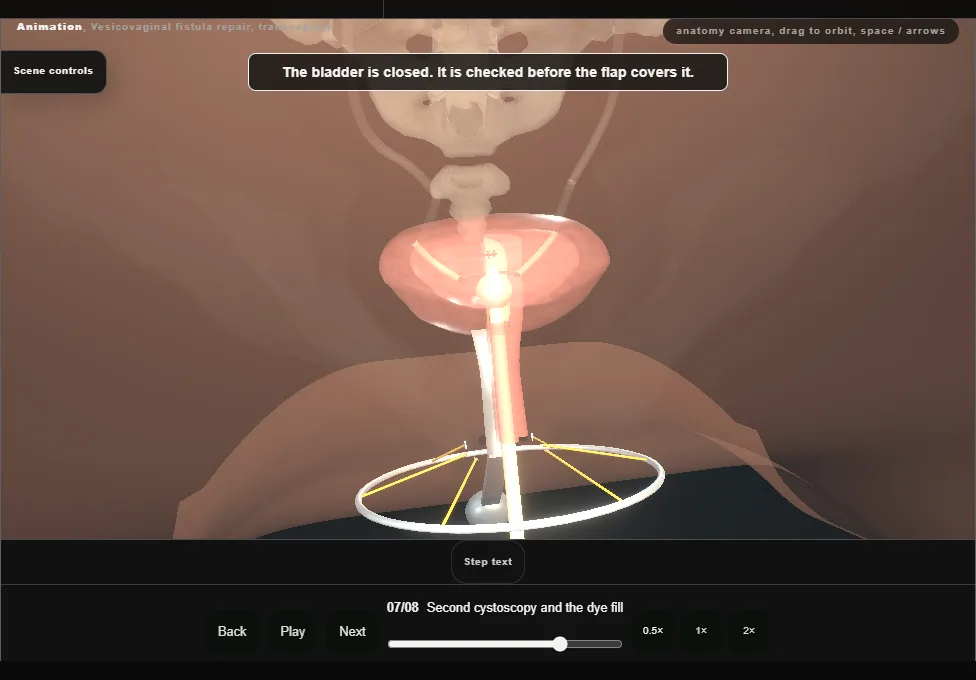
- The urethral catheter comes out for a second cystoscopy: proximal urethra and bladder intact, clear efflux from both orifices.
- The catheter is replaced and the bladder filled with dilute dye, which confirms a watertight closure.
- 08
The flap as a third layer
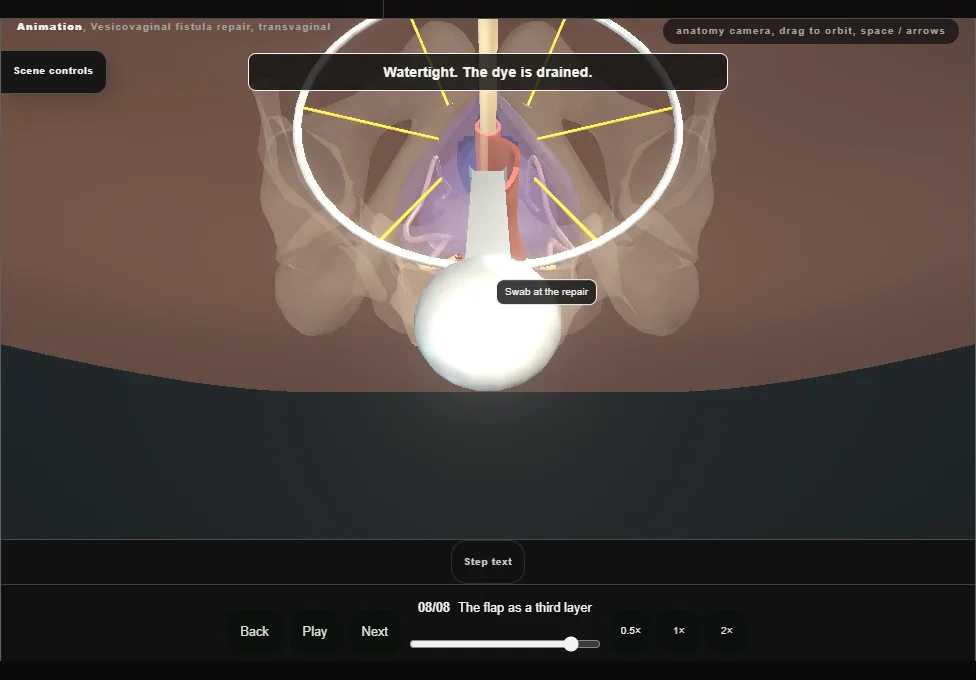
- The anterior vaginal flap is advanced over the two-layer repair and closed with a running locked stitch.
- The wound is irrigated, the retractor and speculum come out and the urethral catheter goes to a drainage bag.
Derived from female/VvfTransvaginalScene.tsx at build time: every step title and caption above is the authored
ProcedureDef text, reproduced verbatim, and this page shares its readable-points renderer with the animation
itself. 8 of 8 steps have a captured frame.
Text fingerprint 6aab4f8248564322. A caption edit without a re-capture fails the production
check, so the sheet and the animation cannot drift apart silently.