
Revision sheet
Artificial urinary sphincter: penoscrotal
10 steps, each one the authored title and caption from the interactive animation, with the frame captured from that step. Read it before the case, or print it and work through the steps in order.
Teaching only, not for diagnosis or treatment decisions. The text on this sheet is the animation's own step copy, reproduced verbatim.
UrOops3D · UroRef · © Nity G
- 01
Position and orientation
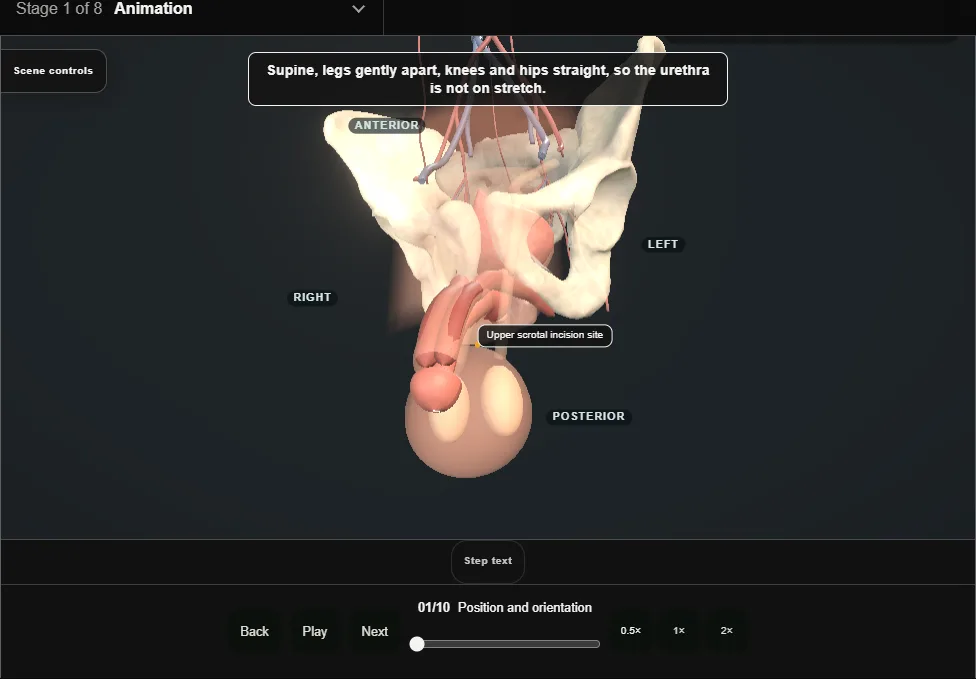
- Supine with the legs gently apart: the urethra is not on stretch.
- One incision reaches all three spaces.
- Before the knife: sterile urine, a urethra and bladder neck checked with cystoscopy, and a patient with the hands and understanding to work the pump.
- Supine, a small catheter in the urethra, and strict infection discipline: antibiotics, alcohol-based skin preparation, minimal theatre traffic and no device touching skin.
- Before the incision, pull the shaft straight up off the scrotum and hold it on the pubic region with a stay stitch through the glans.
- 02
Upper transverse scrotal incision
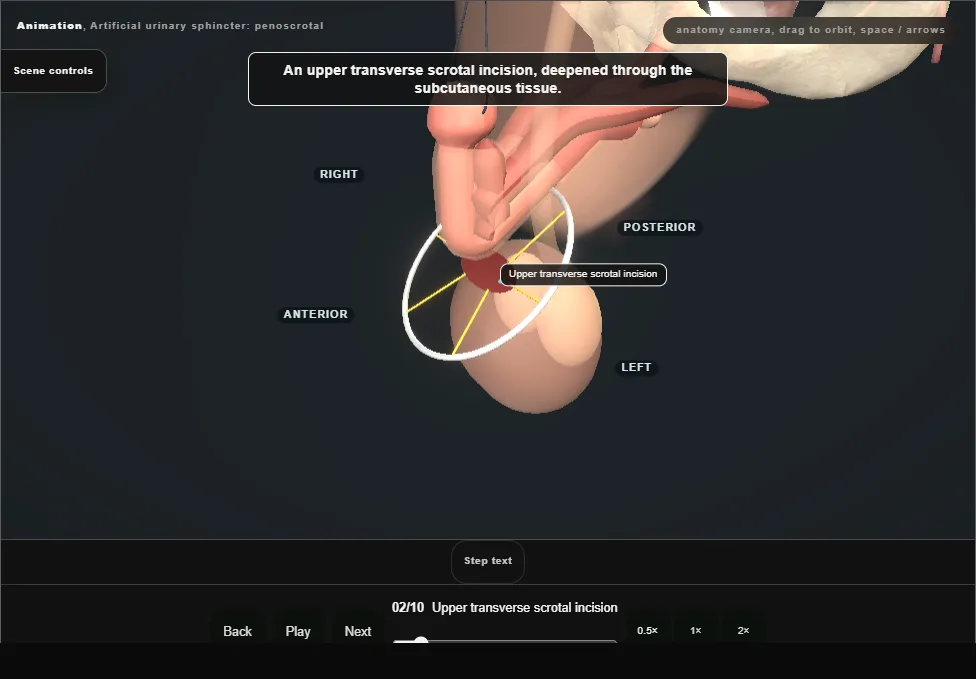
- Incise across the upper scrotum, move the wound up onto the penis and hold it with the ring retractor and hooks.
- 03
On to the corpora
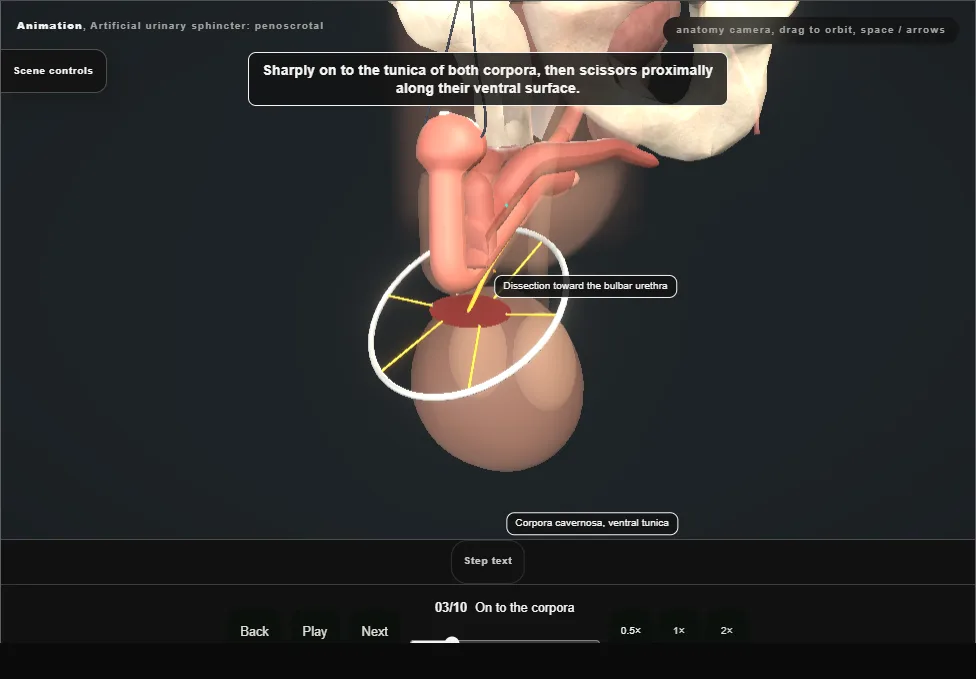
- Expose the tunica of both corpora and follow their ventral surface proximally to reach the bulbar urethra.
- 04
Free the bulbar urethra
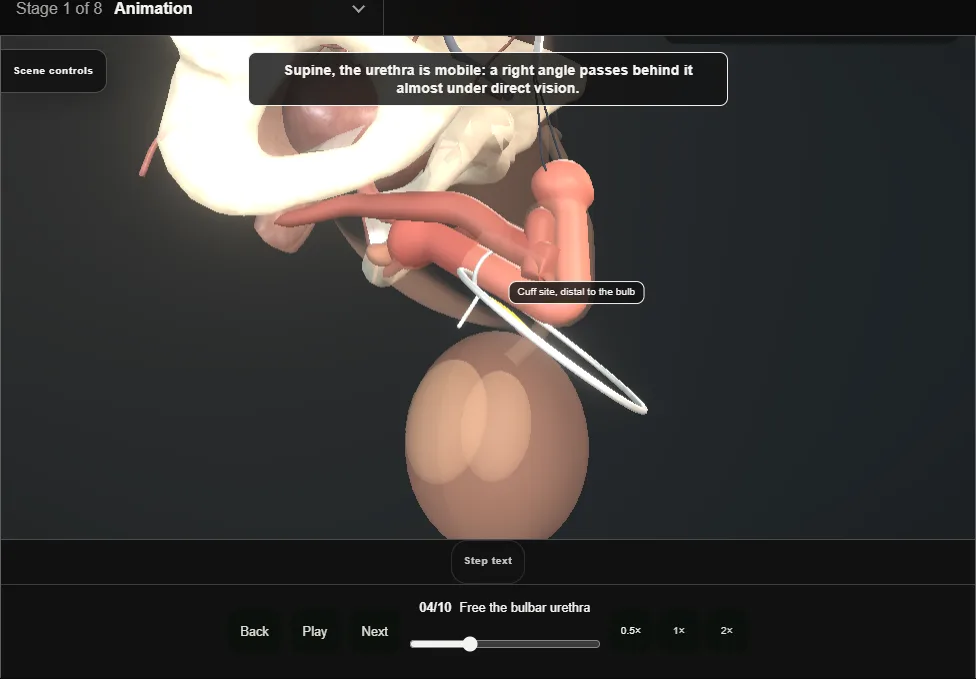
- Divide the webs of Buck’s fascia and pass a right angle behind the urethra; the cuff site lies distal to the bulb.
- The urethra is thinner here than on the bulb, so the cuff is usually smaller; stay on the urethra and off the corpora.
- A urethral injury here means no cuff today: repair it, catheterise, and implant another day.
- 05
Measure the urethra
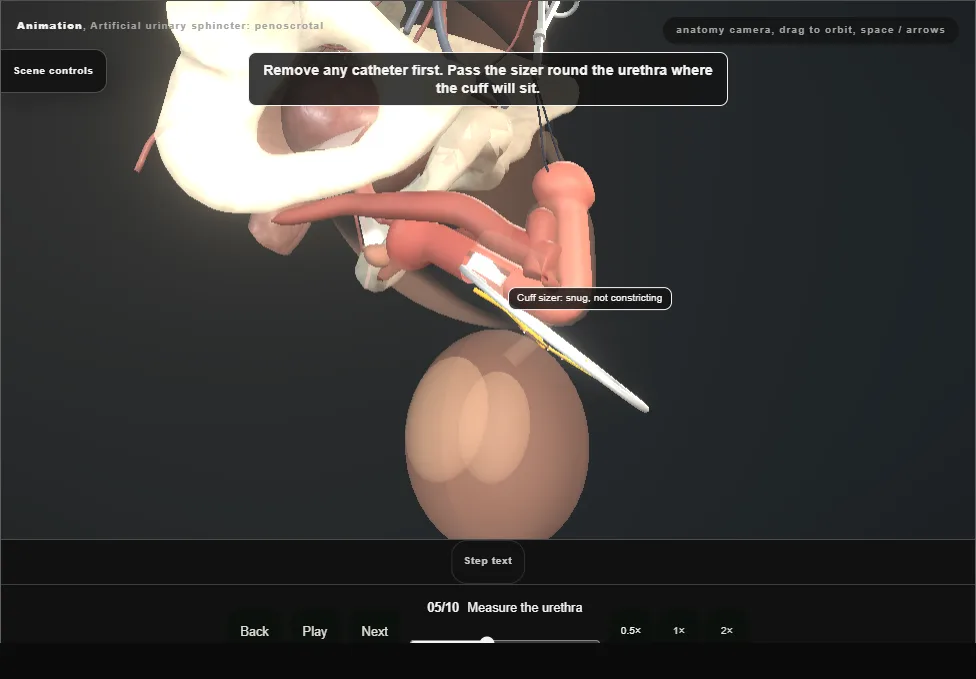
- Pass the cuff sizer round the urethra: snug without constricting.
- The reading chooses the cuff length.
- 06
Place and close the cuff
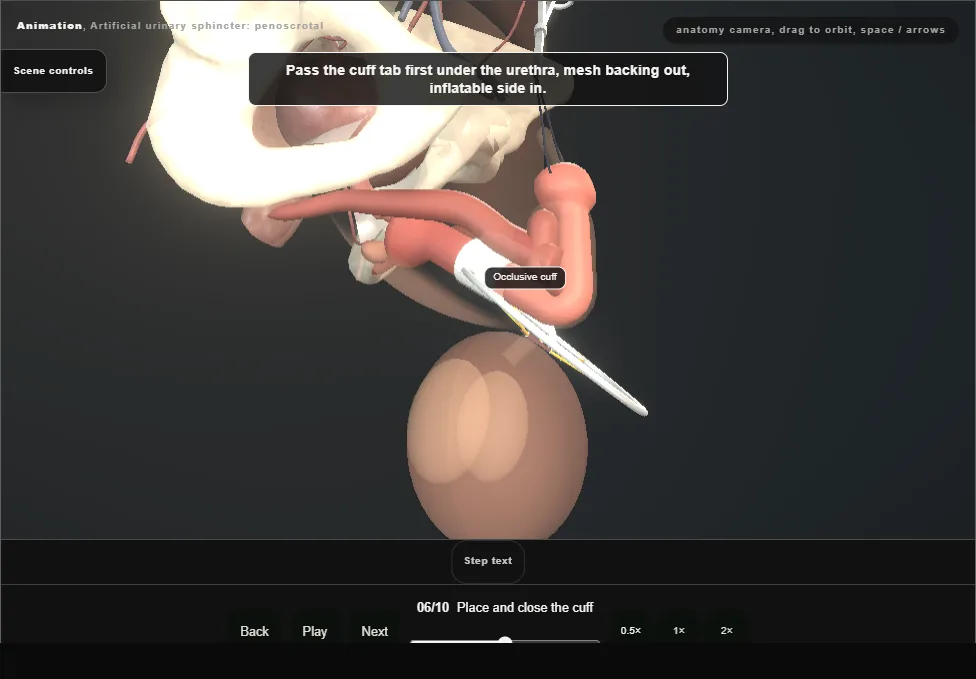
- Pass the cuff tab first, mesh backing outward, thread the tubing through the tab and close the tab over the adapter; the tubing leaves laterally, away from the urethra.
- 07
The balloon through the external ring
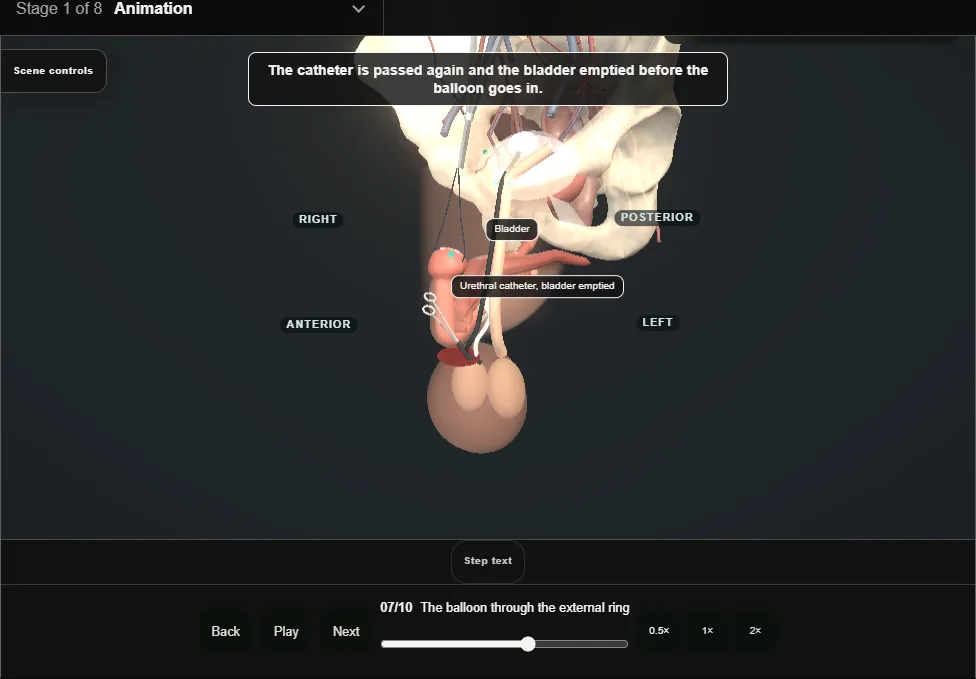
- The bladder is emptied through the catheter first.
- Through the same incision, along the cord and through the external ring and transversalis fascia into the retropubic space.
- Filled with saline; a 61-70 cmH2O balloon is the usual choice.
- A scarred or irradiated prevesical space is avoided: the balloon can sit high behind the abdominal muscles instead.
- Tubing is only ever held with rubber-shod clamps.
- 08
Seat the pump
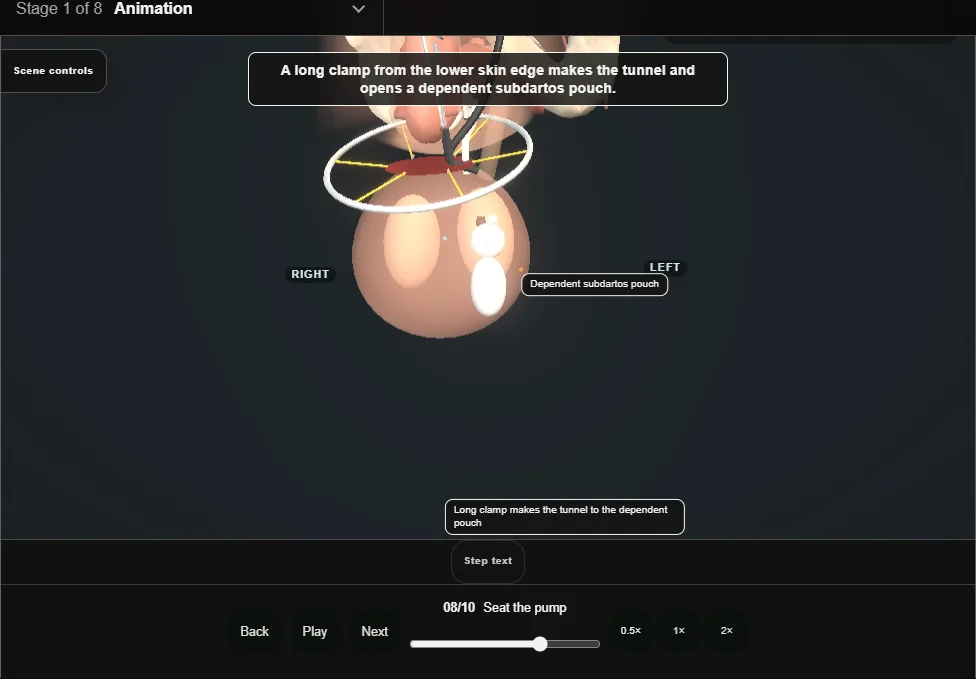
- Tunnel from the lower skin edge into a dependent subdartos pouch in front of the left testis; the deactivation button faces outward, where the patient can find it easily.
- 09
Route and connect
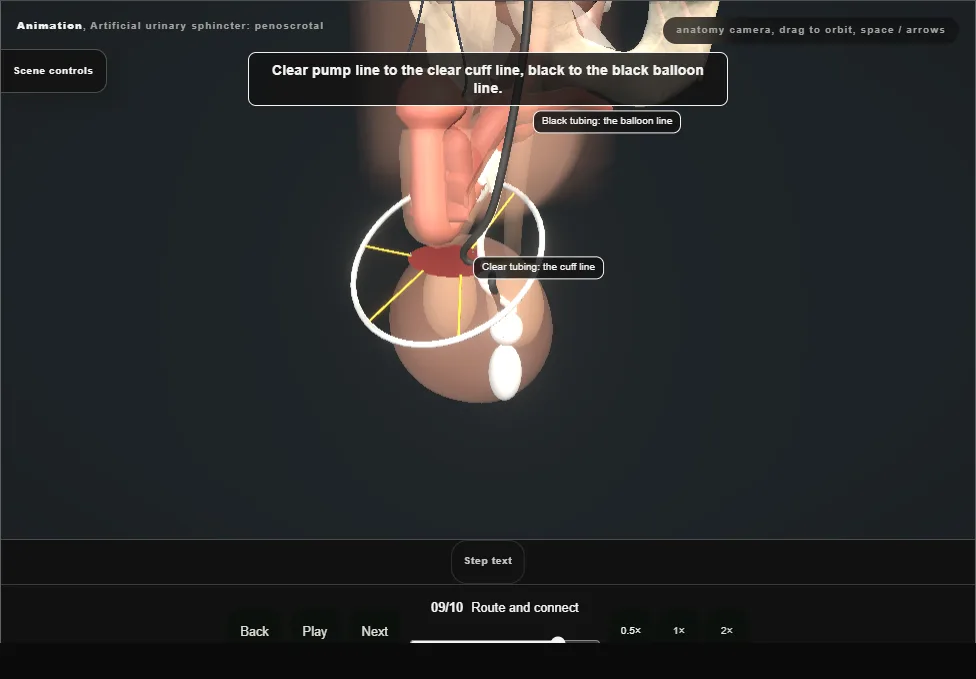
- Clear to clear, black to black, flushed clear of air and debris, cut to length without tension, joined where the tunnel conceals the connectors.
- 10
Deactivate and close
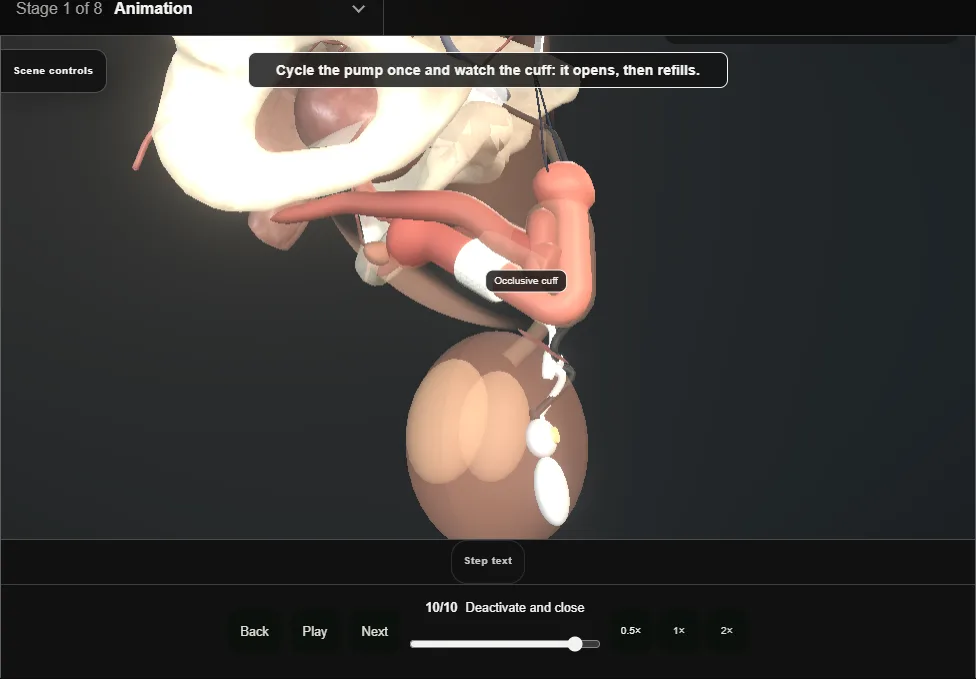
- Cycle the pump once and watch the cuff open and refill before deactivating.
- Empty the cuff, let the bulb partly refill and press the deactivation button.
- Close in layers over the device; a small catheter comes out the next day, and activation follows in clinic, usually around six weeks later, by local protocol.
- Any future catheter or cystoscopy only with the cuff deactivated: the patient carries a device card.
Derived from pelvis/AusPenoscrotalScene.tsx at build time: every step title and caption above is the authored
ProcedureDef text, reproduced verbatim, and this page shares its readable-points renderer with the animation
itself. 10 of 10 steps have a captured frame.
Text fingerprint 06e5637e64b95958. A caption edit without a re-capture fails the production
check, so the sheet and the animation cannot drift apart silently.