
Revision sheet
Renal autotransplantation
8 steps, each one the authored title and caption from the interactive animation, with the frame captured from that step. Read it before the case, or print it and work through the steps in order.
Teaching only, not for diagnosis or treatment decisions. The text on this sheet is the animation's own step copy, reproduced verbatim.
UrOops3D · UroRef · © Nity G
- 01
Who
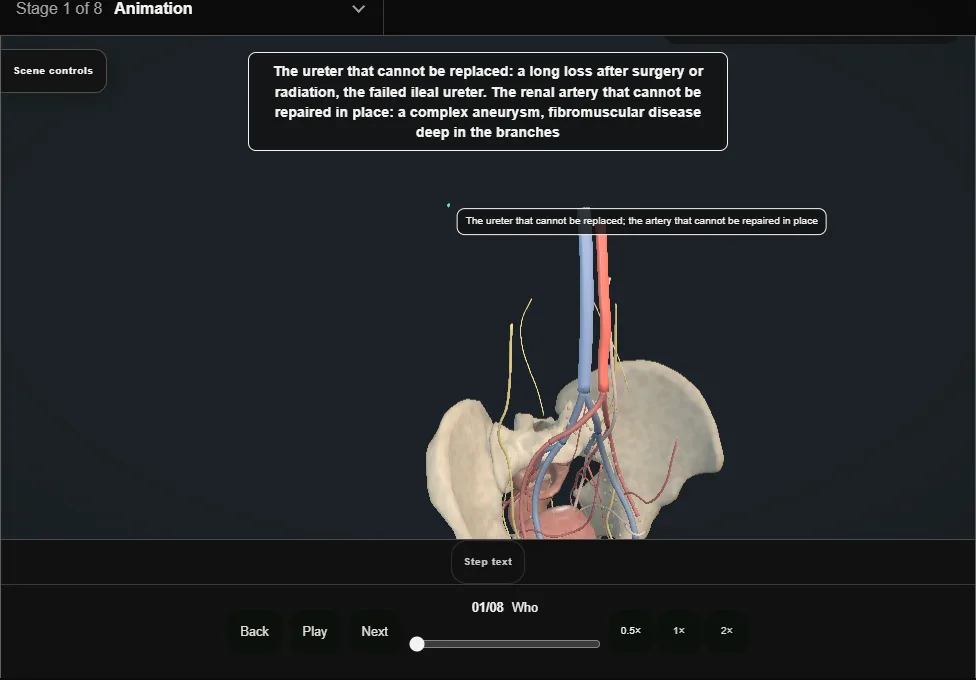
- The ureter that cannot be replaced: a long loss after surgery or radiation, a failed ileal ureter.
- The renal artery that cannot be repaired in place: a complex aneurysm, fibromuscular disease deep in the branches.
- Loin pain syndrome in a few.
- 02
Planning
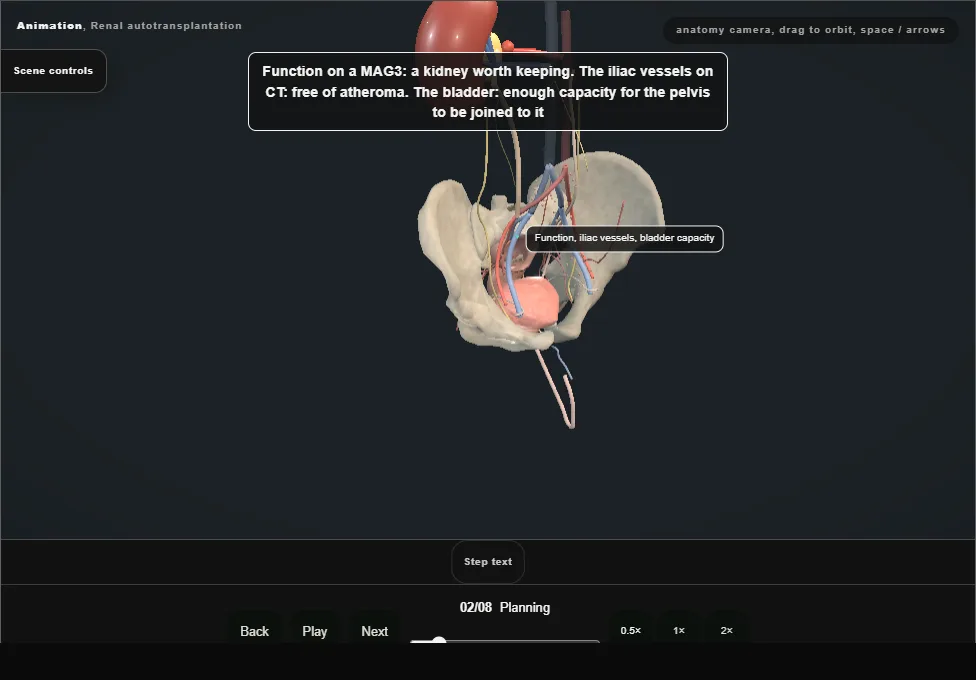
- Function on a MAG3, the iliac vessels on CT, the bladder's capacity.
- The operation is a living-donor nephrectomy and a transplant on the same patient, and each half is planned as if it were its own.
- 03
Nephrectomy with the vessels long
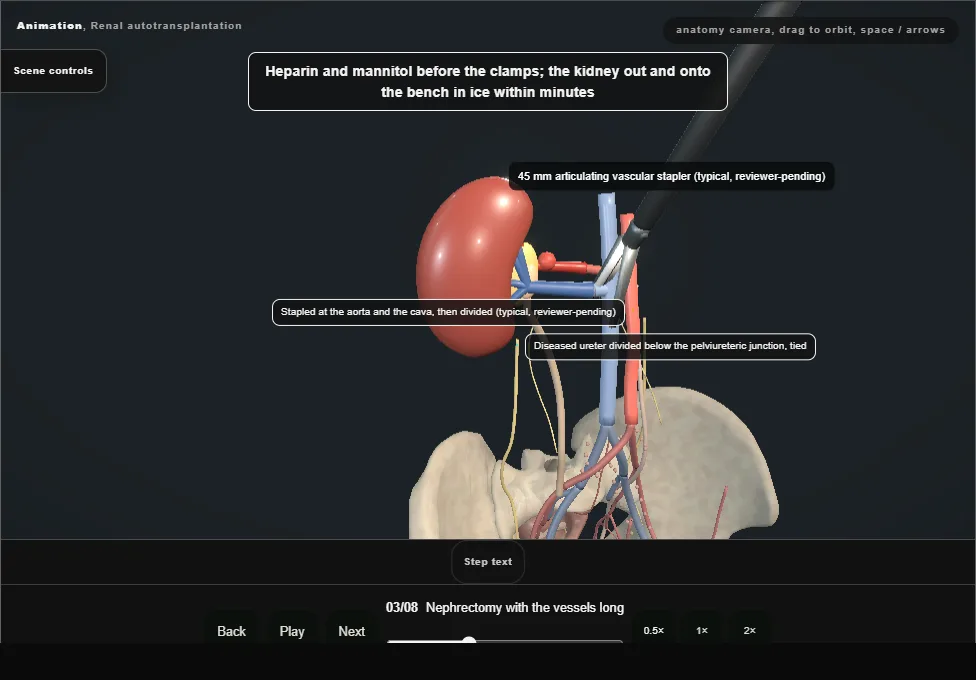
- Through the flank or laparoscopically, the artery taken to the aorta and the vein to the cava, the ureter or the pelvis with whatever is healthy.
- Heparin and mannitol before the clamps; out and onto the bench in ice within minutes.
- 04
The bench
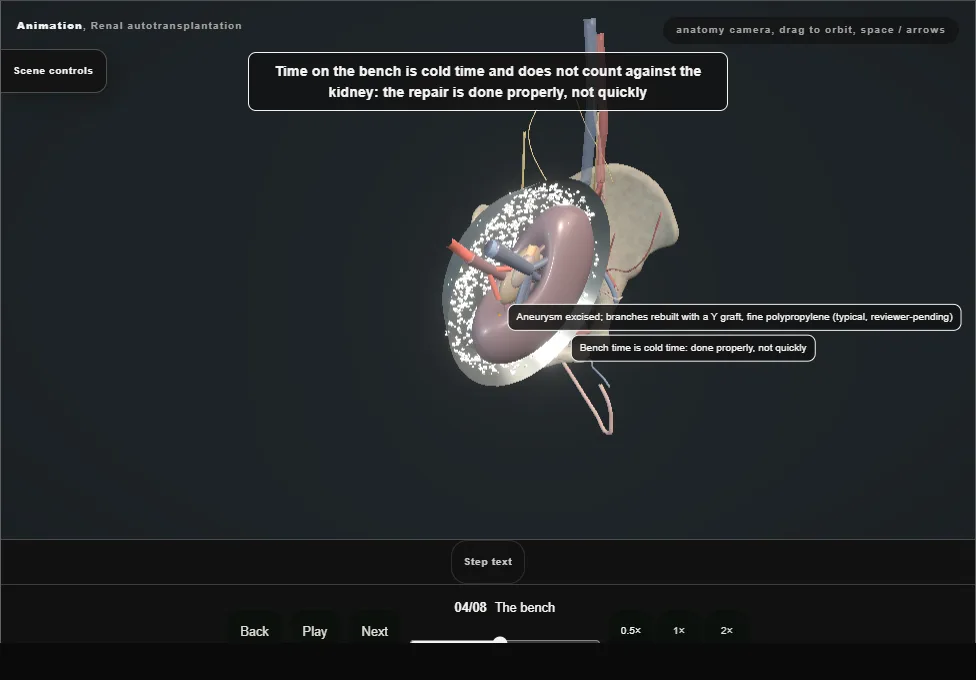
- Flushed cold until clear, then the repair under loupes: the aneurysm excised and the branches reconstructed, the diseased artery replaced with vein or the hypogastric.
- Bench time is cold time and the repair is done properly.
- 05
Into the iliac fossa
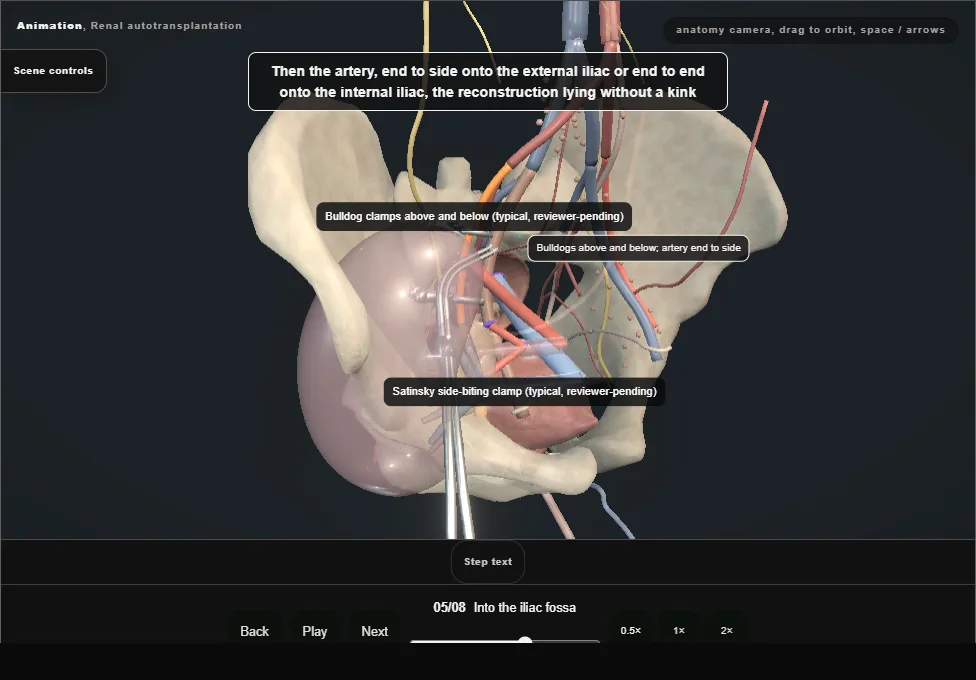
- A Gibson incision, the external iliac vessels exposed, the lymphatics tied.
- The vein first end to side, then the artery end to side onto the external iliac or end to end onto the internal, the reconstruction lying without a kink.
- 06
Reperfusion and the clock
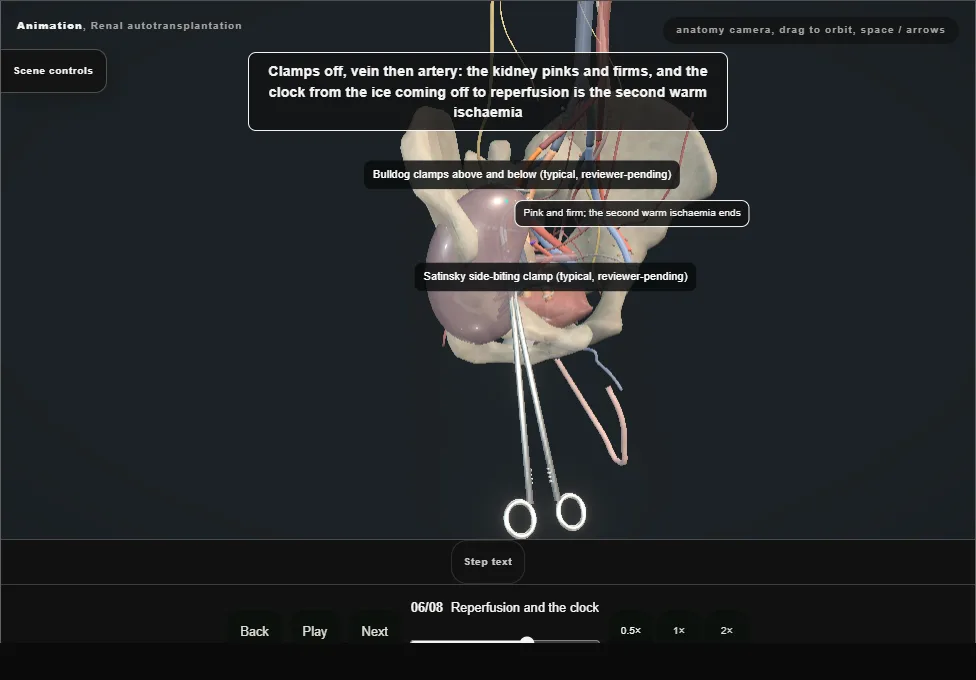
- Clamps off, vein then artery: the kidney pinks and firms.
- A repaired artery is checked with a Doppler on the table: every branch has flow, or the anastomosis is taken down now.
- 07
The ureter or the pelvis to the bladder
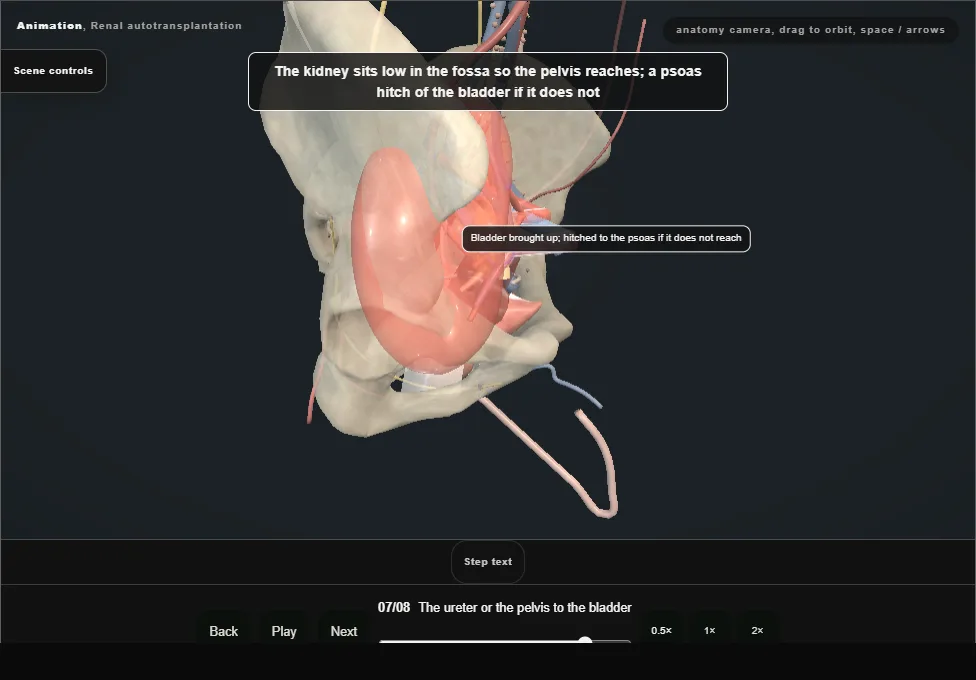
- The ureter to the bladder if there is ureter; otherwise the renal pelvis sewn to the dome of the bladder, a pyelovesicostomy, wide and over a stent.
- The kidney sits low so the pelvis reaches; a psoas hitch if it does not.
- 08
After
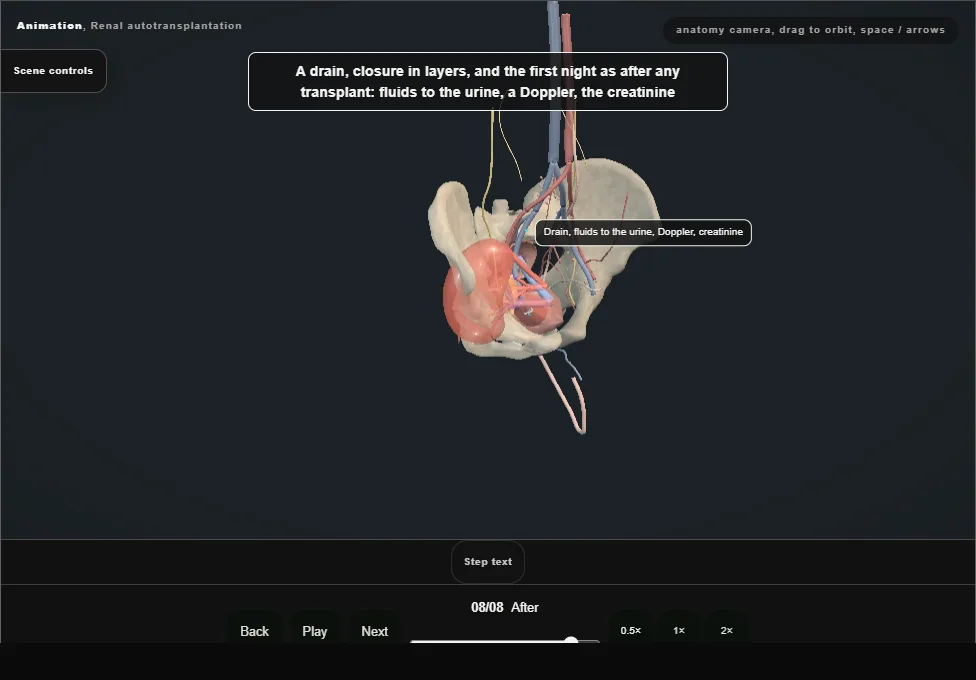
- A drain, closure in layers, and the first night as after any transplant.
- A pyelovesicostomy refluxes by design, and the kidney is watched for infection and pressure for life.
Derived from pelvis/AutotransplantScene.tsx at build time: every step title and caption above is the authored
ProcedureDef text, reproduced verbatim, and this page shares its readable-points renderer with the animation
itself. 8 of 8 steps have a captured frame.
Text fingerprint 7dd668fa279ff20c. A caption edit without a re-capture fails the production
check, so the sheet and the animation cannot drift apart silently.