
Revision sheet
Bladder exstrophy: modern staged repair
9 steps, each one the authored title and caption from the interactive animation, with the frame captured from that step. Read it before the case, or print it and work through the steps in order.
Teaching only, not for diagnosis or treatment decisions. The text on this sheet is the animation's own step copy, reproduced verbatim.
UrOops3D · UroRef · © Nity G
- 01
Newborn assessment
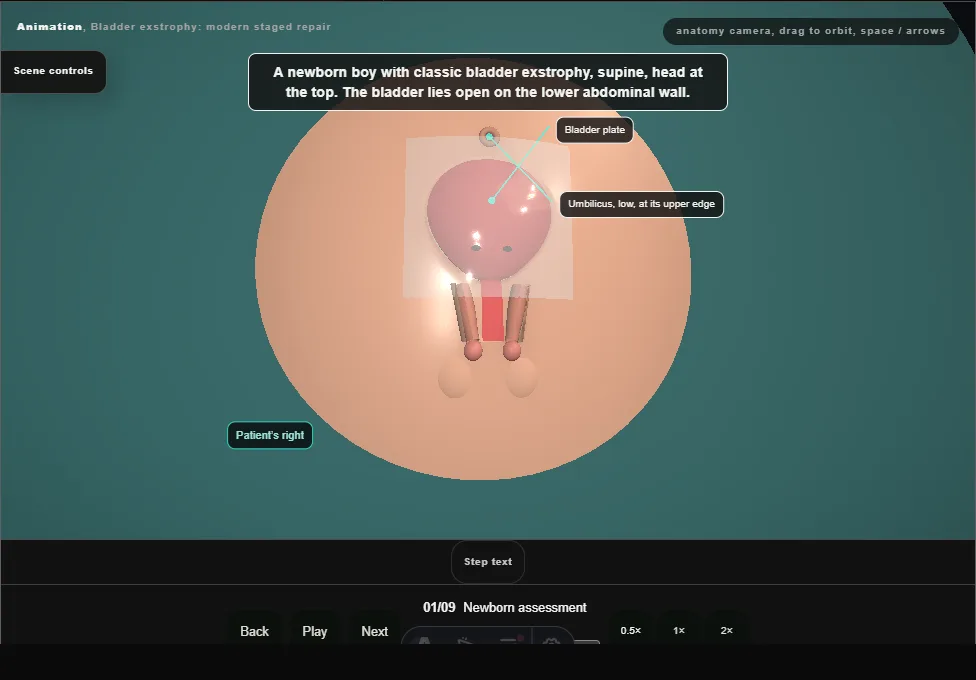
- A newborn boy with classic bladder exstrophy.
- The bladder lies open on the lower abdominal wall with both ureteric orifices low on the plate, the umbilicus at its upper edge, the pubic bones apart and an epispadiac penis.
- The plate is covered with plastic film so that it stays moist until the closure.
- 02
Circumferential incision
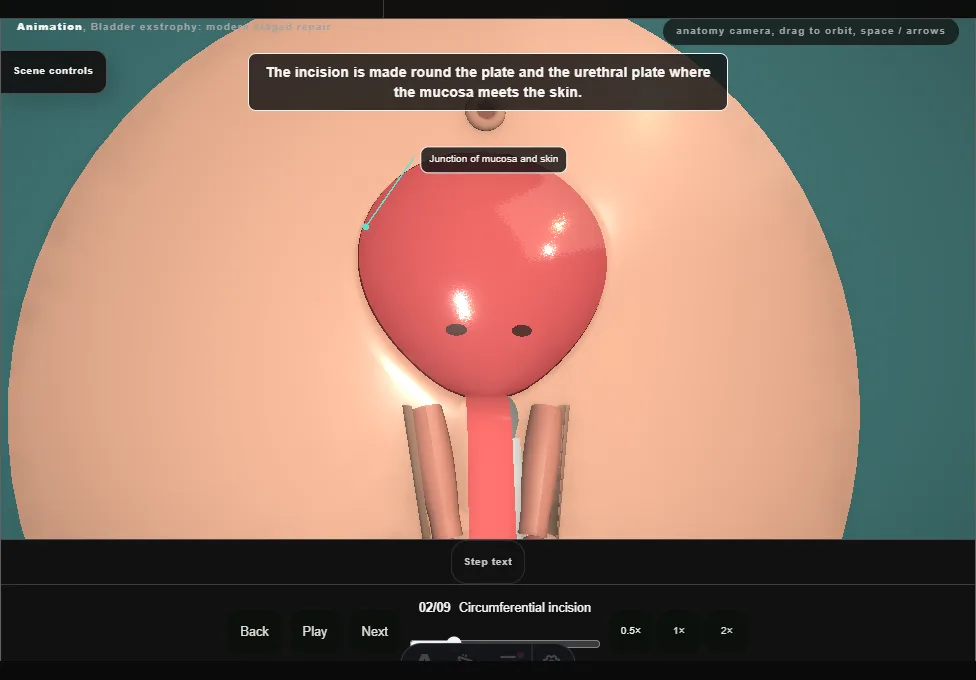
- The line is marked and incised round the bladder plate and down both edges of the urethral plate, where mucosa meets skin, with the umbilicus kept above it.
- 03
Free the plate
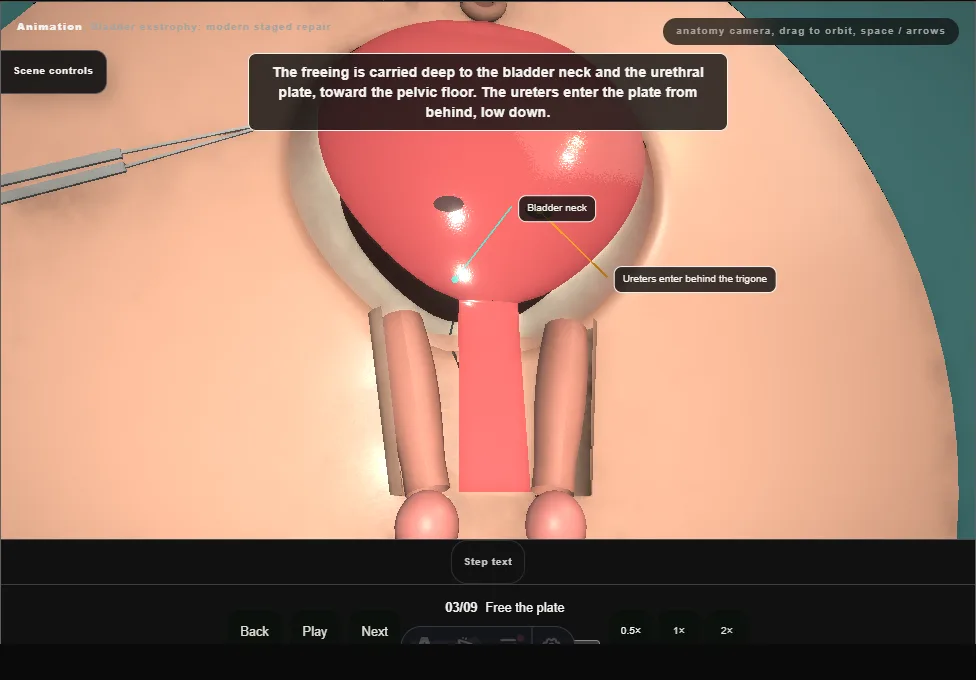
- The plate is freed from the abdominal wall and the paraexstrophy skin, on the wall side, so that its blood supply is kept, and the freeing is carried deep to the bladder neck and the urethral plate.
- The ureters enter low on the plate from behind.
- 04
Tubularise the outlet
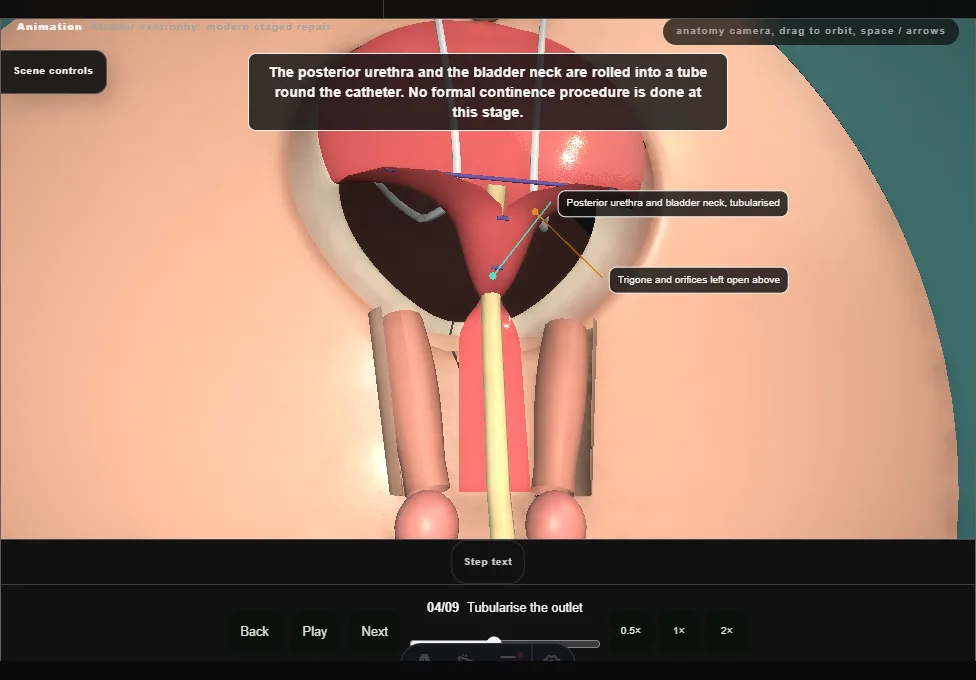
- A stent is passed up each ureter.
- Over a catheter, the posterior urethra and the bladder neck are rolled into a tube.
- No formal continence procedure is done at this stage: that is left for the later bladder neck reconstruction.
- 05
Pelvic osteotomy
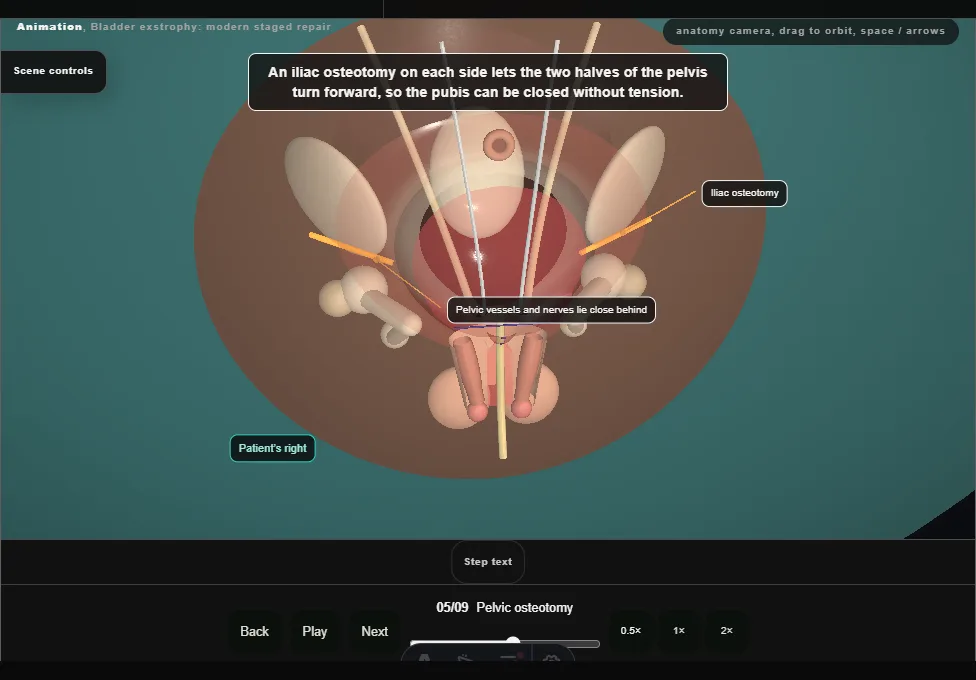
- The orthopaedic surgeon makes an iliac osteotomy on each side, under the same anaesthetic and usually before the closure starts.
- The two halves of the pelvis can then turn forward so that the pubic bones meet without tension.
- The pelvic vessels and nerves lie close to the cut.
- 06
Close the bladder and drop it
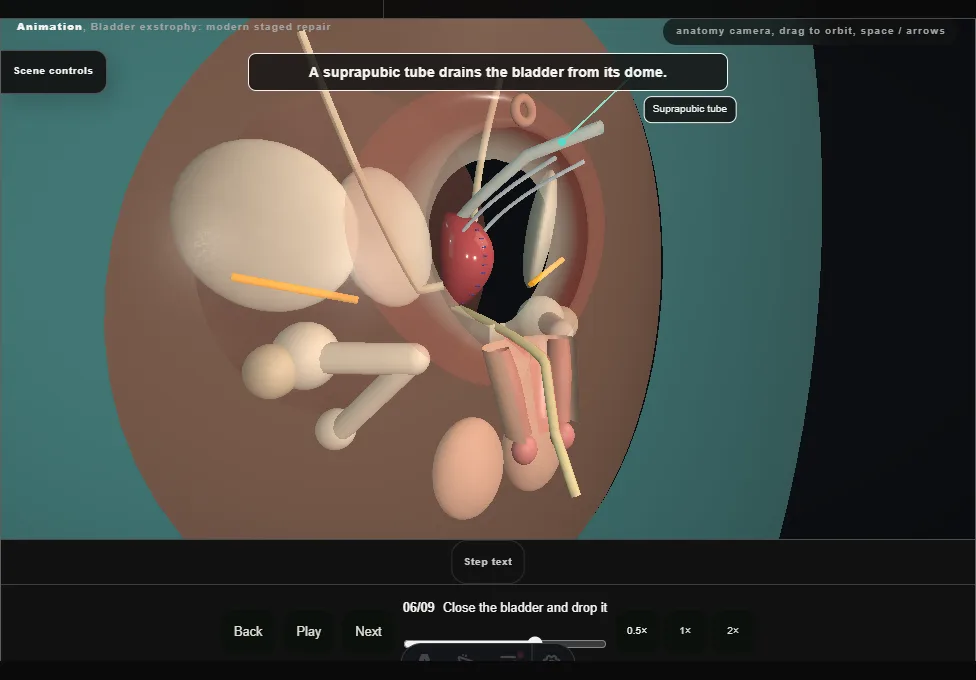
- The plate is rolled into a bladder and closed in layers in the midline, from the neck to the dome, with the stents brought out through the dome.
- The bladder and posterior urethra are dropped into the pelvis behind the pubis, and a suprapubic tube drains it.
- 07
Bring the pubis together
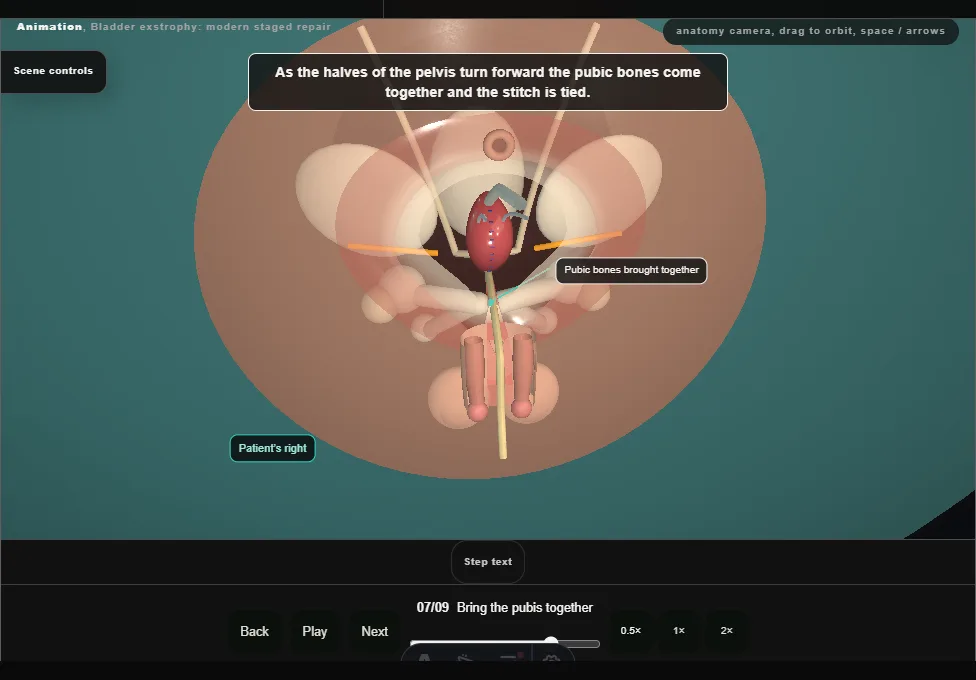
- A stitch is passed round the two pubic bones in front of the bladder neck.
- As the halves of the pelvis turn forward the bones come together and the stitch is tied.
- The neck lies directly behind it.
- 08
Close the abdominal wall
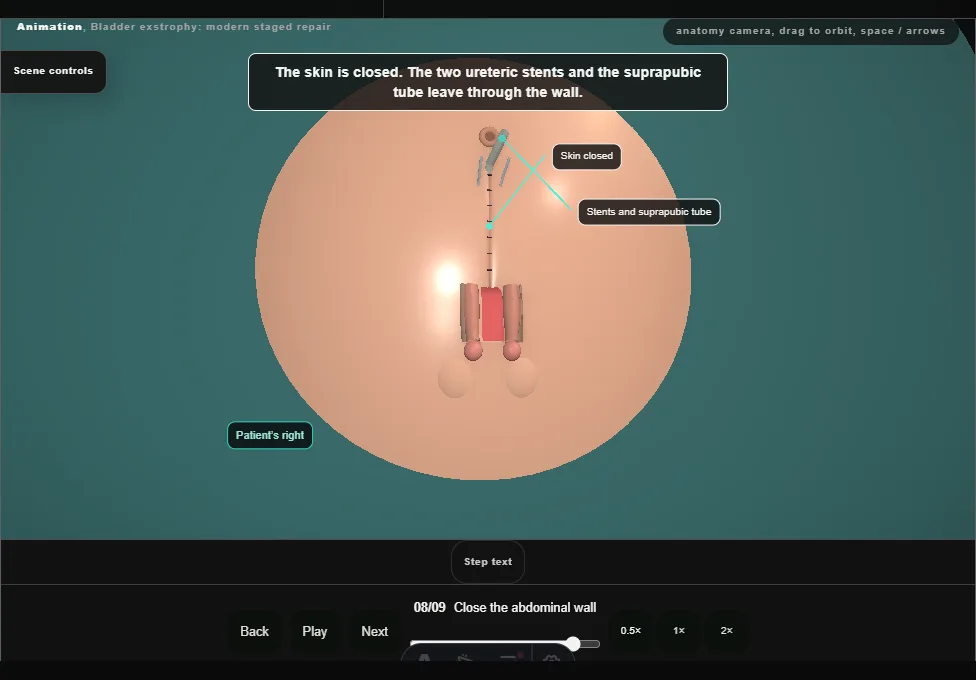
- The rectus fascia is closed in the midline over the bladder, then the skin.
- The two ureteric stents and the suprapubic tube leave through the closed wall.
- 09
The later stages
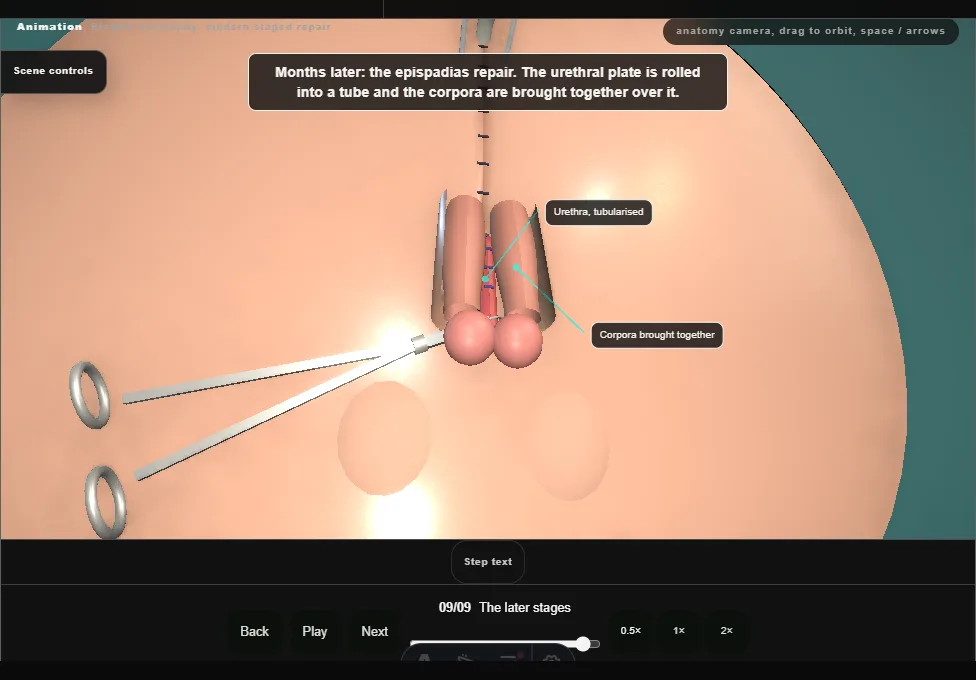
- Months later: the epispadias repair, the urethral plate rolled into a tube and the corpora brought together over it.
- Years later, once the bladder has grown enough: the bladder neck reconstruction for continence.
- Follow-up of the kidneys, the bladder and continence goes on for life.
Derived from paediatric/ExstrophyRepairScene.tsx at build time: every step title and caption above is the authored
ProcedureDef text, reproduced verbatim, and this page shares its readable-points renderer with the animation
itself. 9 of 9 steps have a captured frame.
Text fingerprint 0d4e66d4e52652b8. A caption edit without a re-capture fails the production
check, so the sheet and the animation cannot drift apart silently.