
Revision sheet
GreenLight laser vaporisation
7 steps, each one the authored title and caption from the interactive animation, with the frame captured from that step. Read it before the case, or print it and work through the steps in order.
Teaching only, not for diagnosis or treatment decisions. The text on this sheet is the animation's own step copy, reproduced verbatim.
UrOops3D · UroRef · © Nity G
- 01
Who gets a laser
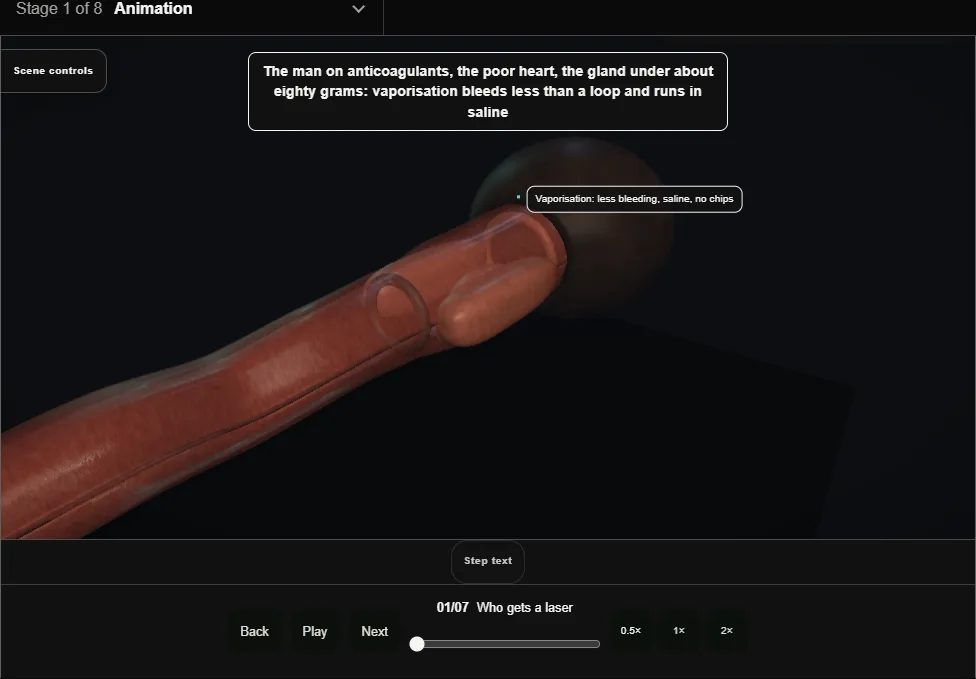
- The man on anticoagulants, the poor heart, the gland under about eighty grams: less bleeding than a loop, saline so no TUR syndrome, no histology.
- Goggles on everyone before the fibre is live.
- 02
Cystoscopy: the landmarks
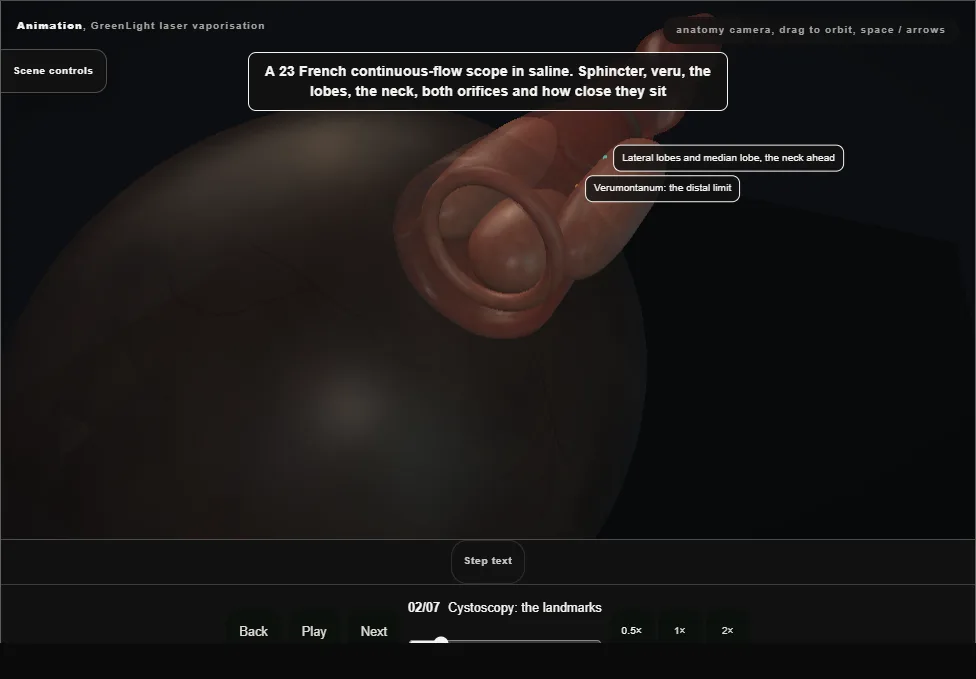
- A 23 French continuous-flow scope in saline.
- Sphincter, veru, lobes, neck, and both orifices measured against the fibre: a median lobe that reaches them makes the neck the dangerous end.
- 03
The fibre and the distance
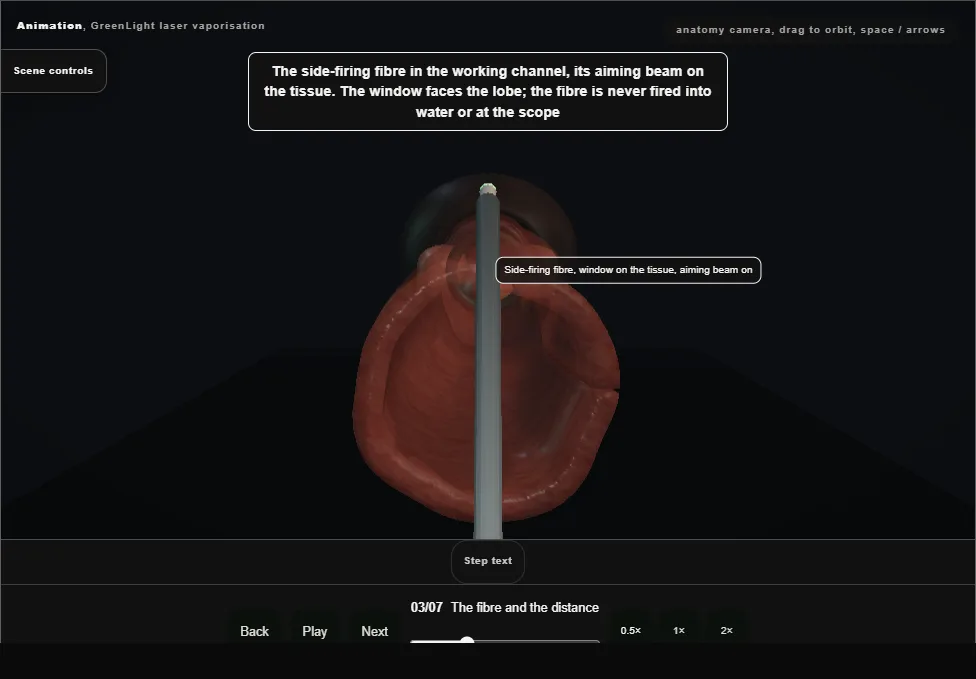
- The side-firing fibre with its window on the tissue.
- Distance is the technique: one to two millimetres off, sweeping, bubbles showing vaporisation.
- Touching chars and bleeds; too far coagulates and removes nothing.
- 04
The median lobe
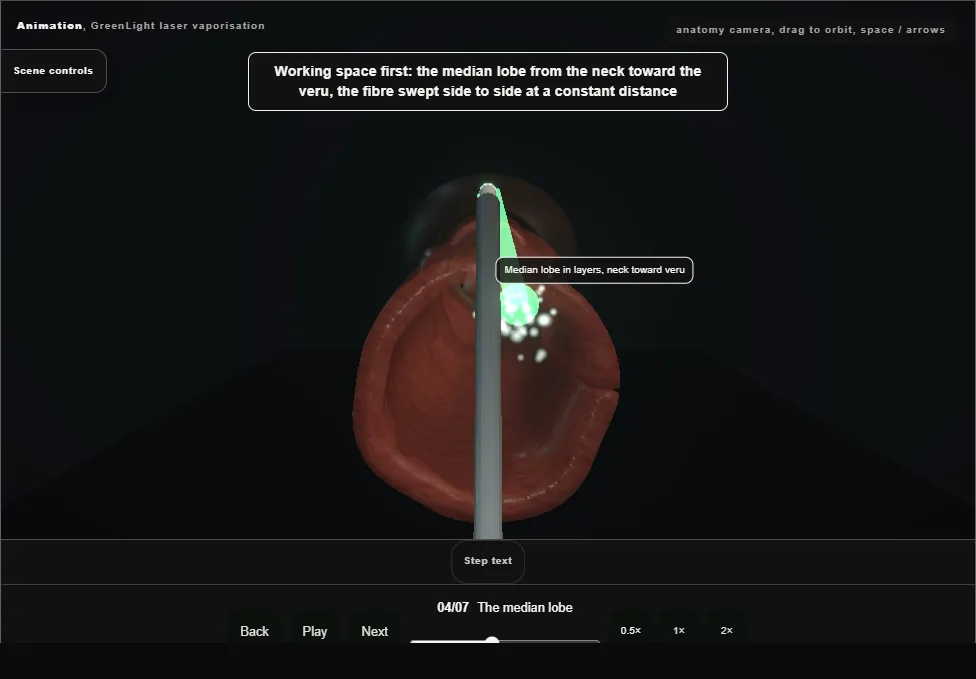
- Working space first: the median lobe from the neck toward the veru, swept in layers so the front moves as a plane, until the capsule shows as a pale fibrous floor with no bubbles.
- 05
The lateral lobes
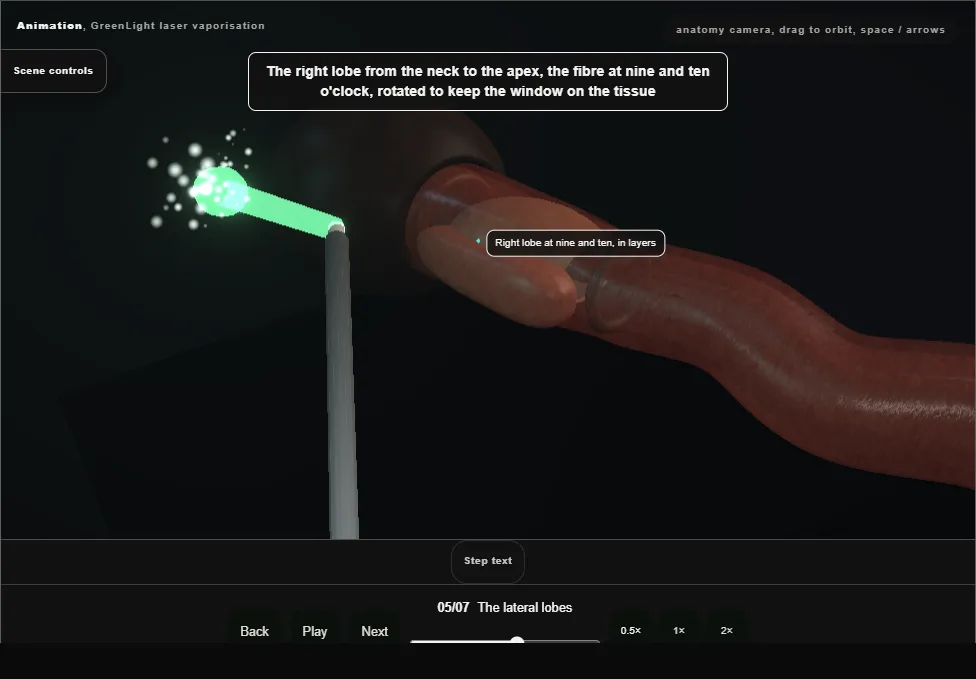
- The right lobe at nine and ten from neck to apex, the fibre rotated to keep the window on the tissue; then the left at two and three.
- A bleeder is coagulated by pulling back and defocusing, never by pressing.
- 06
The apex
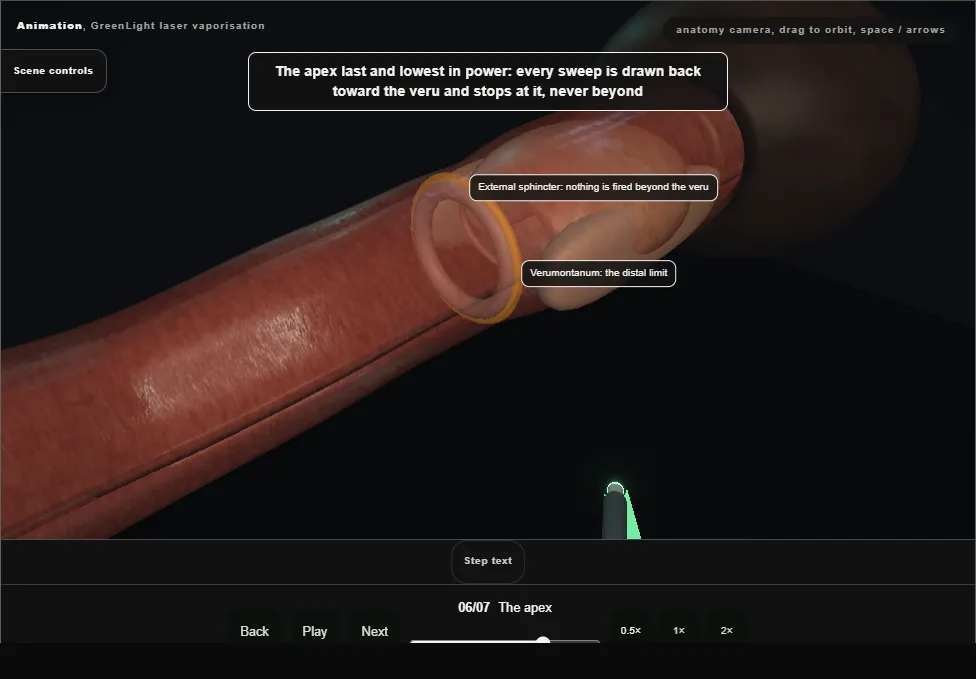
- The apex last and lowest in power, each sweep drawn back toward the veru and stopping at it; the roof at twelve in short sweeps.
- Then withdraw into the bulbar urethra and, still looking forward, see the sphincter ring close ahead.
- 07
The end
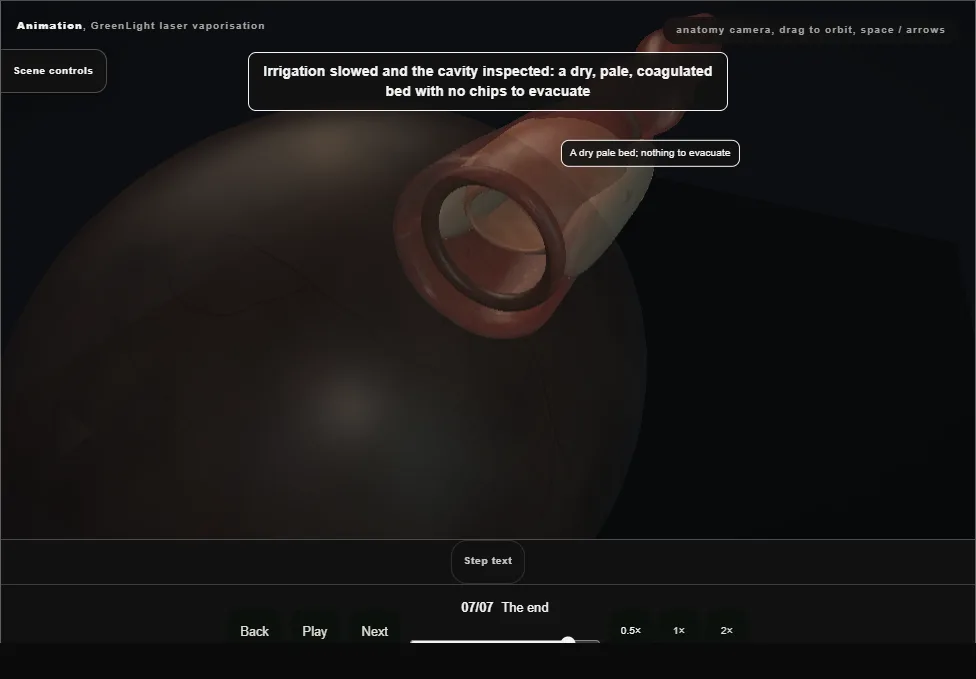
- A dry, pale, coagulated bed with nothing to evacuate; both orifices seen again.
- A 20 French catheter, often without irrigation, out the next morning.
- The note records the energy, the fibre, and the landmarks intact.
Derived from endoscopy/GreenlightScene.tsx at build time: every step title and caption above is the authored
ProcedureDef text, reproduced verbatim, and this page shares its readable-points renderer with the animation
itself. 7 of 7 steps have a captured frame.
Text fingerprint 654262de817e48da. A caption edit without a re-capture fails the production
check, so the sheet and the animation cannot drift apart silently.