
Revision sheet
Living-donor nephrectomy
9 steps, each one the authored title and caption from the interactive animation, with the frame captured from that step. Read it before the case, or print it and work through the steps in order.
Teaching only, not for diagnosis or treatment decisions. The text on this sheet is the animation's own step copy, reproduced verbatim.
UrOops3D · UroRef · © Nity G
- 01
Who: the donor and the work-up
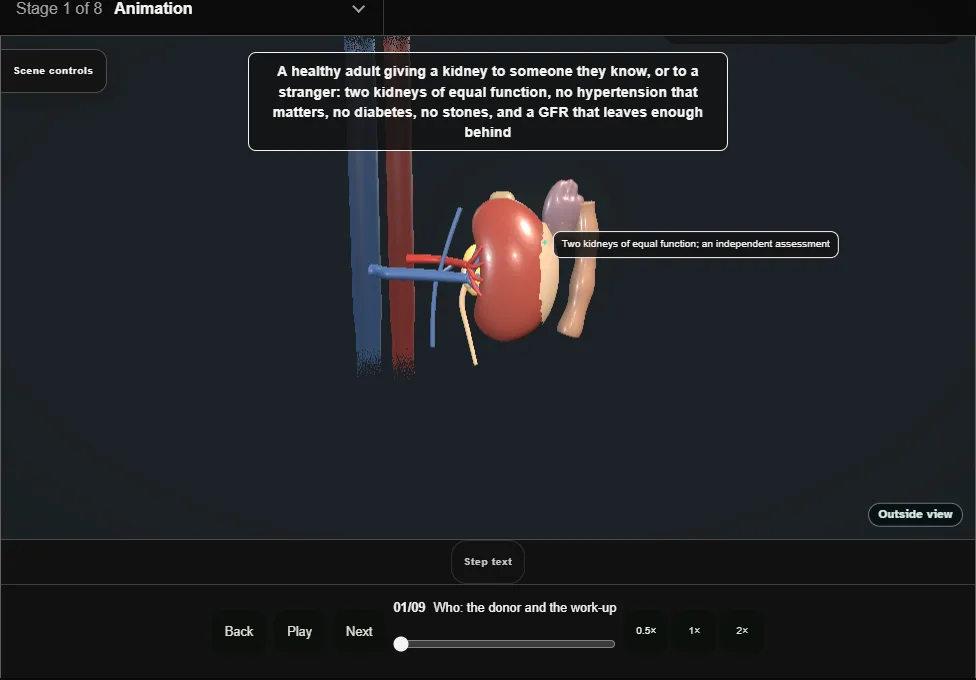
- A healthy adult with two kidneys of equal function and a GFR that leaves enough behind, assessed by a team that is not the recipient's, with an independent assessor and the freedom to say no.
- 02
Which kidney
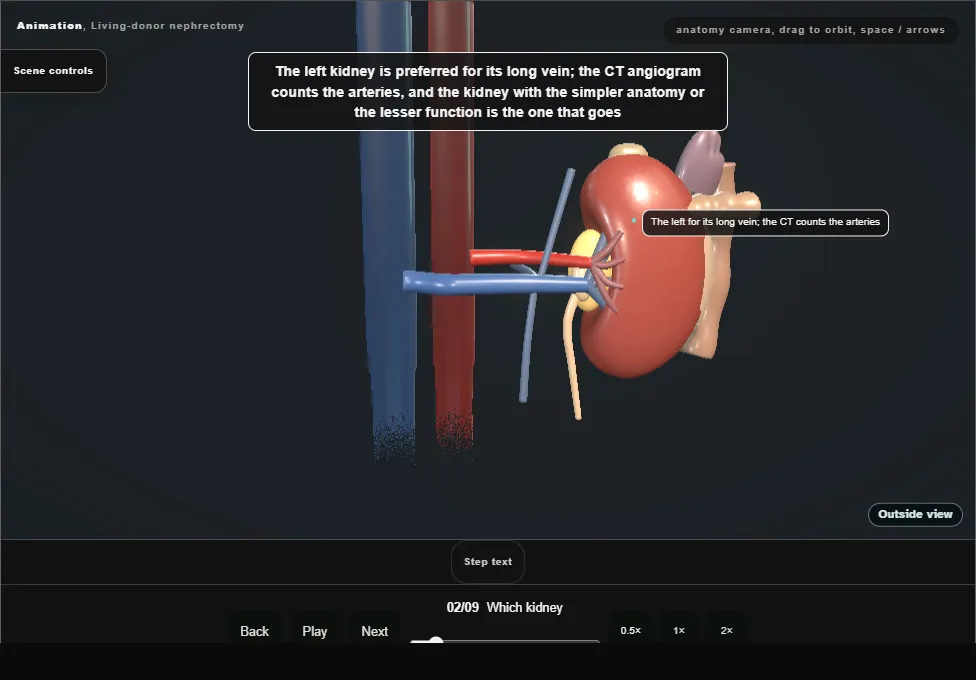
- The left for its long vein; the CT angiogram counts the arteries.
- The kidney with the simpler anatomy or the lesser function goes.
- Two arteries are joined on the bench; three make the surgeon think again.
- 03
Position and ports
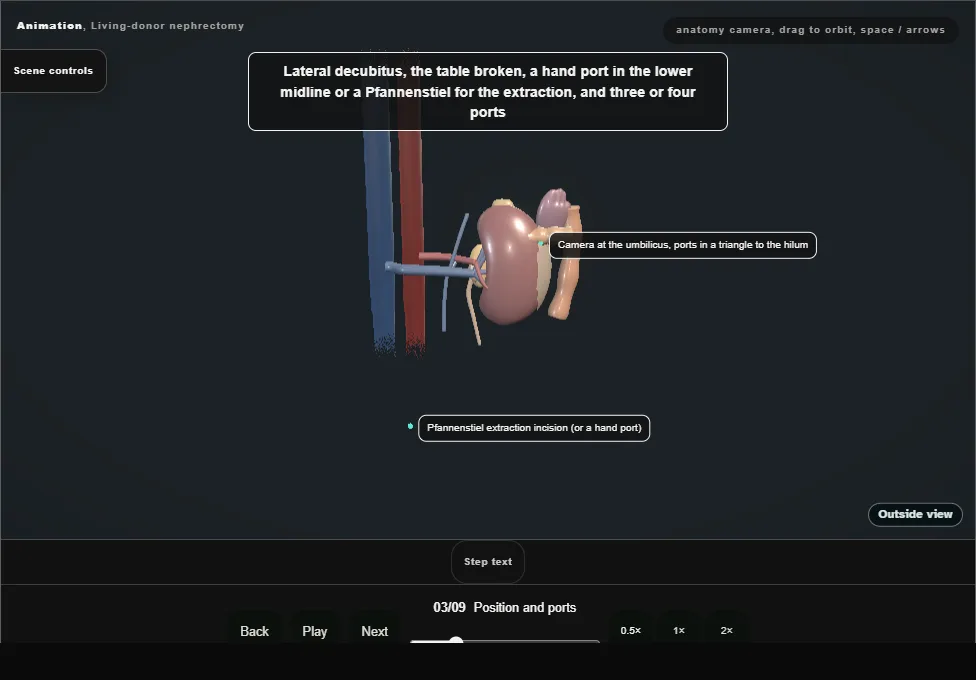
- Lateral decubitus, the table broken, a hand port or Pfannenstiel for the extraction, three or four ports with the camera at the umbilicus and the working ports in a triangle to the hilum.
- 04
Reflecting the colon
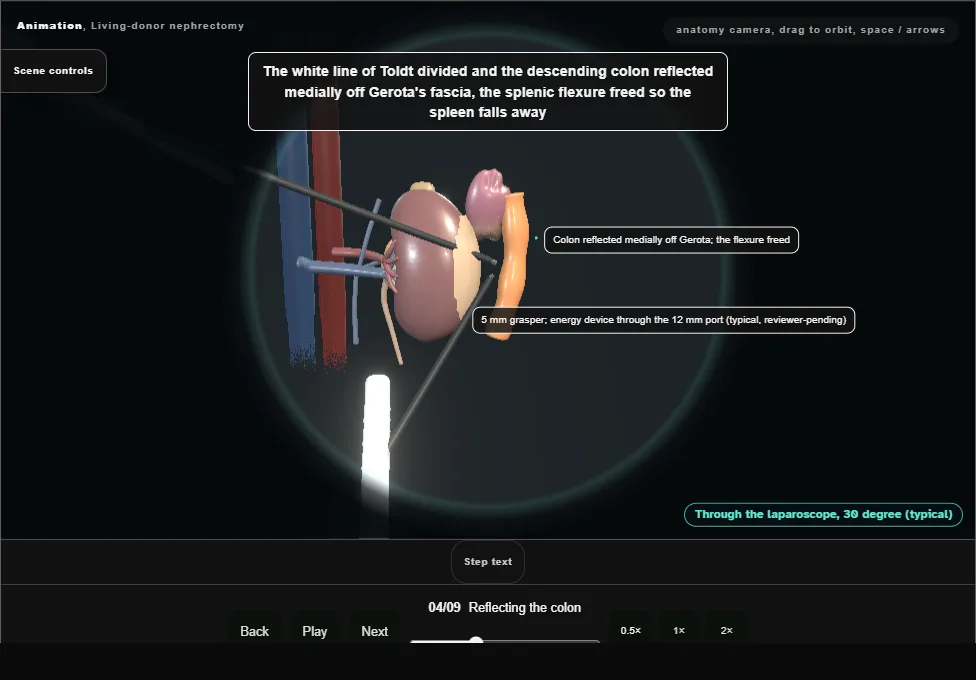
- The white line divided and the descending colon reflected medially off Gerota's fascia, the splenic flexure freed.
- The plane is on Gerota, not in it: the fascia stays on the kidney until the vessels are done.
- 05
The gonadal vein, the ureter and the golden triangle
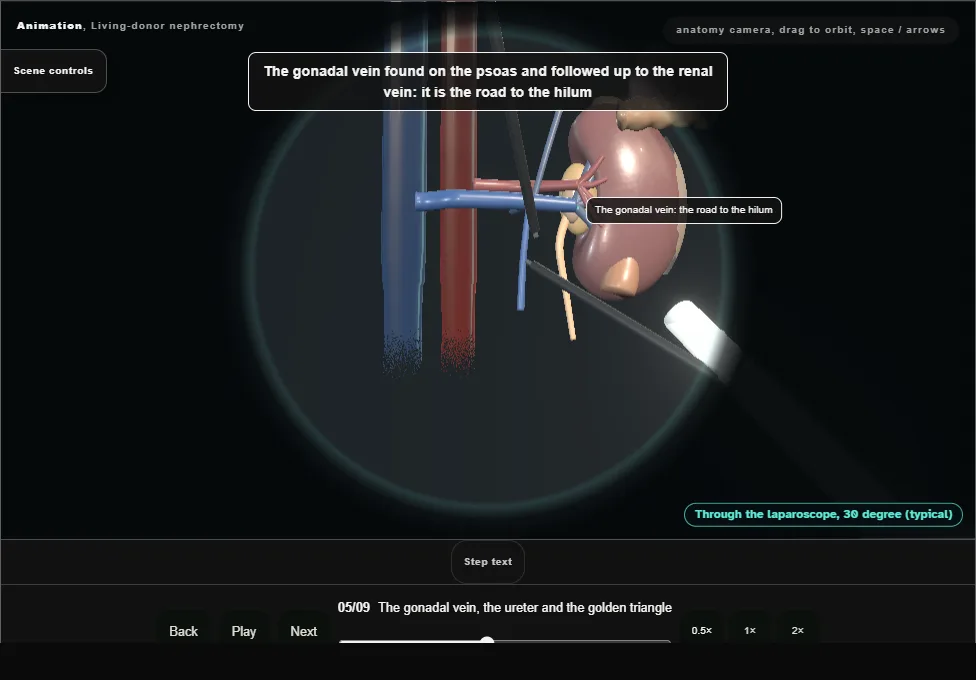
- The gonadal vein found on the psoas and followed up to the renal vein.
- The ureter lateral to it, lifted with the vein and the fat between them: the golden triangle is never stripped.
- 06
The adrenal and lumbar veins
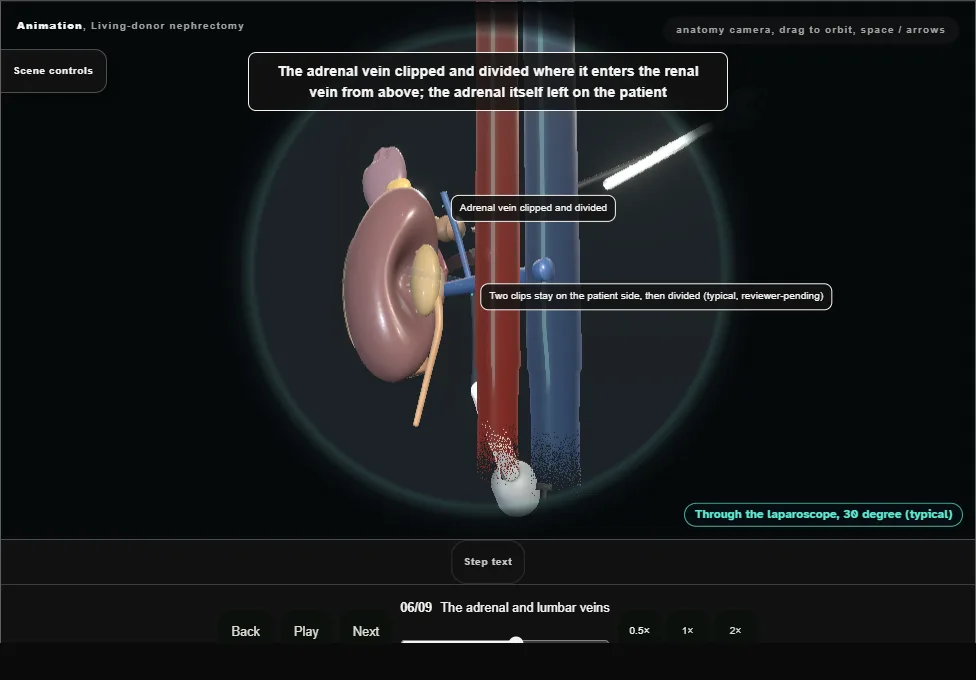
- The adrenal vein clipped and divided where it enters the renal vein from above.
- The lumbar vein behind the renal vein found before it is torn, clipped and divided: it is the one that bleeds.
- 07
The artery and vein back to the aorta
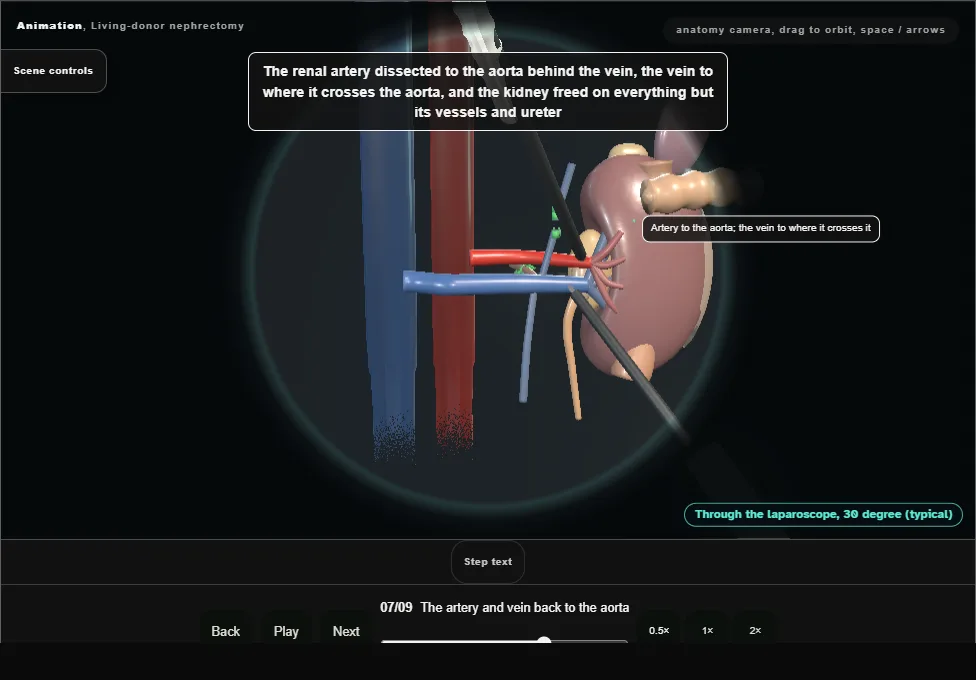
- The renal artery dissected to the aorta behind the vein, the vein to where it crosses the aorta, the kidney freed on everything but its vessels and ureter.
- Medication according to the unit protocol, and the ureter divided low over the iliac vessels.
- The extraction bag is introduced before vascular division.
- 08
Stapling the vessels and the extraction
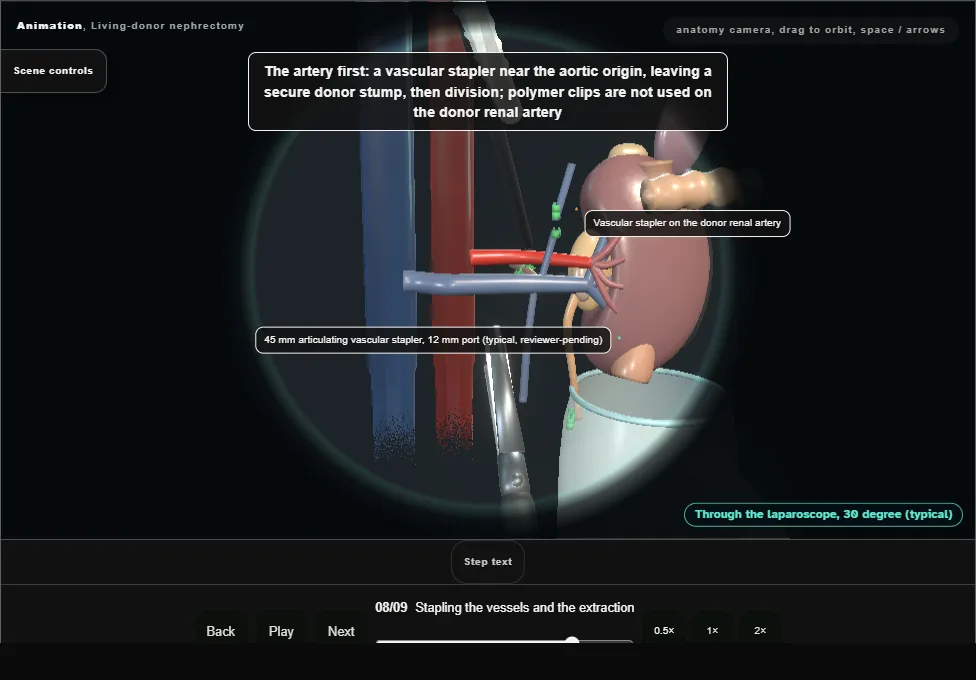
- The renal artery secured with a vascular stapler near its aortic origin, leaving a secure donor stump, then divided.
- Polymer clips are not used on the donor renal artery.
- The vein is stapled and the kidney extracted in the prepared bag.
- 09
The kidney on ice, and the donor after
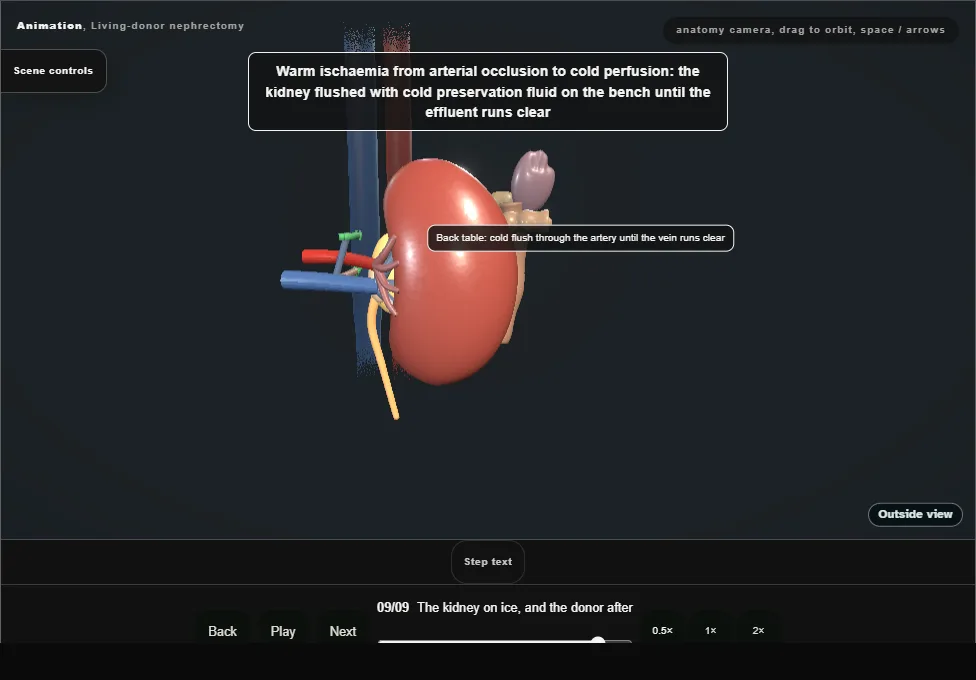
- Warm ischaemia from arterial occlusion to cold perfusion; the kidney flushed with cold preservation fluid until the effluent runs clear.
- With pressure reduced, both staple lines and the renal bed are inspected before port removal.
- The donor home in two to four days with a creatinine that settles a third higher for life.
Derived from kidney/LivingDonorNephrectomyScene.tsx at build time: every step title and caption above is the authored
ProcedureDef text, reproduced verbatim, and this page shares its readable-points renderer with the animation
itself. 9 of 9 steps have a captured frame.
Text fingerprint 9f823bf0c2d118ff. A caption edit without a re-capture fails the production
check, so the sheet and the animation cannot drift apart silently.