
Revision sheet
MicroTESE: microdissection testicular sperm extraction
8 steps, each one the authored title and caption from the interactive animation, with the frame captured from that step. Read it before the case, or print it and work through the steps in order.
Teaching only, not for diagnosis or treatment decisions. The text on this sheet is the animation's own step copy, reproduced verbatim.
UrOops3D · UroRef · © Nity G
- 01
Work-up, laboratory plan, anaesthesia
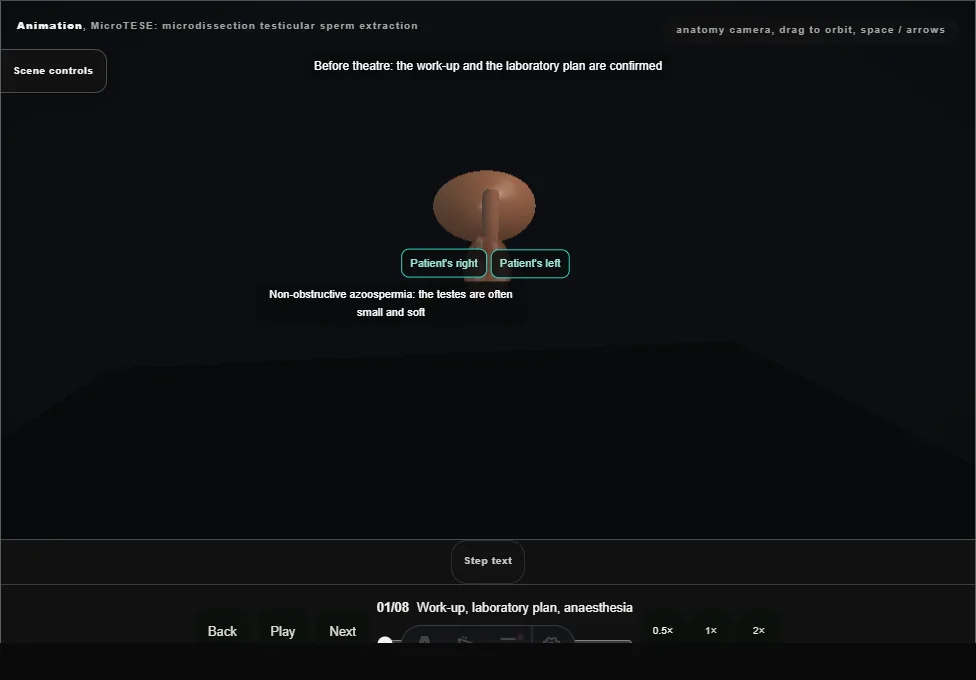
- The hormonal and genetic work-up, the partner and the laboratory plan are confirmed.
- Both testes are examined, and under a general anaesthetic a cord block is given on each side.
- 02
Midline scrotal incision
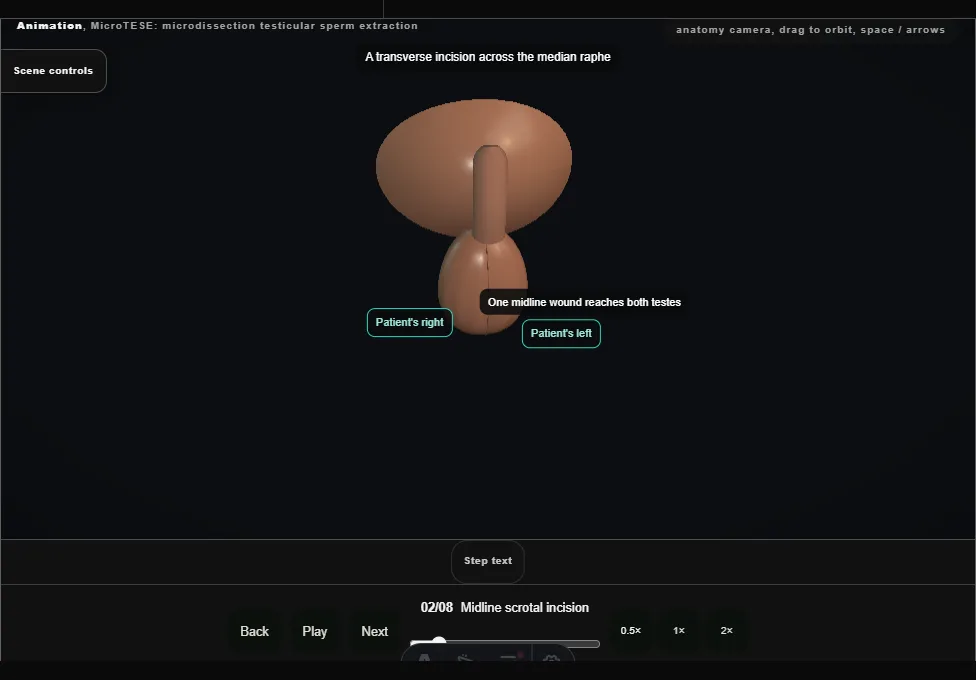
- A transverse incision across the median raphe, carried through the dartos with the diathermy.
- One wound reaches both testes.
- 03
Testis delivered, tunica vaginalis opened
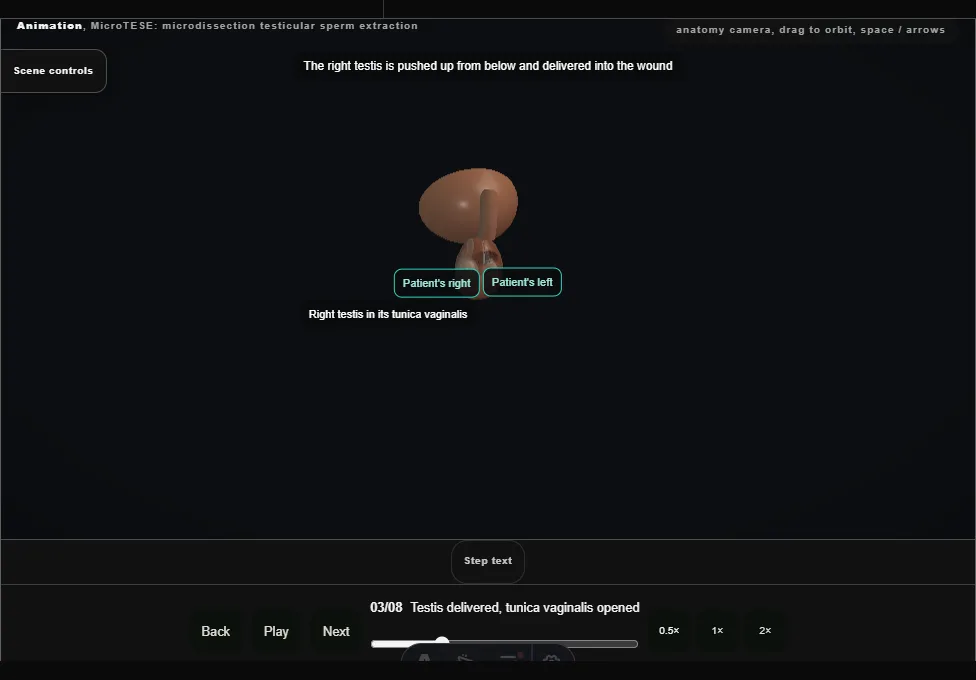
- The right testis is pushed up from below and delivered into the wound, and its tunica vaginalis is opened.
- The epididymis behind it is left alone.
- 04
Equatorial incision, opened like a book
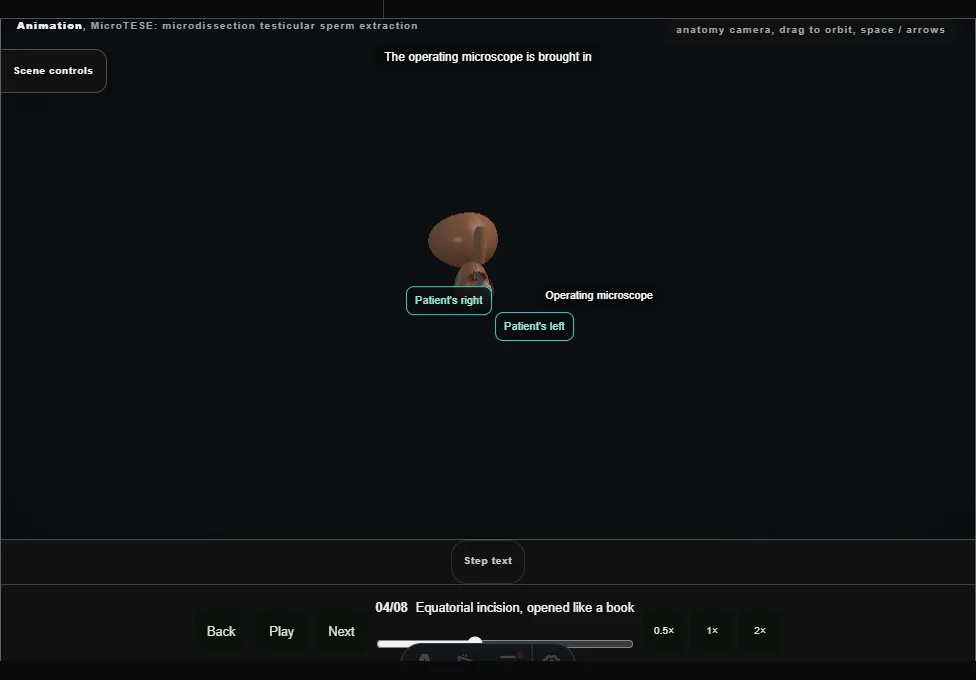
- Under the operating microscope the subtunical vessels are seen.
- A wide equatorial incision of the tunica albuginea is made in the avascular plane between them, and the testis is opened like a book.
- 05
Tubules searched at high magnification
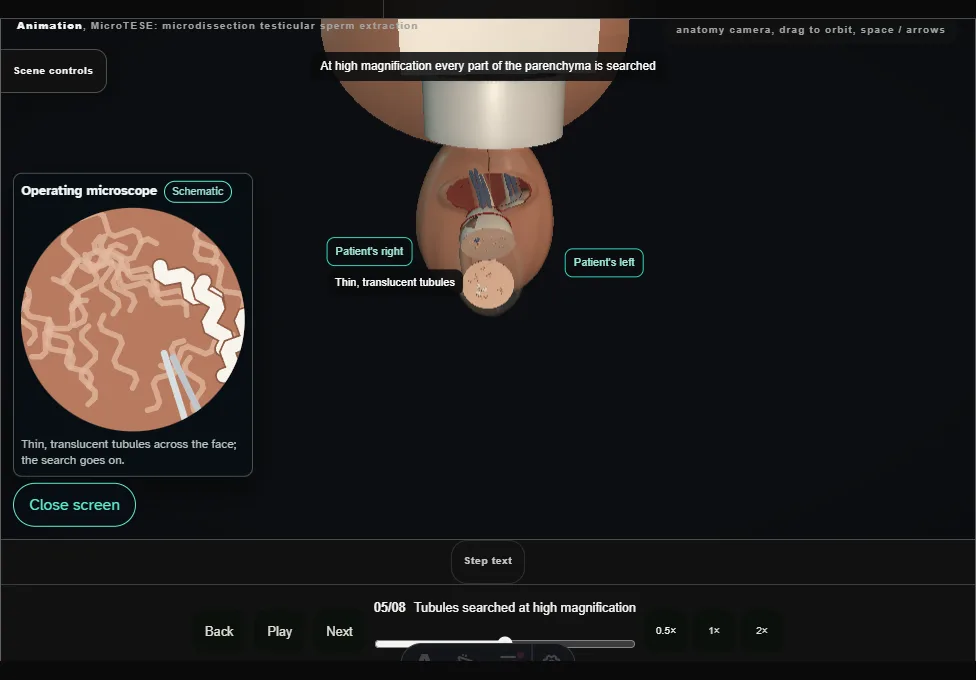
- Every part of the parenchyma is searched.
- The larger, opaque tubules are picked out from the thin, translucent ones: they are the ones most likely to hold sperm.
- 06
Tubules to the embryologist
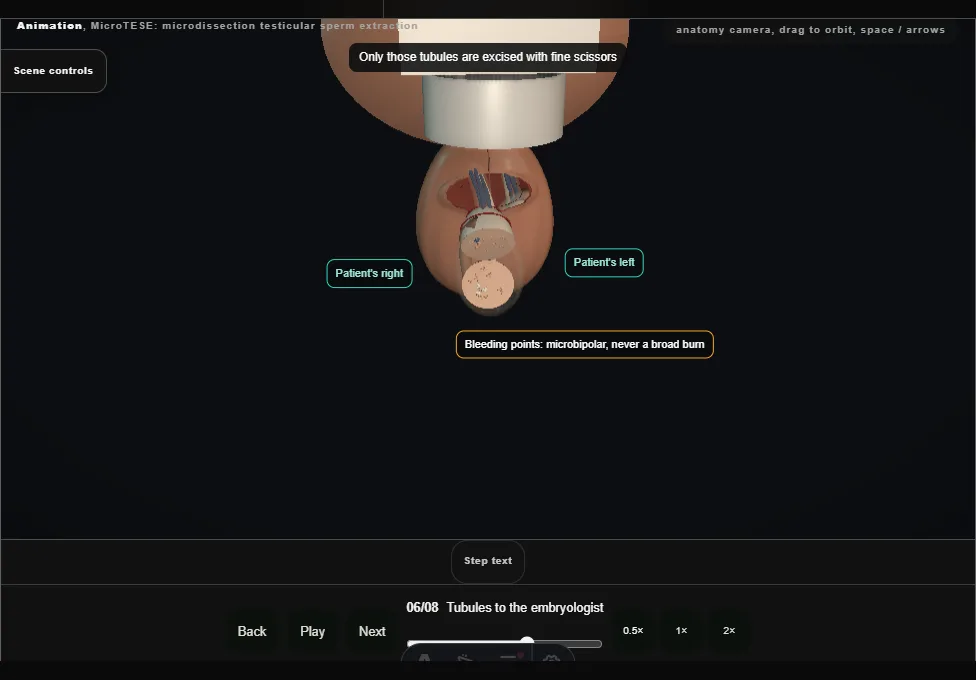
- Only those tubules are excised with fine scissors and passed to the embryologist, who examines them at once.
- None holds sperm; the search is extended, and a second sample is negative as well.
- 07
The other testis
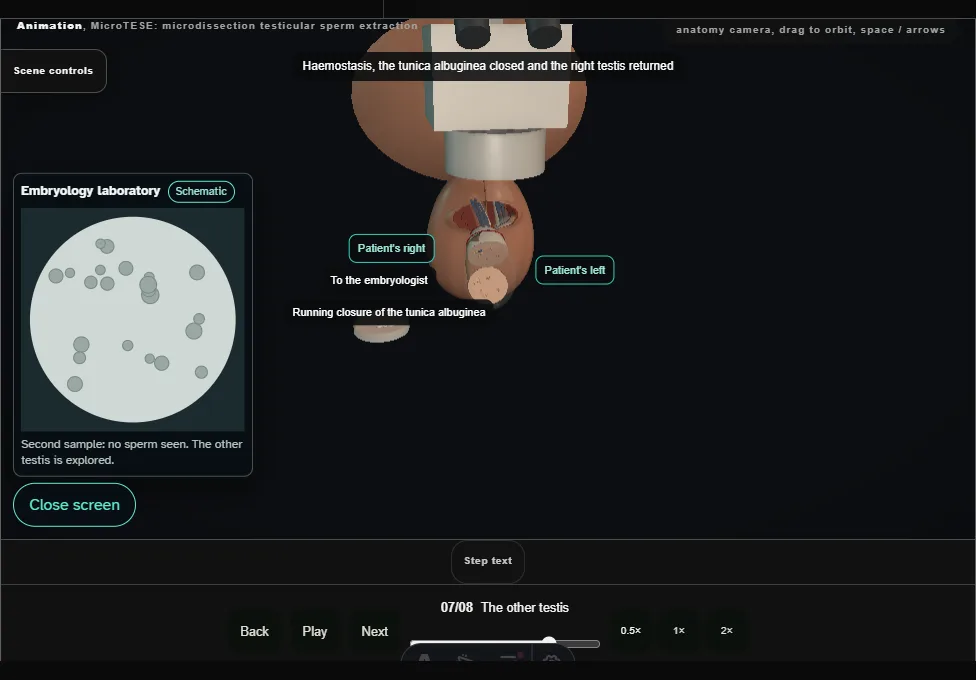
- The right testis is closed and returned.
- The left testis is delivered through the same wound and opened the same way; it has dilated tubules, and the laboratory reports sperm.
- 08
Haemostasis, closure, return
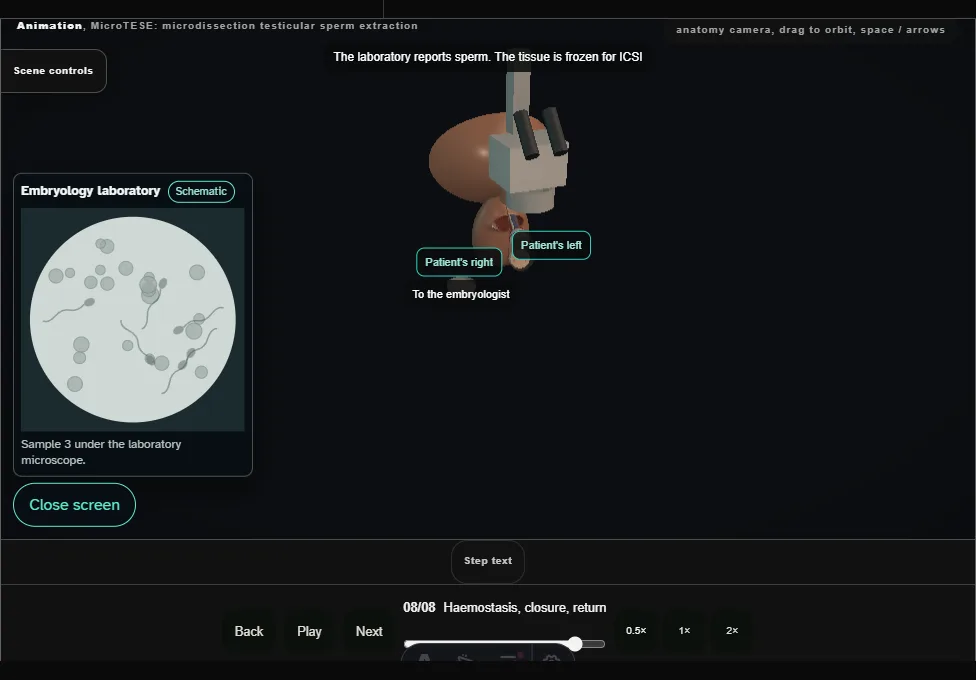
- The tissue is frozen for ICSI.
- Microbipolar haemostasis, the tunica albuginea closed, the testis returned within its tunica vaginalis, and the dartos and skin closed.
- A dressing and a support.
Derived from scrotal/MicroteseScene.tsx at build time: every step title and caption above is the authored
ProcedureDef text, reproduced verbatim, and this page shares its readable-points renderer with the animation
itself. 8 of 8 steps have a captured frame.
Text fingerprint 6ab5b267815d2250. A caption edit without a re-capture fails the production
check, so the sheet and the animation cannot drift apart silently.