
Revision sheet
Transobturator mid-urethral sling (TOT)
6 steps, each one the authored title and caption from the interactive animation, with the frame captured from that step. Read it before the case, or print it and work through the steps in order.
Teaching only, not for diagnosis or treatment decisions. The text on this sheet is the animation's own step copy, reproduced verbatim.
UrOops3D · UroRef · © Nity G
- 01
Landmarks: the mid-urethra
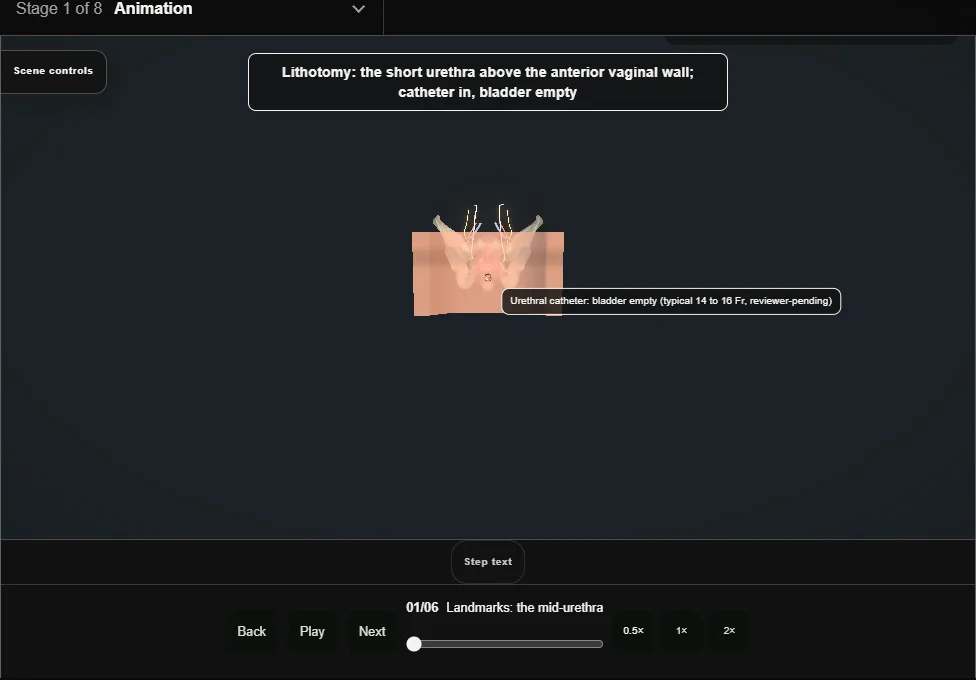
- The tape supports the mid-urethra, not the bladder neck.
- Mark the mid-urethral point, both obturator entries and the vaginal incision line.
- 02
Vaginal incision
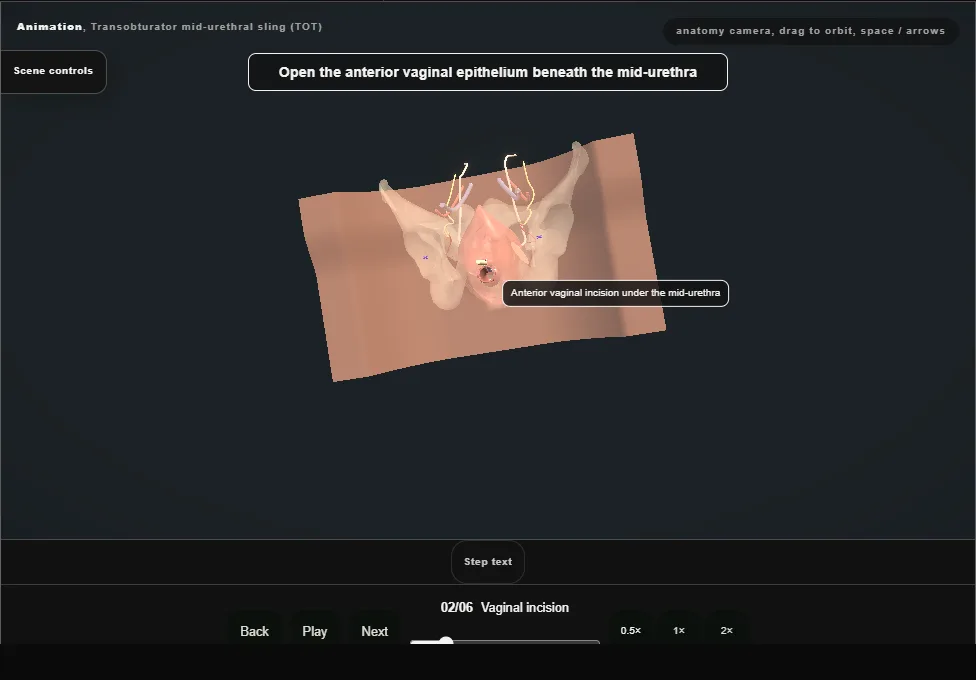
- A short incision in the anterior vaginal wall opens the avascular plane between vaginal epithelium and urethra.
- 03
Para-urethral tunnels
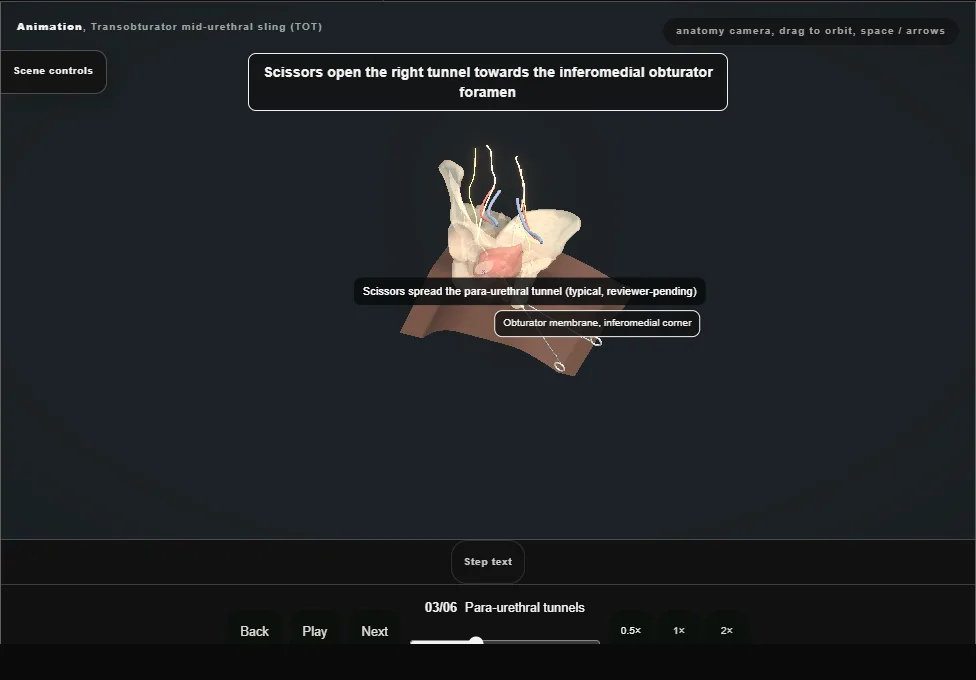
- Scissors spread lateral to the urethra through the perineal membrane toward the obturator foramen: the path the trocar will take.
- 04
Trocar passage (out-in)
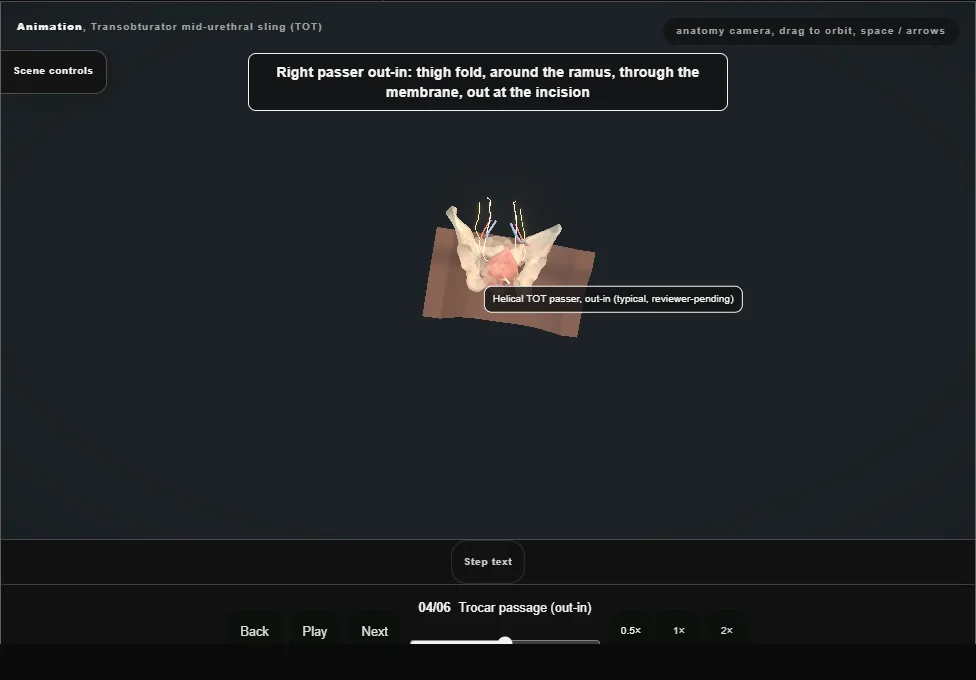
- Each curved trocar enters at the inner thigh, crosses the obturator membrane outside the levator, and emerges in its ipsilateral tunnel.
- Both outside-in passes are completed before the integrity check.
- 05
Tape under the mid-urethra
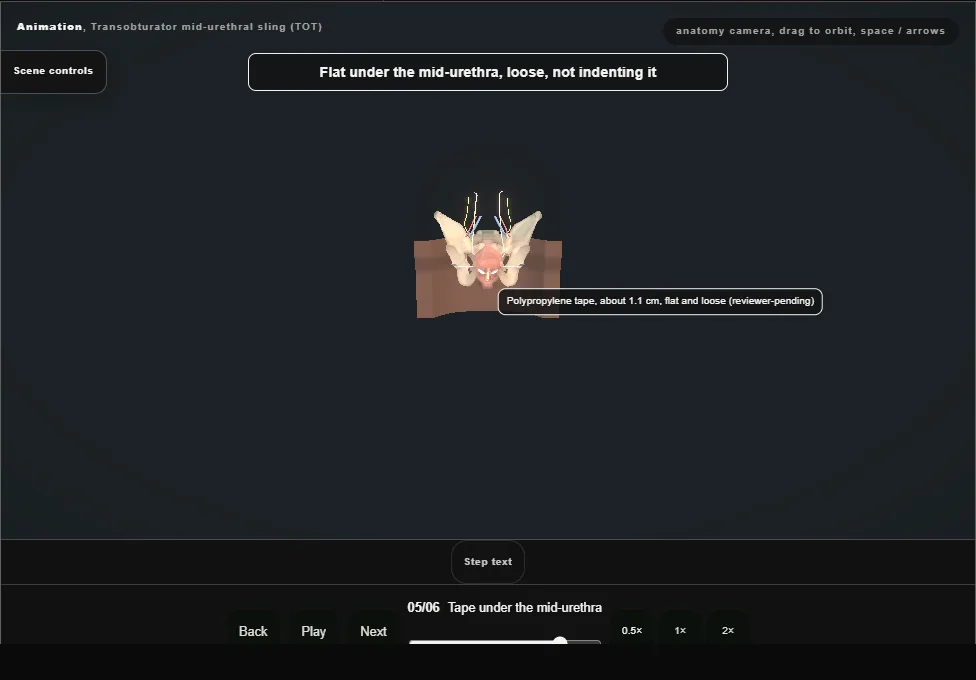
- The tape draws through both tunnels to lie flat under the mid-urethra, tension-free: it hugs, it never compresses.
- 06
Cystoscopy + adjust
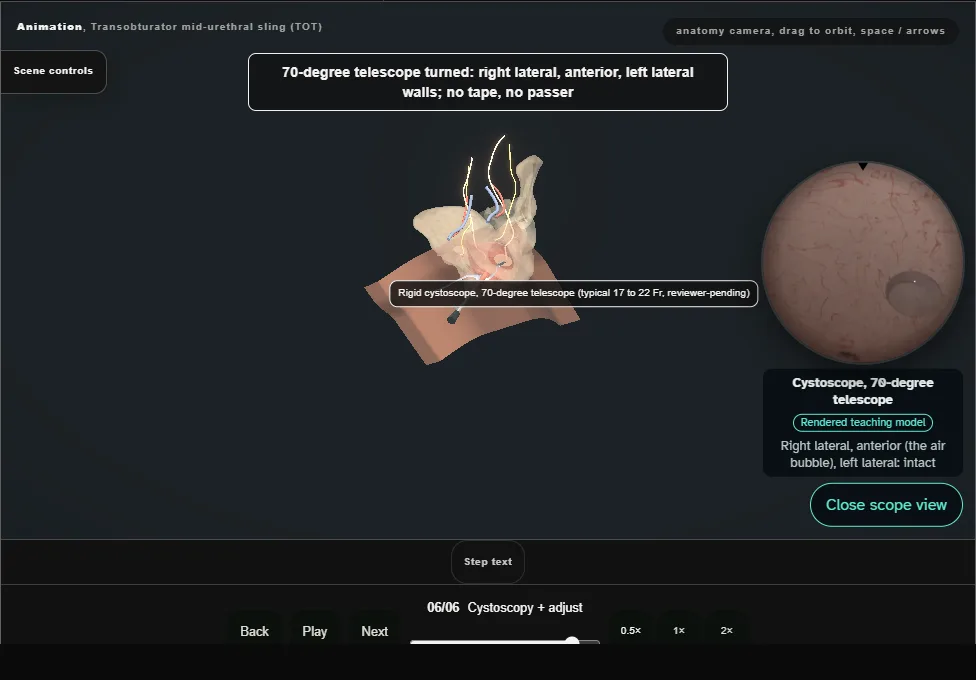
- After both outside-in passes, cystoscopy excludes bladder or urethral perforation before final tensioning, trimming and closure.
Derived from SlingScene.tsx at build time: every step title and caption above is the authored
ProcedureDef text, reproduced verbatim, and this page shares its readable-points renderer with the animation
itself. 6 of 6 steps have a captured frame.
Text fingerprint 3e8d830b7a95fc77. A caption edit without a re-capture fails the production
check, so the sheet and the animation cannot drift apart silently.