
Revision sheet
Radical inguinal orchidectomy
19 steps, each one the authored title and caption from the interactive animation, with the frame captured from that step. Read it before the case, or print it and work through the steps in order.
Teaching only, not for diagnosis or treatment decisions. The text on this sheet is the animation's own step copy, reproduced verbatim.
UrOops3D · UroRef · © Nity G
- 01
Landmarks and incision line
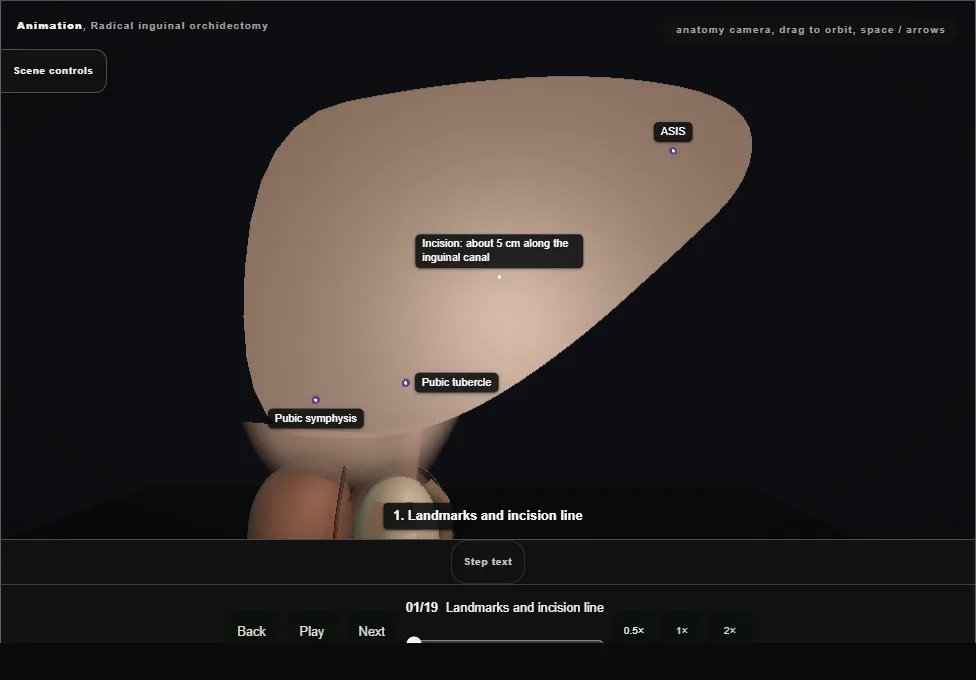
- Feel the ASIS and the pubic tubercle beside the pubic symphysis.
- The incision, about 5 cm, lies a finger's breadth above and parallel to the inguinal ligament, along the line of the inguinal canal, over the internal ring towards the external ring.
- Not scrotal: a scrotal cut opens a second lymphatic drainage route for the tumour.
- 02
Skin
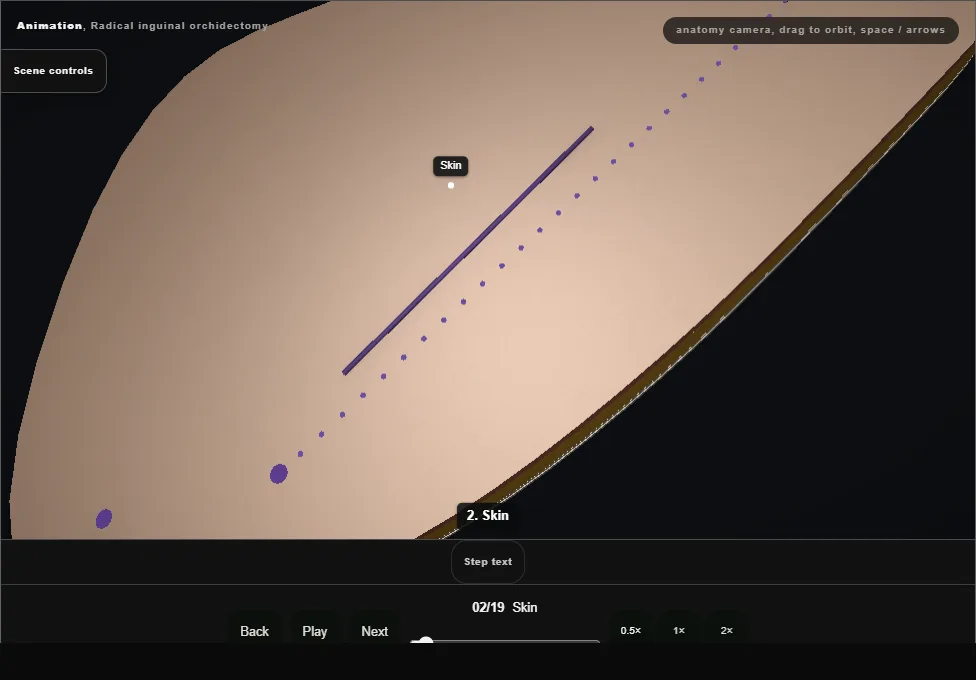
- The scalpel opens the skin along the marked line in one clean pass, and the edges part.
- 03
Subcutaneous fat (Camper's fascia)
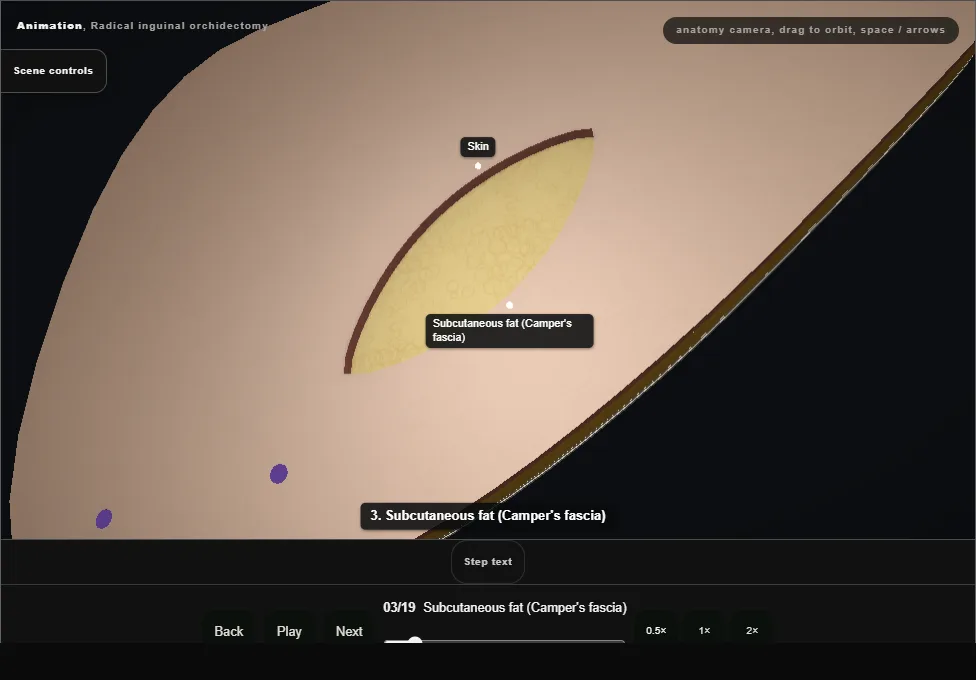
- The yellow subcutaneous fat, Camper's fascia, is divided with diathermy in the line of the skin cut; the superficial epigastric vessels crossing it are diathermied or tied.
- 04
Scarpa's fascia
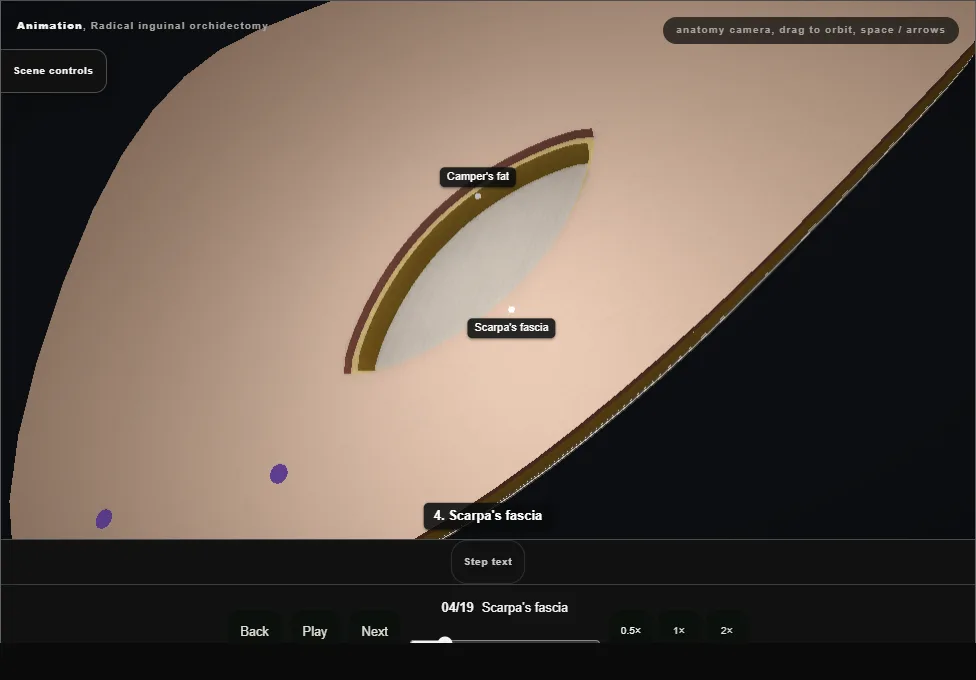
- Deeper, the pale membranous layer, Scarpa's fascia, is picked up and divided in the same line.
- 05
External oblique aponeurosis: stop
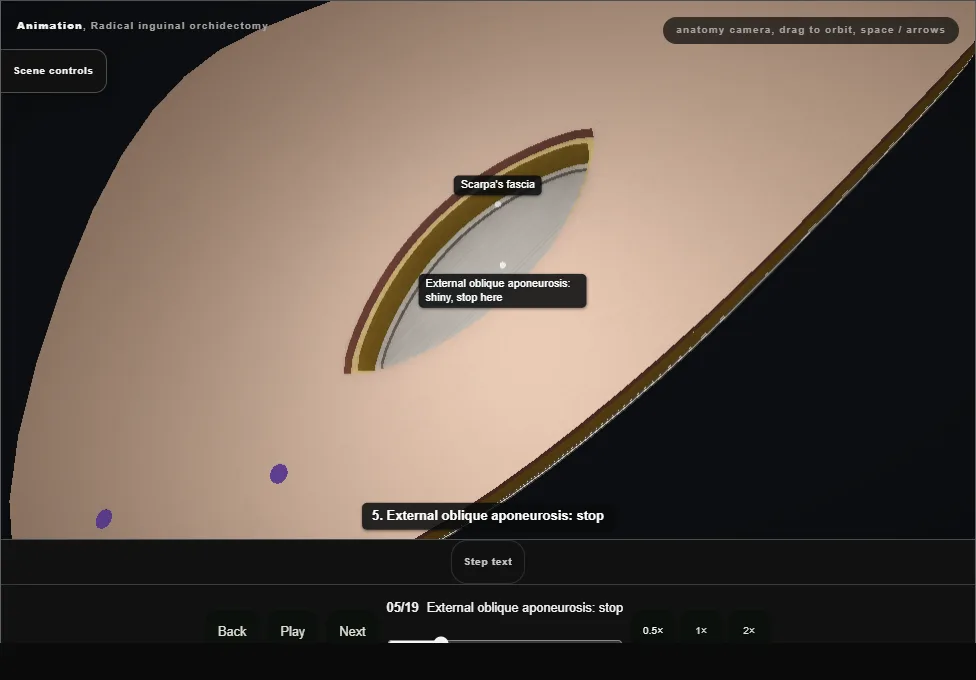
- The shiny external oblique aponeurosis comes into view, its fibres running down and in.
- Stop here: the superficial layers are done.
- 06
Open the external oblique
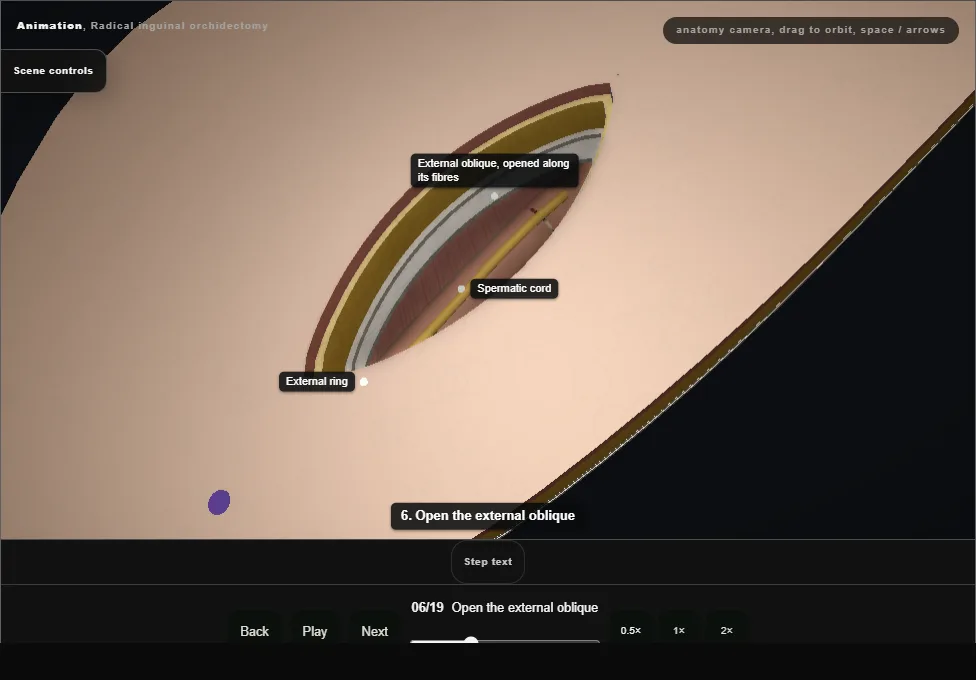
- The external oblique is nicked and opened along its fibres with scissors, down through the external ring, lifting it off the ilioinguinal nerve beneath, to show the spermatic cord in the canal.
- 07
Isolate the ilioinguinal nerve
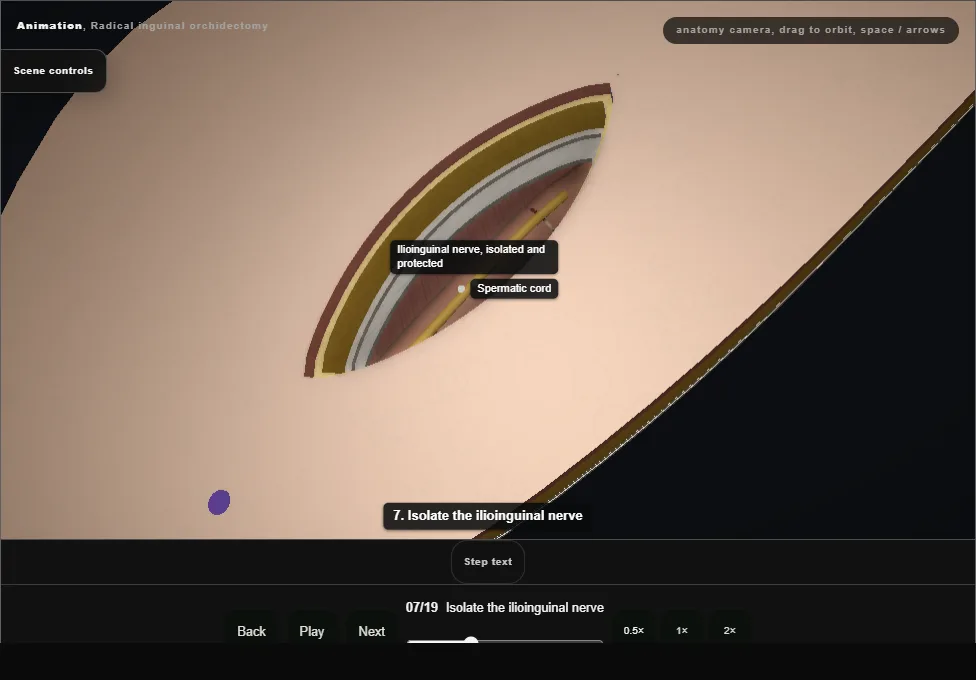
- The ilioinguinal nerve lies on the cord.
- It is isolated, lifted off the cord and protected out of the way before anything is clamped or cut.
- 08
Clamp across the cord at the internal ring
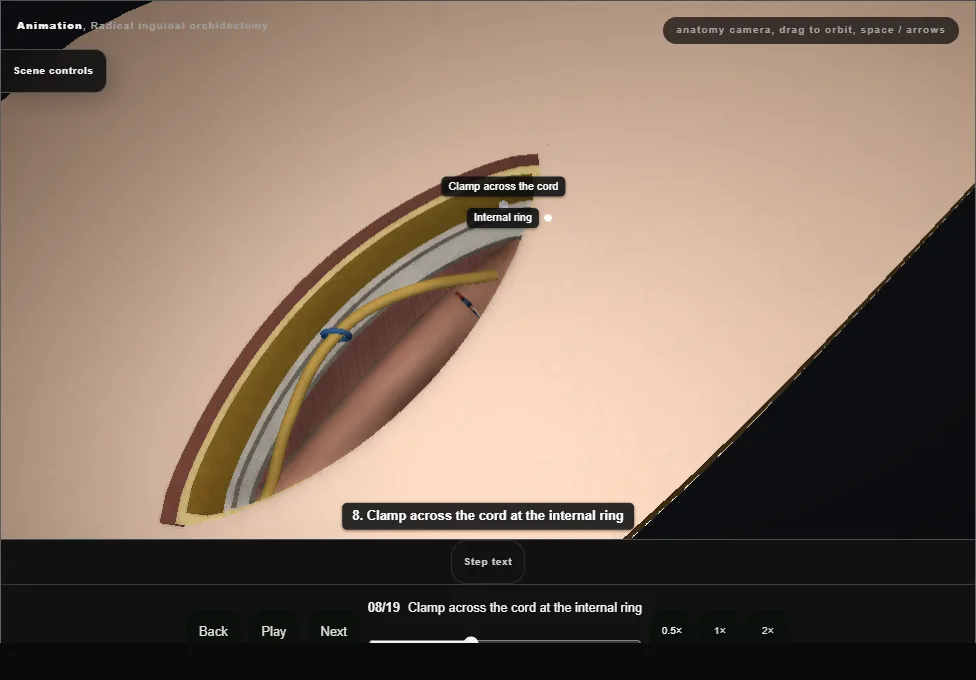
- The cord is freed from the floor of the canal and traced up to the internal ring, and a clamp goes across it there before the testis is handled: the tumour's venous and lymphatic outflow is controlled first.
- 09
Evert the scrotum, deliver the testis
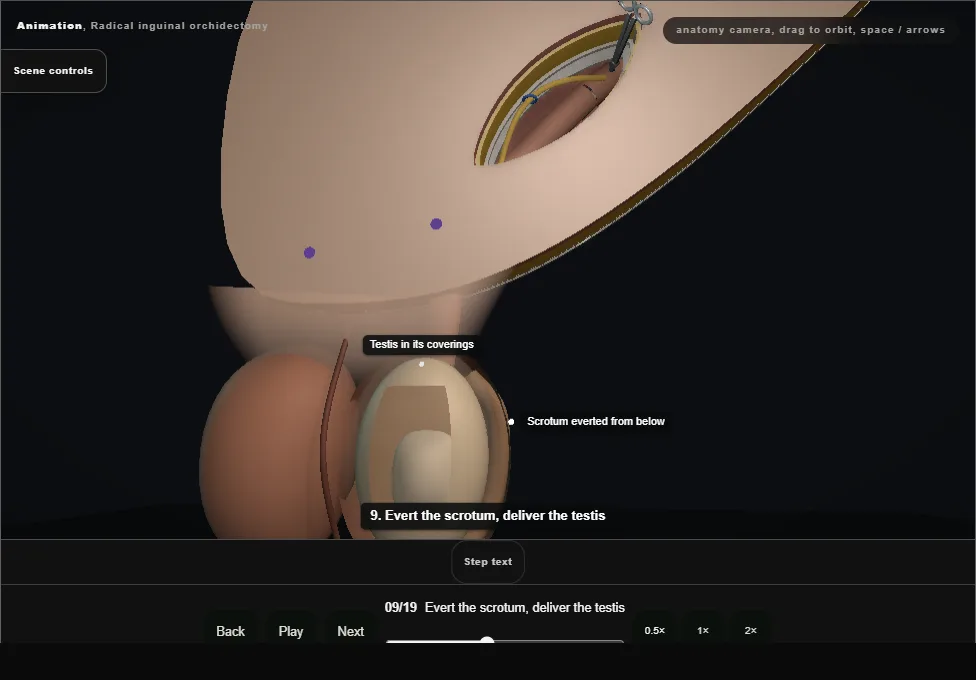
- A finger everts the scrotum from below and the testis is delivered into the wound whole, inside its coverings.
- The gubernaculum is divided and its vessels diathermied or tied; the scrotum is checked dry.
- 10
Second clamp
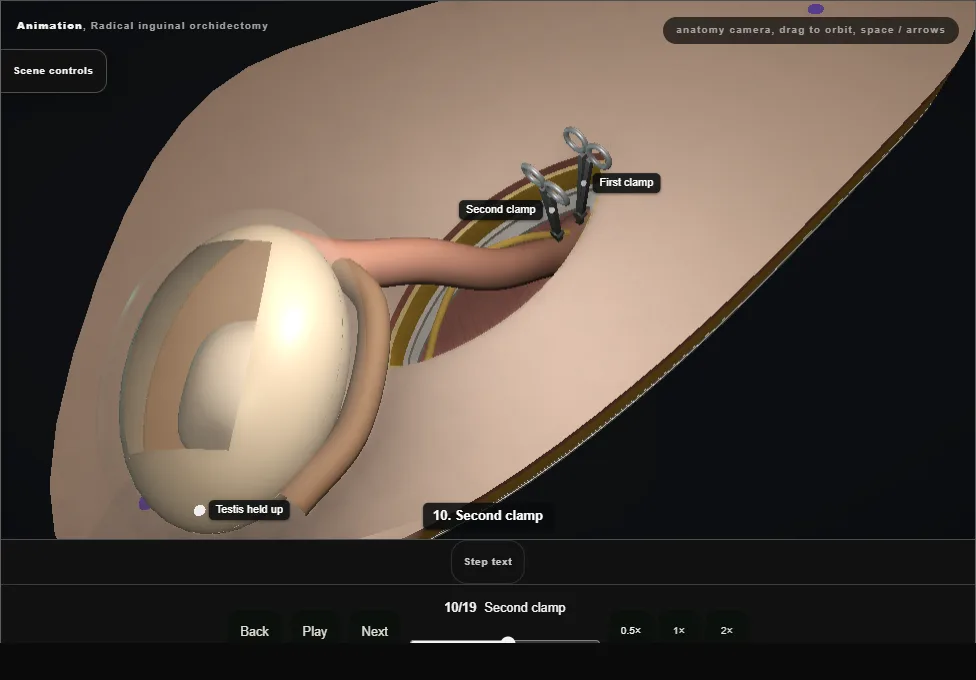
- With the testis held up out of the wound, a second clamp goes across the cord just above the first, on the testis side.
- From here, top means towards the testis and bottom means towards the internal ring.
- 11
Divide above both clamps
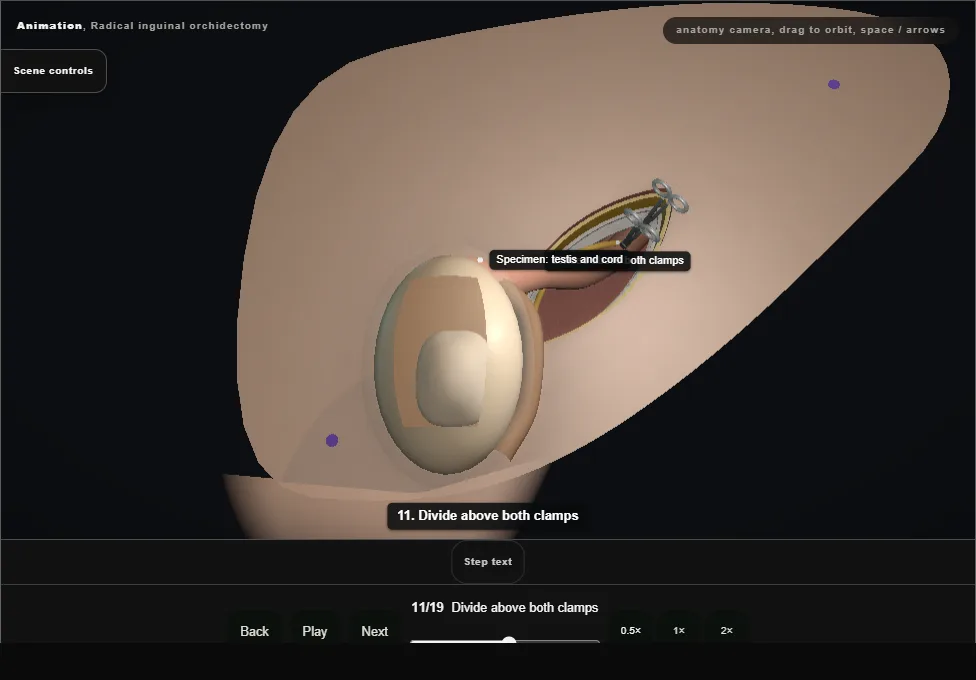
- The cord is divided above both clamps, on the testis side.
- The testis and cord are the specimen; both clamps stay on the cord stump.
- 12
Transfixion suture between the clamps
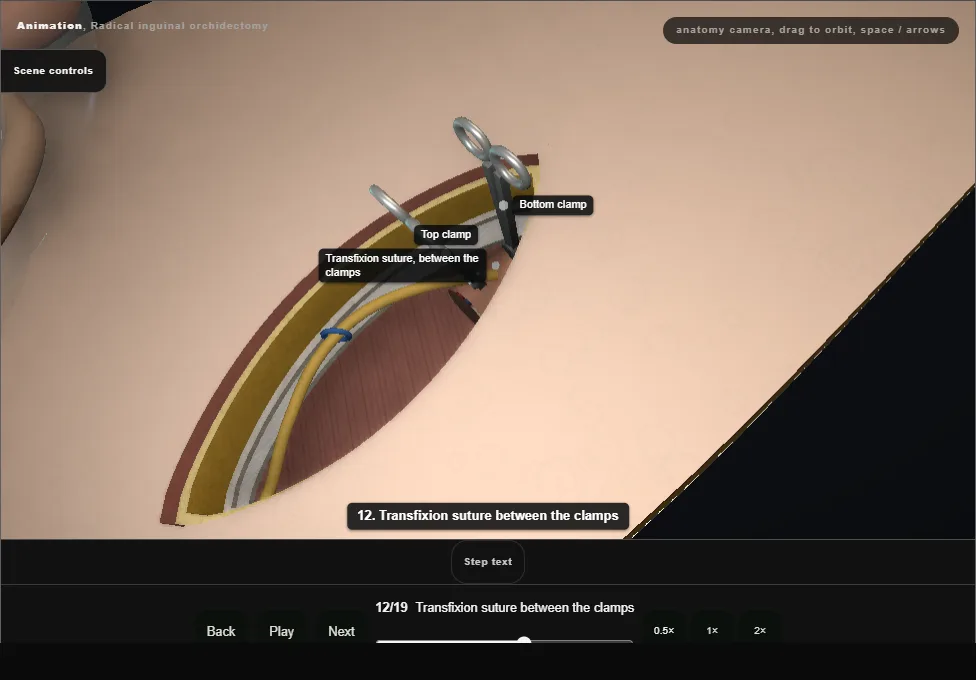
- A transfixion suture (0 Vicryl) is passed through the cord and tied below the top clamp, between both clamps.
- 13
Remove the top clamp slowly
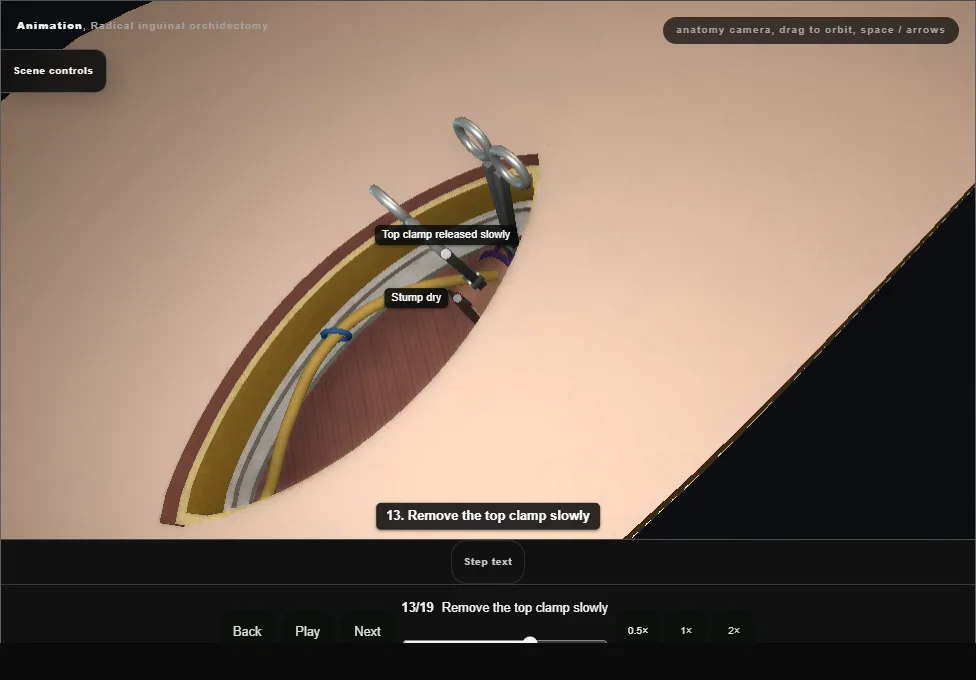
- The top clamp is released slowly and lifted off, watching the stump: it stays dry.
- 14
Transfixion suture below the bottom clamp
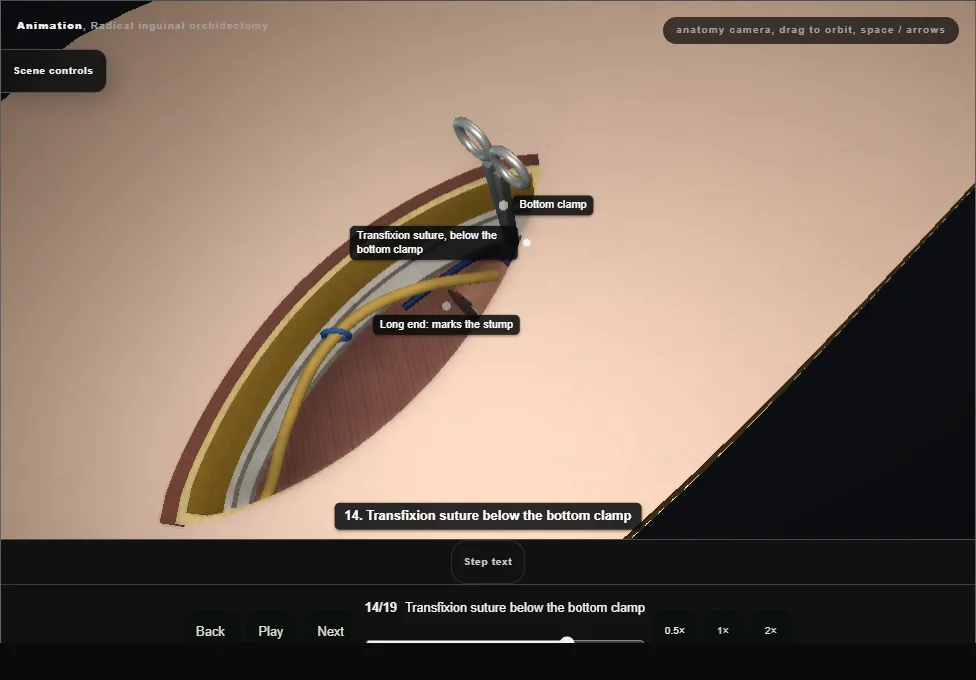
- A second transfixion suture, non-absorbable and left long, is placed and tied below the bottom clamp, at the internal ring.
- The long end marks the stump for any later retroperitoneal lymph node dissection.
- 15
Remove the bottom clamp slowly
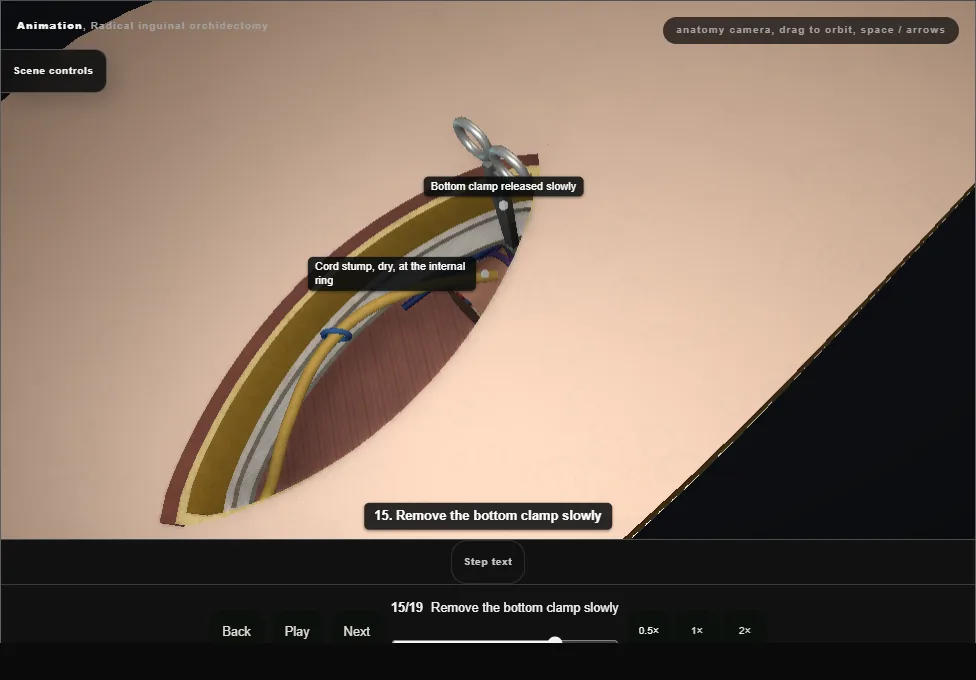
- The bottom clamp is released slowly.
- The stump is watched until it is dry before it is allowed to settle at the internal ring.
- 16
Prosthesis, if consented
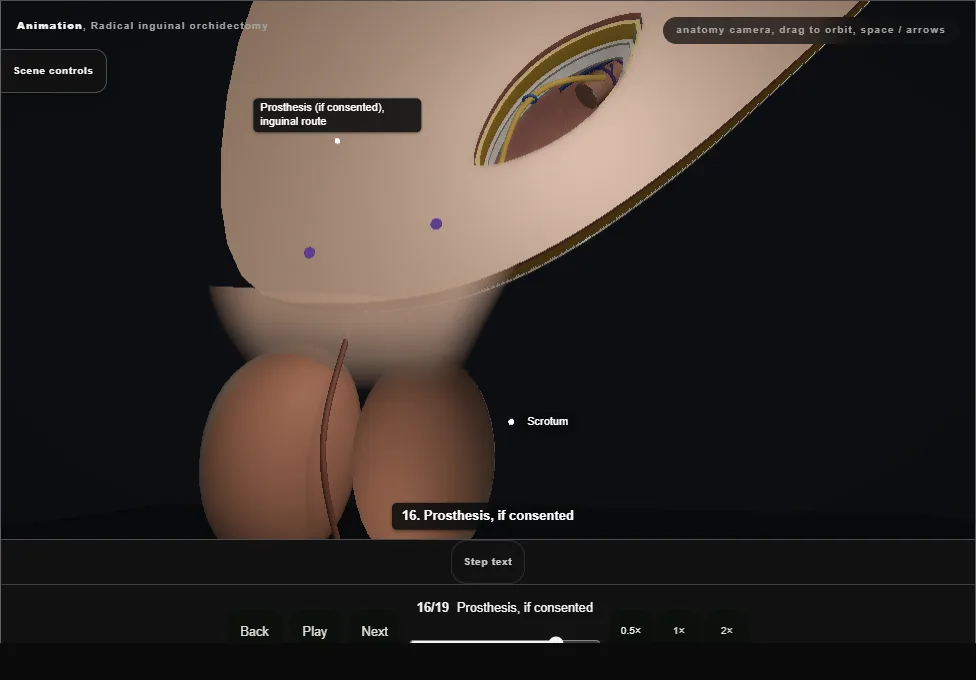
- When consented, a prosthesis passes down the same inguinal route into the scrotum and is fixed at its base: never through a separate scrotal cut in cancer.
- Declined now, it can still be offered later.
- 17
Close the external oblique
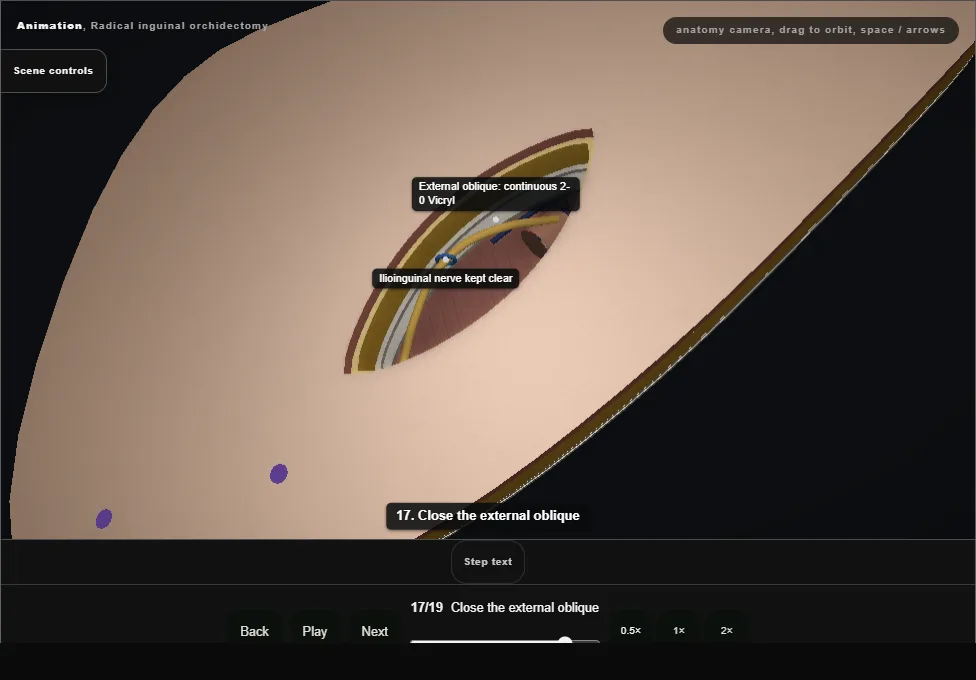
- The nerve is laid back and the external oblique is closed with a continuous 2-0 Vicryl, keeping the ilioinguinal nerve out of the suture line.
- 18
Close Scarpa's fascia
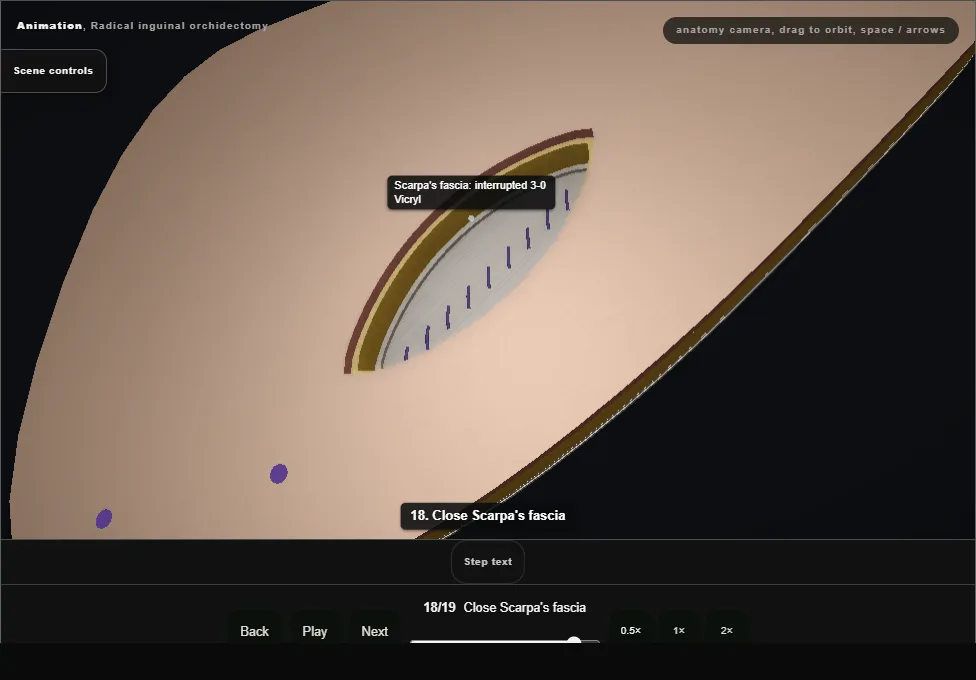
- Scarpa's fascia is closed with interrupted 3-0 Vicryl.
- 19
Close the skin; specimen to histopathology
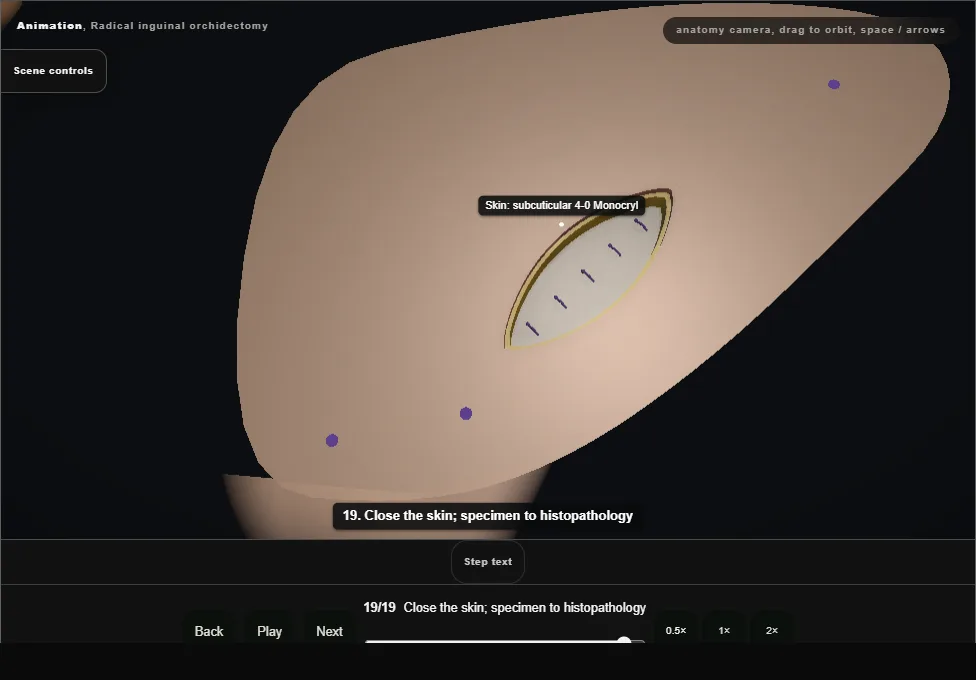
- Local anaesthetic is infiltrated and the skin is closed with a subcuticular 4-0 Monocryl.
- The specimen goes whole and orientated, cord margin marked, in a bag, for histopathology.
- Tumour markers are repeated after surgery; staging CT and the MDT follow.
Derived from OrchidectomyScene.tsx at build time: every step title and caption above is the authored
ProcedureDef text, reproduced verbatim, and this page shares its readable-points renderer with the animation
itself. 19 of 19 steps have a captured frame.
Text fingerprint 6aba2eee9233ef18. A caption edit without a re-capture fails the production
check, so the sheet and the animation cannot drift apart silently.