
Revision sheet
Paediatric pyeloplasty
9 steps, each one the authored title and caption from the interactive animation, with the frame captured from that step. Read it before the case, or print it and work through the steps in order.
Teaching only, not for diagnosis or treatment decisions. The text on this sheet is the animation's own step copy, reproduced verbatim.
UrOops3D · UroRef · © Nity G
- 01
Who
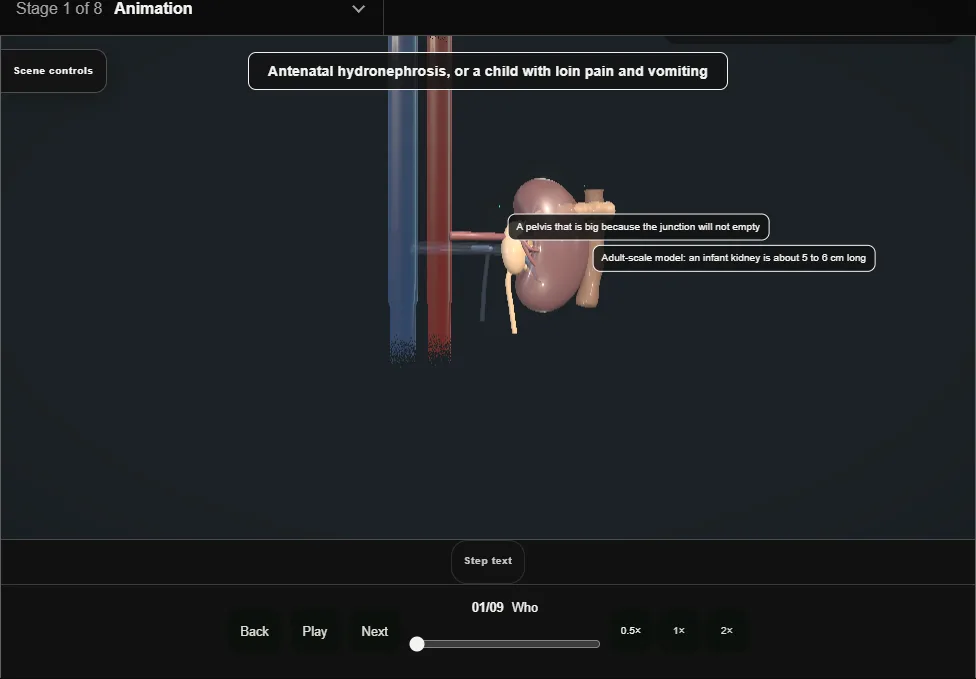
- Antenatal hydronephrosis on the twenty-week scan, or the child with loin pain and vomiting.
- Ultrasound for the size, a MAG3 for the drainage curve and split function, and the pelvis measured against itself over months.
- 02
When to operate
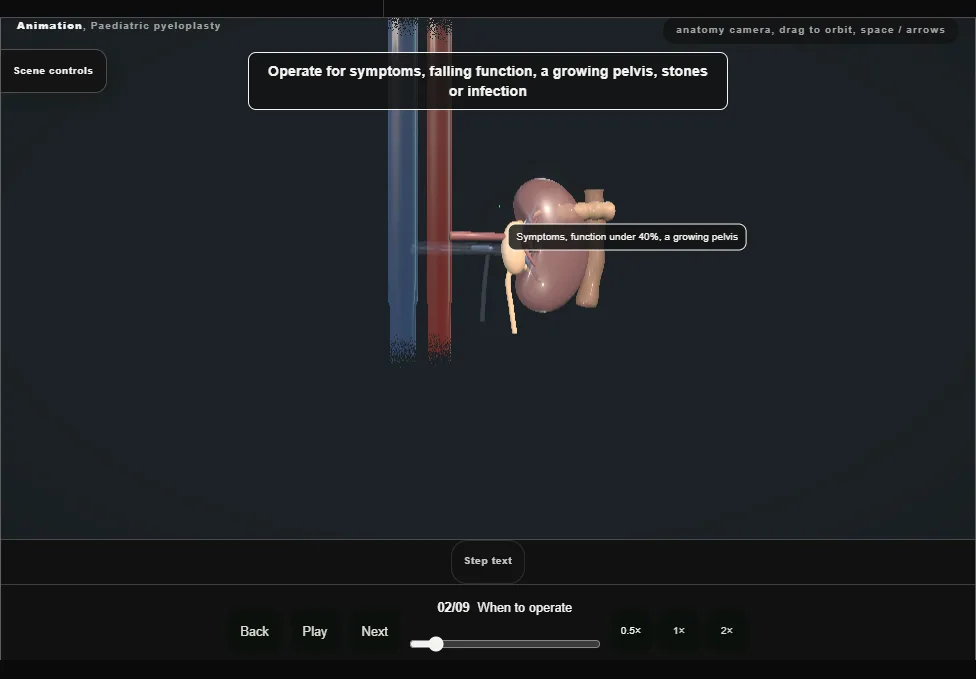
- Symptoms, a function under forty percent or falling, a pelvis over three centimetres and growing, stones or infection.
- Most antenatal hydronephrosis gets better on its own.
- 03
Open, laparoscopic or robotic
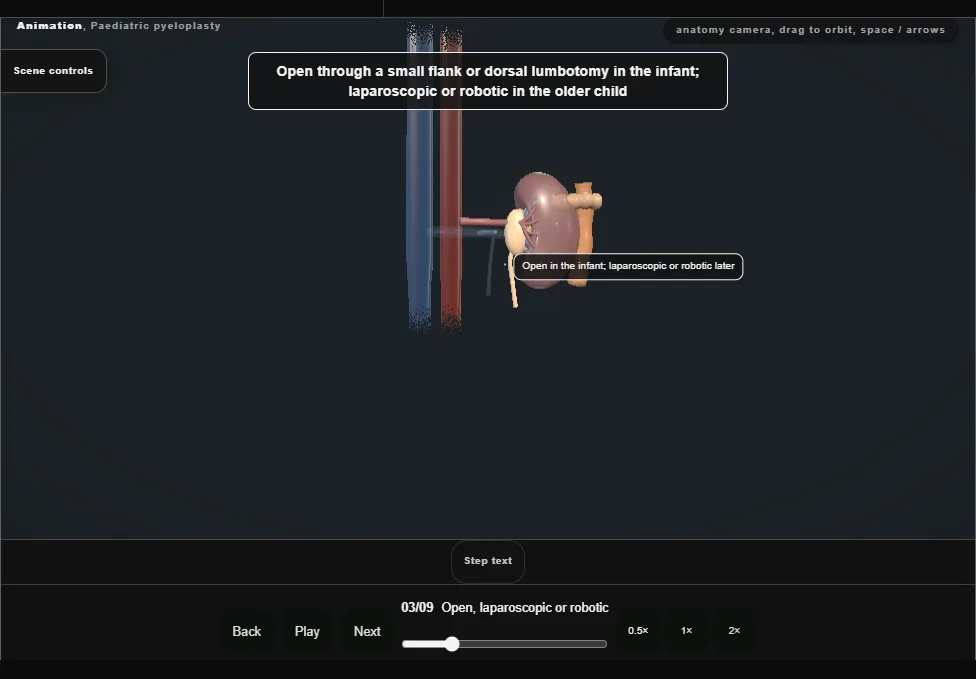
- A small flank or dorsal lumbotomy in the infant; transperitoneal laparoscopic or robotic in the older child.
- The same operation whichever way in: the junction excised, the pelvis reduced, the ureter spatulated and joined dependently.
- 04
Exposure and the pelvis
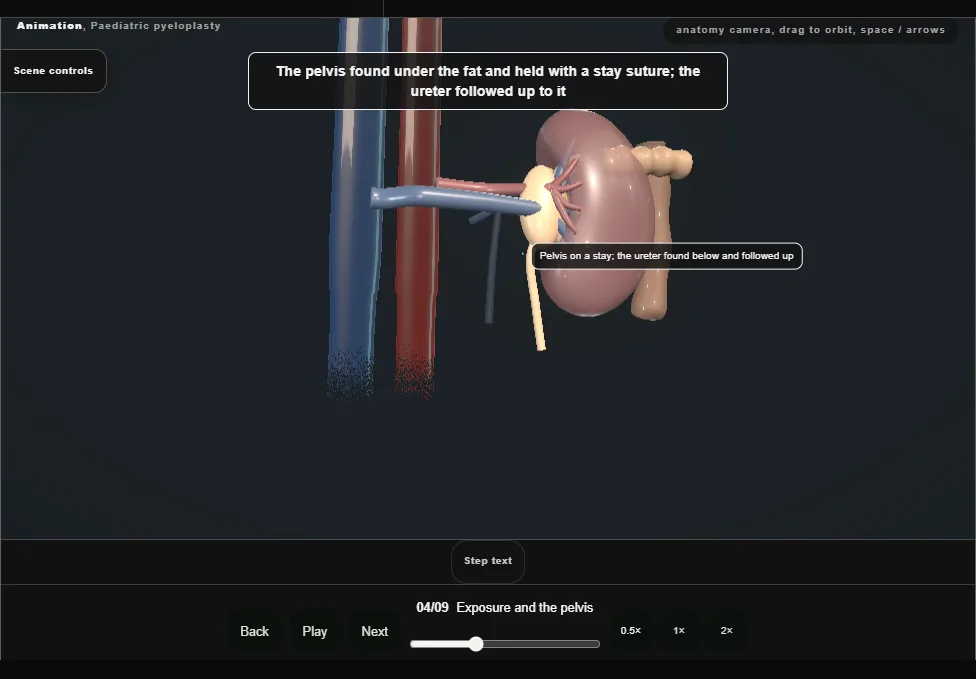
- The pelvis found under the fat and held with a stay suture; the ureter identified below the junction and followed up to it, handled by its adventitia and never grasped.
- 05
The crossing vessel
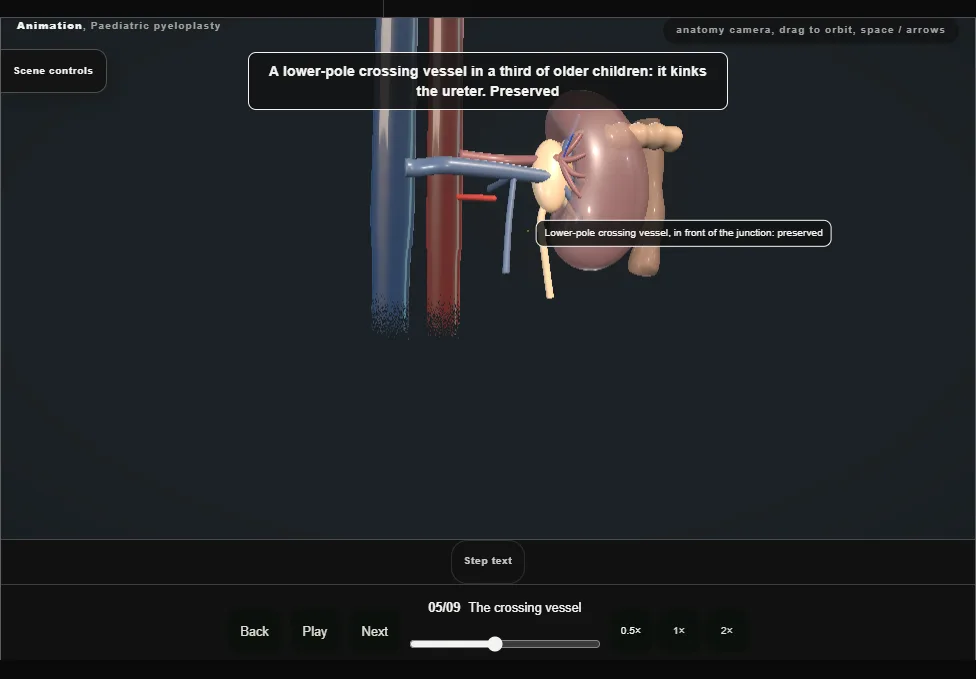
- A lower-pole vessel in a third of older children kinks the ureter over itself.
- It is preserved and the junction moved in front of it: divided, the lower pole infarcts.
- 06
Dismembering the junction
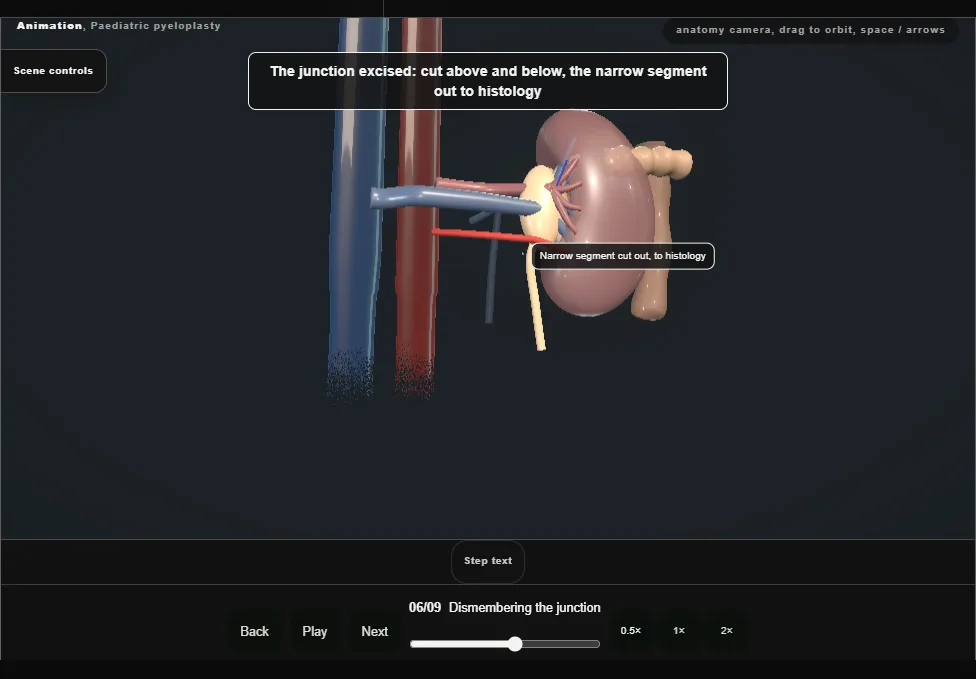
- The pelvis cut above the junction and the ureter below it at healthy calibre, the narrow segment to histology; the redundant pelvis reduced, not removed, with the cut edge kept dependent.
- 07
Spatulation and the anastomosis
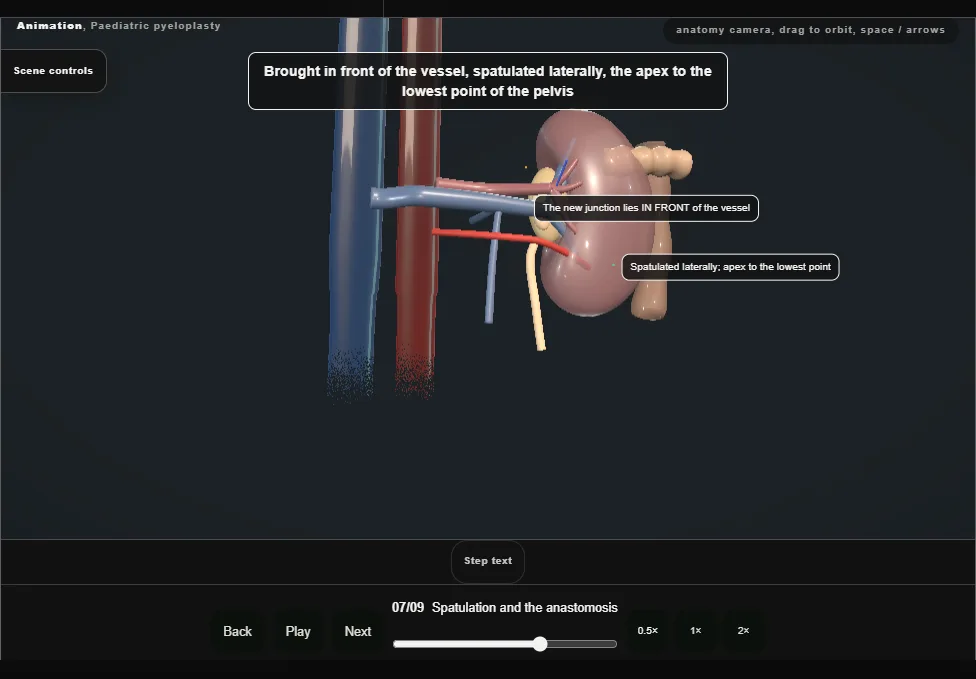
- The ureter spatulated laterally for a centimetre and its apex sewn to the lowest point of the pelvis: dependent and wide.
- Interrupted or running 6-0 or 7-0 absorbable, mucosa to mucosa, watertight, no tension.
- 08
The stent or the nephrostomy
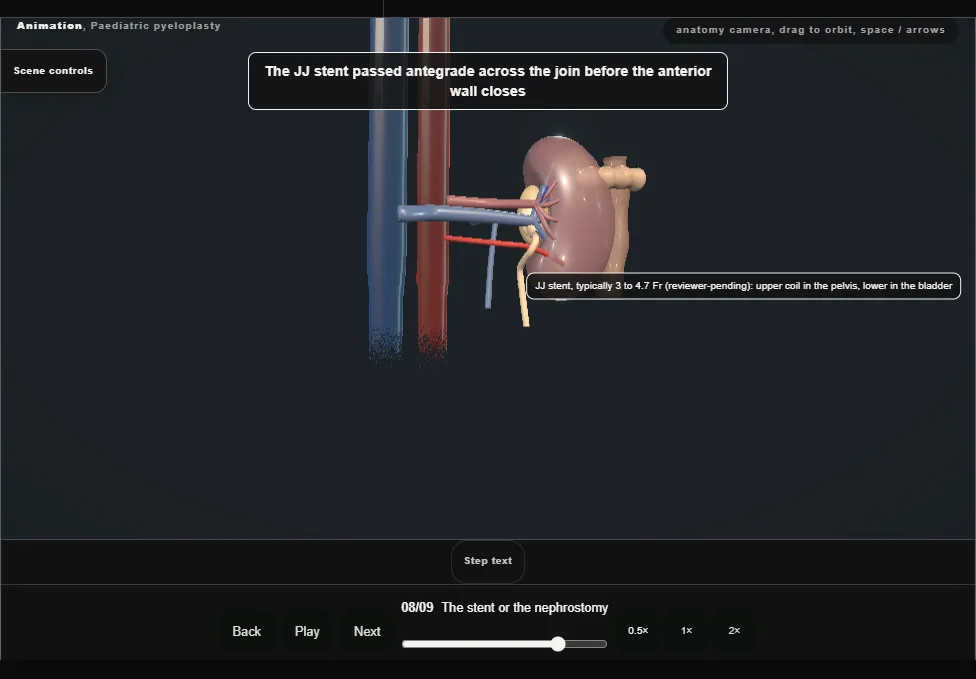
- A JJ stent across the join for four to six weeks, placed antegrade before the last sutures; or a nephrostomy and trans-anastomotic tube in the infant.
- A drain to the join, the wound in layers.
- 09
After
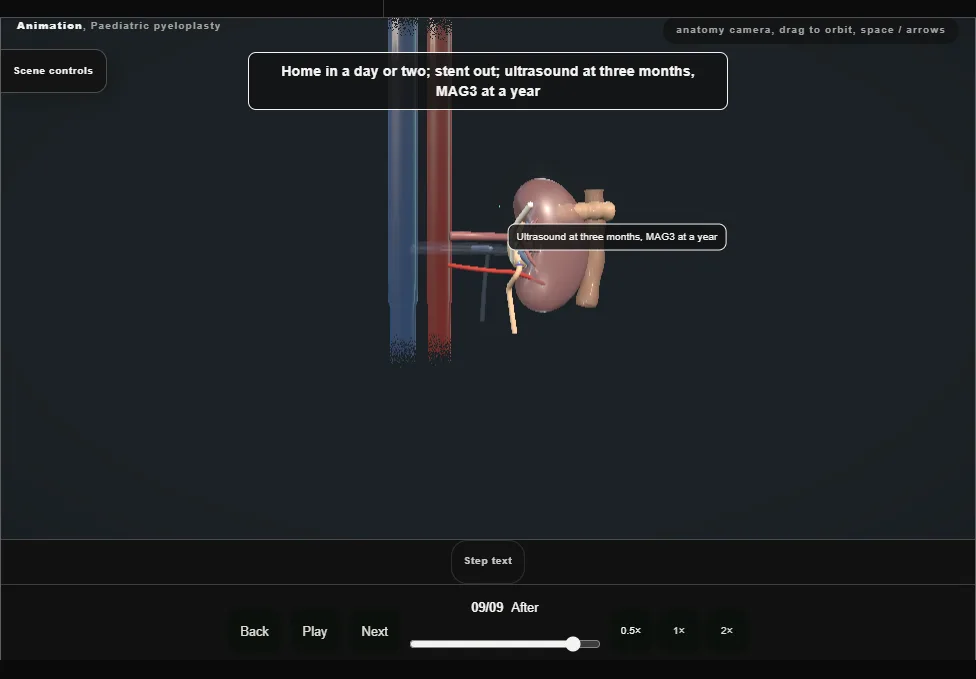
- Home in a day or two, the stent out under a short anaesthetic, ultrasound at three months and a MAG3 at a year.
- The pelvis stays big on the scan for a year; the drainage curve is what says it worked.
Derived from kidney/PaediatricPyeloplastyScene.tsx at build time: every step title and caption above is the authored
ProcedureDef text, reproduced verbatim, and this page shares its readable-points renderer with the animation
itself. 9 of 9 steps have a captured frame.
Text fingerprint 157e2e8ea1122708. A caption edit without a re-capture fails the production
check, so the sheet and the animation cannot drift apart silently.