
Revision sheet
Posterior urethral reconstruction
9 steps, each one the authored title and caption from the interactive animation, with the frame captured from that step. Read it before the case, or print it and work through the steps in order.
Teaching only, not for diagnosis or treatment decisions. The text on this sheet is the animation's own step copy, reproduced verbatim.
UrOops3D · UroRef · © Nity G
- 01
The defect
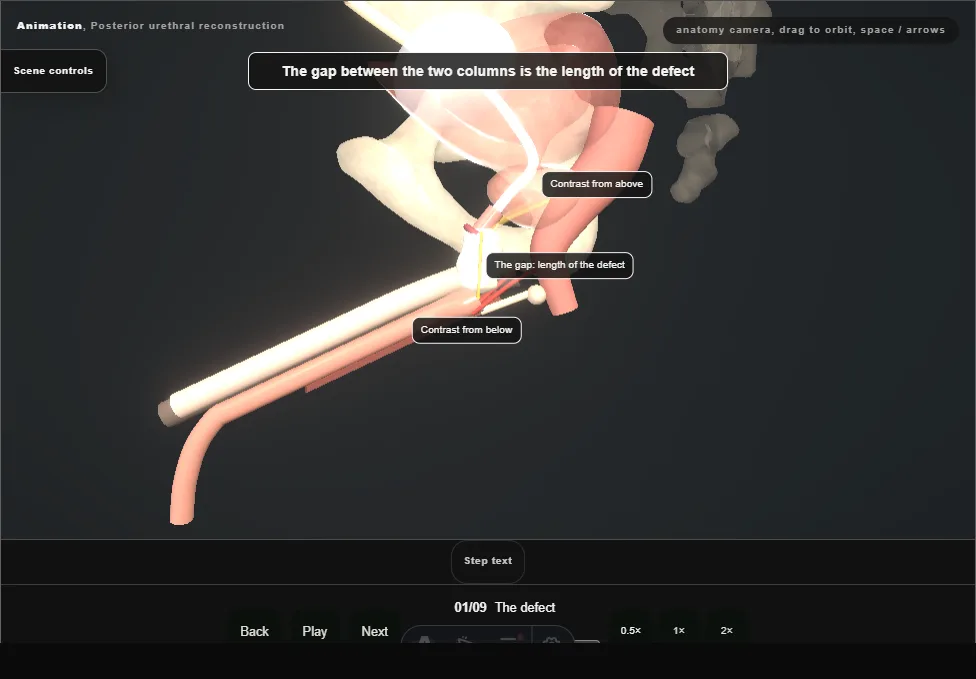
- Months after the injury, with a suprapubic catheter in place.
- The prostate has risen behind the pubis and scar fills the gap between the bulbar urethra and the prostatic apex.
- Contrast from below and from above shows the two ends; the gap between them is the length of the defect.
- 02
Lithotomy and exposure
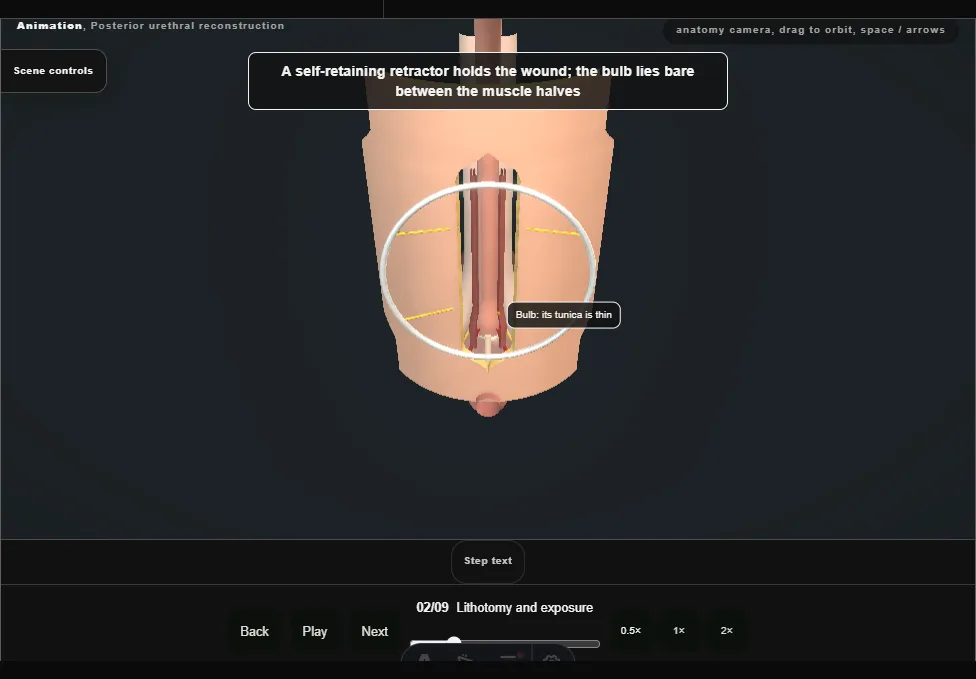
- High lithotomy in padded stirrups, the images in the room.
- A vertical midline perineal incision from the base of the scrotum to just above the anus; Colles fascia is opened.
- Bulbospongiosus is divided in the midline and dissected off the bulb without breaching its thin tunica.
- 03
Free and transect
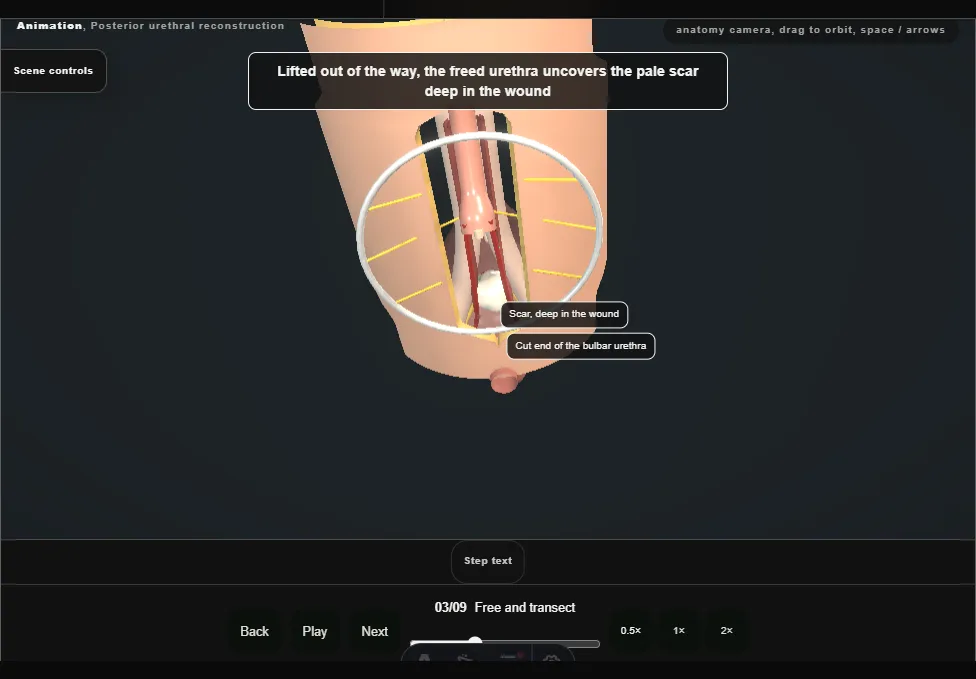
- A catheter from the meatus stops at the distal end of the scar.
- The bulbar urethra is dissected all the way round, freed from the corpora and cut across where it meets the scar.
- It is mobilised distally to the penoscrotal junction and proximally off its posterior attachments, the bulbar arteries kept.
- 04
Find the proximal urethra
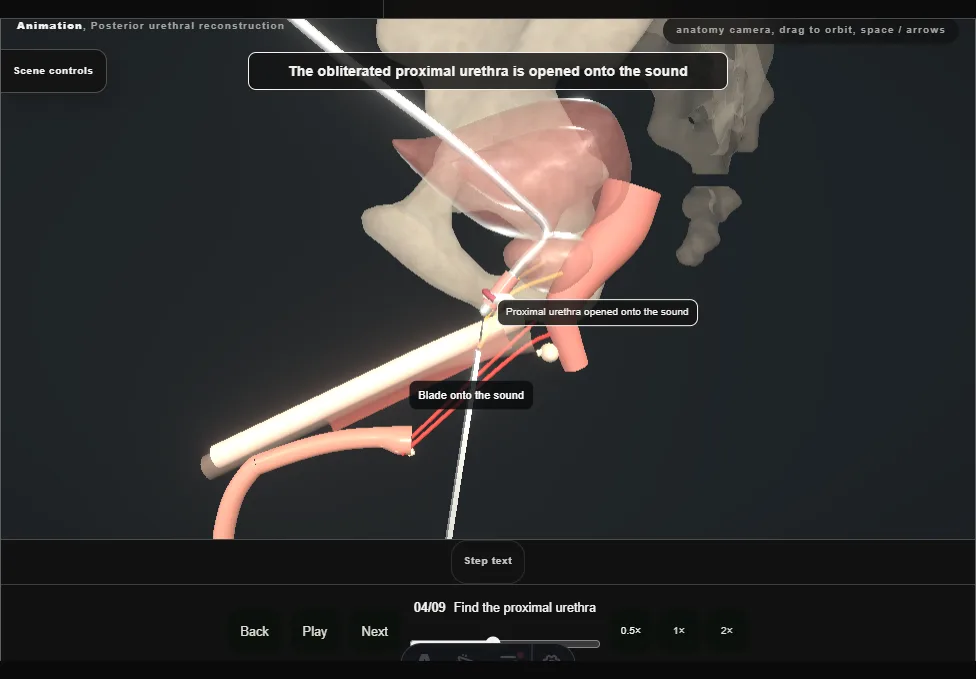
- The suprapubic catheter comes out and a curved metal sound goes down the cystostomy tract, through the bladder neck, to the proximal end of the obstruction.
- The scar is excised from below until the sound can be felt, and the obliterated proximal urethra is opened onto it.
- 05
Excise to healthy urethra
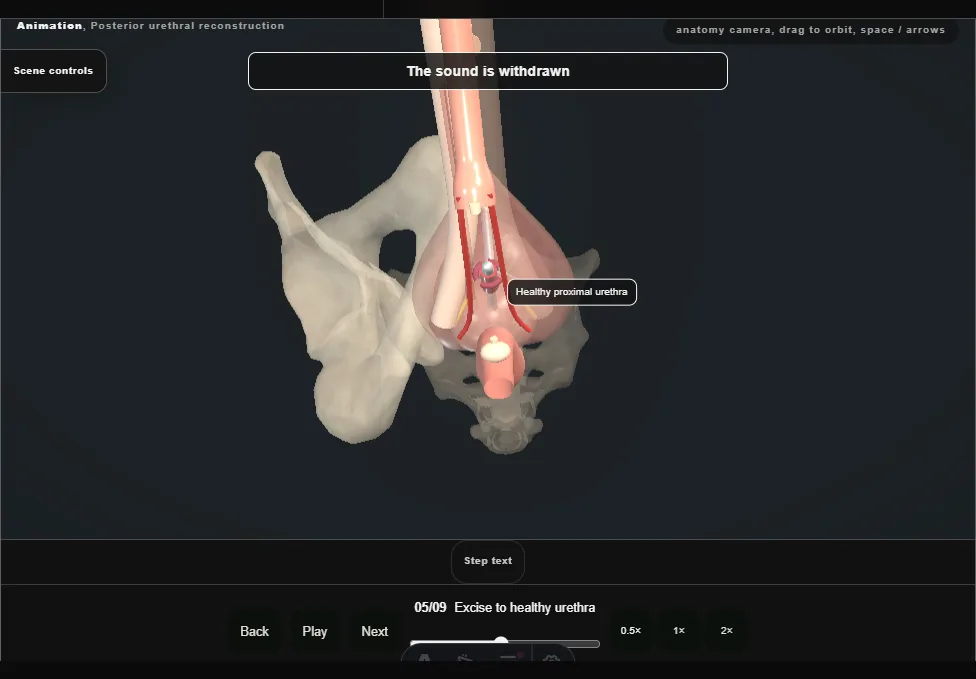
- The remaining fibrosis is excised entirely, down to healthy urethra, with the rectum just behind.
- The sound is withdrawn and cystourethroscopy confirms no false passage.
- Both ends are tagged with stay sutures and calibrated with bougies à boule.
- 06
Bridge the gap
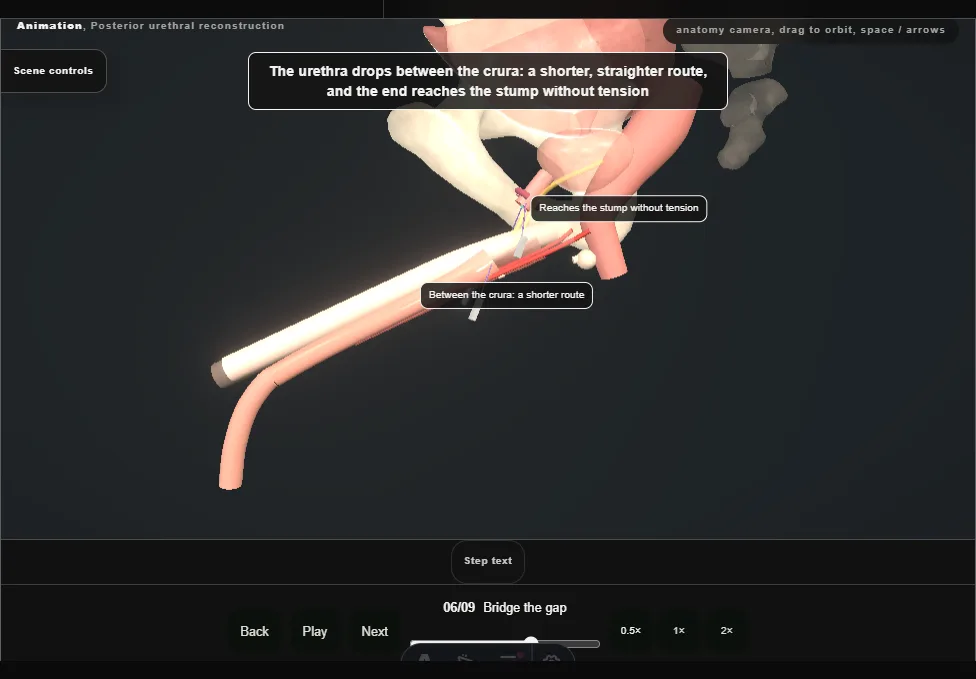
- Mobilisation alone leaves the ends apart.
- For a longer defect the corporal bodies are separated in the midline and the dorsal vein divided, so the urethra takes a shorter route between the crura.
- If that were still not enough, an inferior pubectomy would follow, then rerouting over the left corporal body.
- 07
Spatulate
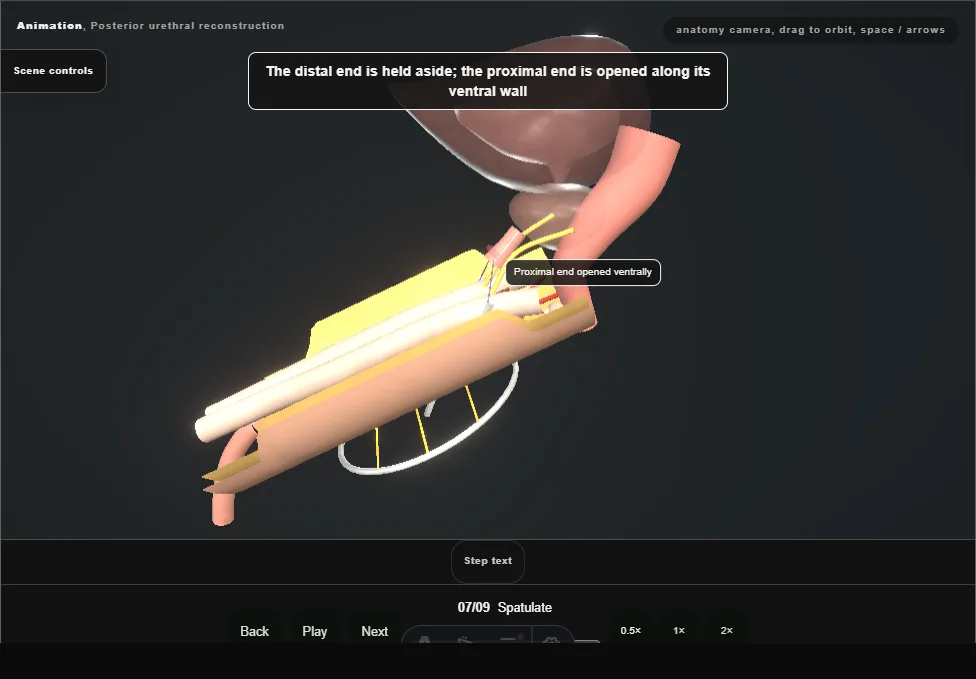
- With the ends lying together without tension, the distal end is spatulated dorsally and the proximal end ventrally, so that the two openings overlap and the join is wider than either lumen.
- 08
The anastomosis
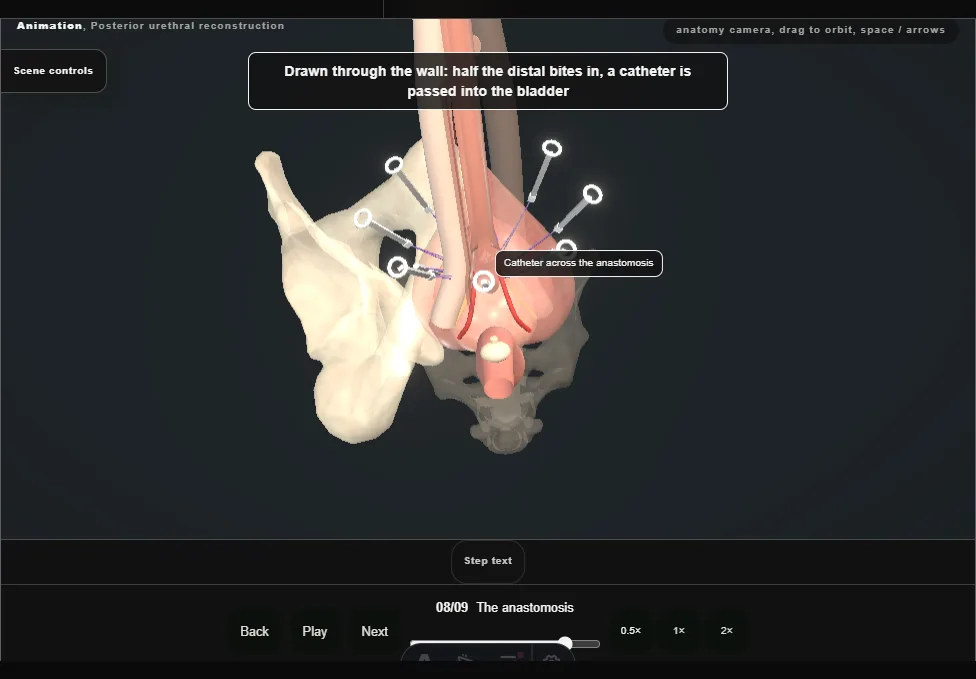
- Interrupted sutures go outside-in through the proximal end, clockwise from twelve o'clock, then inside-out through the distal end, each held on a numbered clamp.
- Half way round the distal end a catheter is passed into the bladder; then every suture is tied, clockwise from twelve.
- 09
Layered closure
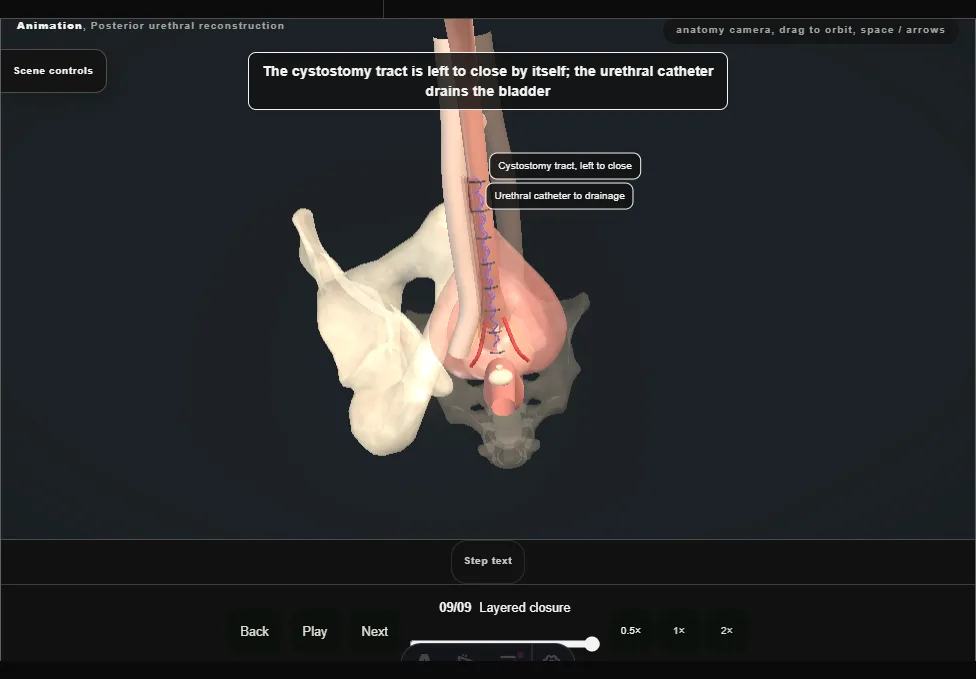
- Bulbospongiosus is closed with a running suture, then Colles fascia and the subcutaneous tissue separately to leave no dead space, then the skin.
- The cystostomy tract is left to close by itself; the urethral catheter drains the bladder.
Derived from pelvis/PosteriorUrethroplastyScene.tsx at build time: every step title and caption above is the authored
ProcedureDef text, reproduced verbatim, and this page shares its readable-points renderer with the animation
itself. 9 of 9 steps have a captured frame.
Text fingerprint 5569943ff5d79bd3. A caption edit without a re-capture fails the production
check, so the sheet and the animation cannot drift apart silently.