
Revision sheet
Autologous pubovaginal sling
10 steps, each one the authored title and caption from the interactive animation, with the frame captured from that step. Read it before the case, or print it and work through the steps in order.
Teaching only, not for diagnosis or treatment decisions. The text on this sheet is the animation's own step copy, reproduced verbatim.
UrOops3D · UroRef · © Nity G
- 01
Suprapubic incision
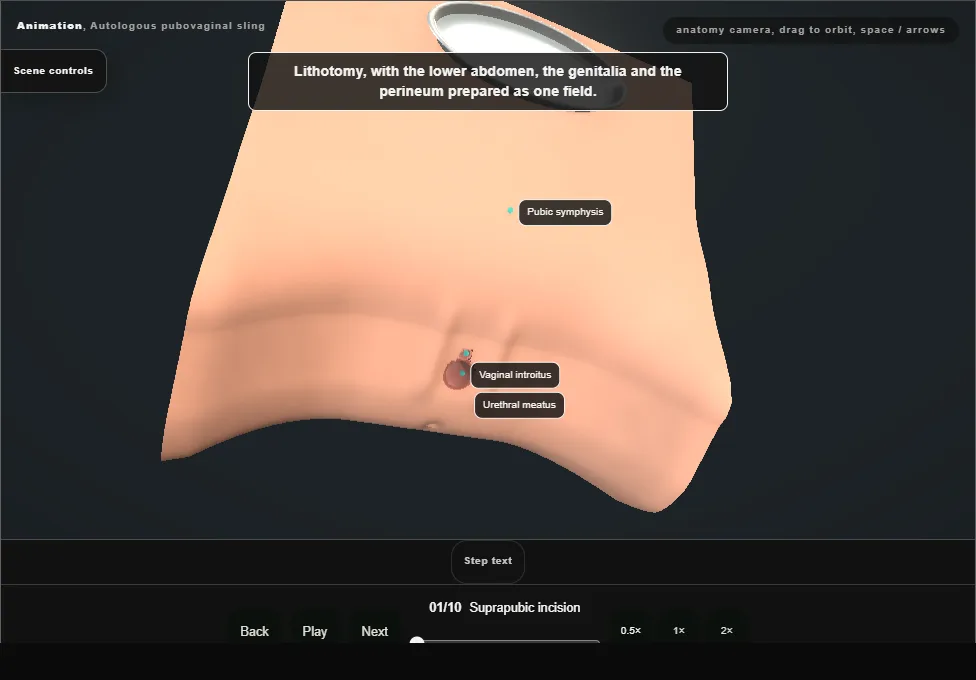
- Lithotomy, with the abdomen, genitalia and perineum in one field.
- A low transverse incision above the pubic symphysis is carried through the subcutaneous tissue to the anterior rectus sheath, and a self-retaining retractor is placed.
- 02
Harvest the strip
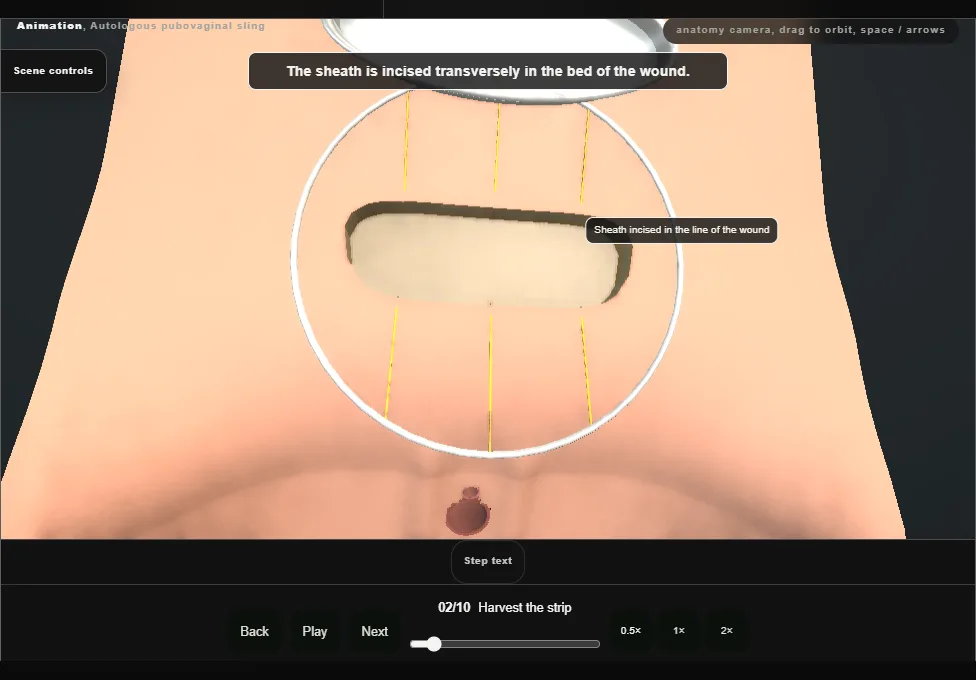
- The sheath is incised transversely in the bed of the wound.
- A strip is raised from the leaf below the incision by lifting the fascia off the rectus muscle.
- A long suture is placed through each end and clamped, and the strip is kept in saline.
- 03
Close the sheath
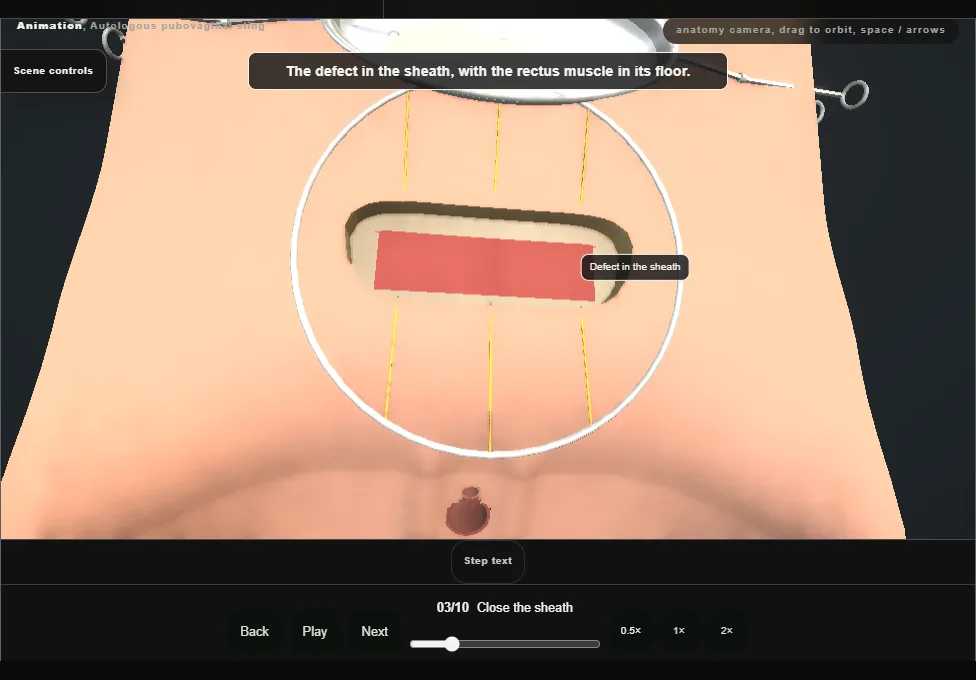
- The cut edges of the sheath are mobilised and the defect is closed without tension with a running suture.
- The wound is washed out and the retractor removed; the skin is left open for the passes.
- 04
Vaginal flap
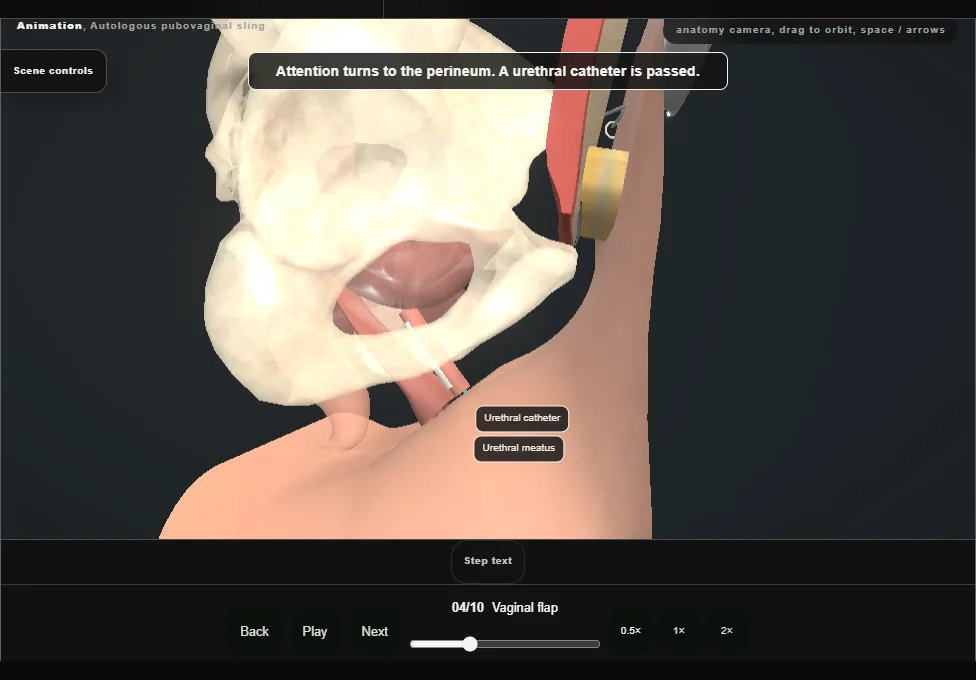
- A urethral catheter drains the bladder, which is kept empty from here on.
- With a weighted speculum and a self-retaining retractor in place, the anterior wall is infiltrated and an inverted-U incision raises a flap off the periurethral and pubocervical fascia.
- The dissection is carried out to the pubic rami.
- 05
Into the retropubic space
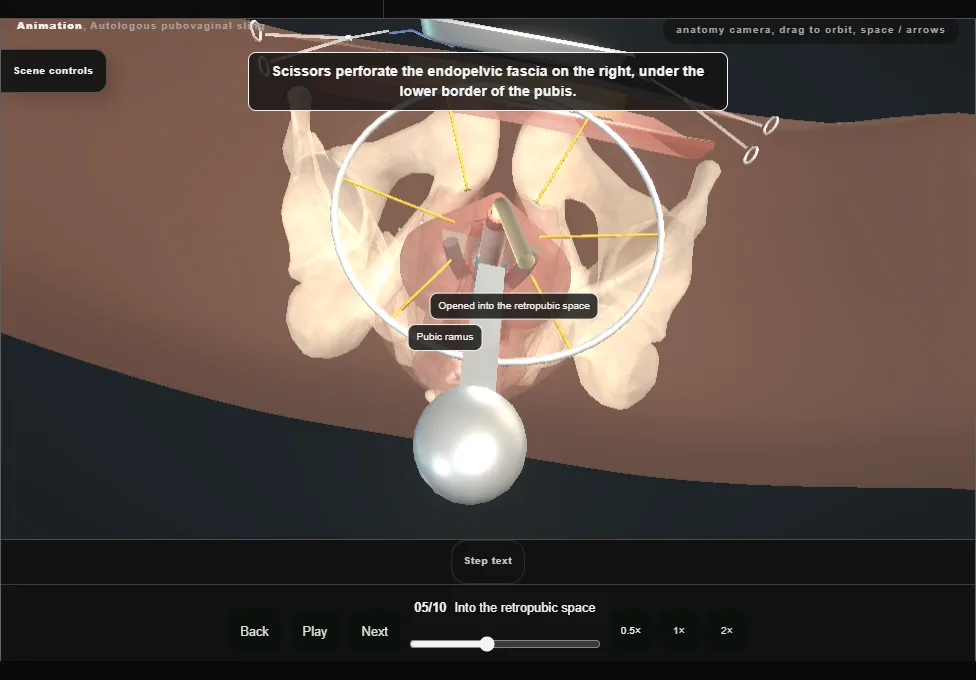
- Scissors perforate the endopelvic fascia on each side, under the lower border of the pubis.
- A finger develops each tunnel from the vagina up to the back of the rectus muscle, hugging the back of the pubis so that the bladder stays behind it.
- 06
First pass
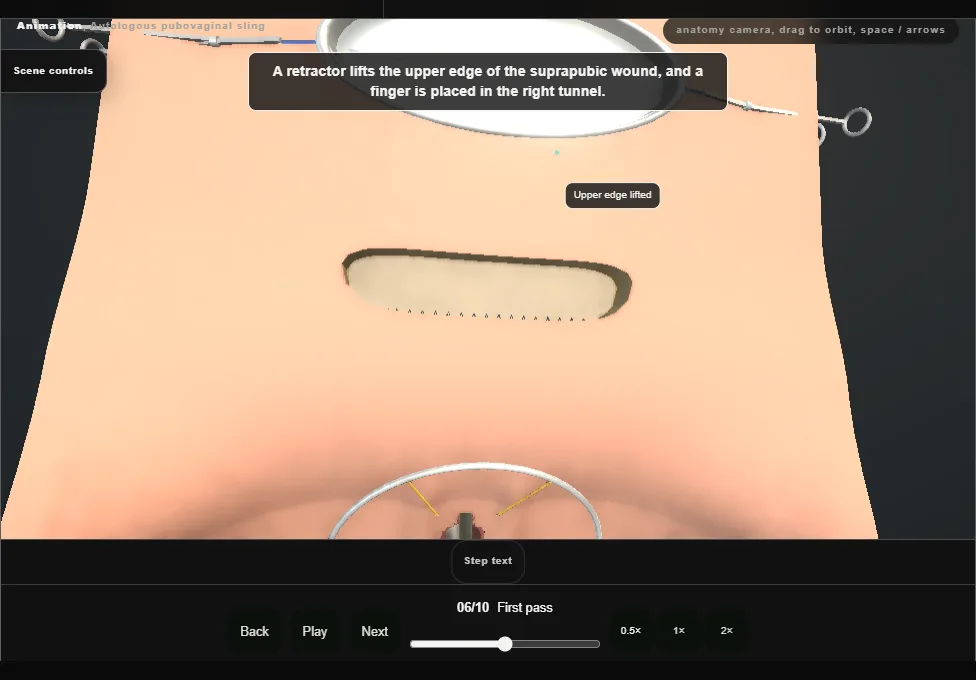
- A ligature carrier perforates the rectus sheath just off the midline, above the pubis.
- With a finger in the retropubic space it is angled down and advanced on the back of the bone, through the opening in the fascia, into the vagina.
- The strip is brought to the vaginal field; its suture is loaded on the carrier, drawn back up and clamped.
- 07
Second pass
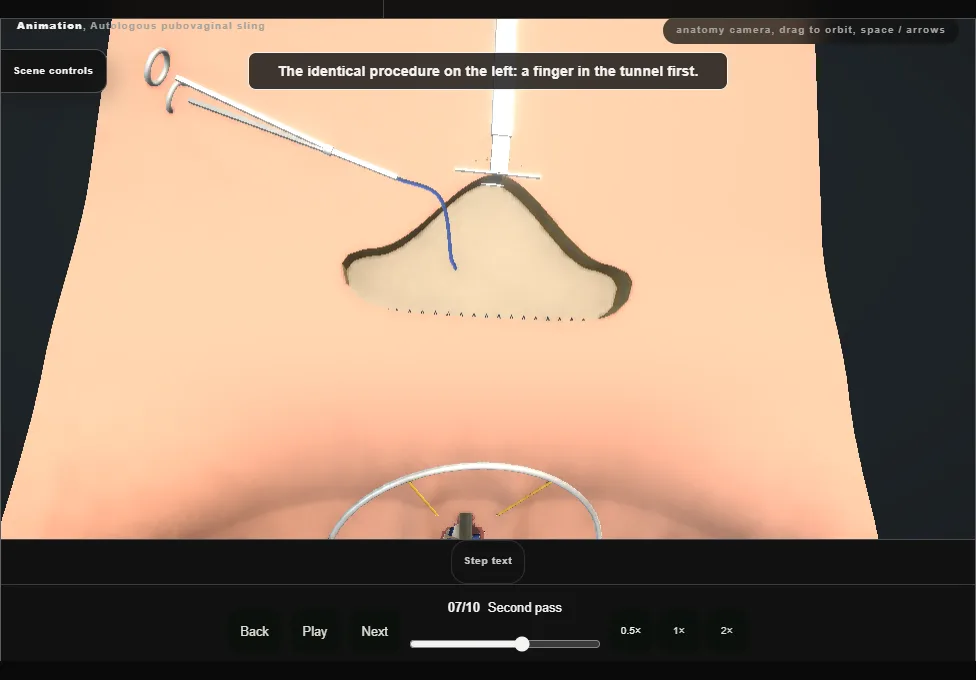
- The identical procedure on the other side: finger first, the carrier through the sheath just off the midline, down on the back of the pubis into the vagina, the second suture loaded and drawn up.
- Both ends are clamped above the sheath.
- The strip has not yet been drawn in.
- 08
Cystourethroscopy
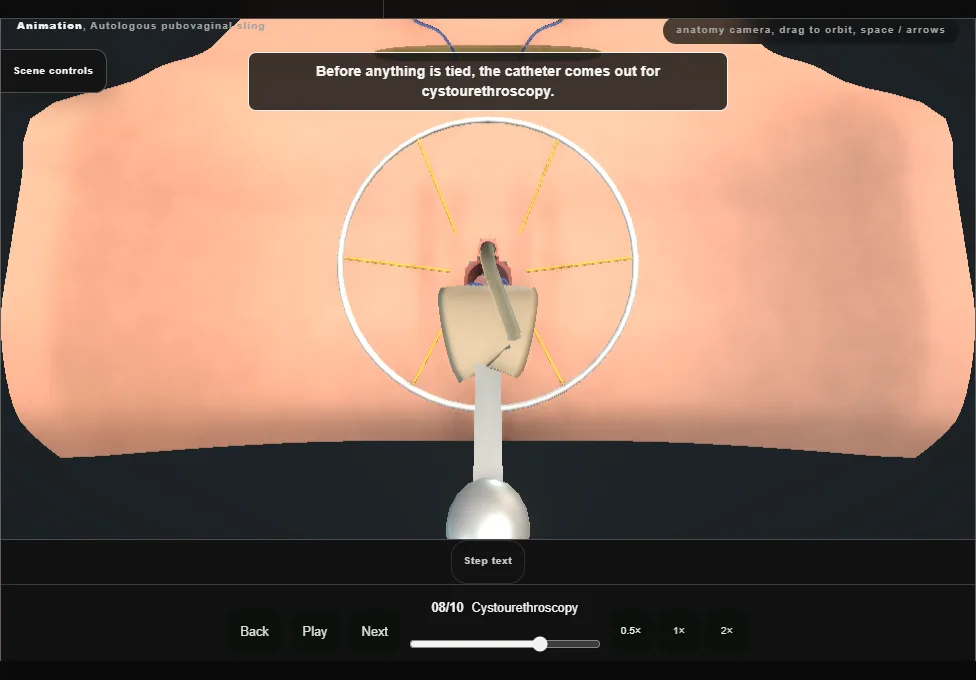
- The catheter comes out and the bladder and urethra are inspected before anything is tied: the bladder and proximal urethra intact, efflux from both ureteric orifices, and no suture inside the bladder.
- The cystoscope is then replaced by the catheter.
- 09
Set the sling
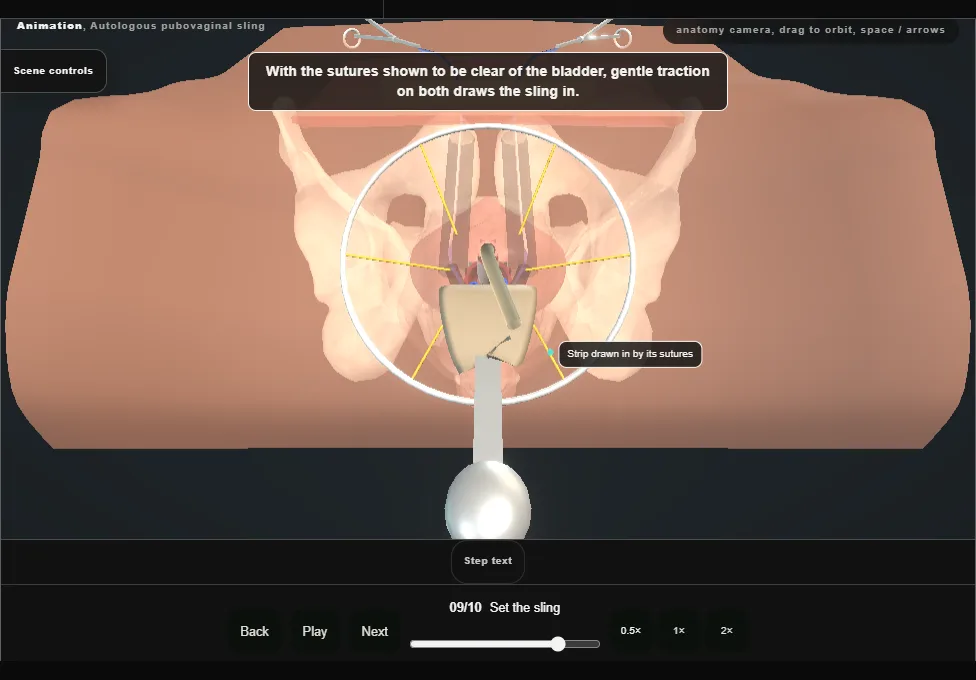
- Gentle traction on both sutures brings the sling to the bladder neck and proximal urethra.
- Its middle is fixed to the periurethral fascia with two stitches.
- The two sutures are then tied to each other over the rectus sheath, loosely.
- 10
Closure
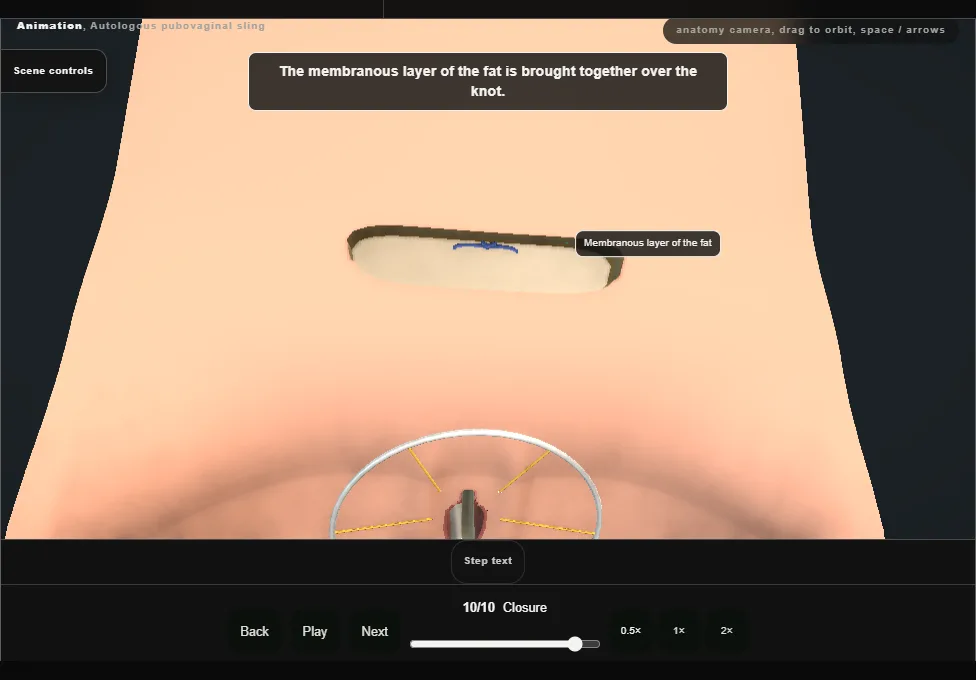
- The membranous layer of the fat is approximated and the skin closed with a subcuticular stitch and adhesive strips.
- The vaginal retractor and the speculum are removed and the vaginal wall is closed with interrupted stitches.
- The catheter is left on drainage.
Derived from female/PubovaginalSlingScene.tsx at build time: every step title and caption above is the authored
ProcedureDef text, reproduced verbatim, and this page shares its readable-points renderer with the animation
itself. 10 of 10 steps have a captured frame.
Text fingerprint fe37fdb0b58a6800. A caption edit without a re-capture fails the production
check, so the sheet and the animation cannot drift apart silently.