
Revision sheet
Posterior urethral valve ablation
9 steps, each one the authored title and caption from the interactive animation, with the frame captured from that step. Read it before the case, or print it and work through the steps in order.
Teaching only, not for diagnosis or treatment decisions. The text on this sheet is the animation's own step copy, reproduced verbatim.
UrOops3D · UroRef · © Nity G
- 01
The boy
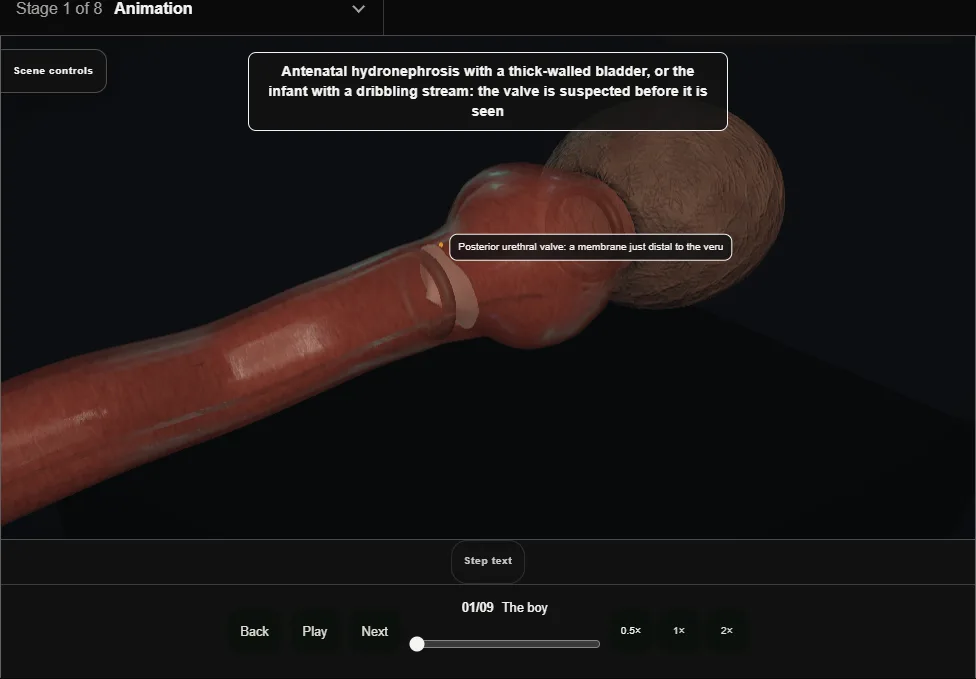
- Antenatal hydronephrosis, a thick bladder, a poor stream, or renal failure in an infant.
- Drainage first with a feeding tube, never a balloon catheter in a posterior urethra that will not forgive it.
- 02
Assessment
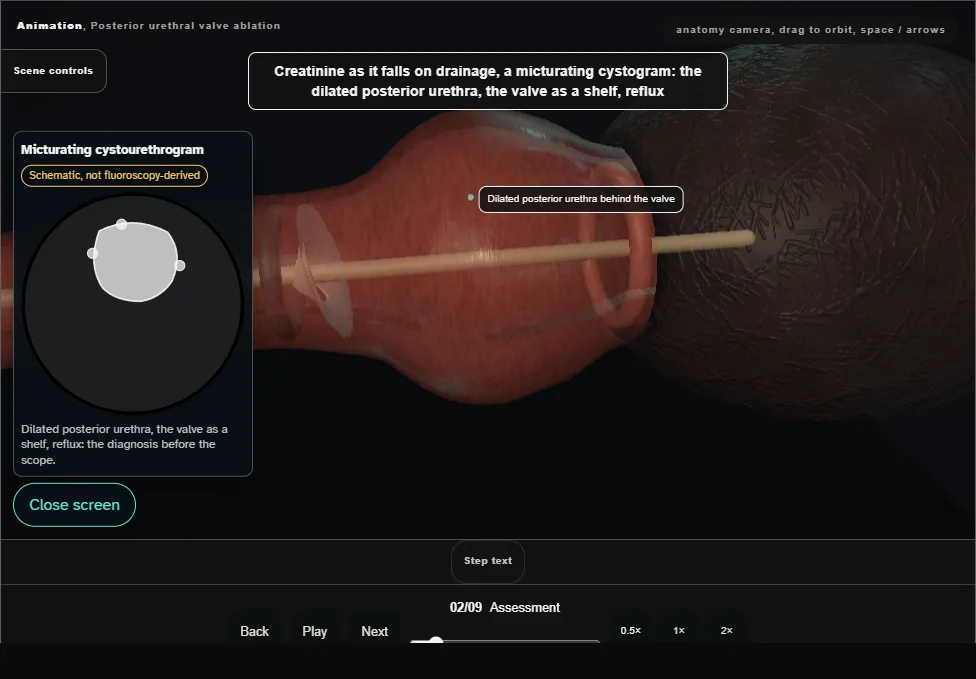
- The creatinine as it falls on drainage, a micturating cystogram showing the dilated posterior urethra, the valve and reflux, and a nephrologist as a partner: the bladder is as much the patient as the valve.
- 03
The instrument
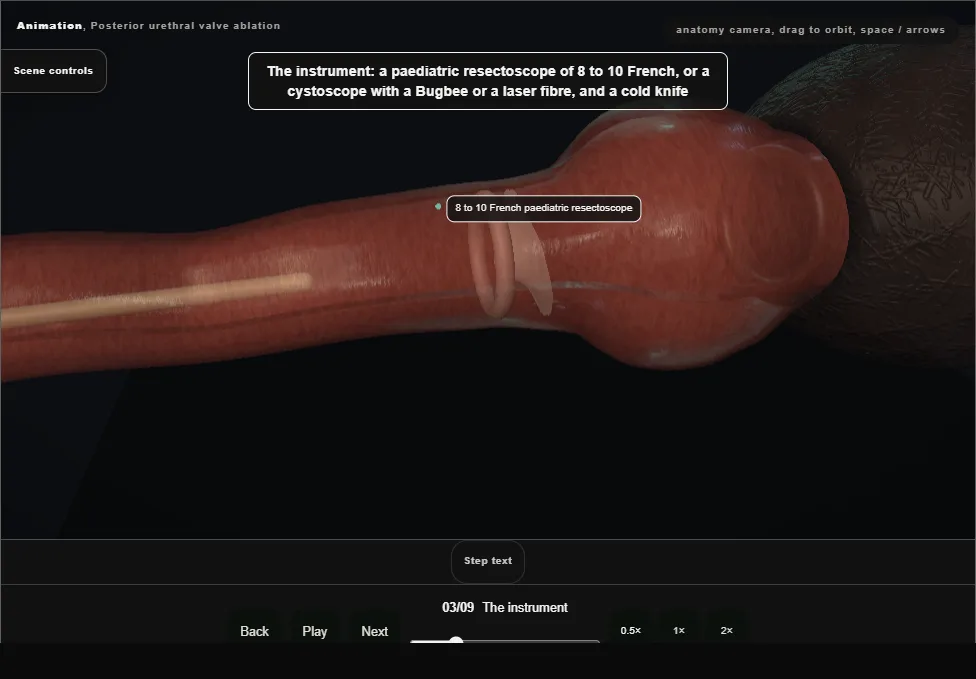
- A paediatric resectoscope of 8 to 10 French or a cystoscope with a Bugbee electrode or a laser fibre, and a cold knife.
- A small urethra and a close sphincter: passed under vision, never pushed.
- 04
Cystoscopy
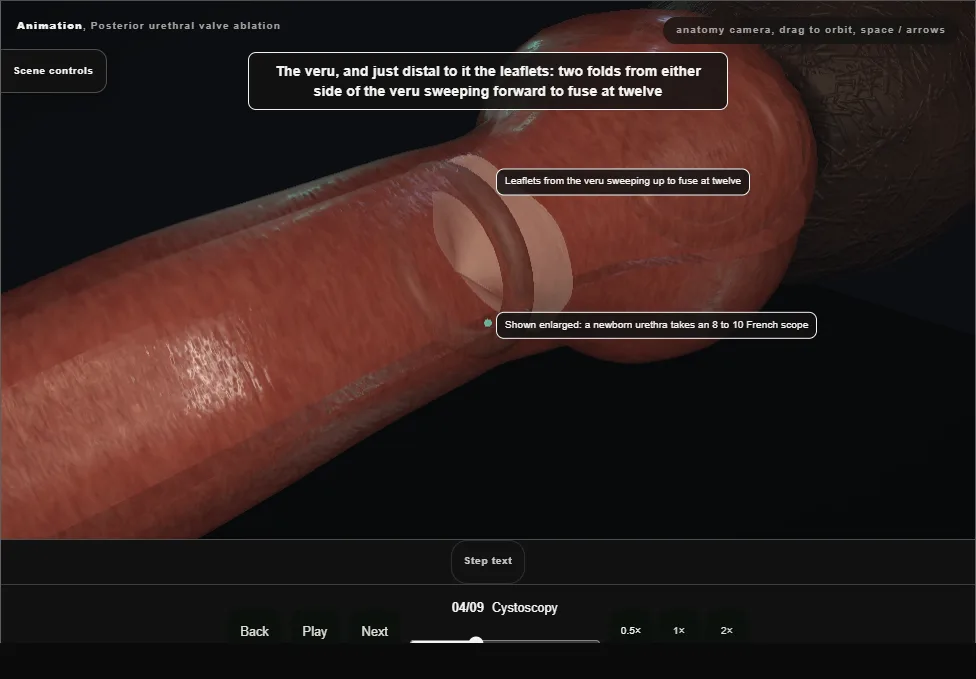
- The veru, and just distal to it the two leaflets sweeping forward to fuse anteriorly; the dilated posterior urethra behind, the thick neck, the trabeculated bladder with refluxing orifices.
- 05
Ablation at five and seven
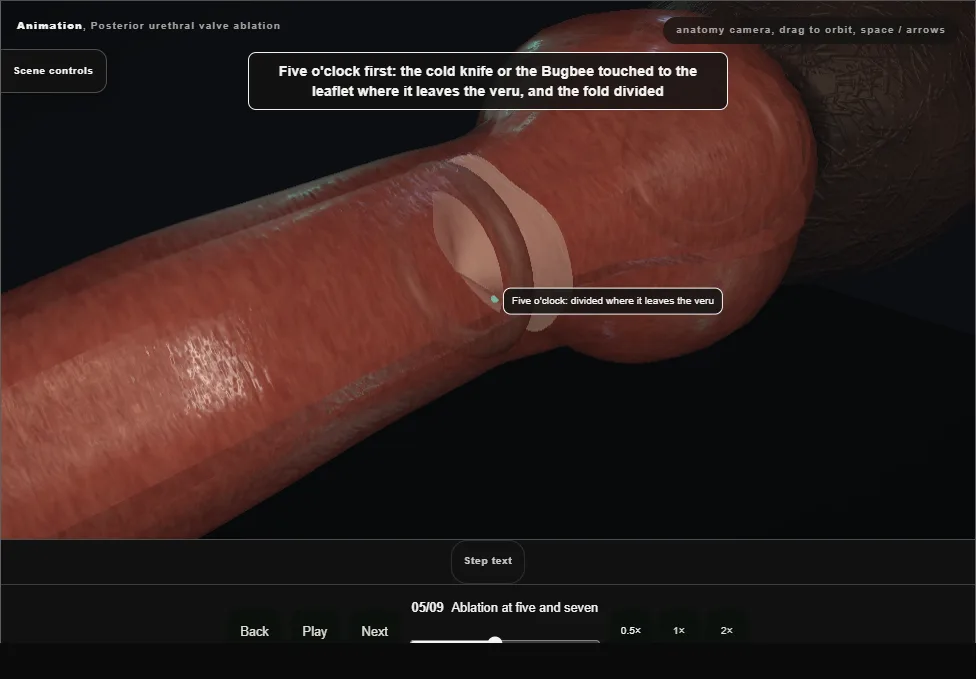
- The knife or the electrode touched to each leaflet where it leaves the veru, and the fold divided in short bursts; it springs back as it is cut.
- 06
Twelve o'clock and the check
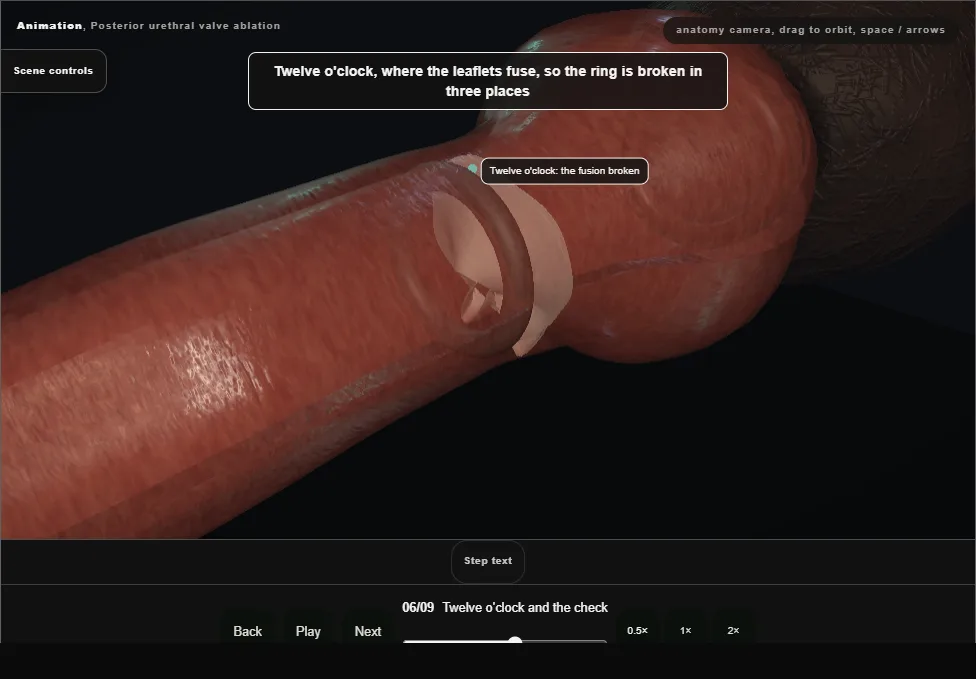
- The fusion at twelve broken so the ring is open in three places.
- The check: the leaflets no longer meet and irrigation runs freely.
- 07
No resection
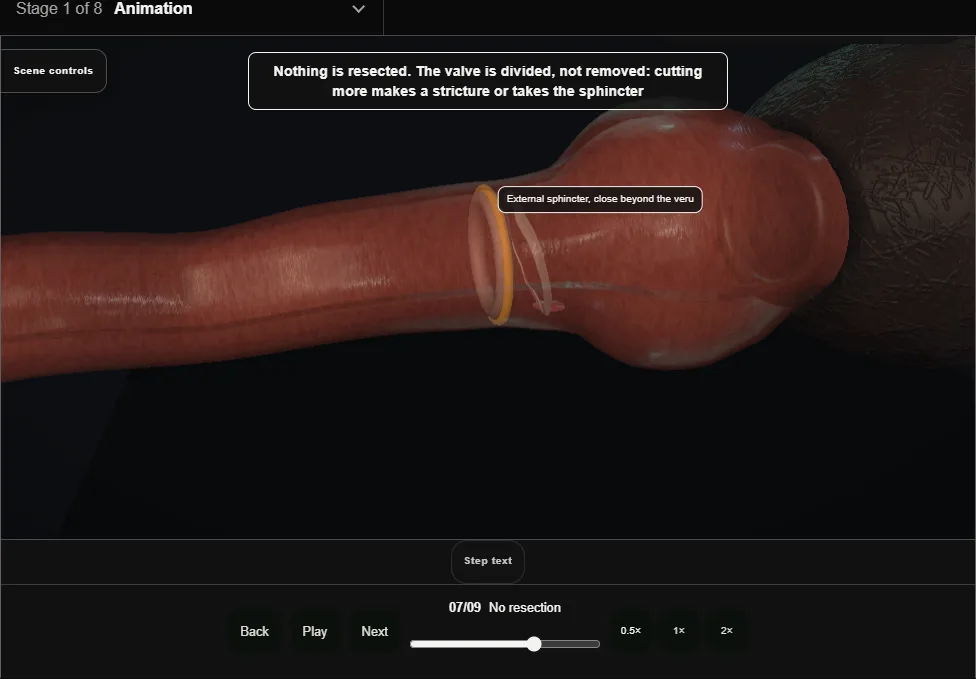
- The valve is divided, not excised.
- Cutting more makes a stricture or takes the sphincter that sits a few millimetres beyond the veru, and the veru itself is never touched.
- 08
The catheter and the days after
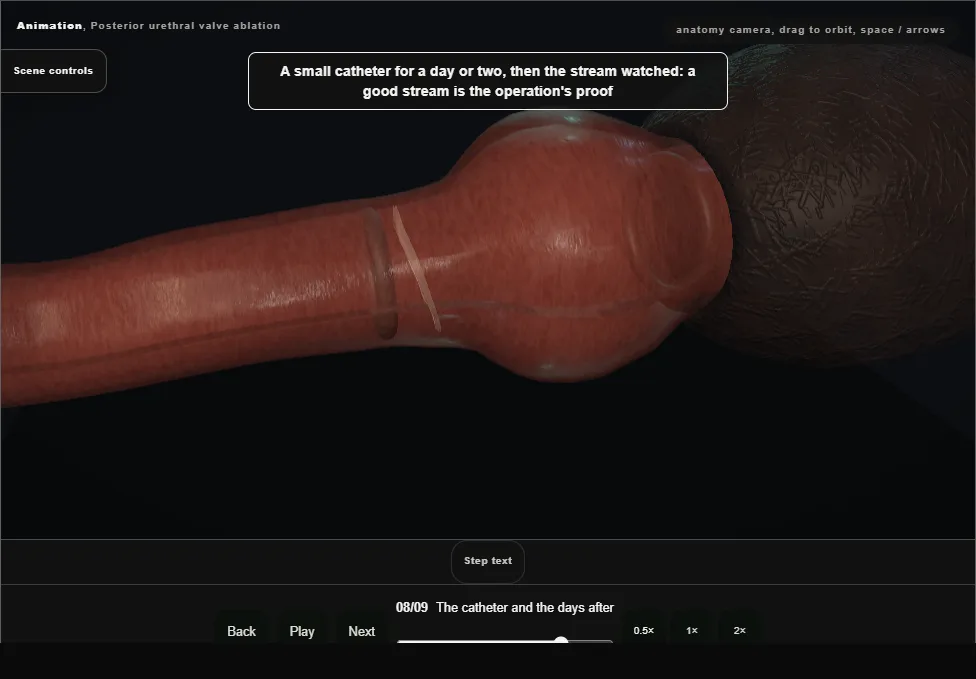
- A small catheter for a day or two, then the stream watched: a good stream is the proof.
- Antibiotic prophylaxis while reflux persists.
- 09
The valve bladder
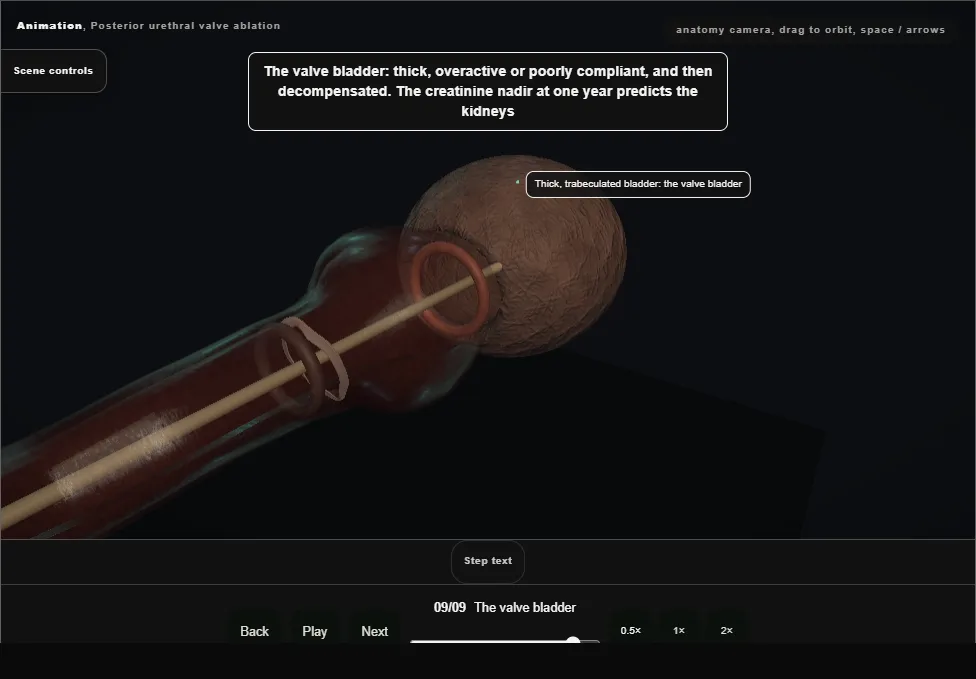
- Thick, overactive, poorly compliant, later decompensated.
- The creatinine nadir at one year predicts the kidneys; cystoscopy at three months for residual leaflets, urodynamics, anticholinergics, timed voiding, sometimes overnight drainage for years.
Derived from endoscopy/PuvScene.tsx at build time: every step title and caption above is the authored
ProcedureDef text, reproduced verbatim, and this page shares its readable-points renderer with the animation
itself. 9 of 9 steps have a captured frame.
Text fingerprint 2630d12d900b249c. A caption edit without a re-capture fails the production
check, so the sheet and the animation cannot drift apart silently.