
Revision sheet
Radical nephrectomy (laparoscopic) - spatial danger atlas
7 steps, each one the authored title and caption from the interactive animation, with the frame captured from that step. Read it before the case, or print it and work through the steps in order.
Teaching only, not for diagnosis or treatment decisions. The text on this sheet is the animation's own step copy, reproduced verbatim.
UrOops3D · UroRef · © Nity G
- 01
Imaging, side + position
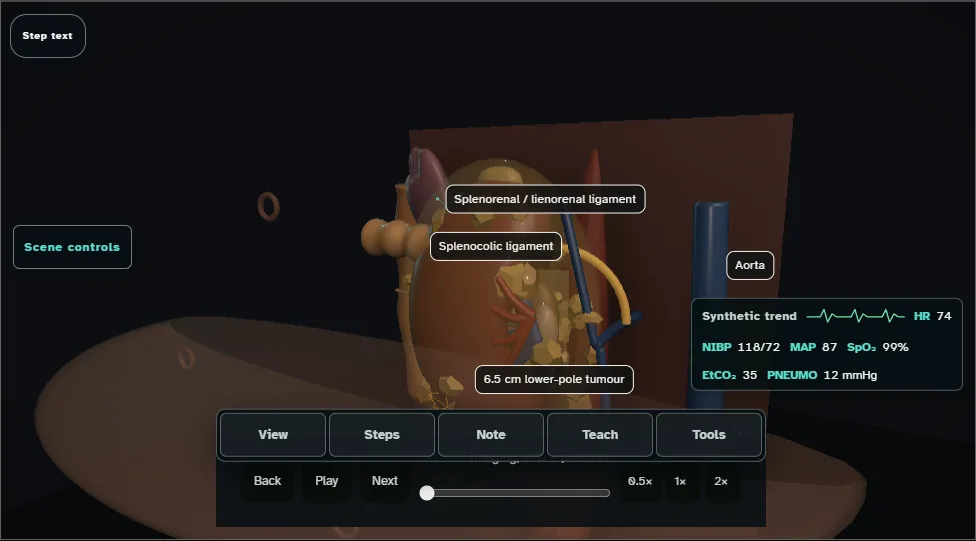
- Confirm side and map the 6-7 cm lower-pole tumour, hilar relationships and tributaries before access; check the other kidney, the renal vein and cava for thrombus, and the adrenal.
- Mark any accessory lower-pole artery and choose a position that opens the space between costal margin and iliac crest; flex, pad and secure the patient before draping.
- 02
Ports + medial visceral rotation
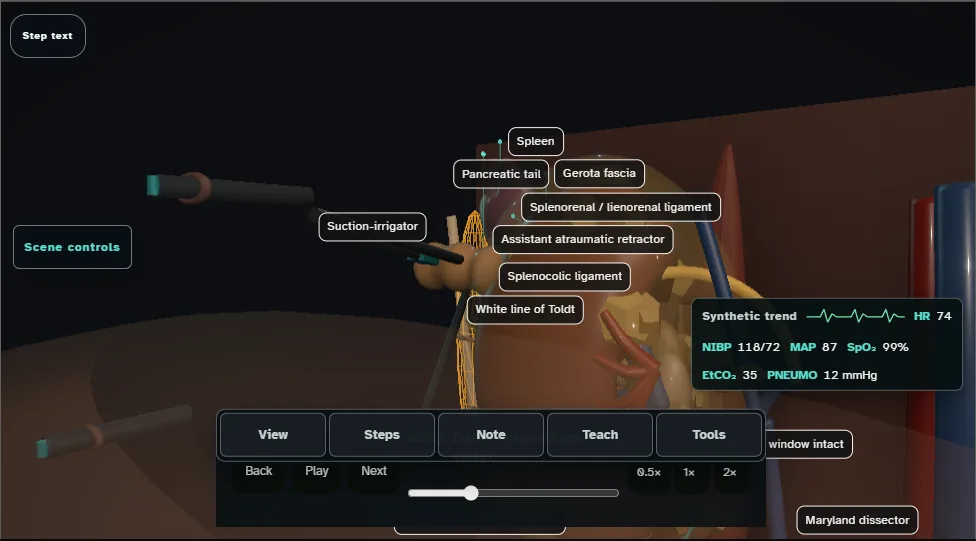
- Establish a 12-15 mmHg pneumoperitoneum and place each port under vision.
- Trace and open the white line of Toldt, then hinge the colon medially on its mesentery without traction on spleen or pancreas; divide the splenocolic and splenorenal attachments so the spleen falls away by gravity.
- 03
Ureter + hilar exposure
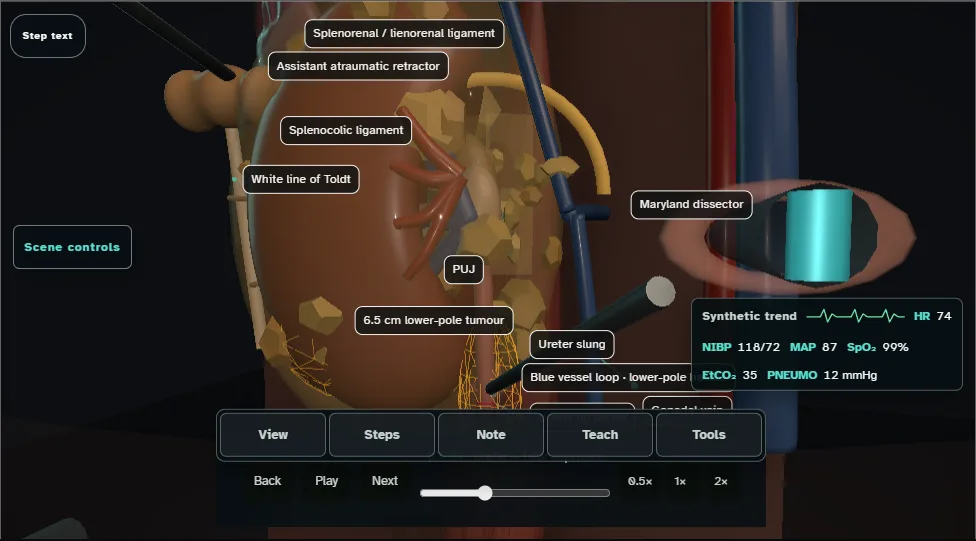
- Identify the gonadal vein and ureter on psoas; the gonadal vein leads up to the renal vein.
- Tent and sling the ureter, apply 2 patient-side clips in total, then divide immediately specimen-side to them under vision.
- Use controlled lower-pole lift to deliver the hilum while preserving the spatial relationship of artery, vein and tributaries.
- 04
Artery first
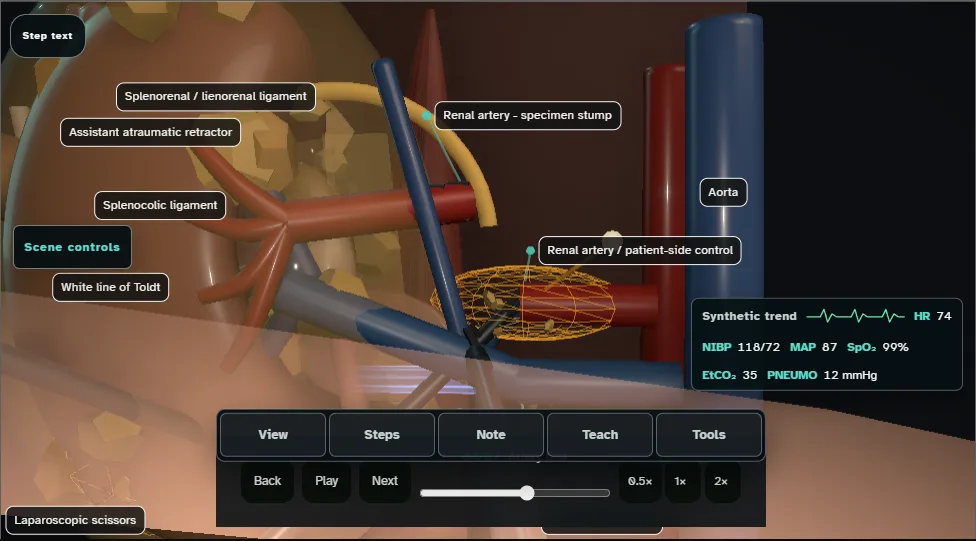
- Retract the vein to find the artery pulsing behind it, skeletonise a 1.5-2 cm window, then divide between 3 patient-side and 2 specimen-side clips.
- Leave both stumps visible and complete the accessory-artery sweep before any venous stapler enters.
- The vein should now flatten; a vein that stays full means another artery is still feeding the kidney.
- 05
Renal vein control
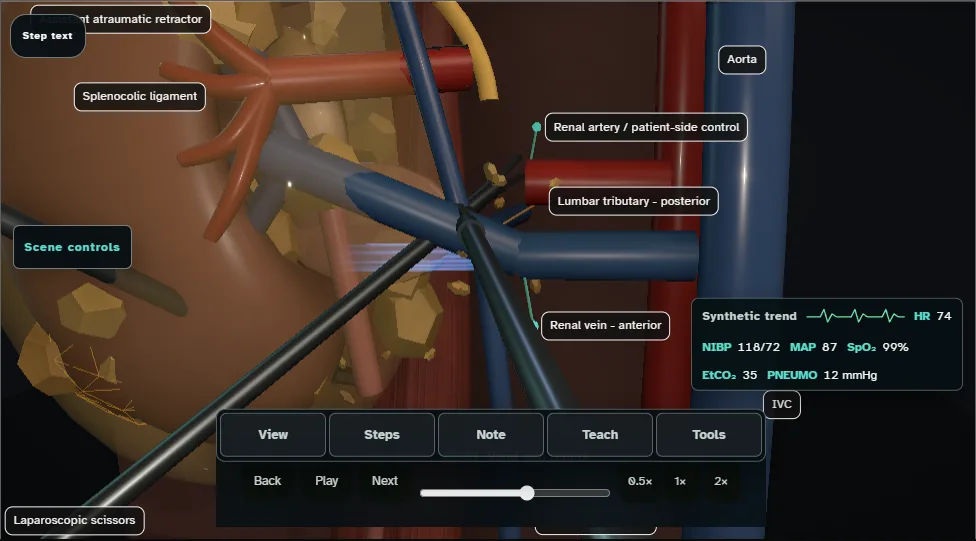
- Visualise the adrenal, gonadal and lumbar tributaries, dividing them between clips where they limit the vein, before advancing the articulated 45 mm vascular-load stapler; the lumbar vein behind is the one that tears.
- Inspect the complete jaw path and keep every clip out of the jaws, then divide between paired staple lines only after arterial control is secure.
- 06
Upper pole + adrenal plane
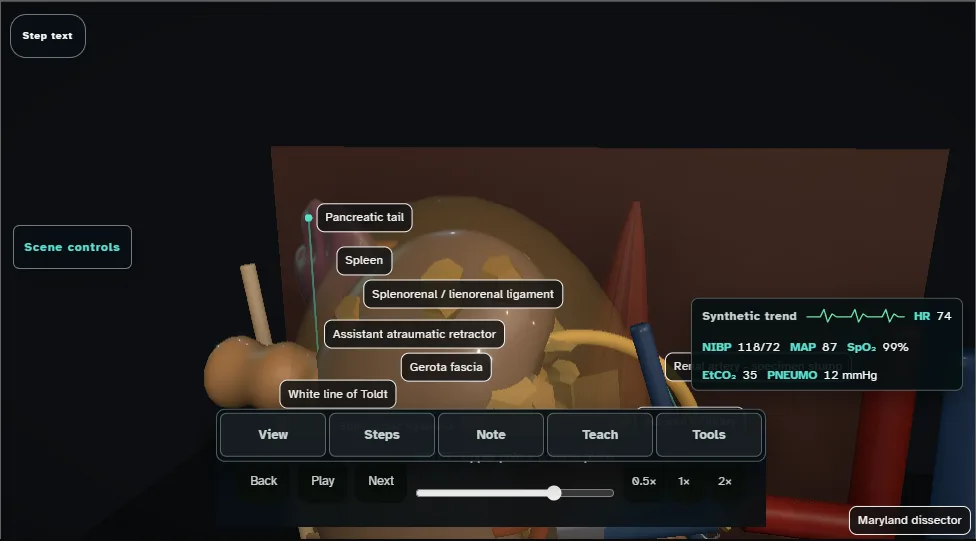
- With a lower-pole tumour and a normal adrenal on imaging, develop the areolar adrenal-sparing plane and seal the 2-3 crossing vessels while keeping spleen, pancreatic tail and diaphragm in view.
- Allow the adrenal to settle on its fat pad, then divide the remaining lateral attachments under direct vision.
- 07
Bag, bed check + closure
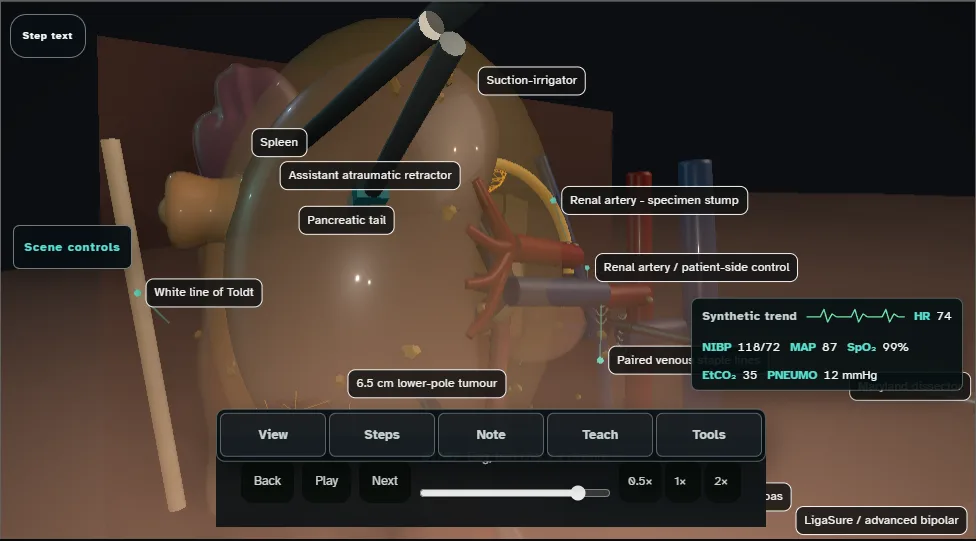
- Introduce and unfurl the bag through the 12 mm port, capture the specimen intact and cinch it.
- Reduce pressure from 12 to 8 mmHg for the structured bed check of hilar stumps, adrenal, spleen, pancreatic tail and colon, including large-port sites while the ports remain in place.
- Only then extract the intact specimen through a lower incision or extended port, withdraw ports under vision and close the fascia of every port 10 mm or larger.
Derived from radical-nephrectomy/catalogue.ts at build time: every step title and caption above is the authored
ProcedureDef text, reproduced verbatim, and this page shares its readable-points renderer with the animation
itself. 7 of 7 steps have a captured frame.
Text fingerprint 504263cb01ef5734. A caption edit without a re-capture fails the production
check, so the sheet and the animation cannot drift apart silently.