
Revision sheet
Blunt renal trauma: AAST grades
6 steps, each one the authored title and caption from the interactive animation, with the frame captured from that step. Read it before the case, or print it and work through the steps in order.
Teaching only, not for diagnosis or treatment decisions. The text on this sheet is the animation's own step copy, reproduced verbatim.
UrOops3D · UroRef · © Nity G
- 01
The kidney in situ
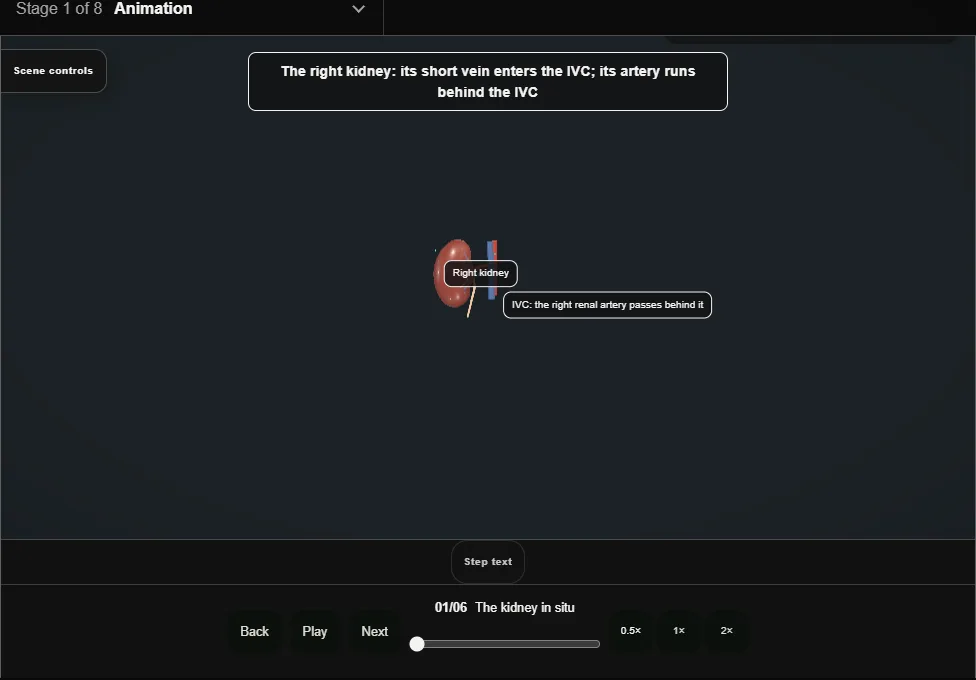
- The right kidney and its zones: cortex, medulla, collecting system, hilar pedicle.
- The AAST grade is decided by how deep the injury runs and whether the collecting system or pedicle is involved.
- 02
Grade I-II: contusion / subcapsular haematoma
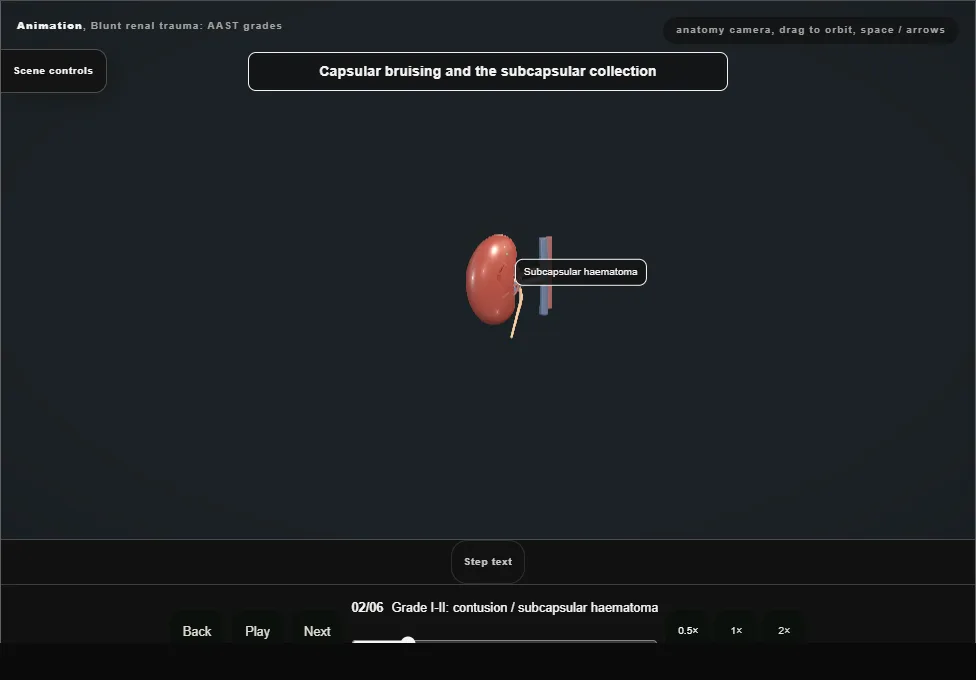
- Grade I: contusion or a subcapsular haematoma without a laceration.
- Grade II: a perirenal haematoma, or a cortical tear less than 1 cm deep without urinary extravasation.
- Management is guided by clinical stability.
- 03
Grade III: cortical laceration
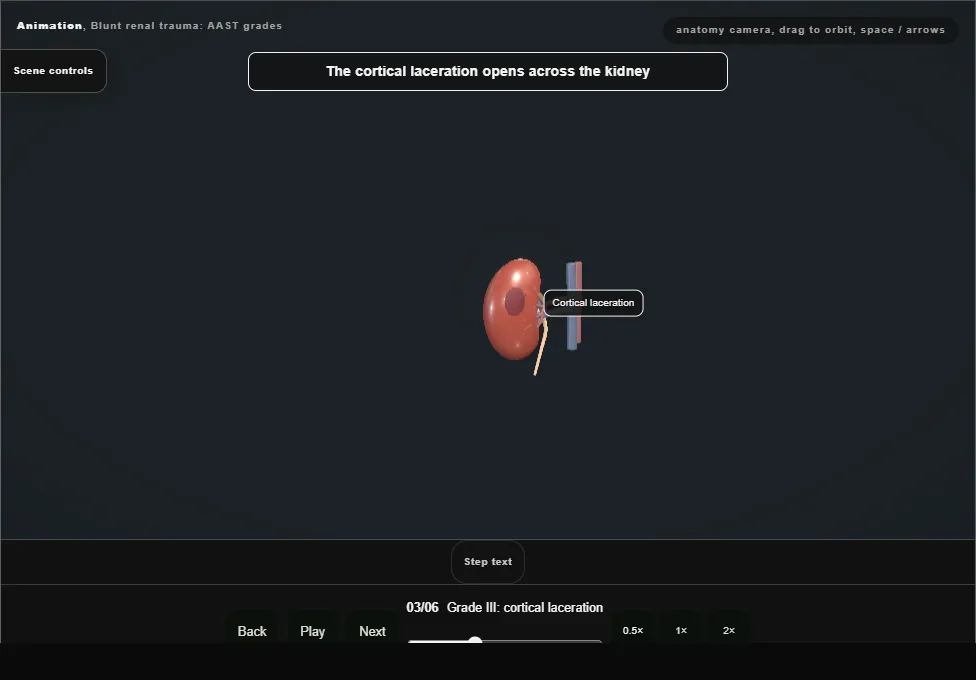
- A cortical laceration more than 1 cm deep, without rupture into the collecting system or urinary extravasation.
- The injury depth and clinical stability guide assessment and monitoring.
- 04
Grade IV: collecting system / segmental vessel
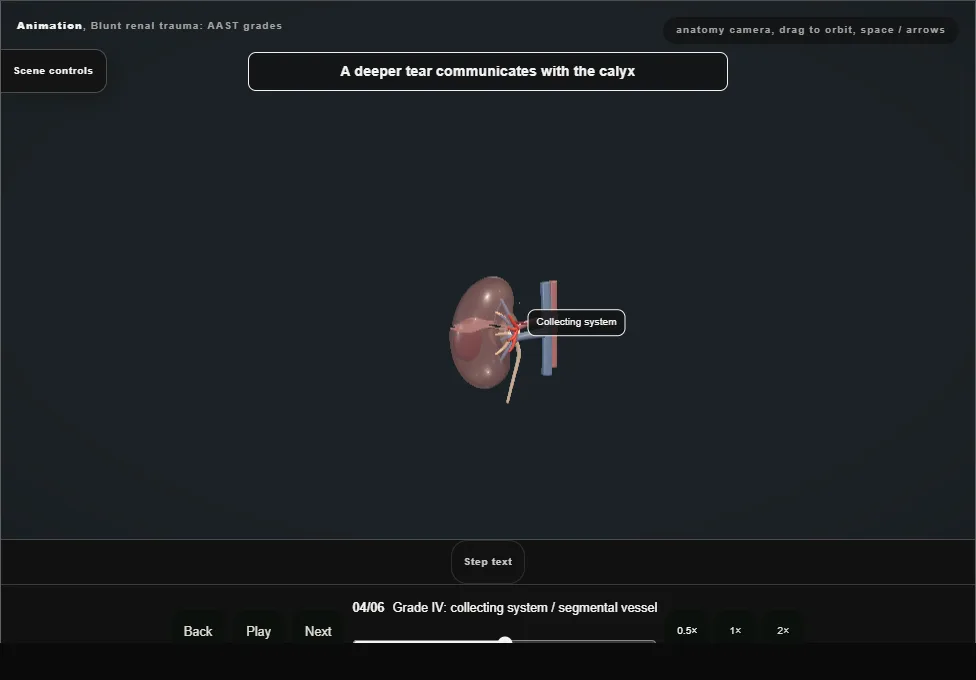
- The tear now reaches a calyx: urine extravasates with haematuria, and segmental-vessel injury bleeds: a pseudoaneurysm can declare itself days later.
- 05
Grade V: shattered kidney / hilar avulsion
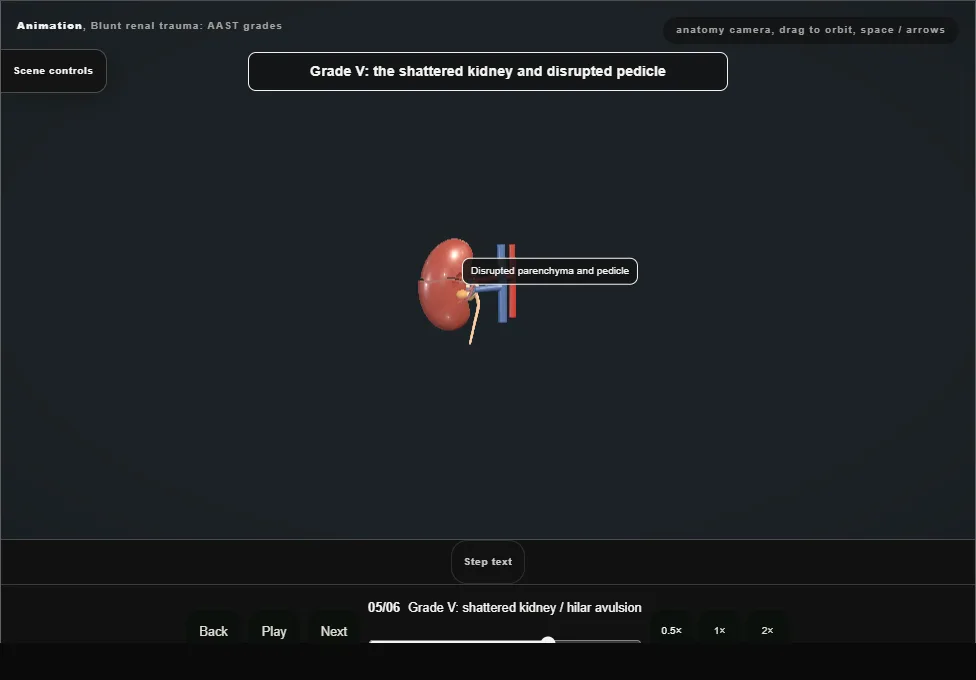
- The kidney is shattered into devitalised fragments or the hilum is avulsed: no enhancement, no control.
- Instability explores, and exploration in shock usually means nephrectomy; a stable grade V may still be managed without surgery in selected centres.
- 06
Management: embolise or explore
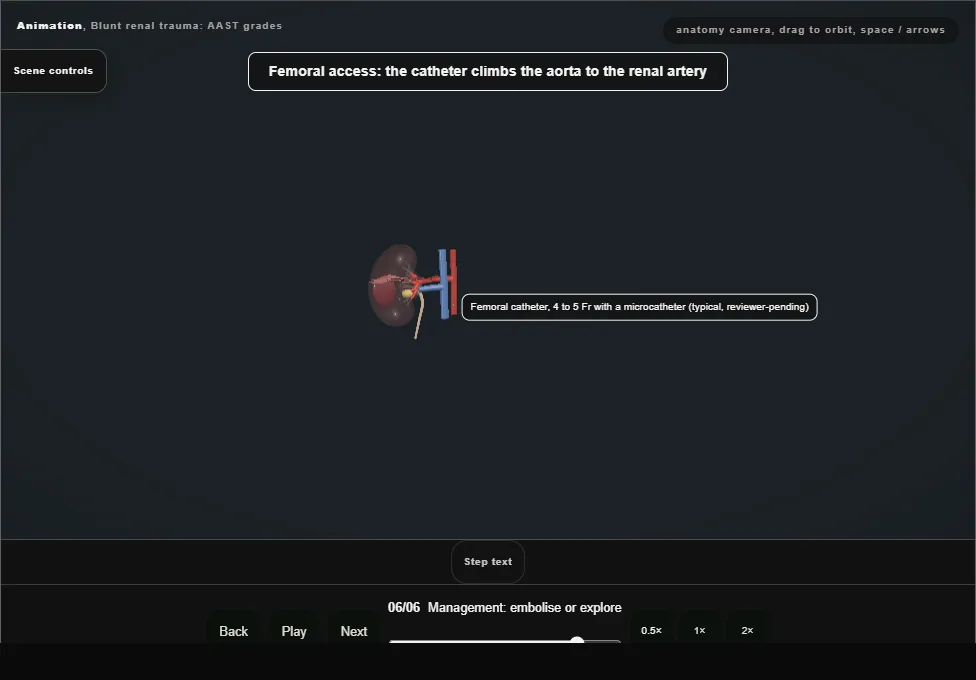
- Stable with a blush: angiography and selective embolisation from femoral access, nephron-sparing.
- Failing resuscitation: explore with proximal control first, accepting that renal exploration in shock usually becomes nephrectomy.
Derived from RenalTraumaScene.tsx at build time: every step title and caption above is the authored
ProcedureDef text, reproduced verbatim, and this page shares its readable-points renderer with the animation
itself. 6 of 6 steps have a captured frame.
Text fingerprint 25f1a6f3e5f3264c. A caption edit without a re-capture fails the production
check, so the sheet and the animation cannot drift apart silently.