
Revision sheet
Retropubic mid-urethral sling
8 steps, each one the authored title and caption from the interactive animation, with the frame captured from that step. Read it before the case, or print it and work through the steps in order.
Teaching only, not for diagnosis or treatment decisions. The text on this sheet is the animation's own step copy, reproduced verbatim.
UrOops3D · UroRef · © Nity G
- 01
Landmarks
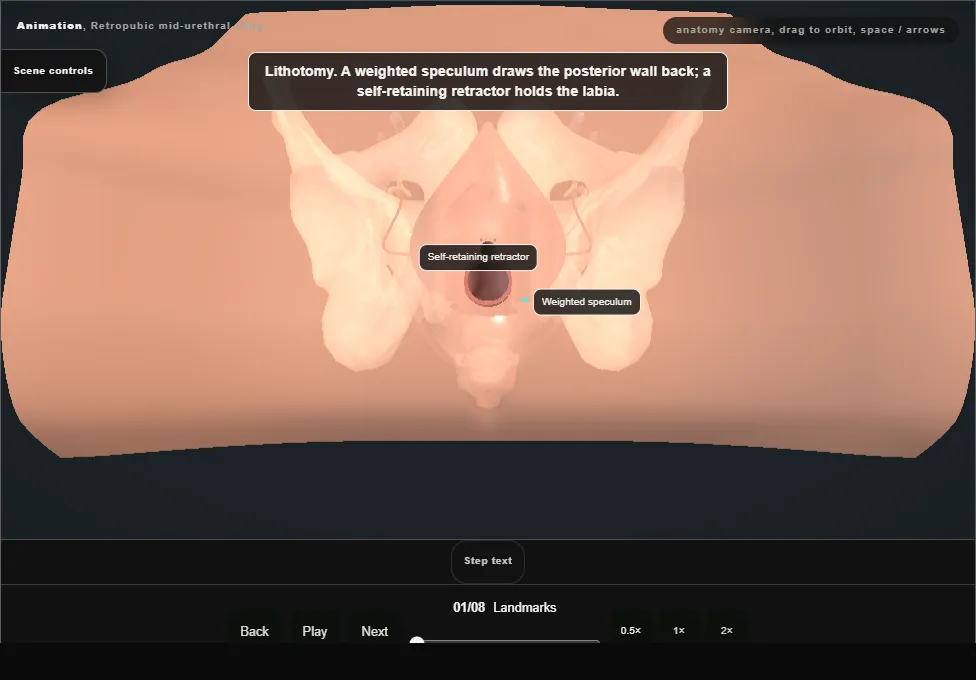
- Lithotomy, with a weighted speculum and a self-retaining retractor.
- A urethral catheter drains the bladder, and it is kept empty for both passes.
- The mid-urethra is marked on the anterior vaginal wall and two exit points on the skin just above the pubis, one each side of the midline.
- 02
Incision and tunnels
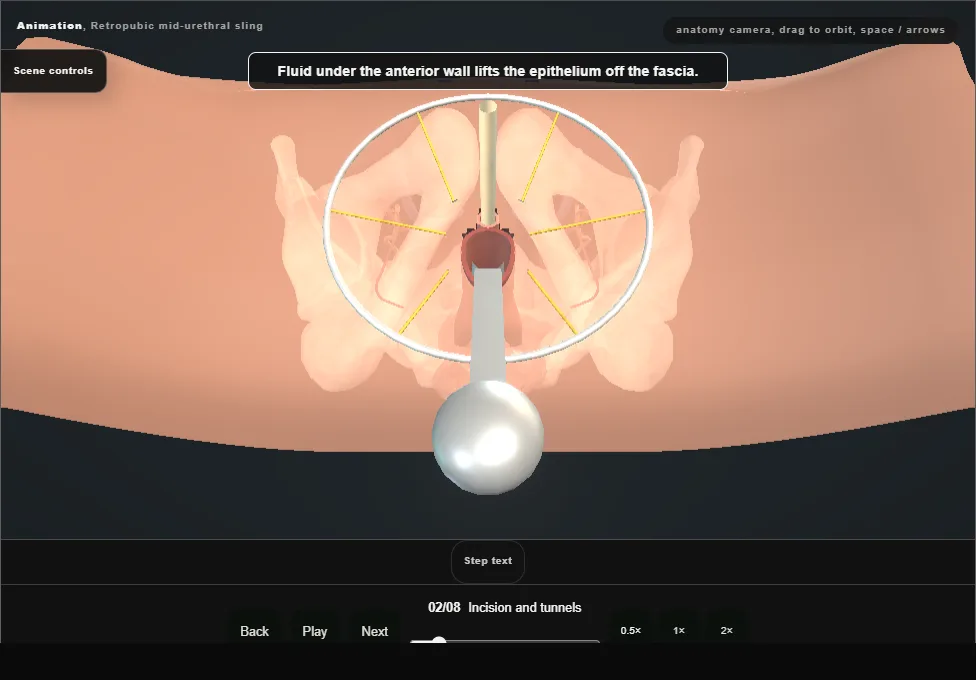
- The anterior wall is infiltrated and opened in the midline under the mid-urethra.
- The vaginal flaps are dissected off the periurethral fascia toward the pubic rami, and scissors open a short tunnel on each side, lateral to the urethra, as far as the lower border of the pubis.
- 03
Right trocar
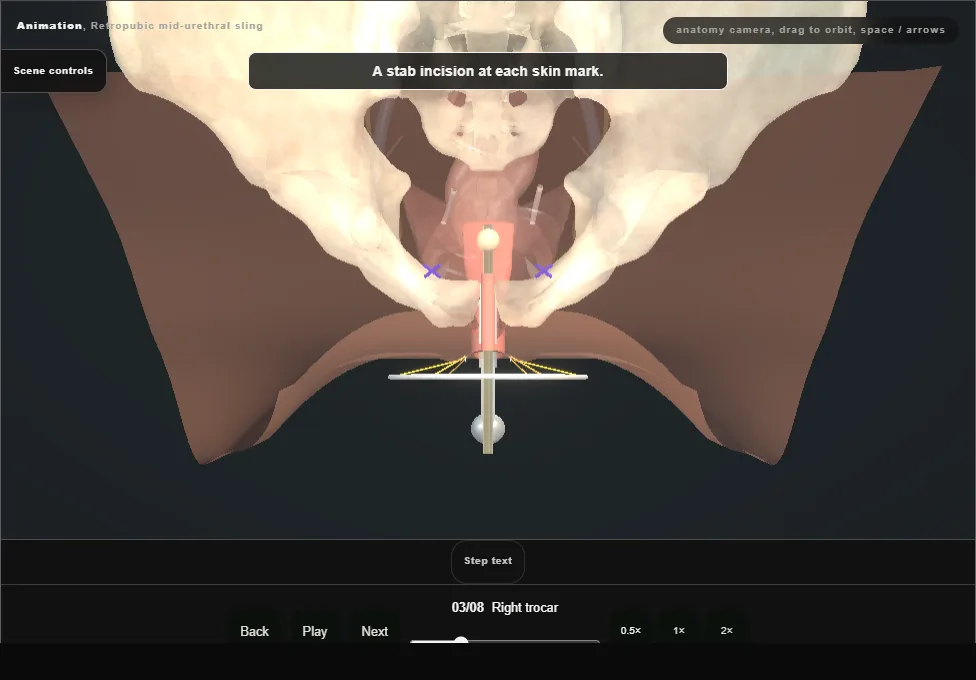
- A stab incision is made at each mark.
- A rigid guide in the catheter carries the bladder neck away from the side of the pass.
- The trocar enters the tunnel, pierces the endopelvic fascia under the pubis and climbs on the back of the bone to its skin incision.
- The bladder lies behind and medial.
- 04
Left trocar
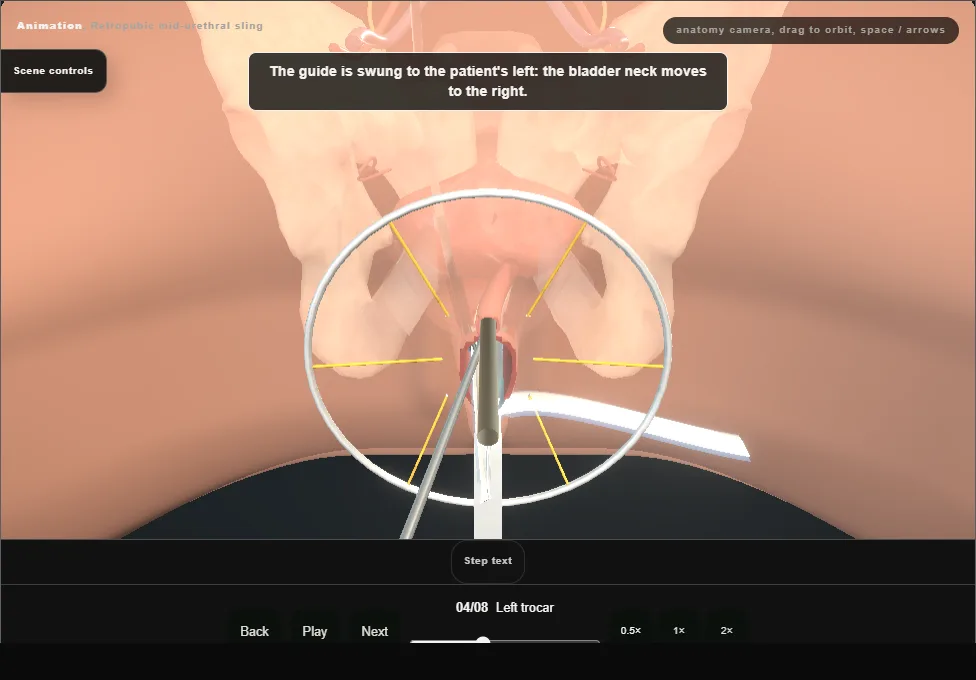
- The guide is swung the other way and the left trocar is passed in the same manner: through its tunnel, under the pubis, through the fascia and up the back of the bone to the left incision.
- Both trocars are left in place.
- 05
Cystoscopy with the trocars in
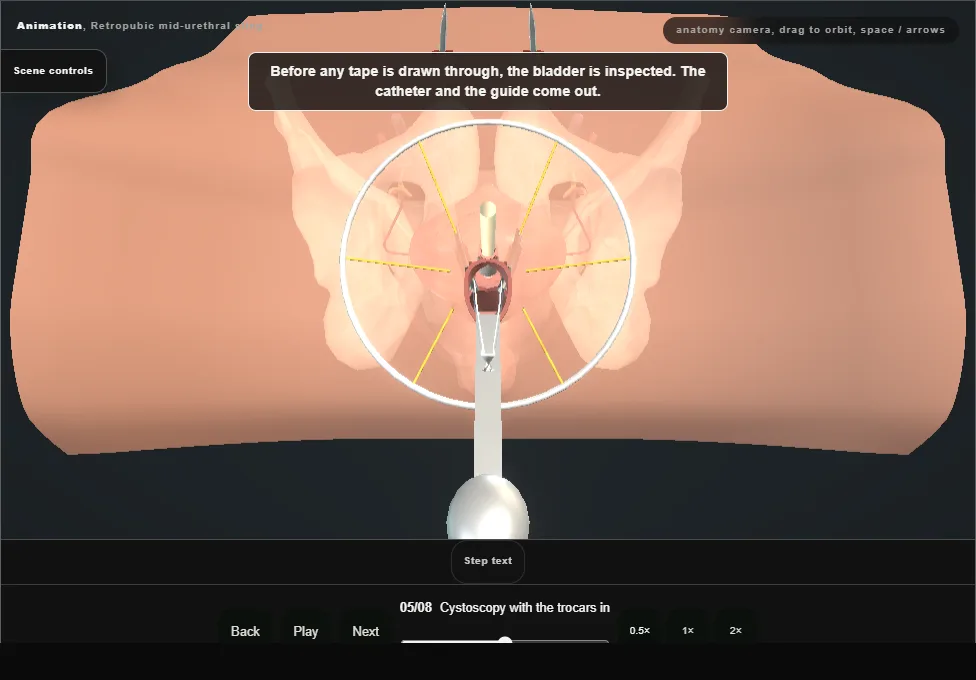
- The catheter comes out and the bladder is filled and inspected with the cystoscope before either trocar is drawn through: both lateral walls, the dome and the urethra, with efflux from both ureteric orifices.
- A trocar seen in the bladder is withdrawn and passed again; a tape is not.
- 06
Draw the tape through
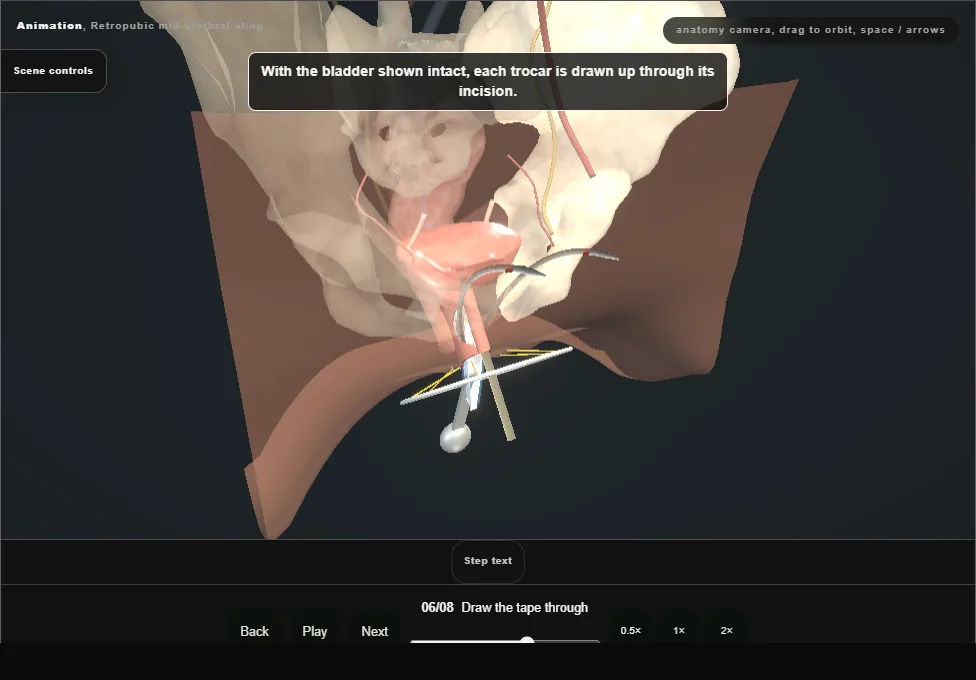
- With the bladder shown to be intact and drained again, each trocar is drawn up and out through its skin incision and the tape, in its plastic sheath, follows it.
- The middle of the tape comes to lie flat under the mid-urethra.
- 07
Set it loose
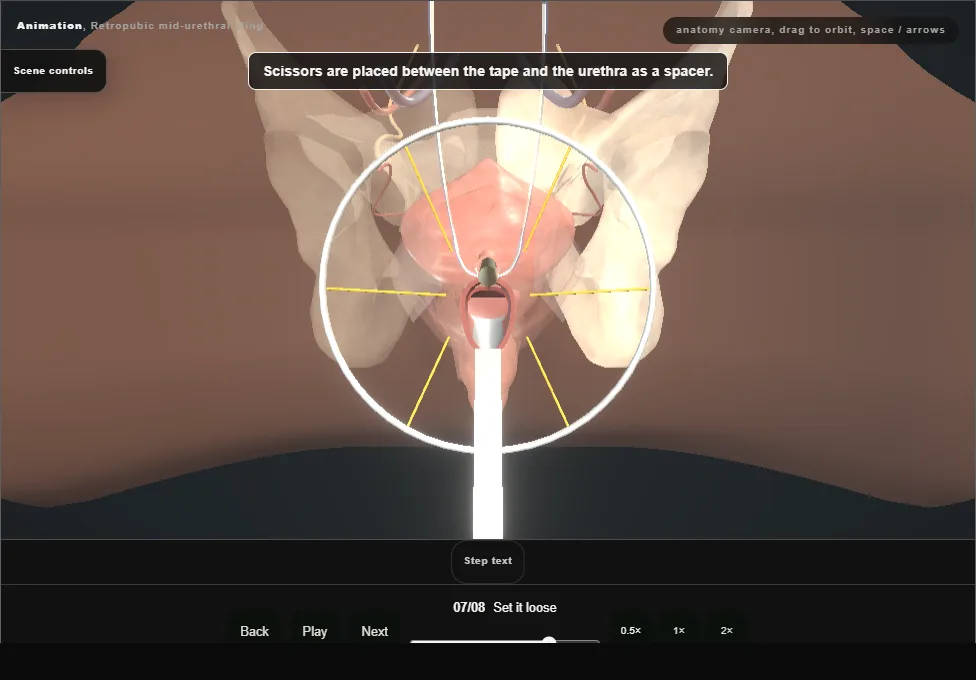
- Scissors are held between the tape and the urethra as a spacer.
- The tape is eased down on to the spacer and each sheath is pulled off upward.
- With the spacer out the tape lies flat and loose, supporting the urethra without indenting it.
- 08
Trim and close
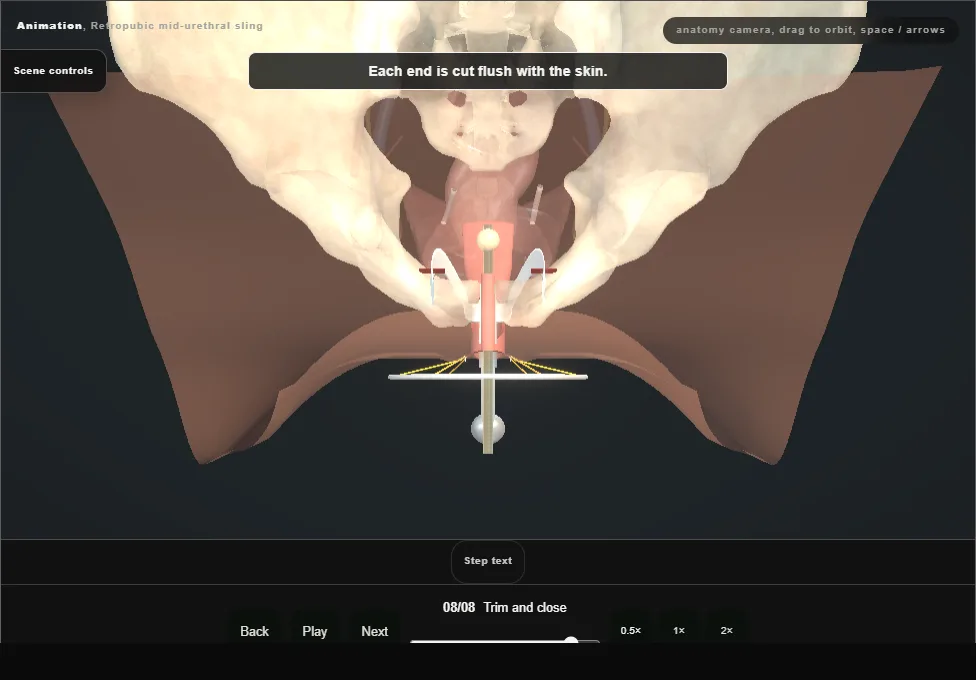
- Each end of the tape is cut flush with the skin and the skin incisions are closed.
- The anterior vaginal wall is closed with interrupted absorbable stitches.
- The retractor and the speculum come out and the catheter is left on drainage.
Derived from female/RetropubicSlingScene.tsx at build time: every step title and caption above is the authored
ProcedureDef text, reproduced verbatim, and this page shares its readable-points renderer with the animation
itself. 8 of 8 steps have a captured frame.
Text fingerprint fda4fb0974c962d1. A caption edit without a re-capture fails the production
check, so the sheet and the animation cannot drift apart silently.