
Revision sheet
Rigid cystoscopy, biopsy and fulguration
8 steps, each one the authored title and caption from the interactive animation, with the frame captured from that step. Read it before the case, or print it and work through the steps in order.
Teaching only, not for diagnosis or treatment decisions. The text on this sheet is the animation's own step copy, reproduced verbatim.
UrOops3D · UroRef · © Nity G
- 01
Before the sheath
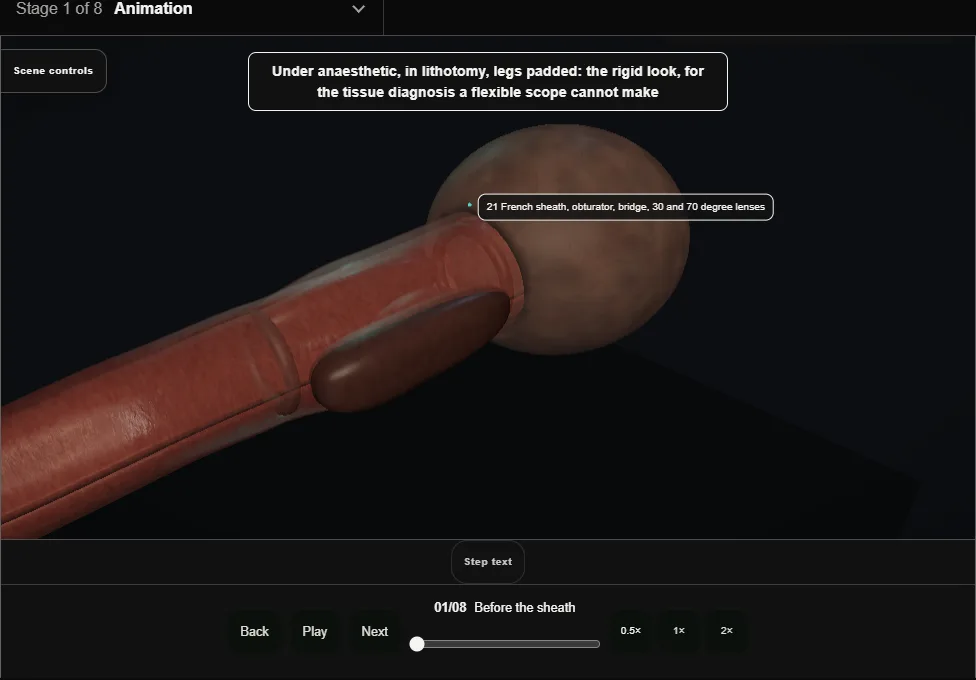
- Anaesthetic, lithotomy, legs padded at the peroneal nerve.
- On the stack: a 21 French sheath, obturator, bridge, 30 and 70 degree lenses, cold-cup forceps, the button electrode, pots labelled by site.
- 02
The sheath in under vision
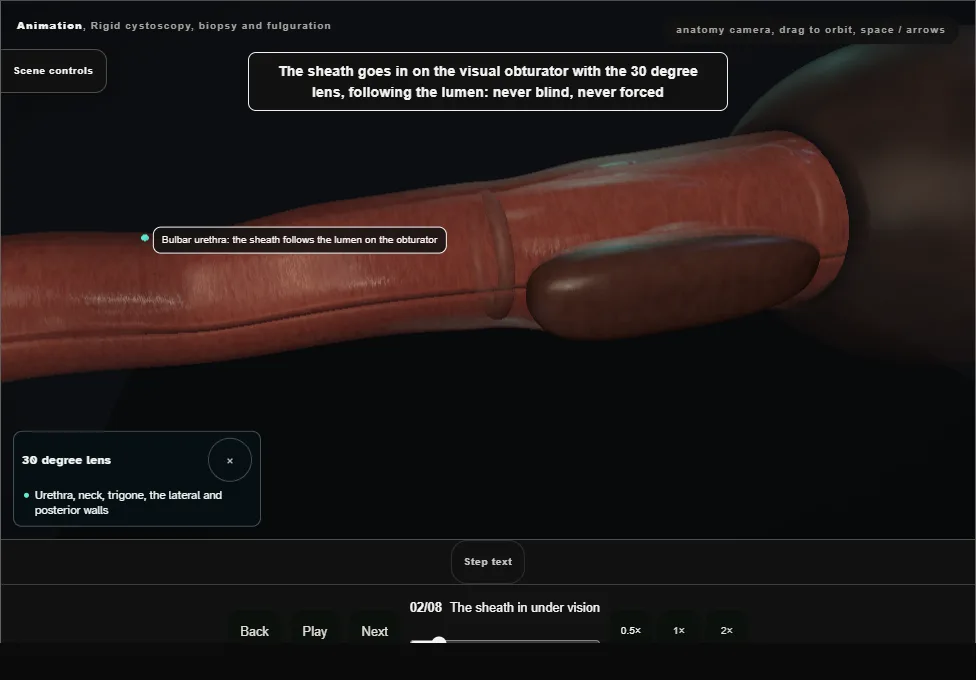
- On the visual obturator with the 30 degree lens, following the lumen.
- The sphincter relaxes under anaesthetic; the sheath is dropped between the legs to follow the curve.
- Veru, lobes and neck noted on the way.
- 03
The survey
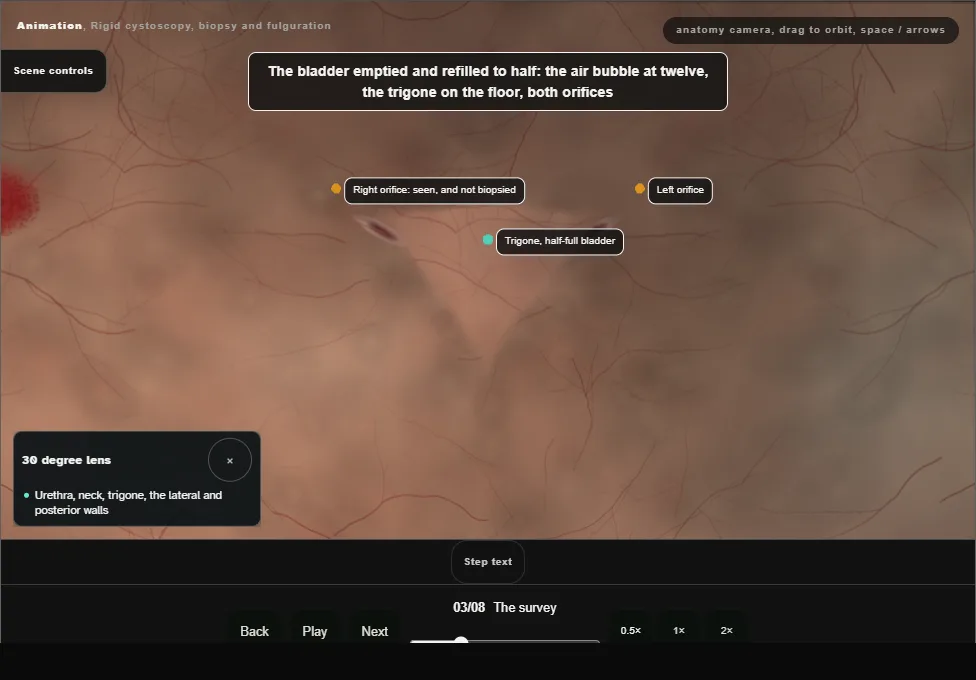
- Bubble at twelve, trigone, both orifices with efflux.
- The 70 degree lens looks round the corner at the dome and anterior wall.
- Right, posterior, left, floor: a red velvety patch at ten o'clock on the right wall.
- 04
The cold-cup biopsy
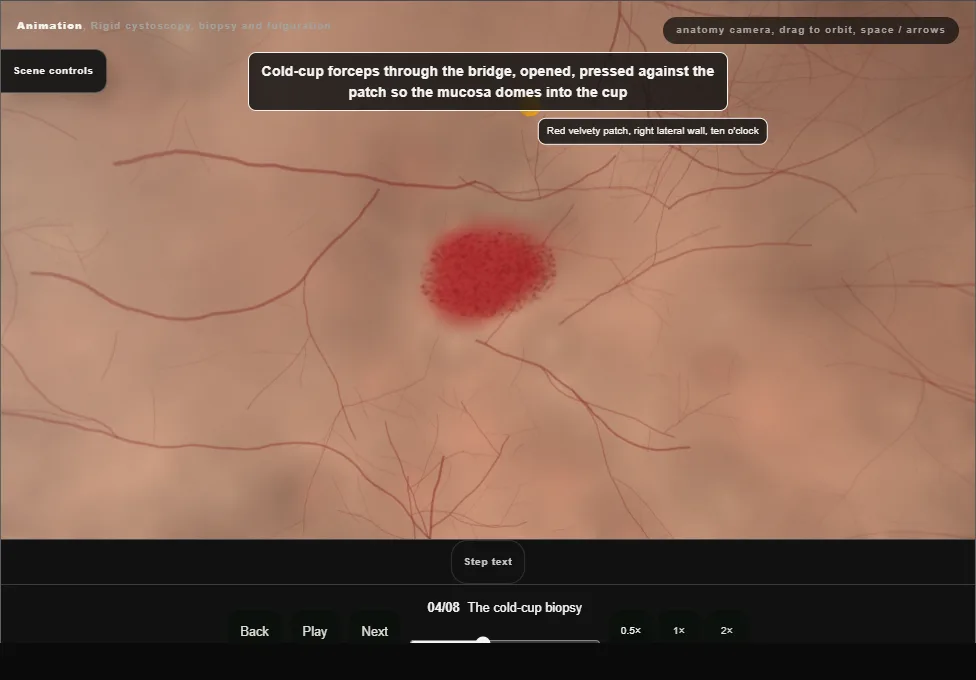
- Forceps opened, pressed so the mucosa domes into the cup, closed and pulled sharply away: mucosa with lamina propria, taken cold so the histology is not burnt.
- Into the pot labelled with the site.
- 05
Fulguration
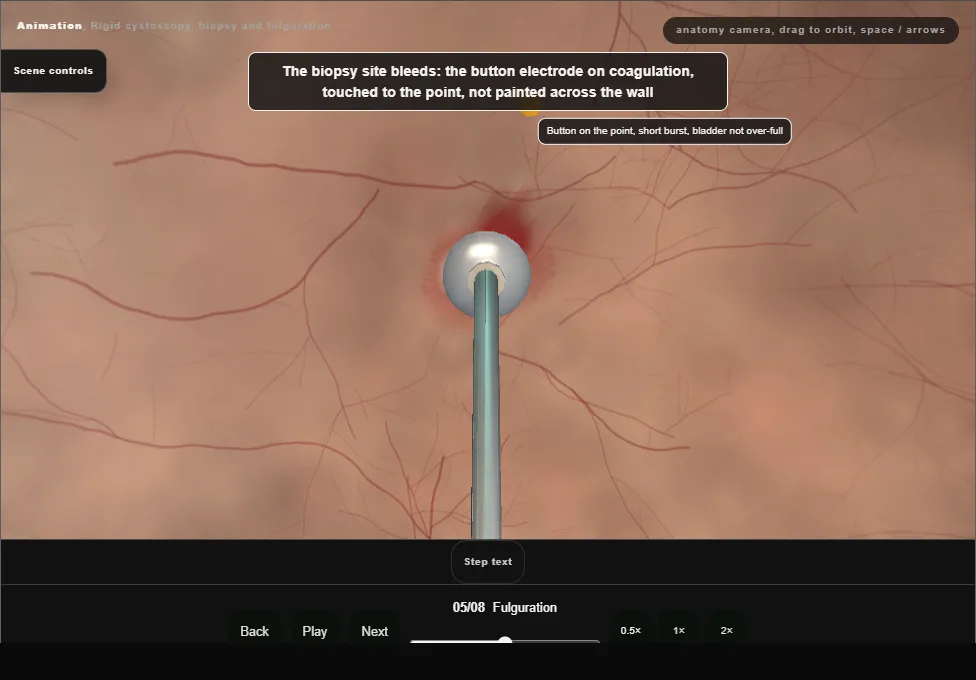
- The button on coagulation touched to the bleeding point, a short burst until it blanches.
- Not painted across the wall, and not with the bladder over-full: the dome is thin and the current goes deep.
- 06
Mapping biopsies
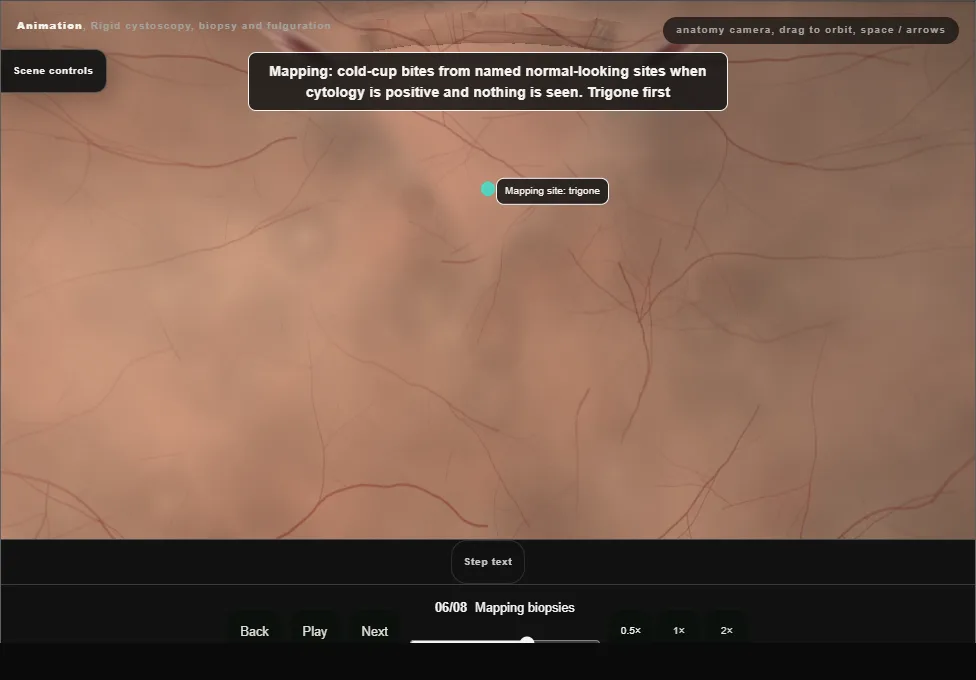
- When cytology is positive and nothing is seen: cold-cup bites from the trigone, both lateral walls, the posterior wall and the dome, each in its own pot, and the prostatic urethra with the loop.
- Never at the orifice.
- 07
Haemostasis and the check
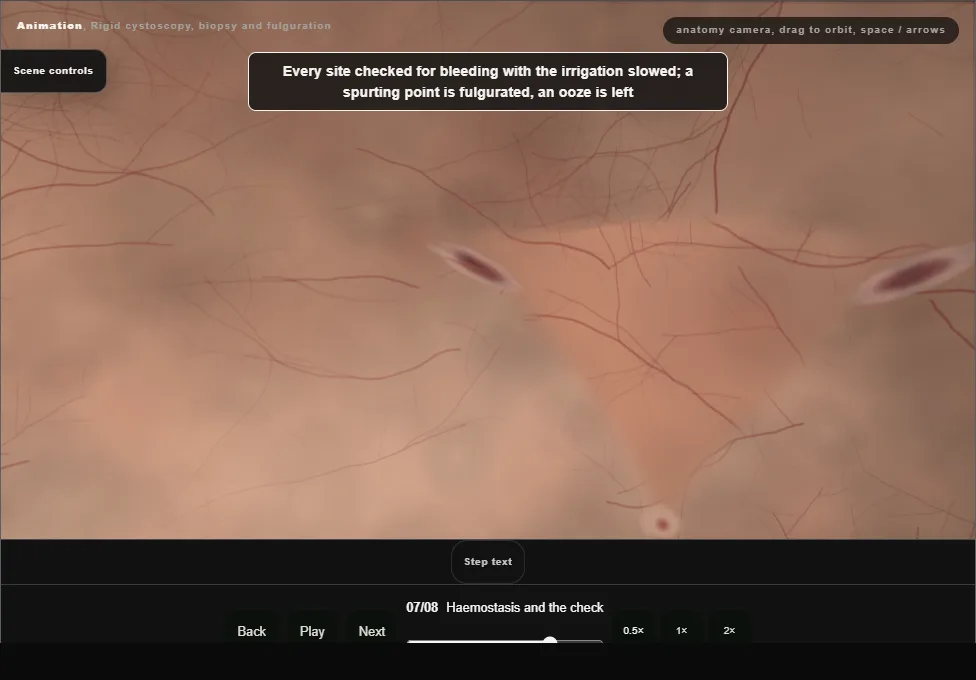
- Irrigation slowed, every site inspected; a spurting point is fulgurated, an ooze is left.
- Both orifices seen again with efflux, the bladder emptied, the sheath out under vision.
- 08
The note
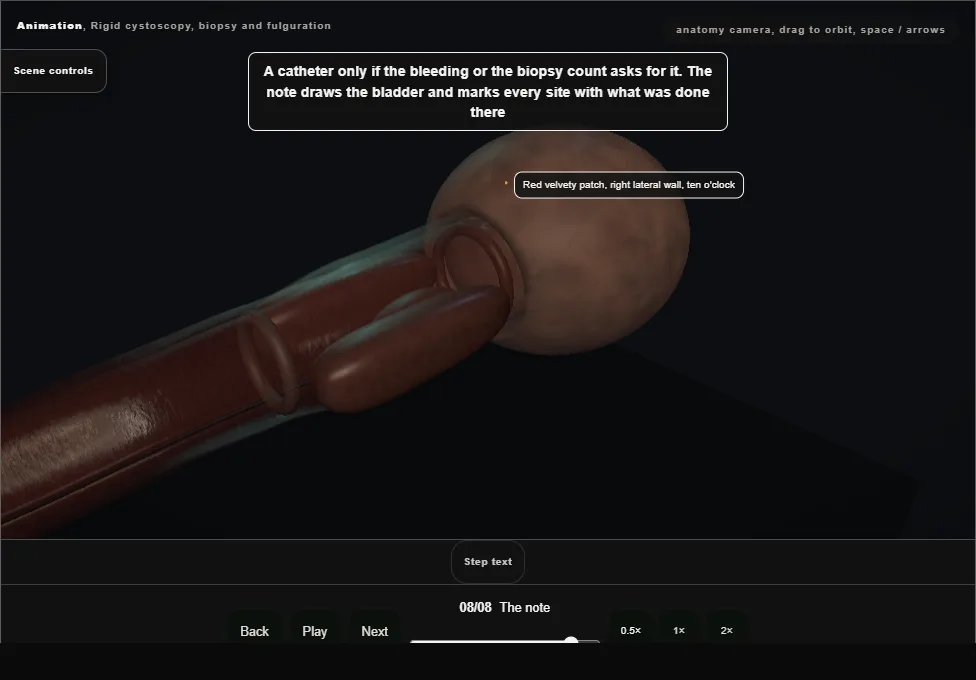
- A catheter only if the bleeding asks for it.
- The note is a drawing of the bladder with every site marked and what was done there; pots and forms match the map.
Derived from endoscopy/RigidCystoscopyScene.tsx at build time: every step title and caption above is the authored
ProcedureDef text, reproduced verbatim, and this page shares its readable-points renderer with the animation
itself. 8 of 8 steps have a captured frame.
Text fingerprint e417463cb68b8dfe. A caption edit without a re-capture fails the production
check, so the sheet and the animation cannot drift apart silently.