
Revision sheet
Flexible ureterorenoscopy (RIRS)
11 steps, each one the authored title and caption from the interactive animation, with the frame captured from that step. Read it before the case, or print it and work through the steps in order.
Teaching only, not for diagnosis or treatment decisions. The text on this sheet is the animation's own step copy, reproduced verbatim.
UrOops3D · UroRef · © Nity G
- 01
Wire up under screening
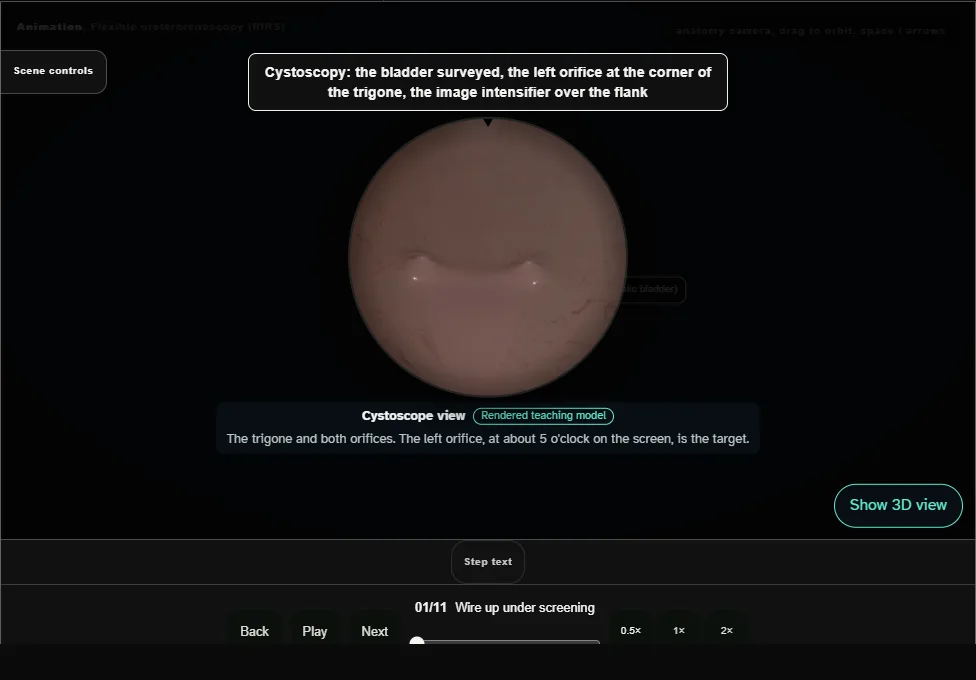
- Cystoscopy finds the left orifice and a 0.035 inch guidewire goes up the ureter under screening until it curls in the collecting system.
- 02
Stop there
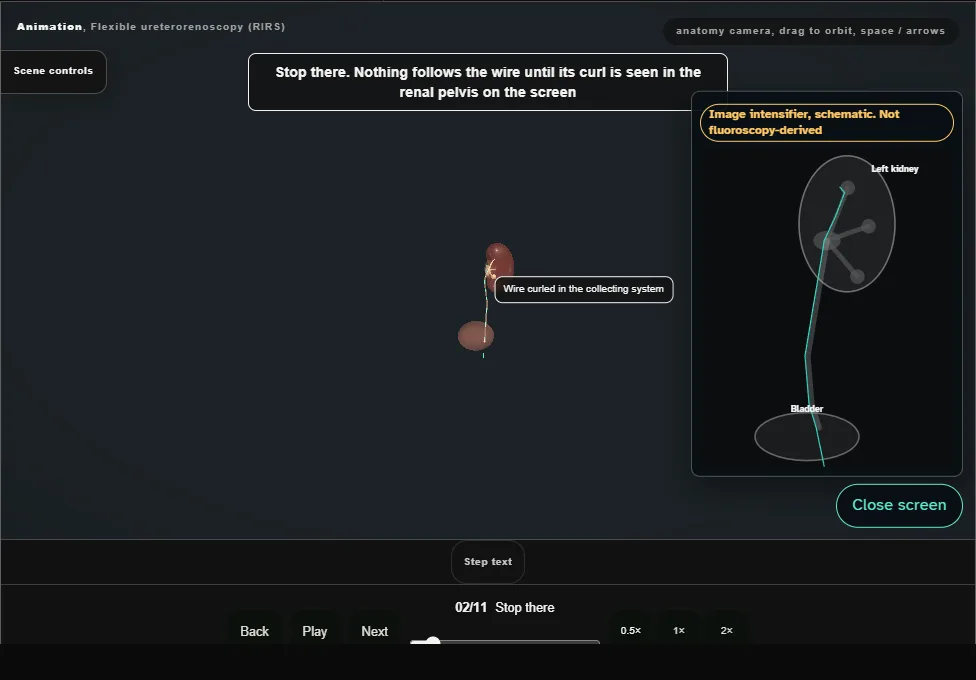
- Nothing follows the wire until its curl is seen in the renal pelvis on the screen.
- That first wire stays as the safety wire.
- The white working wire goes up through the semirigid ureteroscope; the scope comes out over it, and the wire guides the access sheath.
- 03
Access sheath under screening
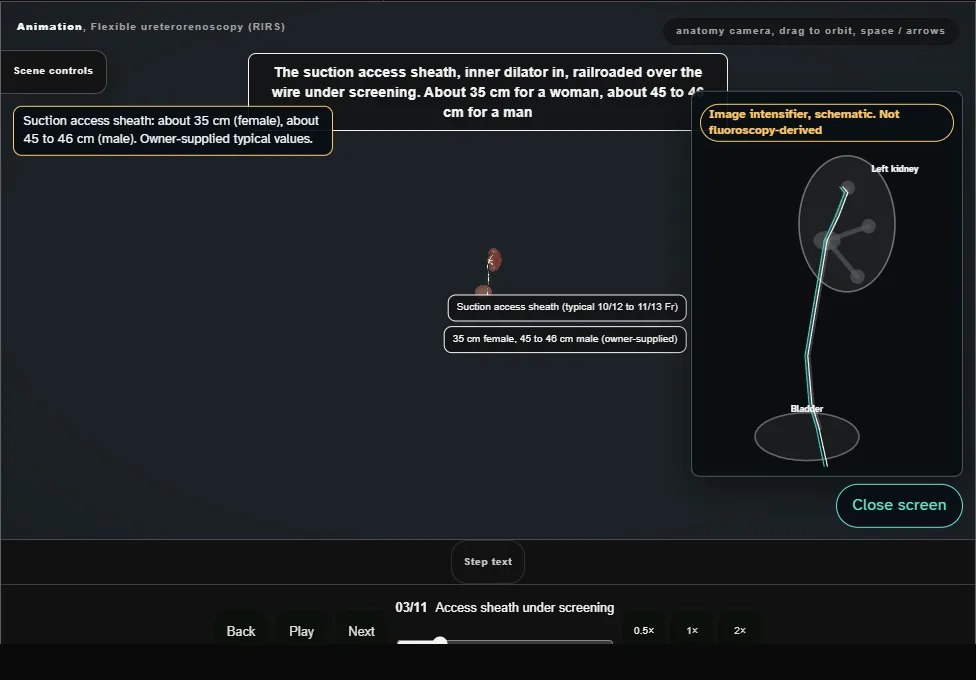
- The suction access sheath, dilator in, is railroaded over the wire under screening: about 35 cm for a woman, about 45 to 46 cm for a man (owner-supplied).
- Never forced.
- 04
Tip at the renal pelvis
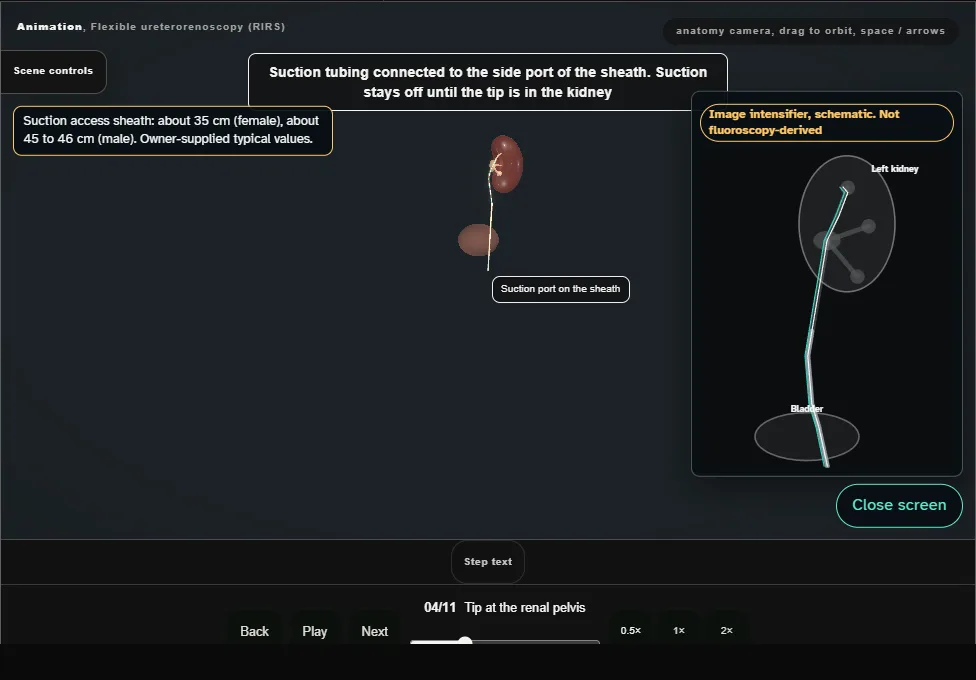
- Suction tubing on, suction off until the tip is in the kidney.
- On the image intensifier the sheath tip stops at the renal pelvis, not through the PUJ.
- 05
Dilator out, scope in
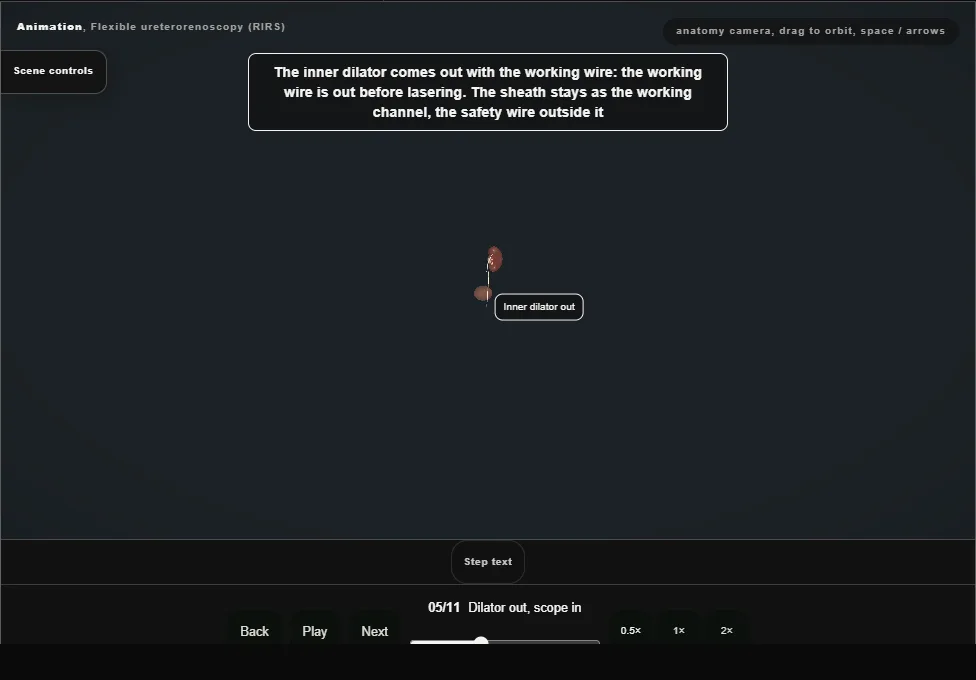
- The inner dilator comes out with the working wire, so the working wire is out before lasering, and the flexible ureteroscope passes up inside the sheath to the renal pelvis.
- 06
Map the entire kidney
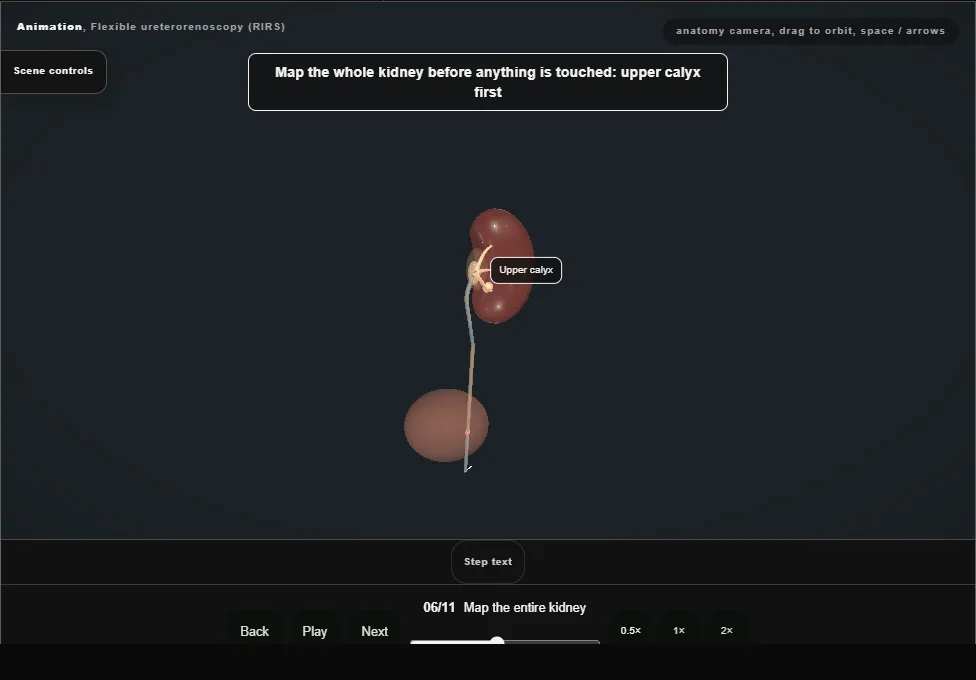
- Every calyx inspected in order before the stone is touched: upper, middle, lower.
- A complete map means straight to the stone and the laser.
- 07
Contrast, stone, relocate
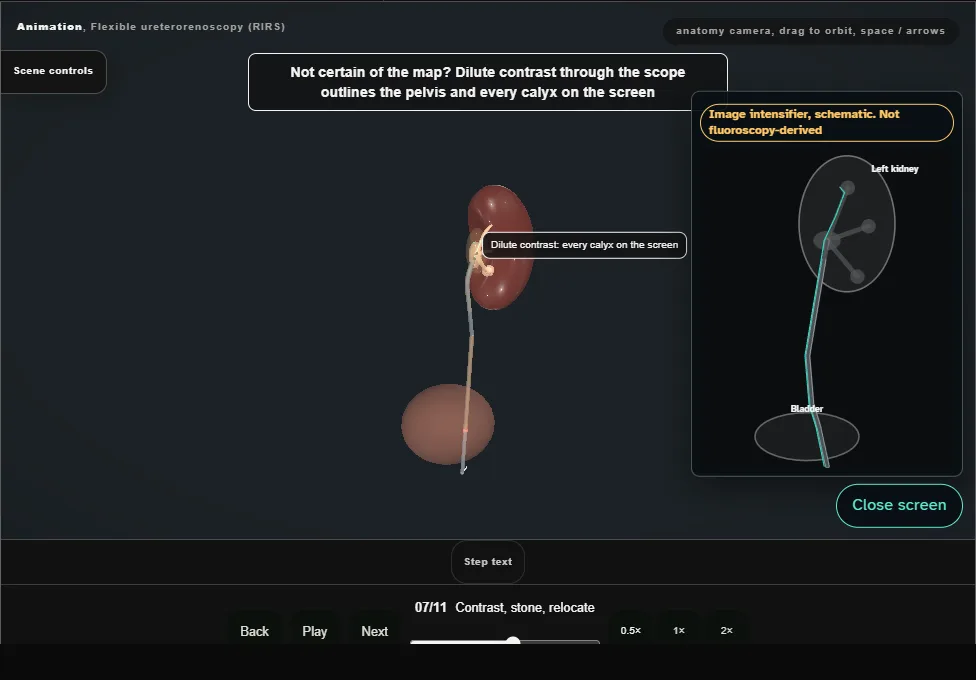
- Not certain of the map: dilute contrast outlines every calyx.
- A lower-pole stone is basketed and carried to the renal pelvis or upper pole to be lasered there.
- 08
The fibre that will not come out
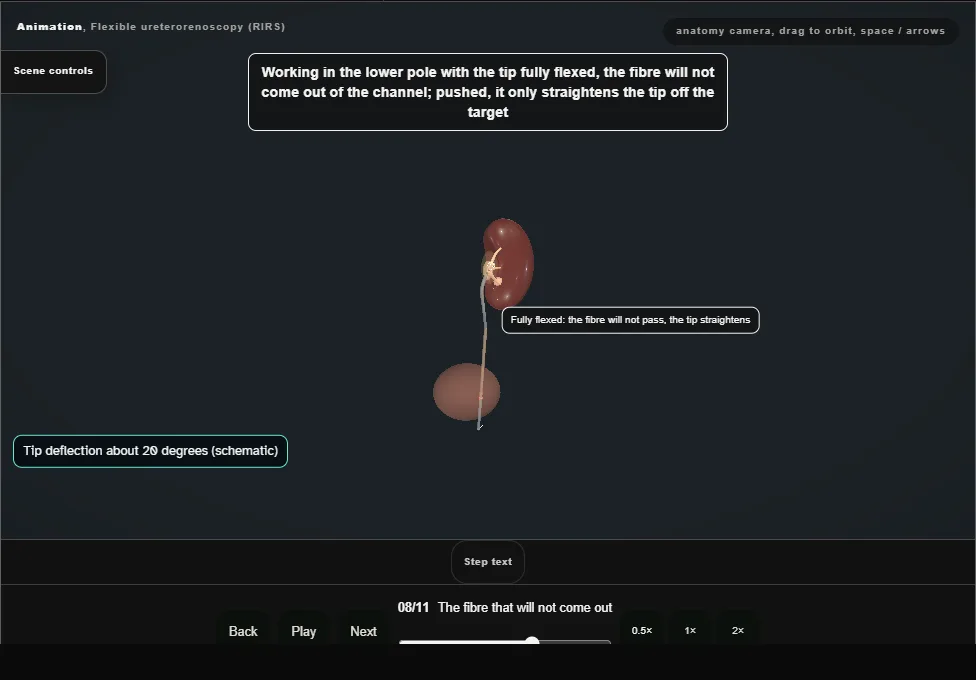
- Fully flexed in the lower pole the fibre will not advance.
- Never forced: release the flexion, back to the pelvis, fibre out in the straight scope, then flex again.
- 09
Dusting
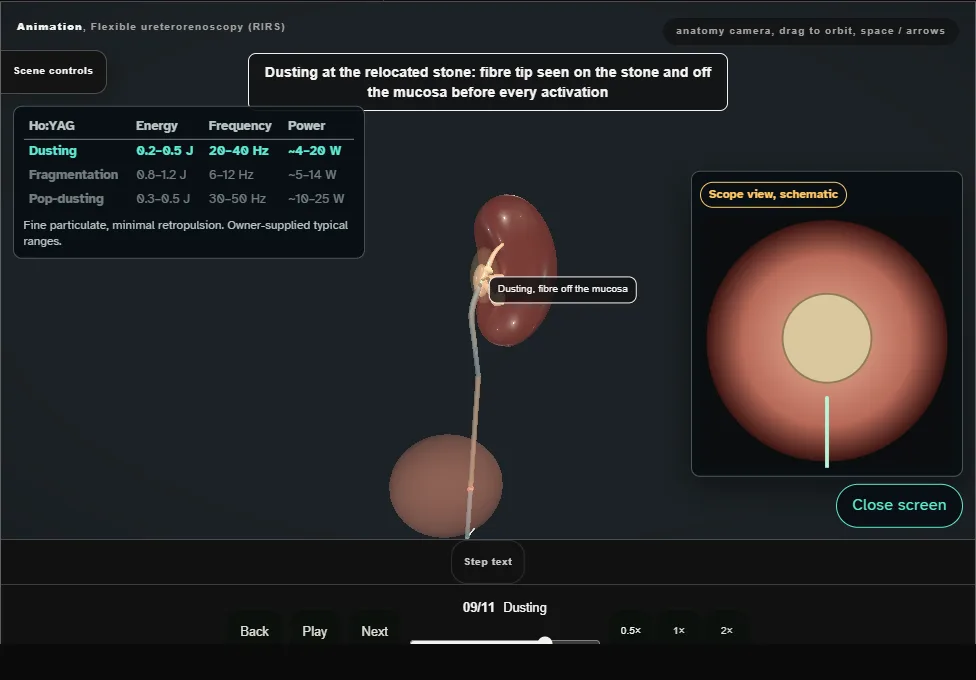
- Dust at the relocated stone, fibre tip on the stone and off the mucosa.
- Owner-supplied Ho:YAG dusting range: 0.2 to 0.5 J, 20 to 40 Hz, about 4 to 20 W.
- 10
Pop-dust the tiny fragments
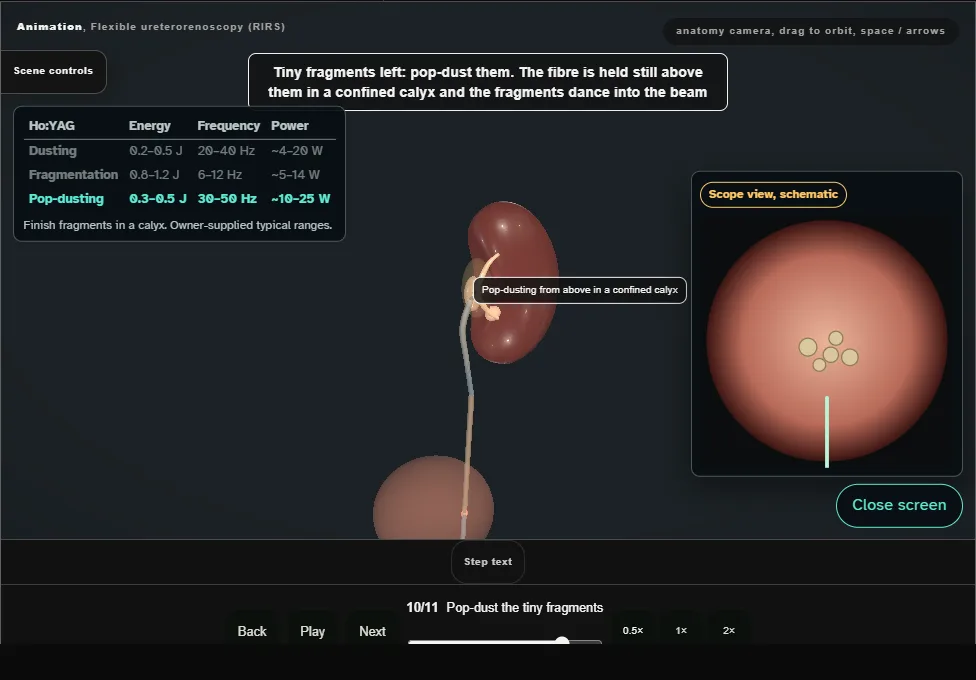
- The fibre held still above the last fragments in a confined calyx.
- Owner-supplied pop-dusting range: 0.3 to 0.5 J, 30 to 50 Hz, about 10 to 25 W.
- 11
Suction clearance to the marker
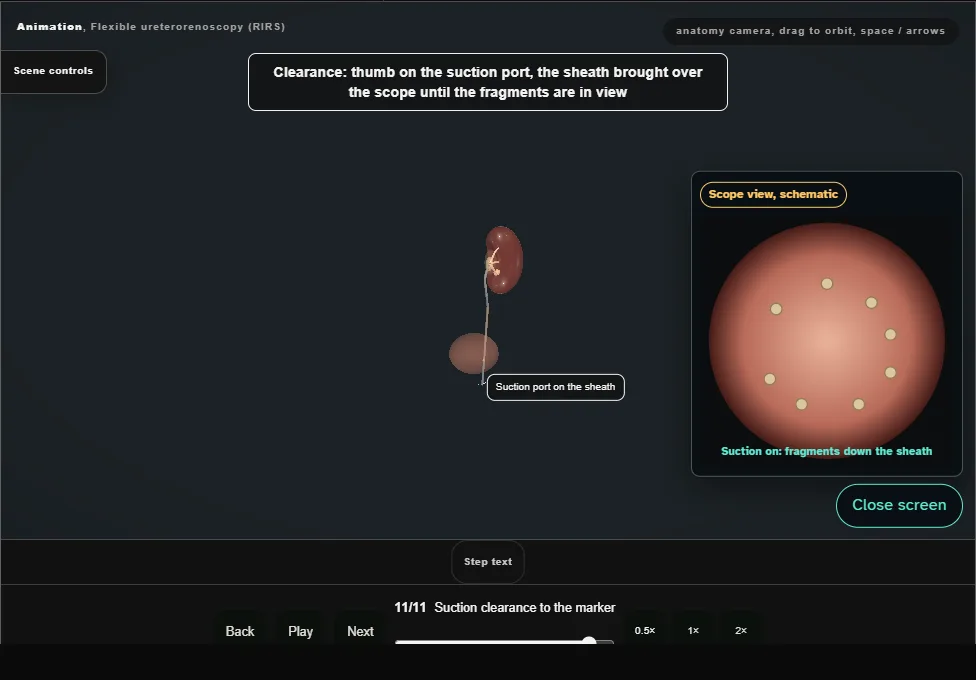
- Thumb on the suction port, the sheath brought over the scope, and the scope withdrawn slowly down to the marker so the suction takes the fragments.
- A stent only when needed.
Derived from RirsScene.tsx at build time: every step title and caption above is the authored
ProcedureDef text, reproduced verbatim, and this page shares its readable-points renderer with the animation
itself. 11 of 11 steps have a captured frame.
Text fingerprint 7d618bdf23623348. A caption edit without a re-capture fails the production
check, so the sheet and the animation cannot drift apart silently.