
Revision sheet
TURP: the resection, beat by beat
10 steps, each one the authored title and caption from the interactive animation, with the frame captured from that step. Read it before the case, or print it and work through the steps in order.
Teaching only, not for diagnosis or treatment decisions. The text on this sheet is the animation's own step copy, reproduced verbatim.
UrOops3D · UroRef · © Nity G
- 01
The sheath goes in under vision
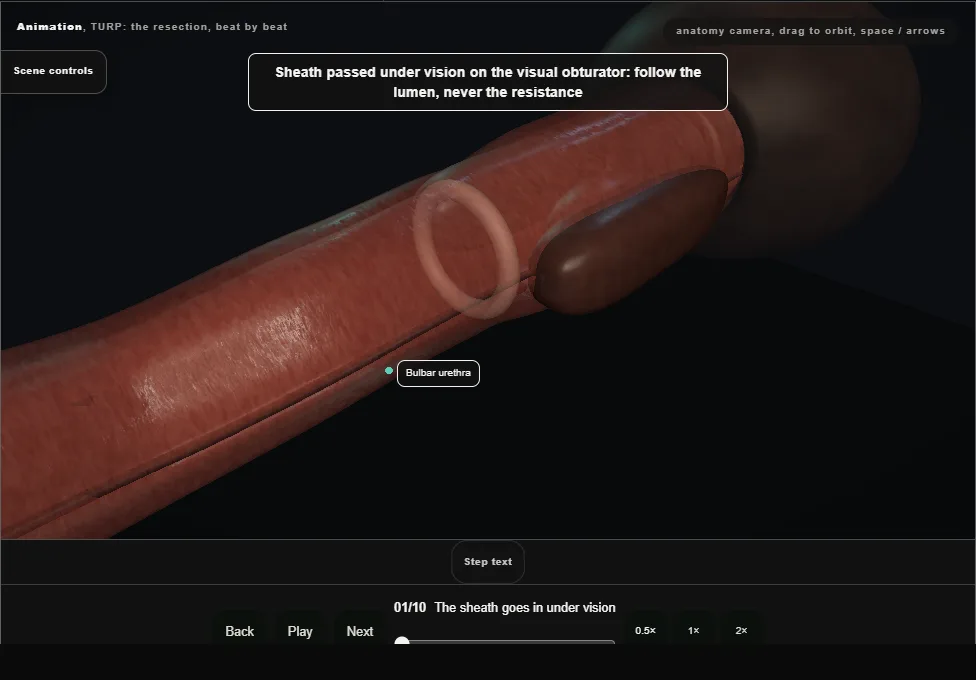
- A 26 French continuous-flow sheath on the visual obturator: bulbar urethra, then the external sphincter as a closed ring that opens as the scope approaches, then the verumontanum on the floor.
- 02
Cystoscopy: the landmarks, in order
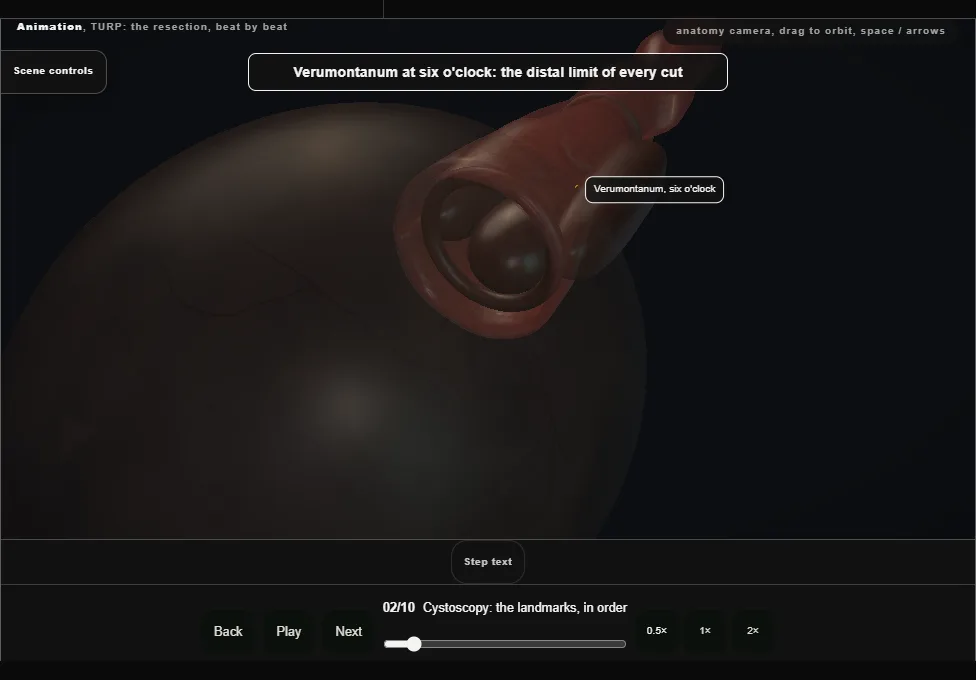
- The verumontanum at six o'clock is the distal limit of every cut.
- Beyond it the lateral lobes kiss in the midline and the median lobe sits on the floor at the neck.
- In the bladder: the air bubble at twelve, the trigone and both ureteric orifices, found before the first cut.
- 03
The landmark hold
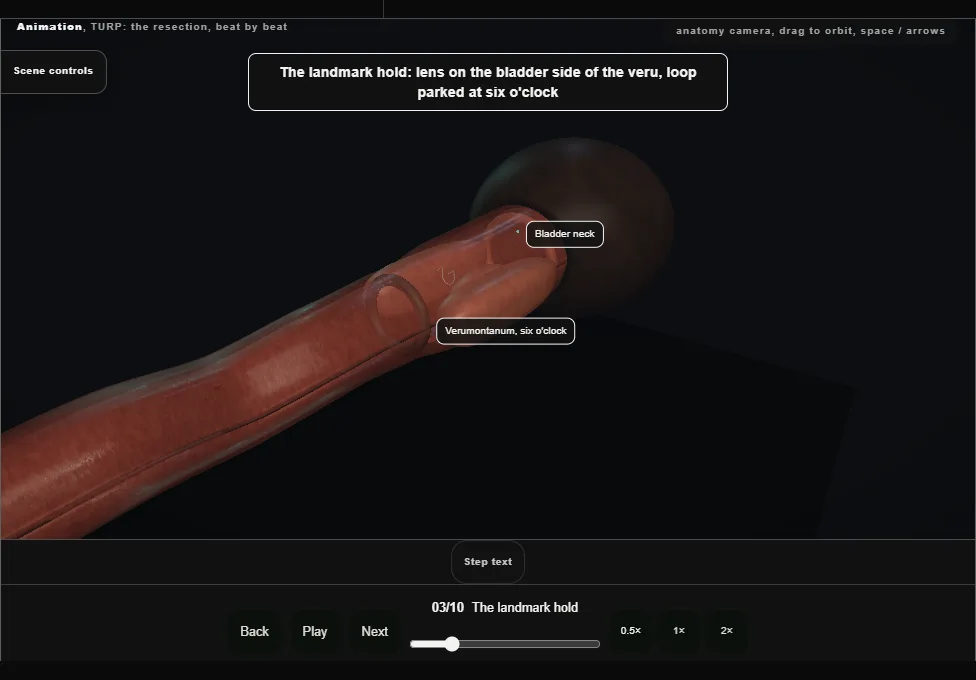
- Lens on the bladder side of the veru, loop parked at six o'clock: neck ahead, veru below, a lobe either side.
- The reference position the scope returns to whenever orientation is lost.
- Two limits: nothing distal to the veru, nothing deeper than the capsule.
- 04
The median lobe, from the neck toward the veru
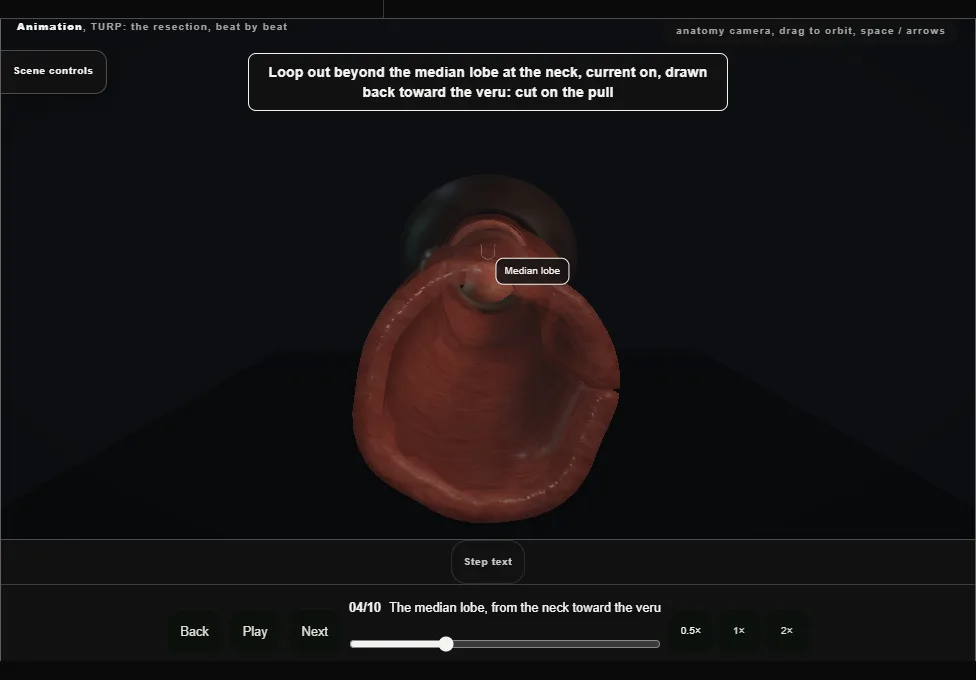
- Loop out beyond the tissue at the neck, current on, drawn back toward the veru.
- Adjacent strokes, each taking a layer, from the neck to a point just proximal of the veru, until the tissue is gone and the surgical capsule lies bare as white criss-crossing fibres at the floor.
- 05
The right lobe: release, drop, hook, take
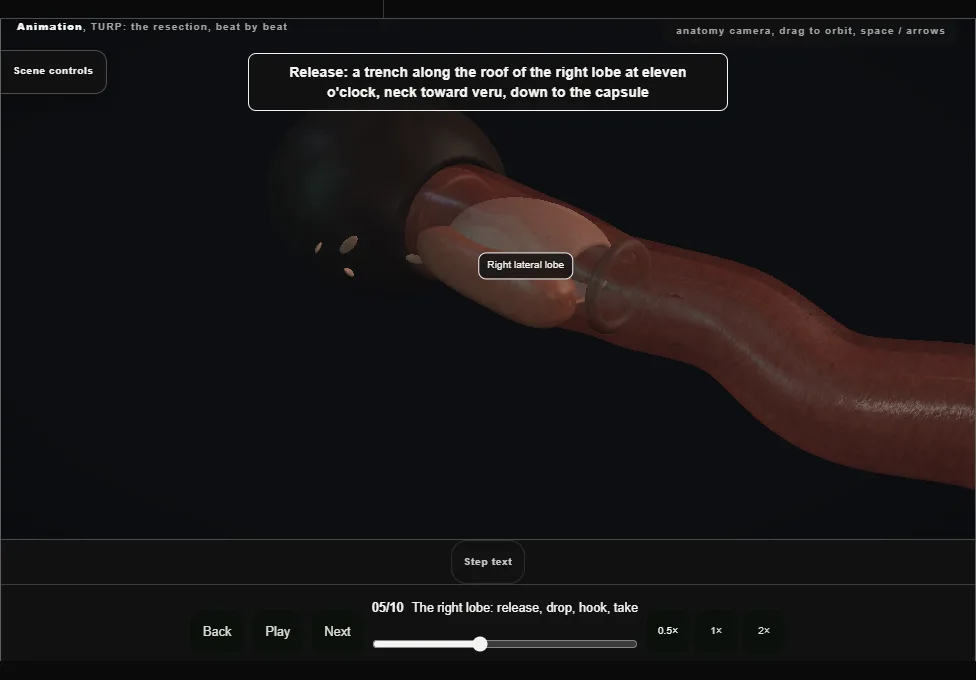
- A trench along the roof of the lobe at eleven o'clock from the neck to the veru, deepened to the capsule, then ten and nine.
- The lobe drops into the median defect; the loop is hooked behind it at eight o'clock and it comes away in adjacent full-length chips.
- 06
The left lobe: the mirror
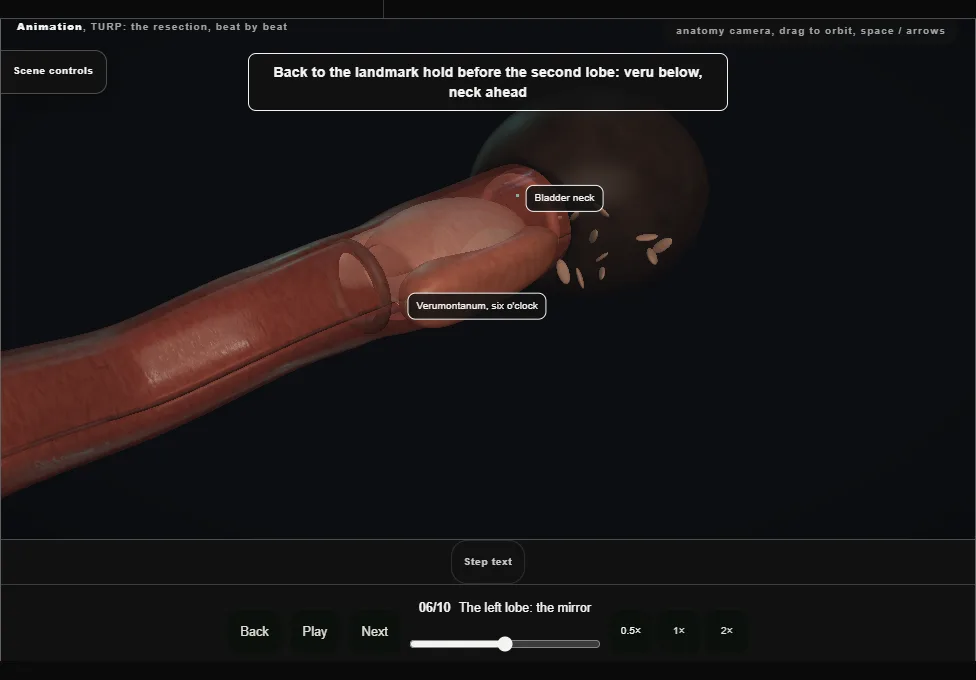
- Back to the landmark hold first.
- Release along one, two and three o'clock, let the lobe drop, hook it at four and take it flat.
- One sector finished, and its bleeding controlled, before the next is opened.
- 07
The apex, from twelve o'clock
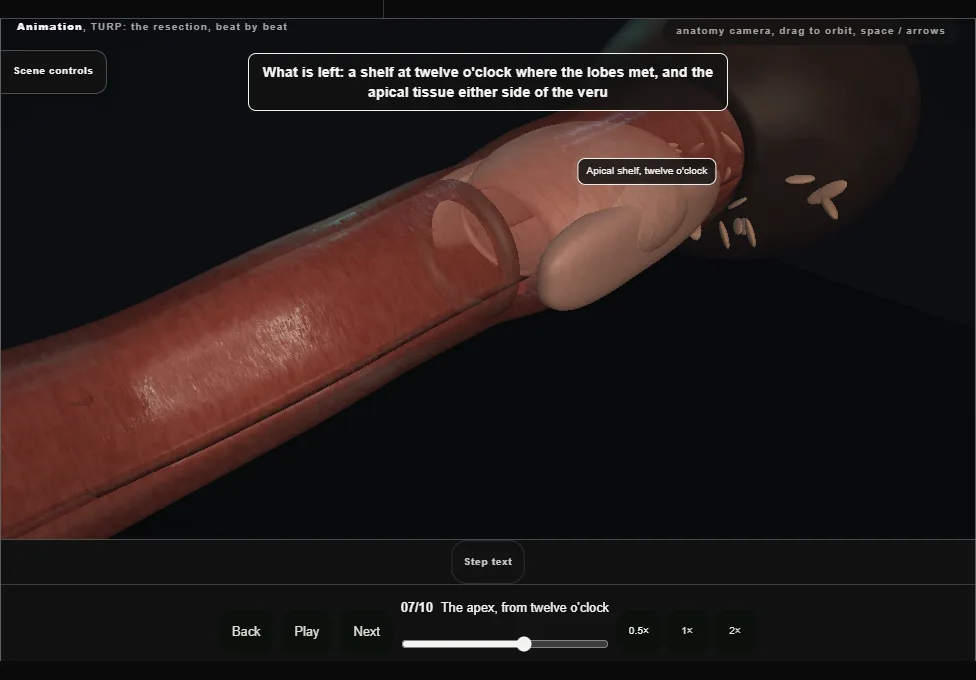
- The shelf at twelve o'clock is taken with the loop turned over and short strokes drawn back toward the veru.
- Apical tissue beside the veru the same way: loop out over it, every stroke drawn back to end at the veru, never beyond it.
- Then the scope is withdrawn into the bulbar urethra, still looking forward, to see the sphincter ring close ahead of the lens.
- 08
Chips out: the Ellik
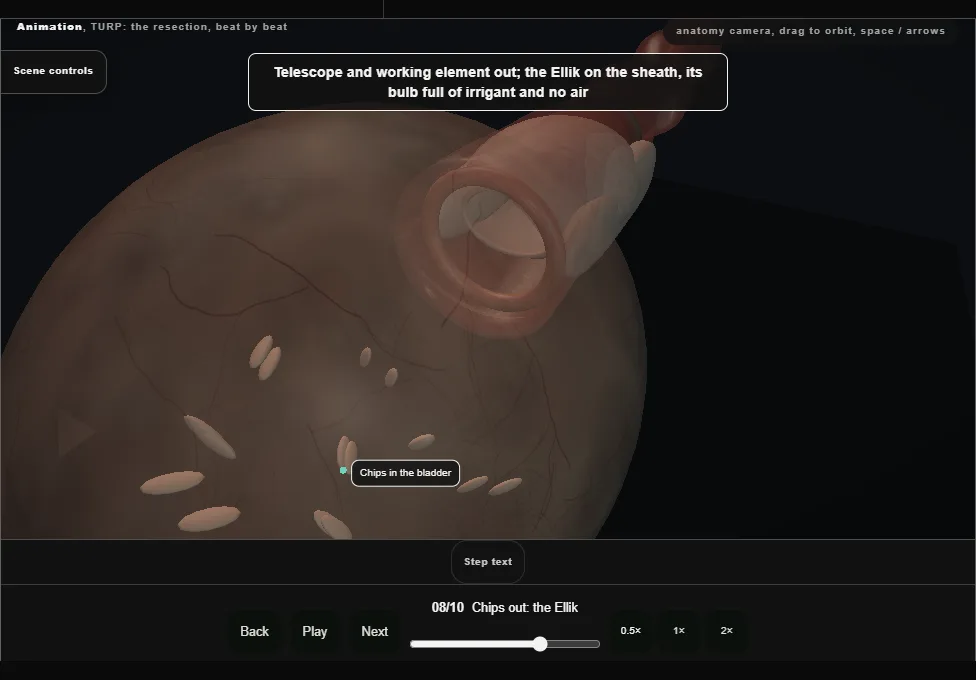
- Telescope out, the Ellik evacuator on the sheath with its bulb full and no air.
- Squeeze and release until the return is clear; a Toomey syringe for the last few.
- Scope back in to look for the chip behind the neck.
- Chips weighed and sent for histology.
- 09
Haemostasis
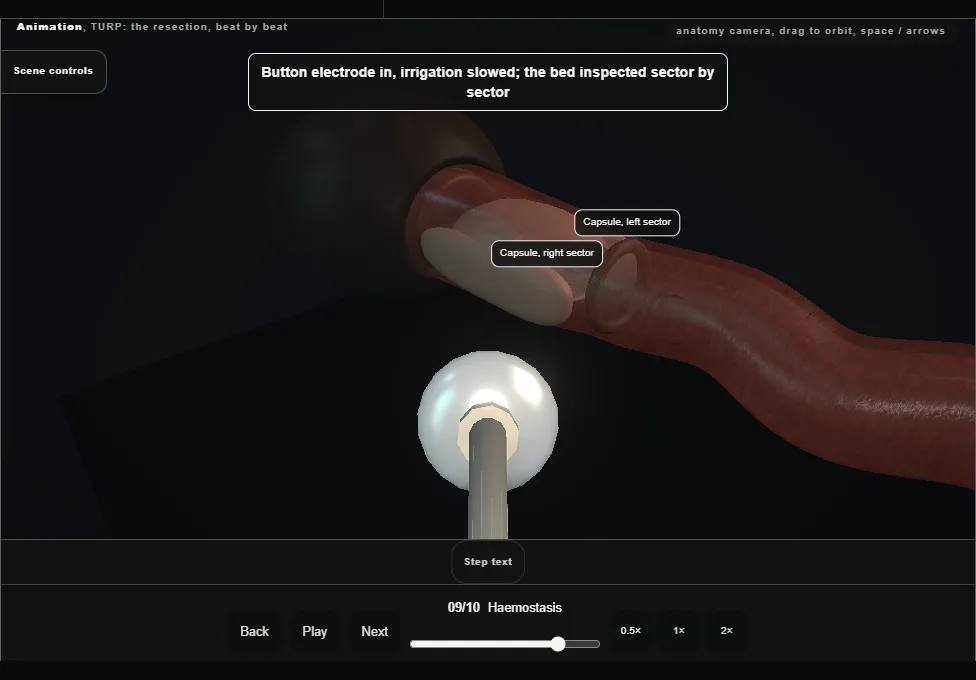
- The button electrode, irrigation slowed, the bed inspected sector by sector.
- Arterial jets are coagulated at their point; venous sinuses are not chased, because coagulating a sinus opens it.
- Irrigation off for a moment to see what the catheter will have to control.
- 10
The catheter, and the note
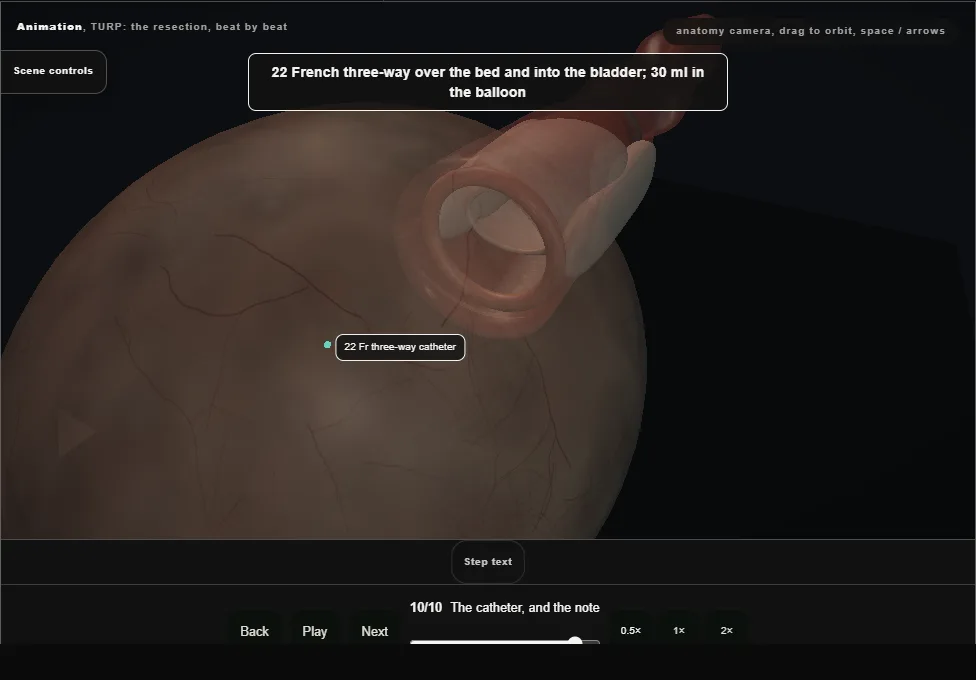
- A 22 French three-way catheter over the bed, 30 ml in the balloon, irrigation until the effluent is rosé.
- Traction only for venous ooze.
- The note records weight, time, irrigant and deficit, the landmarks seen intact, the catheter and the plan.
Derived from turp/TurpResection3dScene.tsx at build time: every step title and caption above is the authored
ProcedureDef text, reproduced verbatim, and this page shares its readable-points renderer with the animation
itself. 10 of 10 steps have a captured frame.
Text fingerprint 6f2a1d586dcad224. A caption edit without a re-capture fails the production
check, so the sheet and the animation cannot drift apart silently.