
Revision sheet
Ureteroureterostomy
9 steps, each one the authored title and caption from the interactive animation, with the frame captured from that step. Read it before the case, or print it and work through the steps in order.
Teaching only, not for diagnosis or treatment decisions. The text on this sheet is the animation's own step copy, reproduced verbatim.
UrOops3D · UroRef · © Nity G
- 01
Who
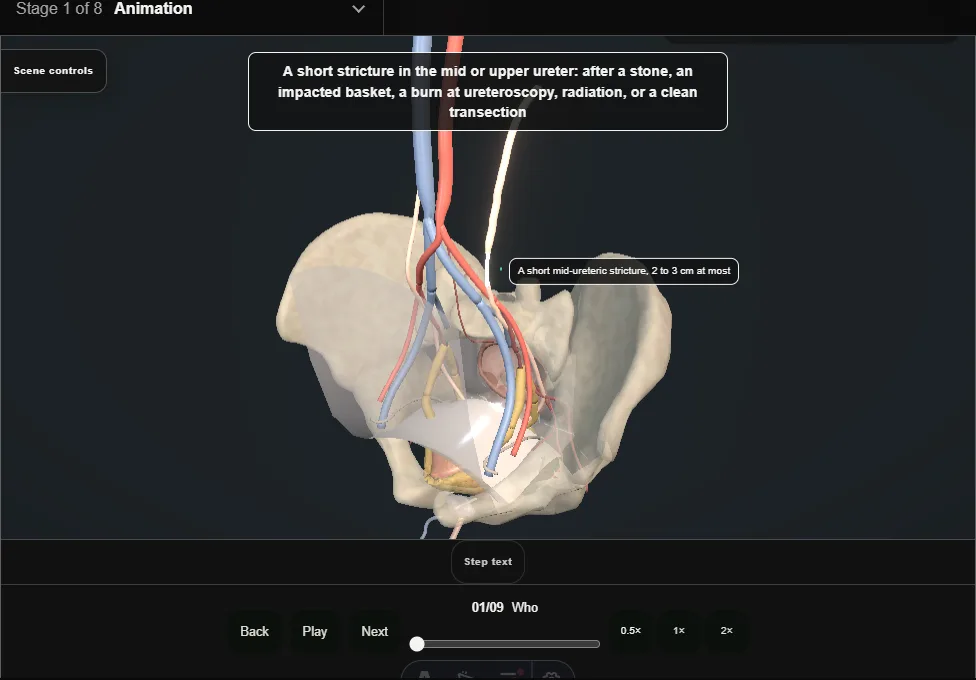
- A short stricture in the mid or upper ureter after a stone, an impacted basket, a burn, radiation, or a clean transection.
- Two to three centimetres at most: longer and the ends will not meet without tension.
- 02
Imaging the length
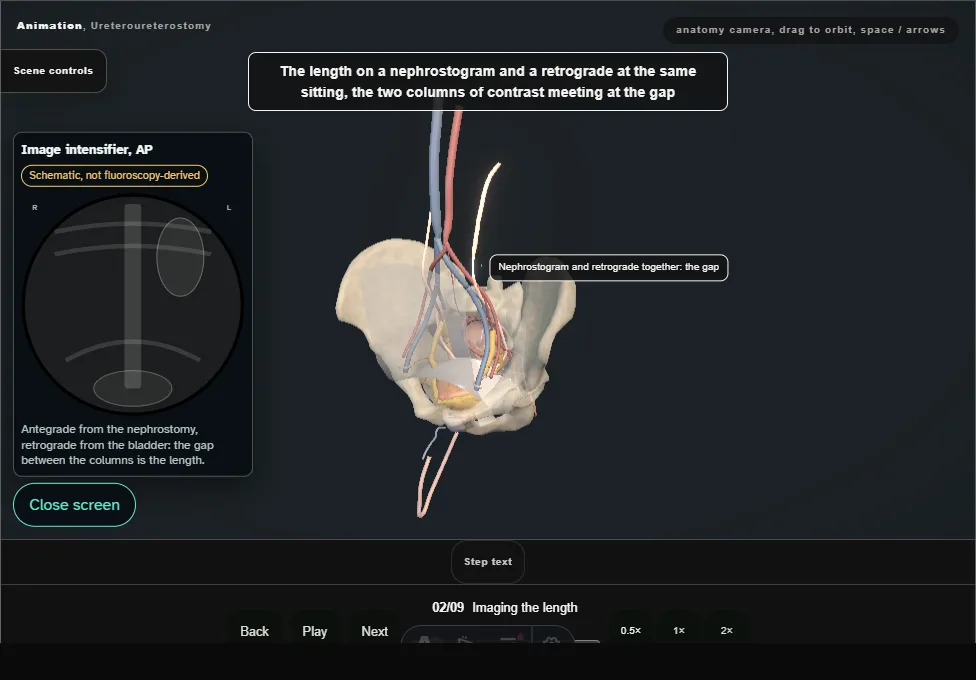
- A nephrostogram and a retrograde at the same sitting, the two columns of contrast meeting at the gap.
- Function on a MAG3 first: a kidney under fifteen percent is not worth the operation.
- 03
Approach
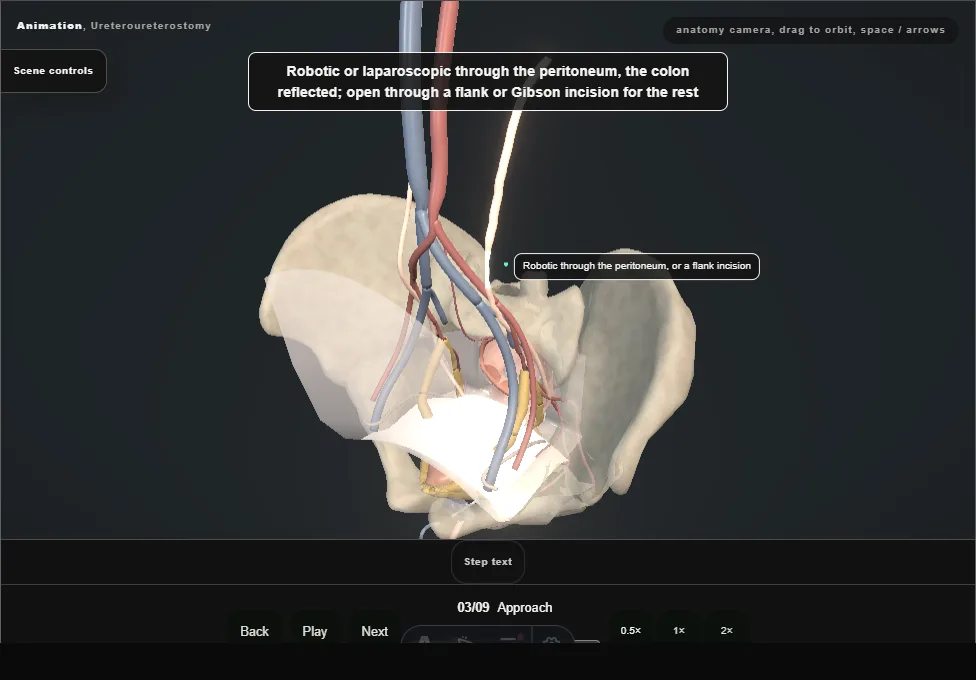
- Robotic or laparoscopic through the peritoneum with the colon reflected; open through a flank or Gibson incision for the rest.
- The ureter found over the iliac vessels or on the psoas, peristalsing, and slung.
- 04
Finding and mobilising the ureter
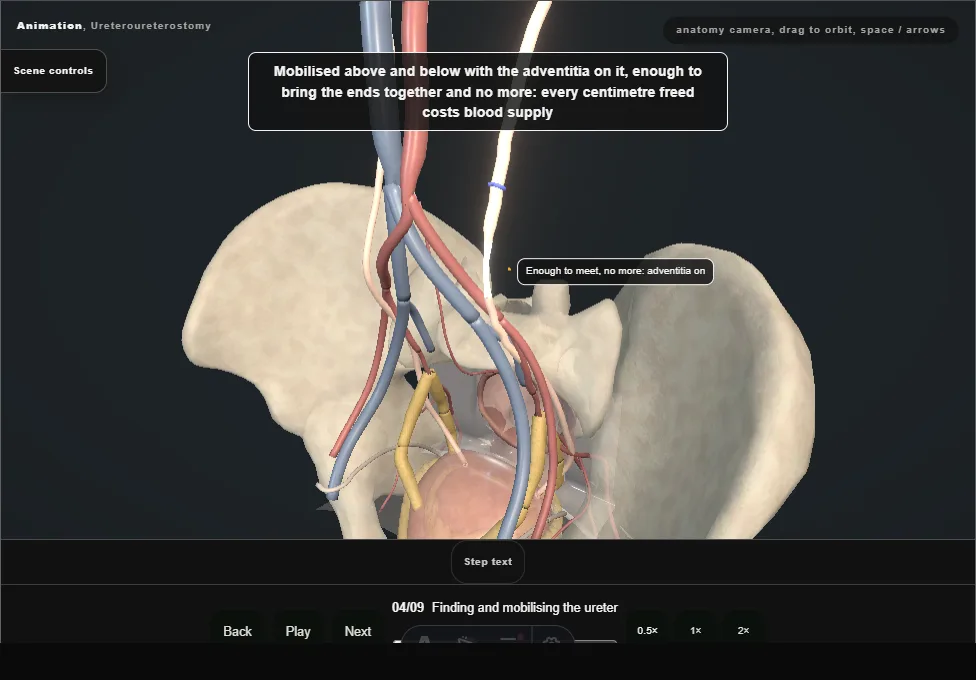
- Mobilised above and below with the adventitia on it, enough to bring the ends together and no more: every centimetre freed costs blood supply.
- The stricture felt and seen: pale, thick, without peristalsis.
- 05
Excision to bleeding ends
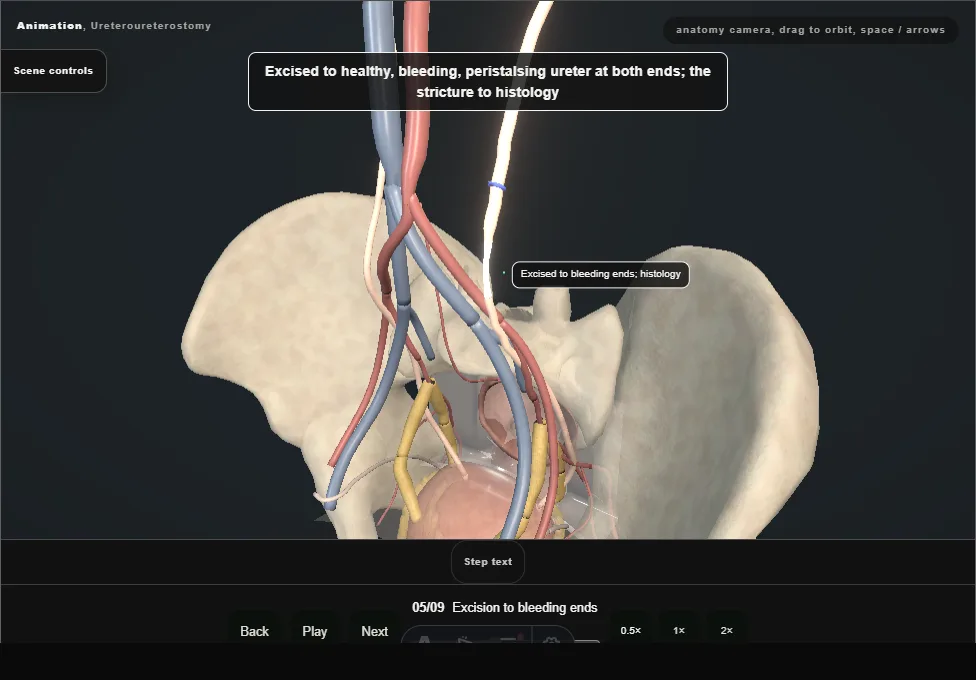
- Excised to healthy, bleeding, peristalsing ureter at both ends; the stricture to histology, and a frozen section if the cause is not known: a ureteric tumour changes the operation.
- 06
Spatulation
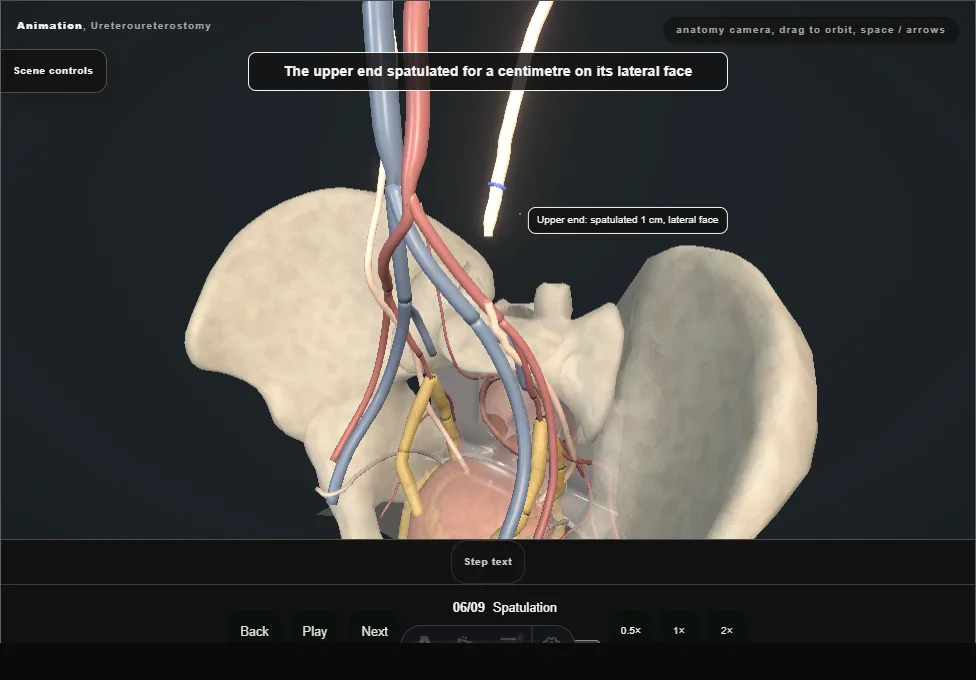
- Each end spatulated for a centimetre on opposite sides, the upper laterally and the lower medially, so the join is oblique and wide.
- The spatulation makes the anastomosis wider than the ureter: a narrowing at the join is not a stricture.
- 07
The anastomosis over a stent
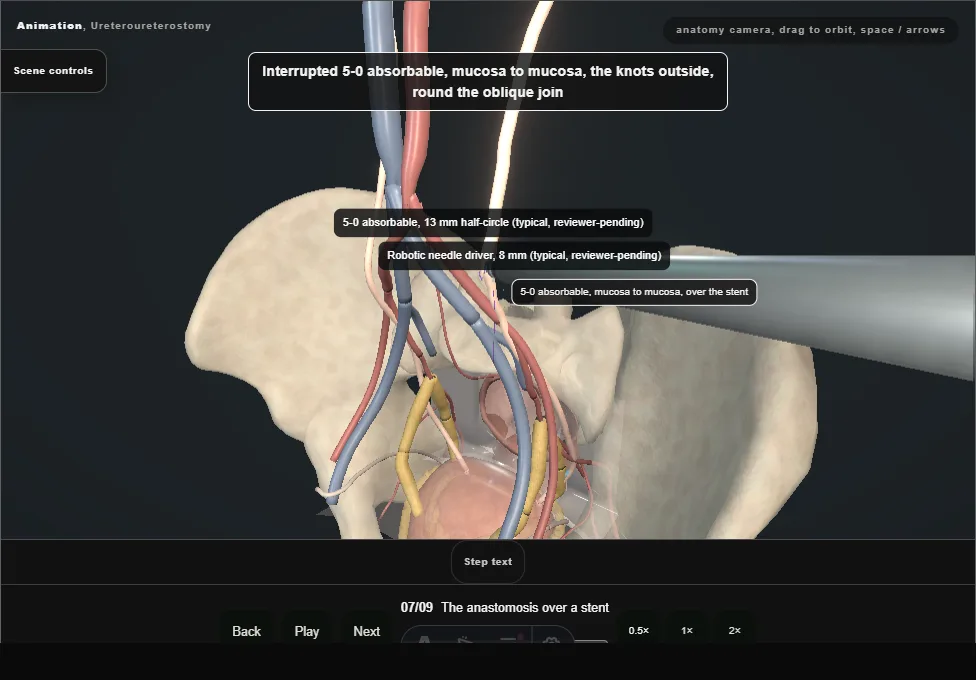
- A 6 Fr JJ stent over a guidewire, up to the kidney and down to the bladder; the mobilised ends brought together over it, then interrupted or running 5-0 absorbable, mucosa to mucosa, knots outside.
- No tension: if it pulls, the ureter is mobilised more, the kidney dropped, or the plan changed.
- 08
Omentum or fat, and a drain
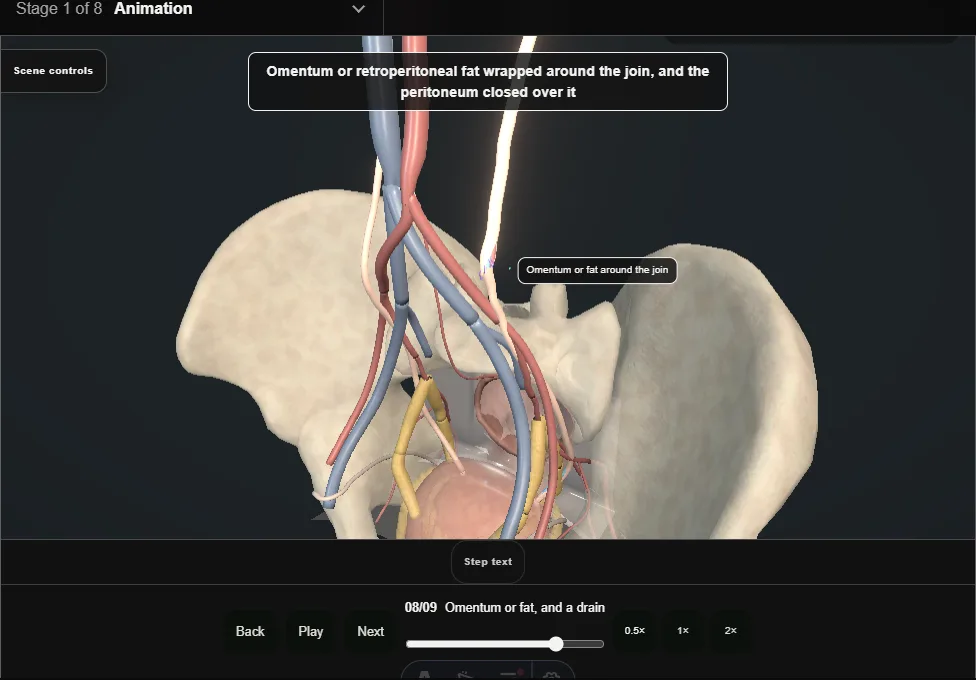
- Omentum or retroperitoneal fat wrapped around the join, the peritoneum closed over it, and a drain beside the join, not on it.
- 09
After
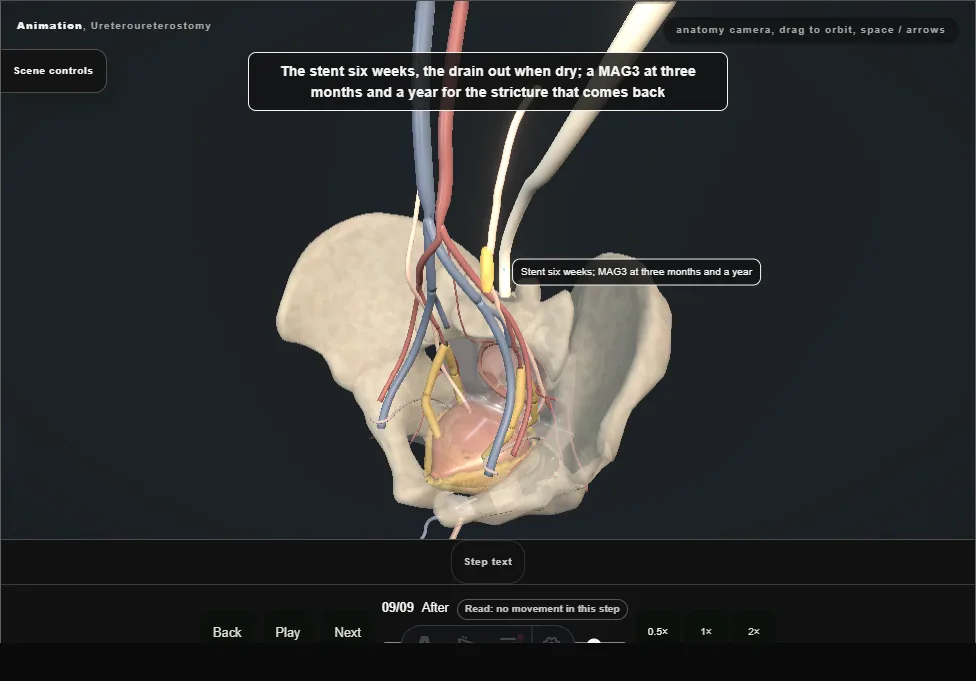
- The stent six weeks, the drain out when dry; a MAG3 at three months and a year.
- Recurrence is early ischaemia or late scar: a stent and balloon for a short one, redo or a longer reconstruction for the rest.
Derived from pelvis/UreteroureterostomyScene.tsx at build time: every step title and caption above is the authored
ProcedureDef text, reproduced verbatim, and this page shares its readable-points renderer with the animation
itself. 9 of 9 steps have a captured frame.
Text fingerprint dabbeedfb7998068. A caption edit without a re-capture fails the production
check, so the sheet and the animation cannot drift apart silently.