
Revision sheet
Ureteroscopic treatment of an upper-tract urothelial tumour
9 steps, each one the authored title and caption from the interactive animation, with the frame captured from that step. Read it before the case, or print it and work through the steps in order.
Teaching only, not for diagnosis or treatment decisions. The text on this sheet is the animation's own step copy, reproduced verbatim.
UrOops3D · UroRef · © Nity G
- 01
Cystoscopy, cytology, retrograde study
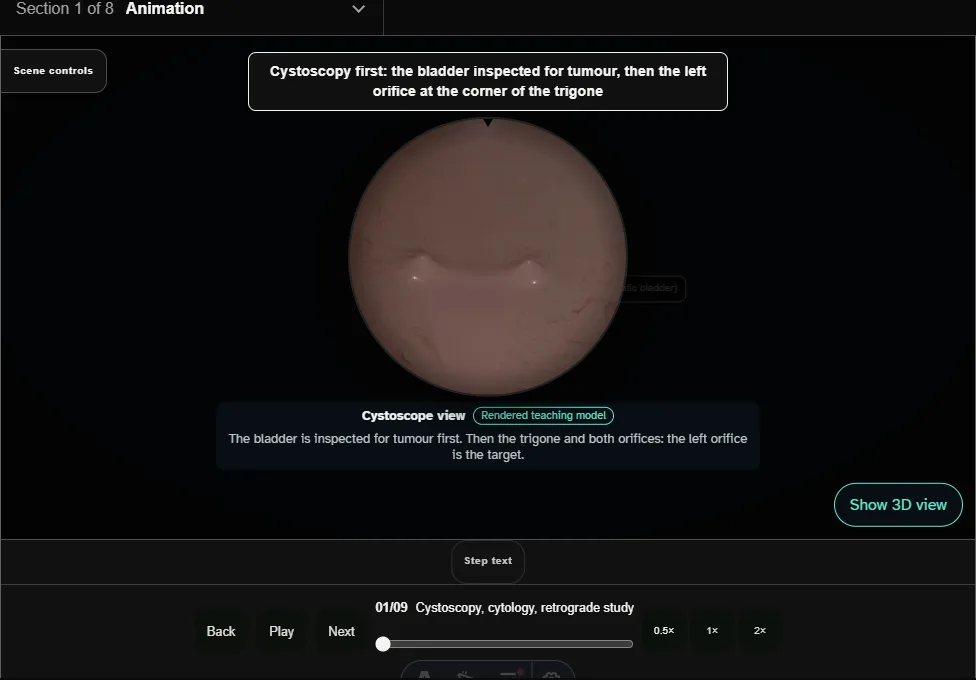
- The bladder is inspected for tumour.
- An open-ended catheter up the left ureter collects urine for cytology before contrast; the retrograde study shows a filling defect in the renal pelvis.
- 02
Safety wire
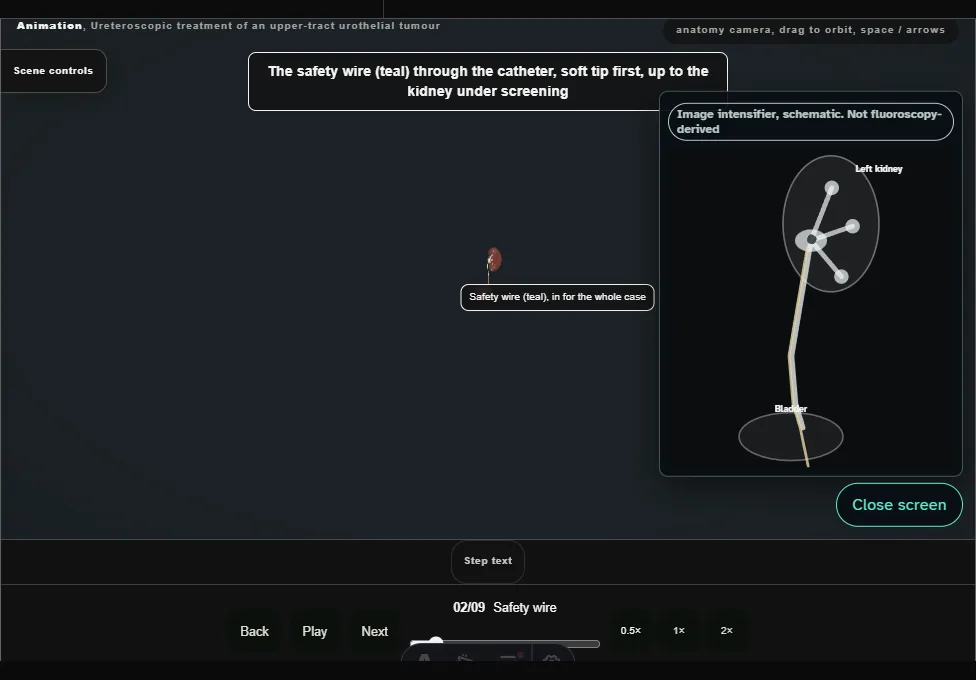
- A guidewire through the catheter to the kidney under screening, its curl seen in the collecting system; the catheter comes out.
- This wire stays as the safety wire.
- 03
Semirigid look, working wire
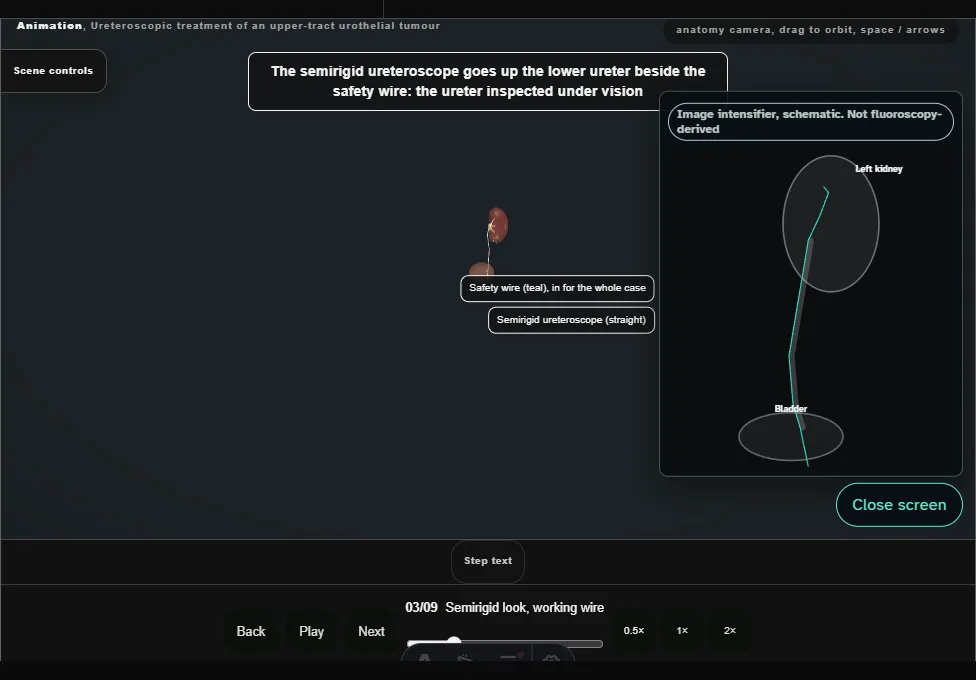
- The semirigid ureteroscope inspects the lower ureter beside the safety wire and places the white working wire in the renal pelvis, then comes out over it.
- 04
Flexible ureteroscope
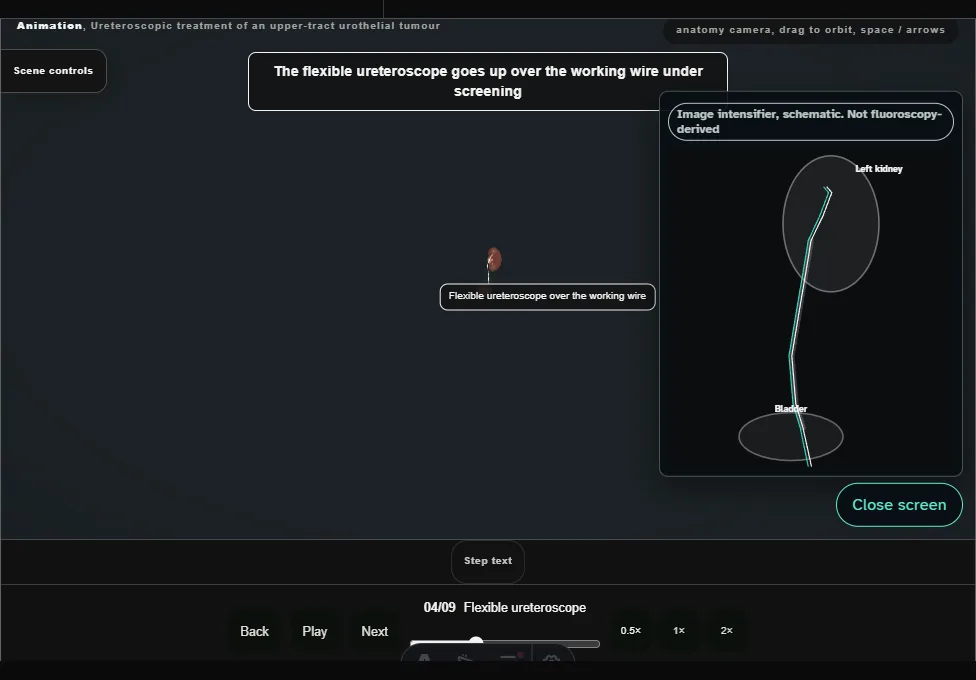
- The flexible ureteroscope goes up over the working wire under screening; in the upper ureter the wire comes out and the scope goes on under direct vision to the tumour.
- 05
Inspect every calyx
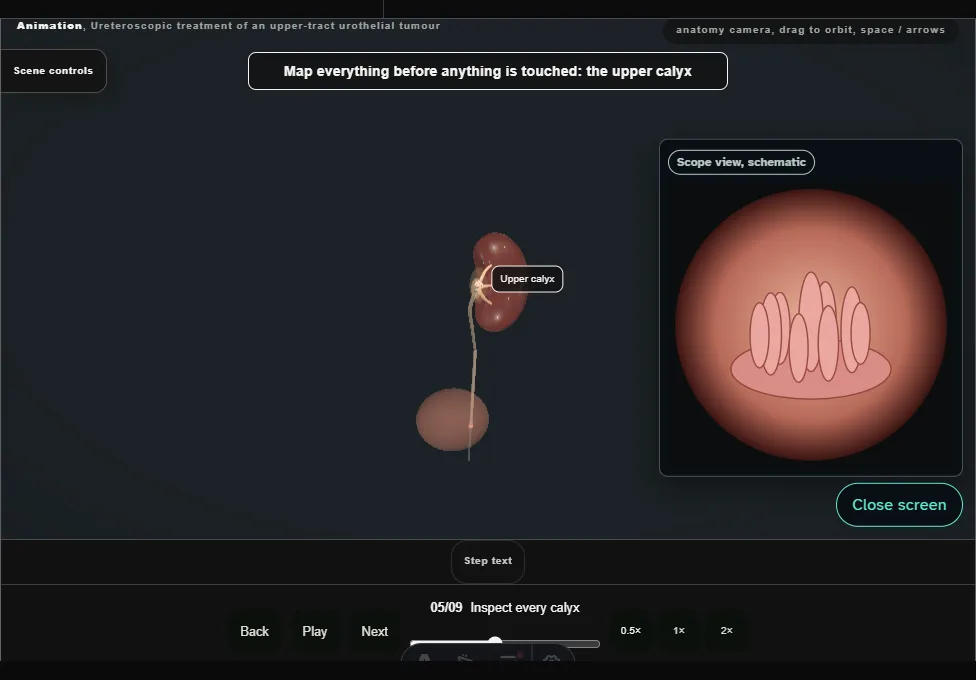
- Upper, middle and lower calyces and the pelvis are inspected before the tumour is touched.
- One papillary tumour, nothing else: unifocal.
- 06
Biopsy before ablation
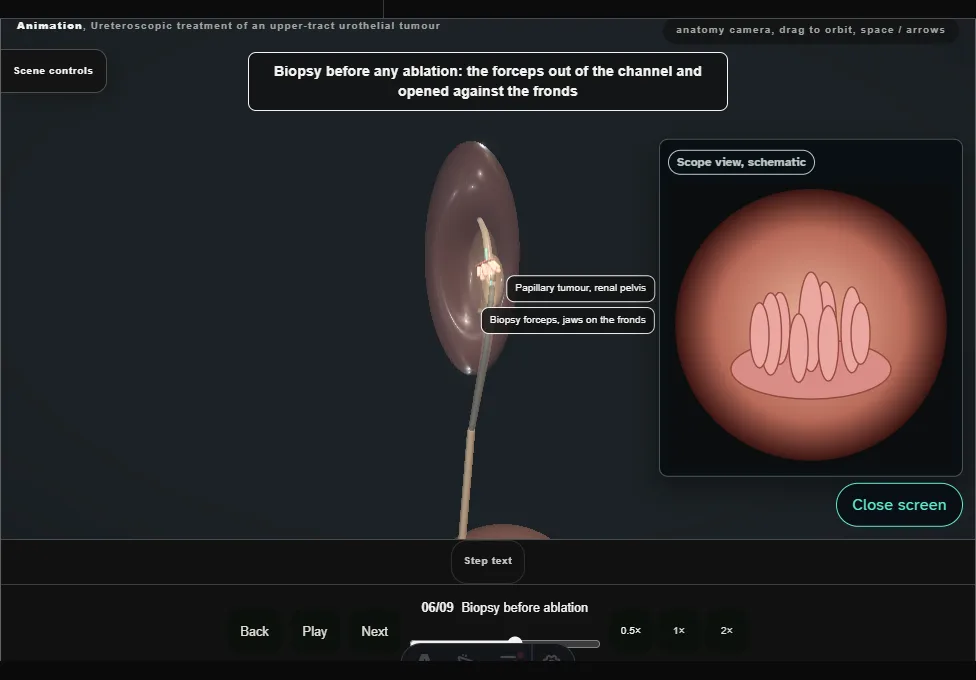
- Forceps through the channel take two bites from the tumour, and the samples go to pathology before any energy touches it.
- 07
Laser ablation to the base
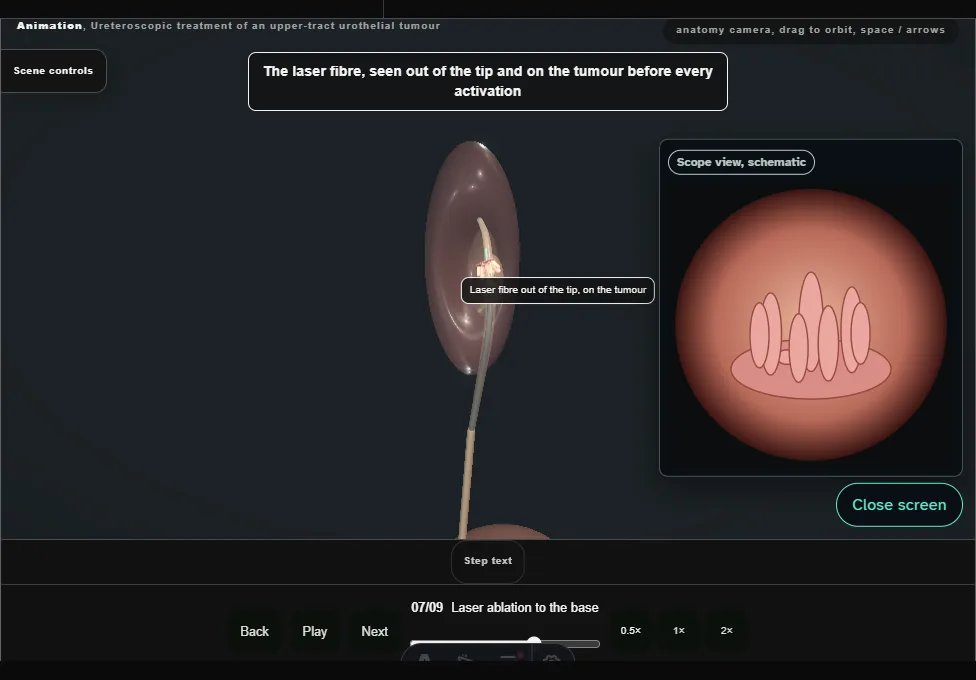
- The holmium fibre, seen out of the tip, ablates the fronds and then the base, which whitens as it coagulates.
- Low power, short bursts, the wall respected.
- 08
Check and withdraw
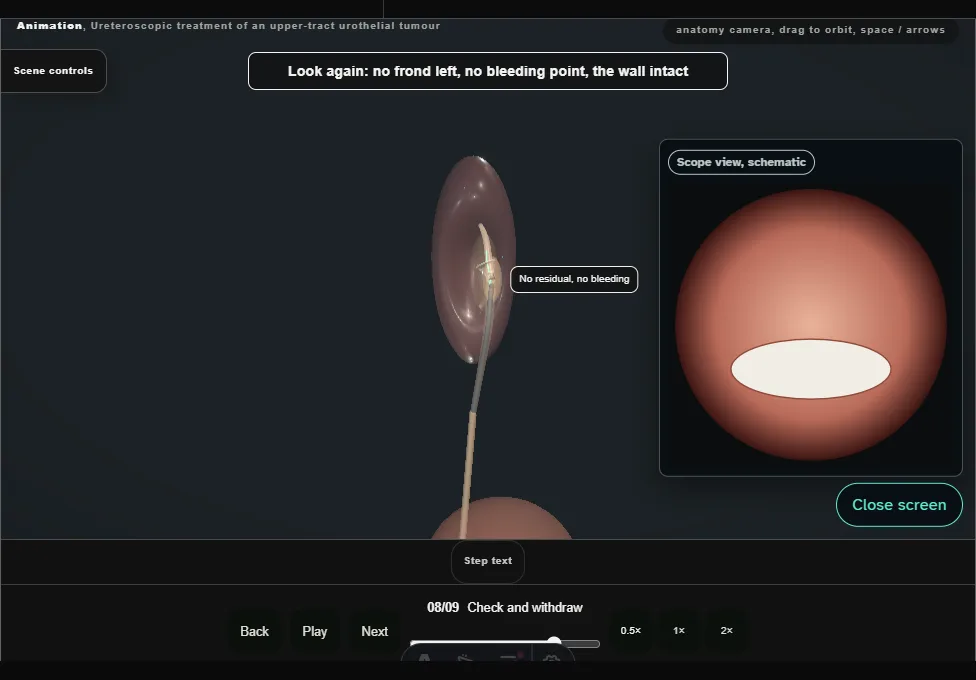
- No residual tumour, no bleeding, no trauma.
- The scope comes out slowly under vision, the ureter inspected on the way down.
- 09
Stent and second look
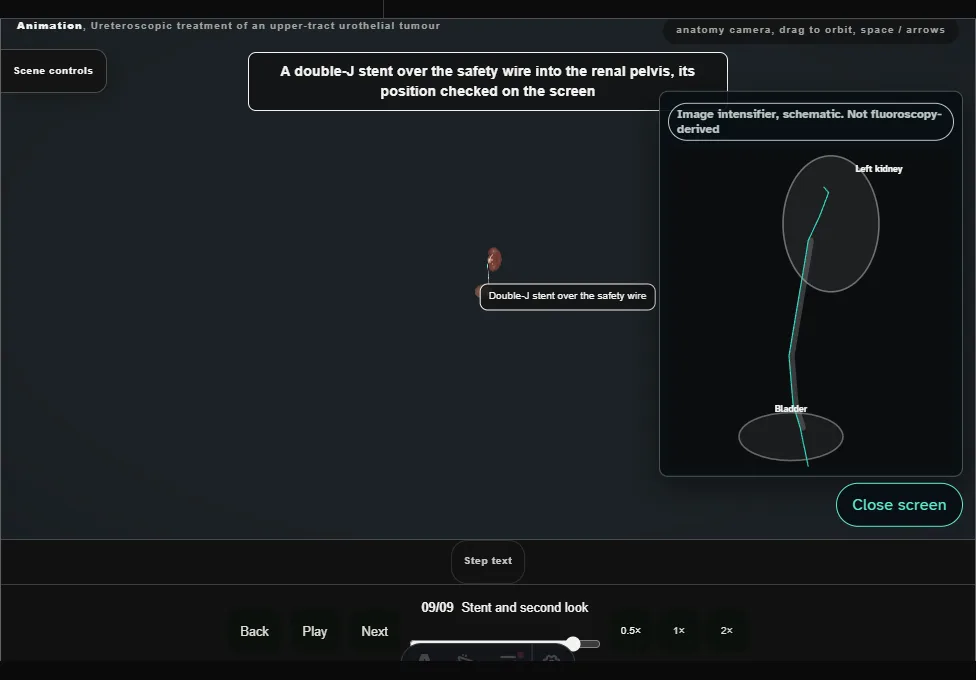
- A double-J stent over the safety wire, checked on the screen; the safety wire comes out.
- A second-look ureteroscopy is planned within eight weeks.
Derived from utuc/UtucScene.tsx at build time: every step title and caption above is the authored
ProcedureDef text, reproduced verbatim, and this page shares its readable-points renderer with the animation
itself. 9 of 9 steps have a captured frame.
Text fingerprint 6e4074d9dfa63715. A caption edit without a re-capture fails the production
check, so the sheet and the animation cannot drift apart silently.