
Revision sheet
Politano-Leadbetter ureteric reimplantation, left
8 steps, each one the authored title and caption from the interactive animation, with the frame captured from that step. Read it before the case, or print it and work through the steps in order.
Teaching only, not for diagnosis or treatment decisions. The text on this sheet is the animation's own step copy, reproduced verbatim.
UrOops3D · UroRef · © Nity G
- 01
Open the bladder
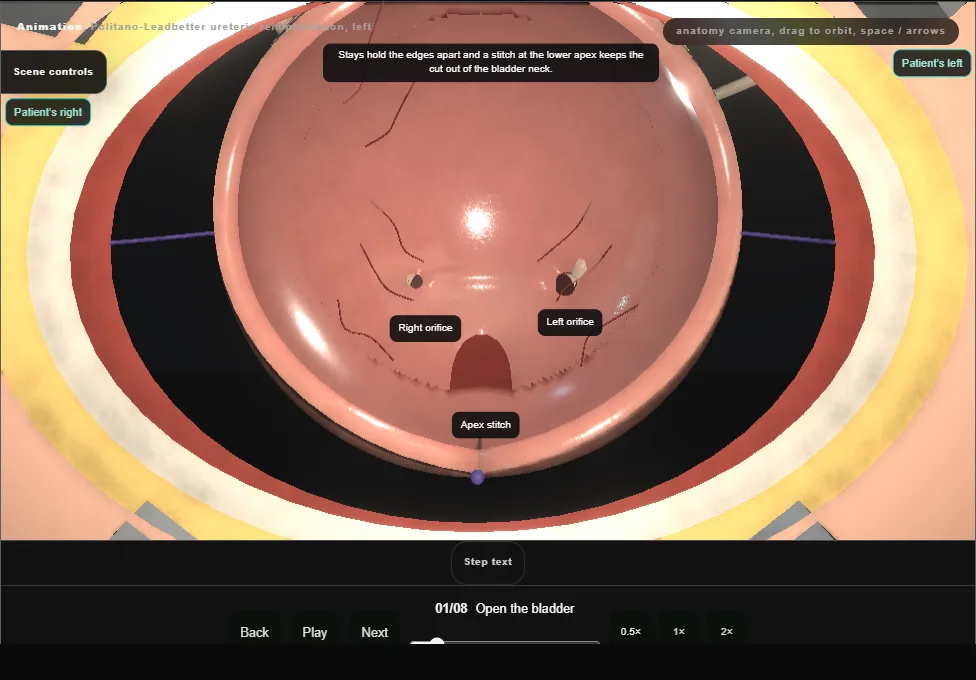
- Supine, the bladder filled through a catheter.
- A small curved transverse incision above the pubis, the rectus sheath opened across and the recti parted in the midline; the peritoneum is swept up off the dome and is not opened.
- The anterior wall is lifted on Allis forceps and opened vertically in the midline.
- Stays hold the edges, a stitch at the lower apex keeps the cut out of the bladder neck, and padded blades show both orifices.
- 02
Intubate and circumscribe
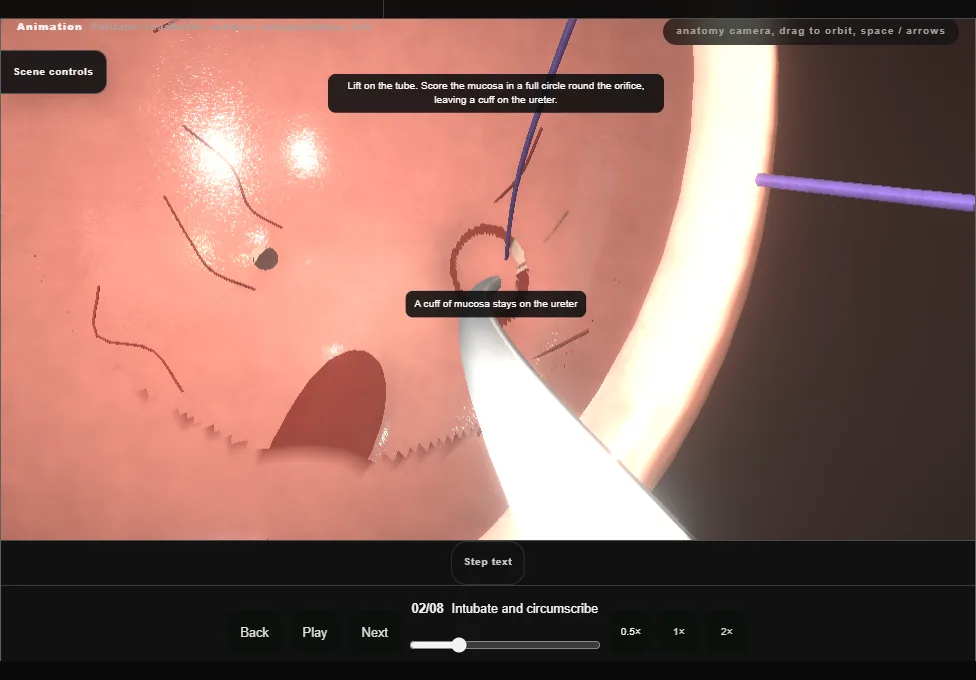
- A fine feeding tube is passed up the refluxing left ureter and held at the orifice by a purse-string traction stitch.
- Gentle traction on the tube lifts the orifice and the mucosa is scored in a full circle round it, so that a cuff of mucosa stays on the end of the ureter.
- 03
Mobilise the ureter
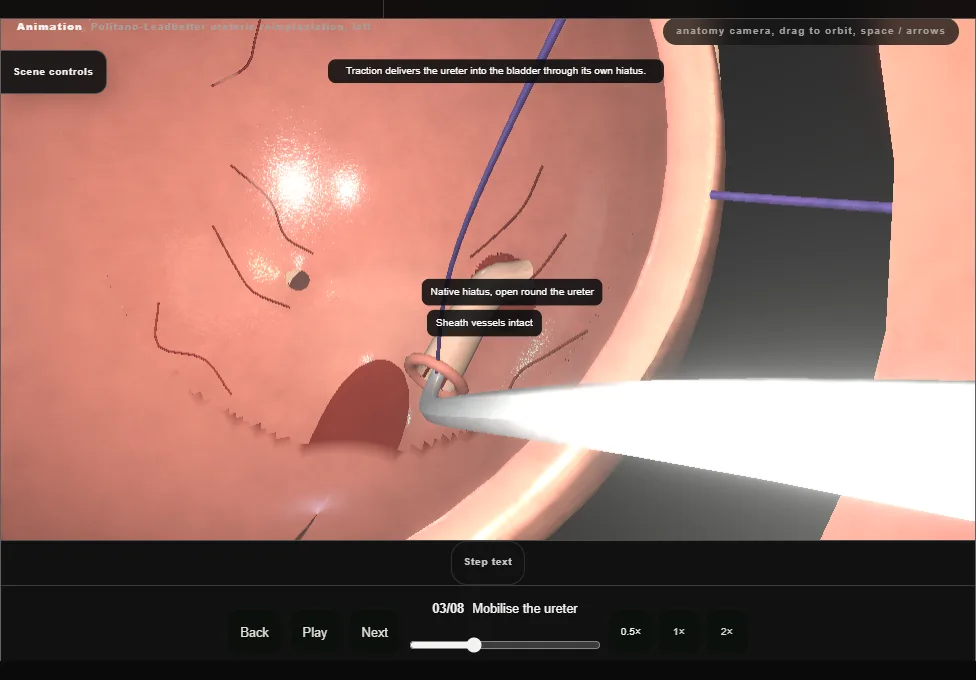
- Tenotomy scissors free the inferior aspect of the ureter first and then the whole circumference, on the detrusor, with the adventitia left on the ureter: it carries the blood supply.
- Traction delivers the ureter into the bladder.
- A pledget through the hiatus then sweeps the peritoneum off the back of the bladder under direct vision.
- In a boy the vas goes back with it.
- 04
Make the new hiatus
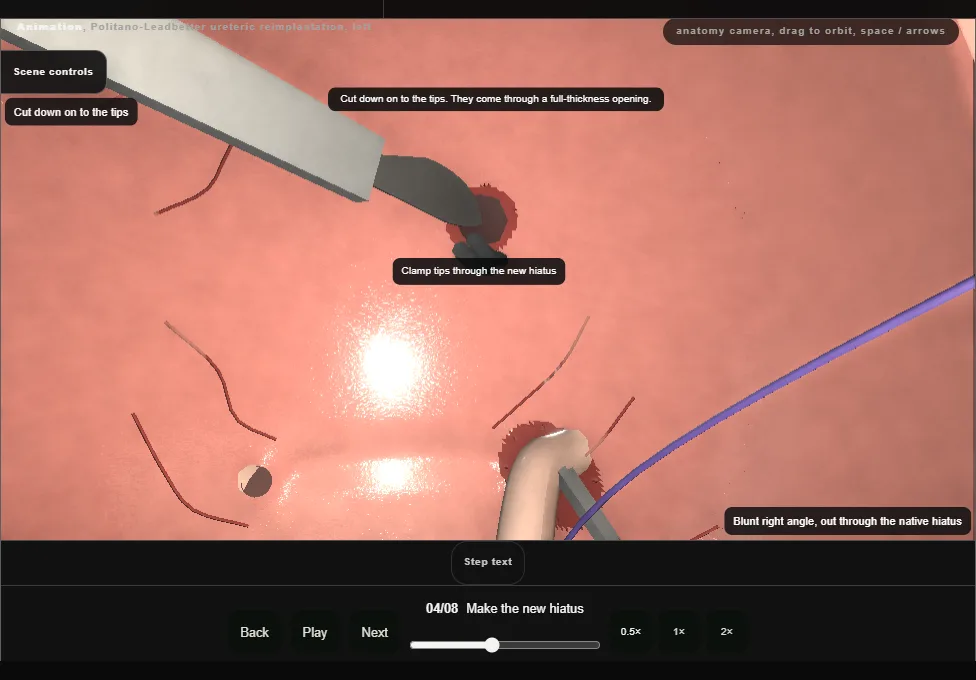
- A blunt right angle is passed out through the native hiatus and up behind the bladder, its tips on the bare outer wall, to tent muscle and mucosa cephalad and medial to the native orifice.
- The wall is cut over the tips.
- A second right angle, passed from inside through the new hiatus, takes the traction stitch at the old one and brings the ureter round behind the bladder and in through the new opening.
- Peritoneum, bowel and the vas lie behind the wall here: the pass is made in the cleared plane and in view.
- 05
Relieve the lip, close the old hiatus
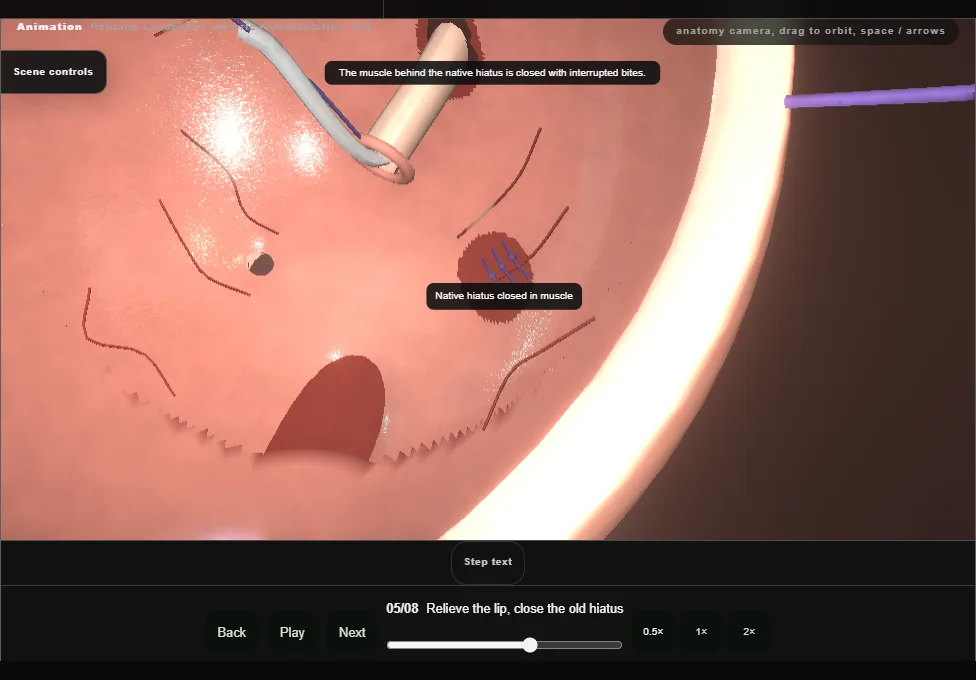
- A short cut is made in the inferior lip of the new hiatus so that the ureter can lie down toward the tunnel without angulation.
- The bladder muscle behind the native hiatus is then closed with interrupted absorbable bites.
- The mucosal defect at the native orifice is left: it is where the ureter will open.
- 06
Tunnel down to the native site
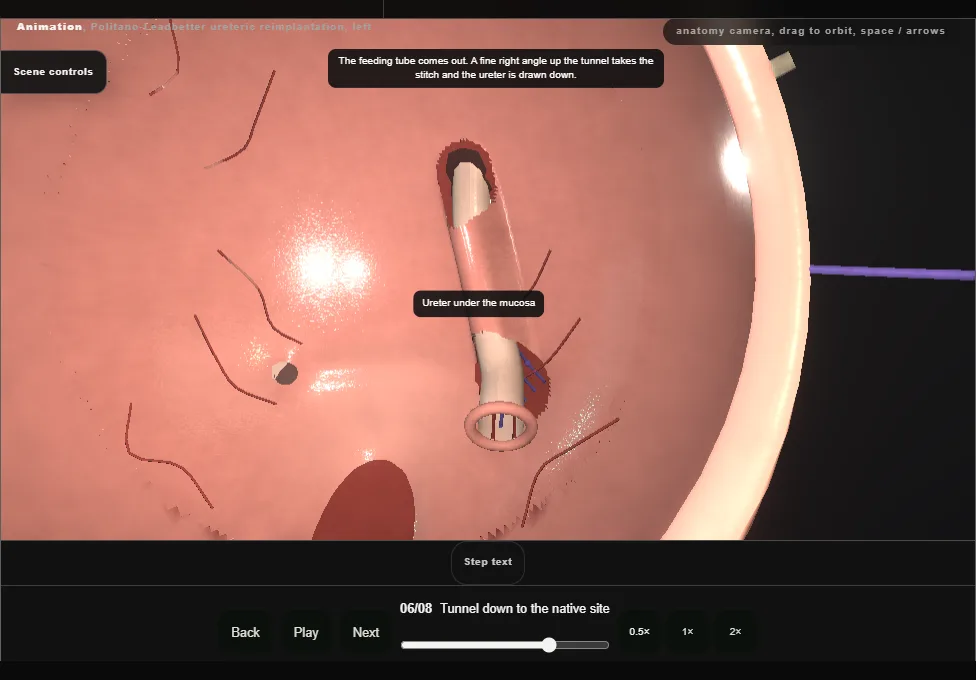
- Sharp and blunt dissection opens a submucosal tunnel from the new hiatus down to the native orifice: roof of mucosa, floor of detrusor, on the same side throughout.
- The feeding tube is removed and the ureter is drawn down the tunnel by its traction stitch to lie there without tension.
- The lie is checked: no kink where it comes through the muscle, no twist, no tension.
- 07
Anastomose at the native site
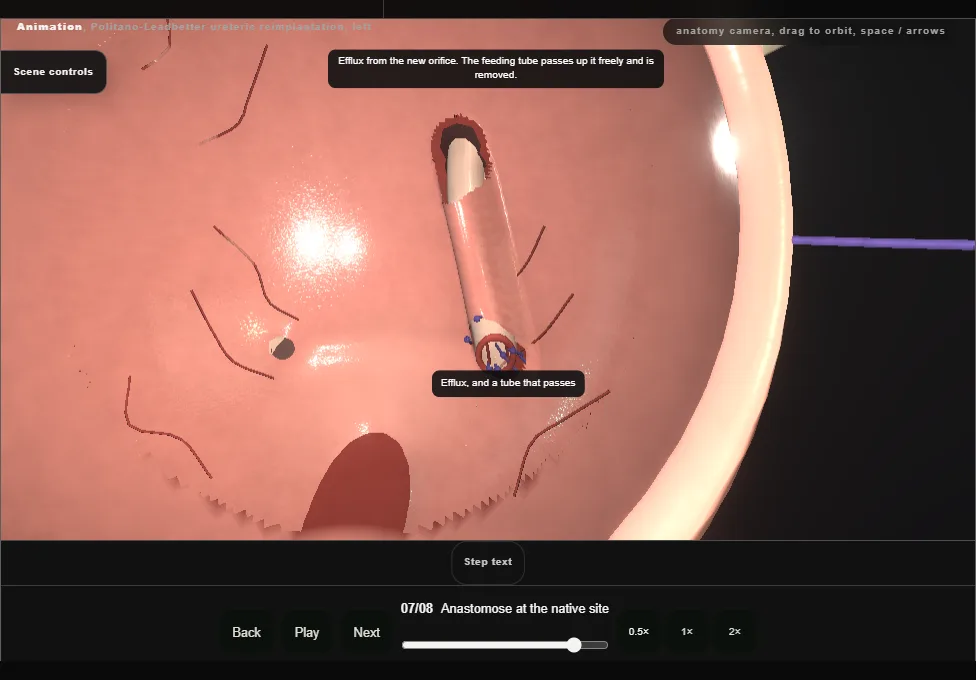
- The ureter is spatulated ventrally and trimmed back to an edge that bleeds.
- Dorsally it is anchored to trigone muscle and mucosa; interrupted bites at nine, twelve and three then bring mucosa to ureter.
- Efflux is seen from the new orifice, and the feeding tube is passed up it and removed: it should run freely.
- 08
Close
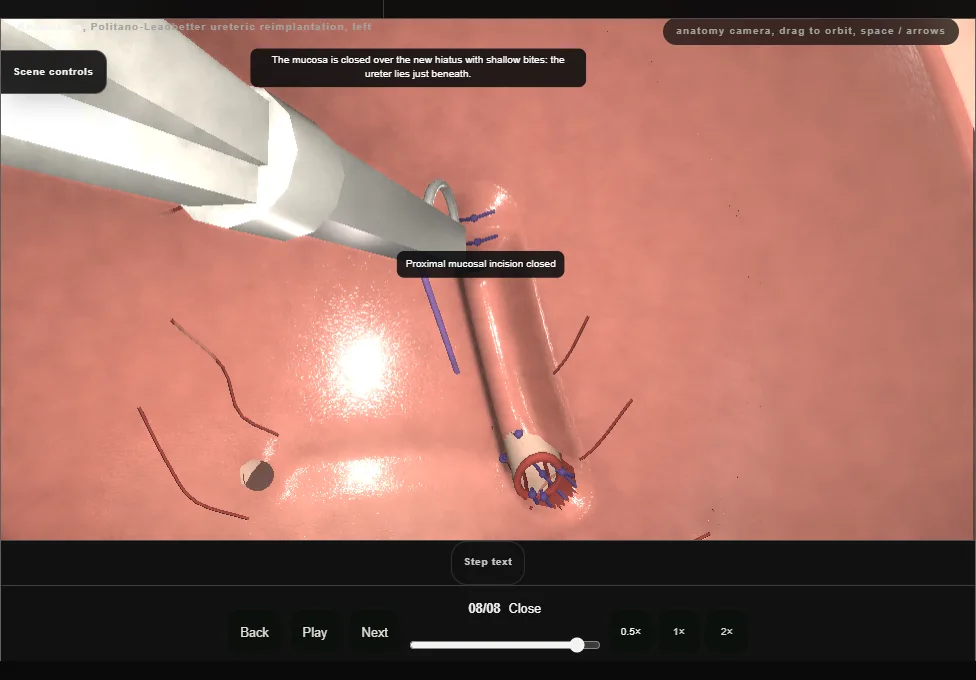
- The proximal mucosal incision is closed over the new hiatus with shallow bites that stay clear of the ureter beneath.
- A urethral catheter is placed, the cystotomy is closed in two layers, mucosa then muscle, and the closure is tested with irrigation.
- A drain in the space in front of the bladder leaves by its own stab, away from the suture line, and the wall is closed in layers.
Derived from paediatric/PolitanoLeadbetterScene.tsx at build time: every step title and caption above is the authored
ProcedureDef text, reproduced verbatim, and this page shares its readable-points renderer with the animation
itself. 8 of 8 steps have a captured frame.
Text fingerprint c6e49eb6dee9b240. A caption edit without a re-capture fails the production
check, so the sheet and the animation cannot drift apart silently.