
Revision sheet
Anderson-Hynes pyeloplasty
6 steps, each one the authored title and caption from the interactive animation, with the frame captured from that step. Read it before the case, or print it and work through the steps in order.
Teaching only, not for diagnosis or treatment decisions. The text on this sheet is the animation's own step copy, reproduced verbatim.
UrOops3D · UroRef · © Nity G
- 01
Exposure + colon reflection
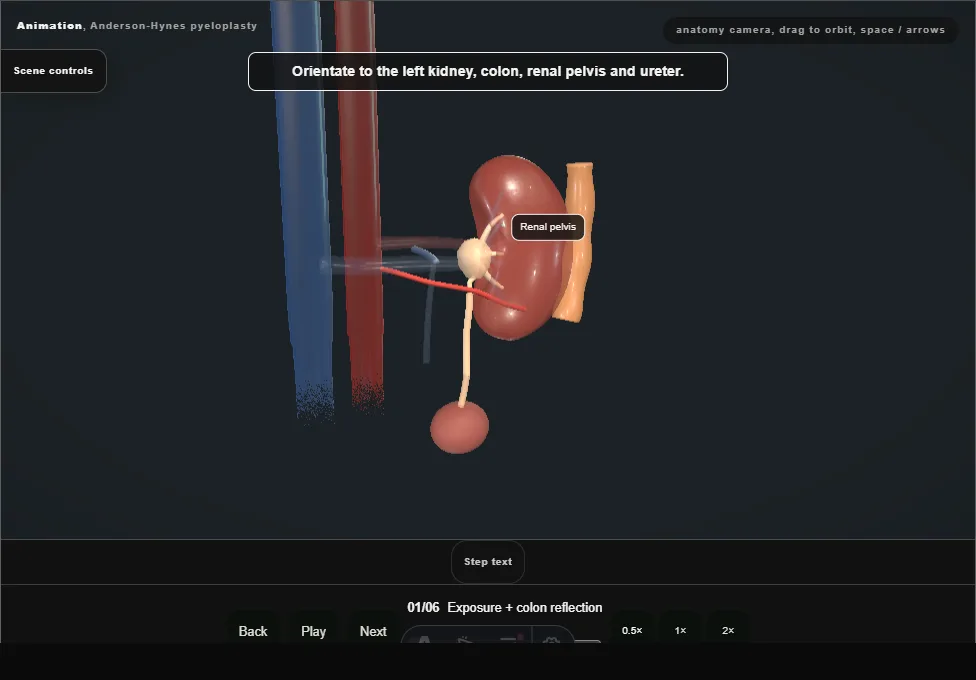
- Transperitoneal left approach: the colon is reflected medially off the kidney to expose the ballooned pelvis and the hilum, leaving Gerota's fascia on the kidney.
- 02
Identify the crossing vessel
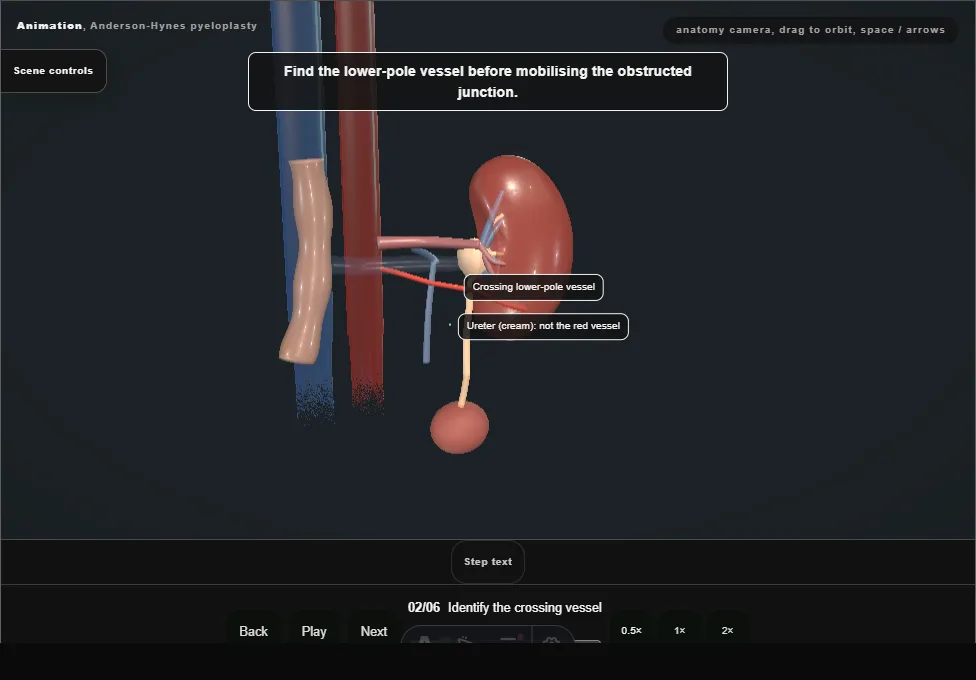
- The PUJ is fully mobilised before any decision.
- A lower-pole vessel crossing anterior to the junction, pelvis ballooned above, ureter collapsed below: the vessel is the cause, and it is preserved.
- 03
Dismember + spatulate
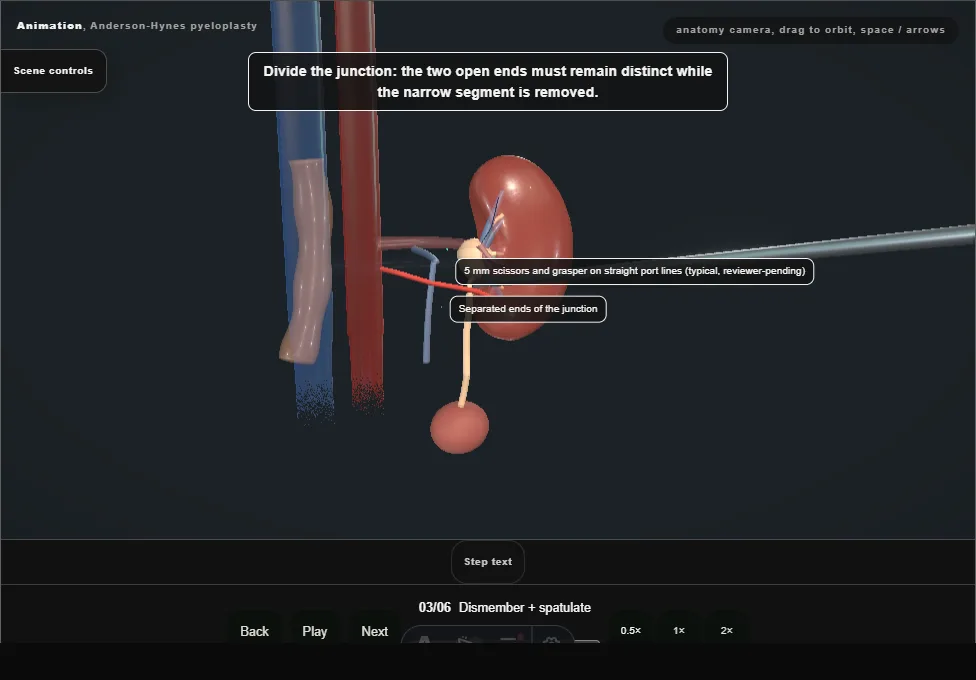
- The pelvis is dismembered and the narrow segment excised.
- The ureter is spatulated laterally, away from the vessel, so the anastomosis heals wide rather than stenosed.
- 04
Transposition anterior to the vessel
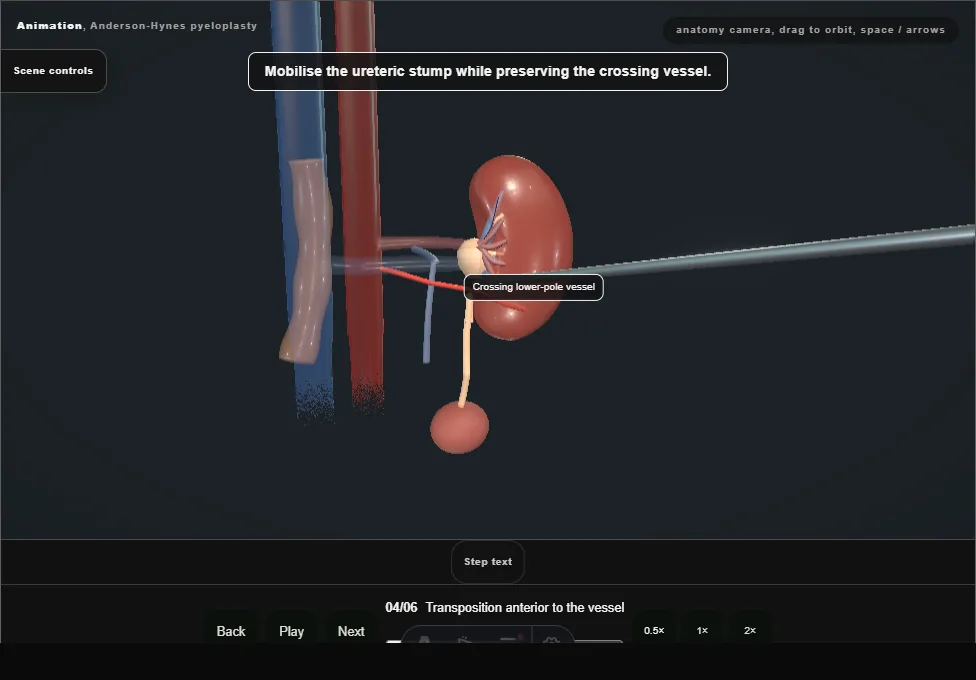
- The spatulated ureter and pelvis are brought anterior to the preserved crossing vessel, which lies posterior to the new anastomosis.
- 05
Anastomosis + stent
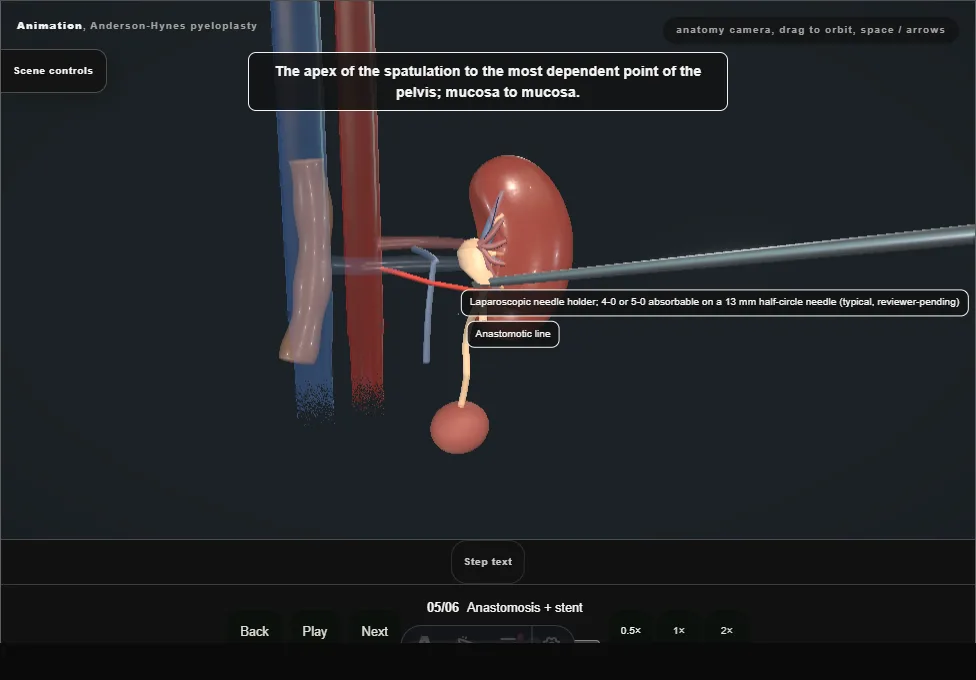
- The anastomosis is built tension-free, mucosa to mucosa, in two rows: the posterior row first with the anterior wall still open, then the wire and the JJ stent across the open join with the lower coil in the bladder, then the anterior row closes over the stent.
- 06
Drainage + closure
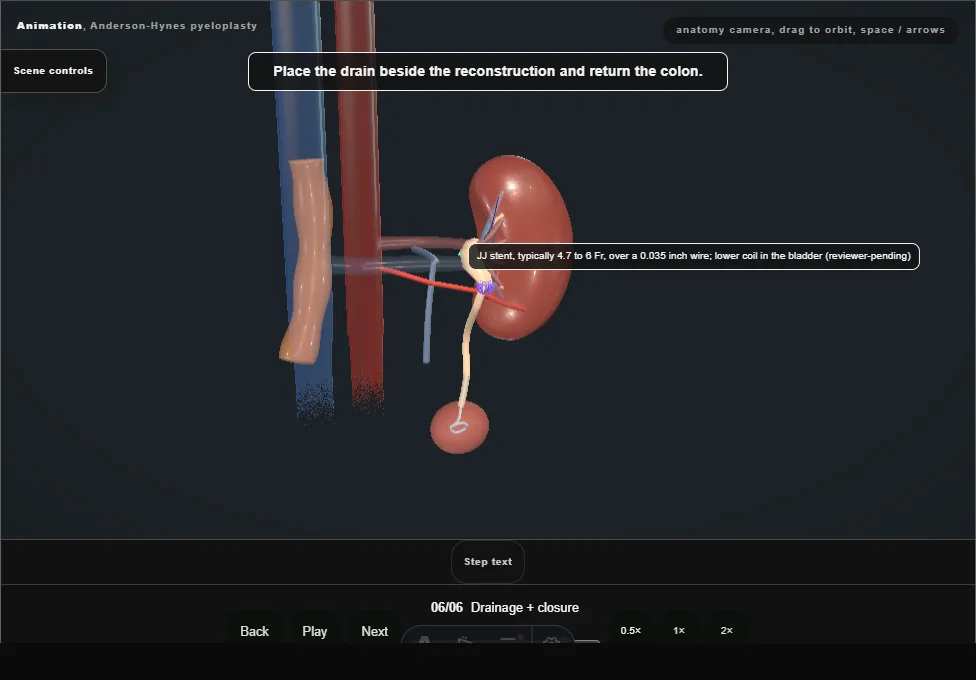
- A drain sits by the anastomosis, the colon falls back, and the stent comes out only when imaging confirms drainage.
Derived from PyeloplastyScene.tsx at build time: every step title and caption above is the authored
ProcedureDef text, reproduced verbatim, and this page shares its readable-points renderer with the animation
itself. 6 of 6 steps have a captured frame.
Text fingerprint 37b1a3e4f1a969ec. A caption edit without a re-capture fails the production
check, so the sheet and the animation cannot drift apart silently.