
Revision sheet
Augmented anastomotic urethroplasty
9 steps, each one the authored title and caption from the interactive animation, with the frame captured from that step. Read it before the case, or print it and work through the steps in order.
Teaching only, not for diagnosis or treatment decisions. The text on this sheet is the animation's own step copy, reproduced verbatim.
UrOops3D · UroRef · © Nity G
- 01
Perineal exposure
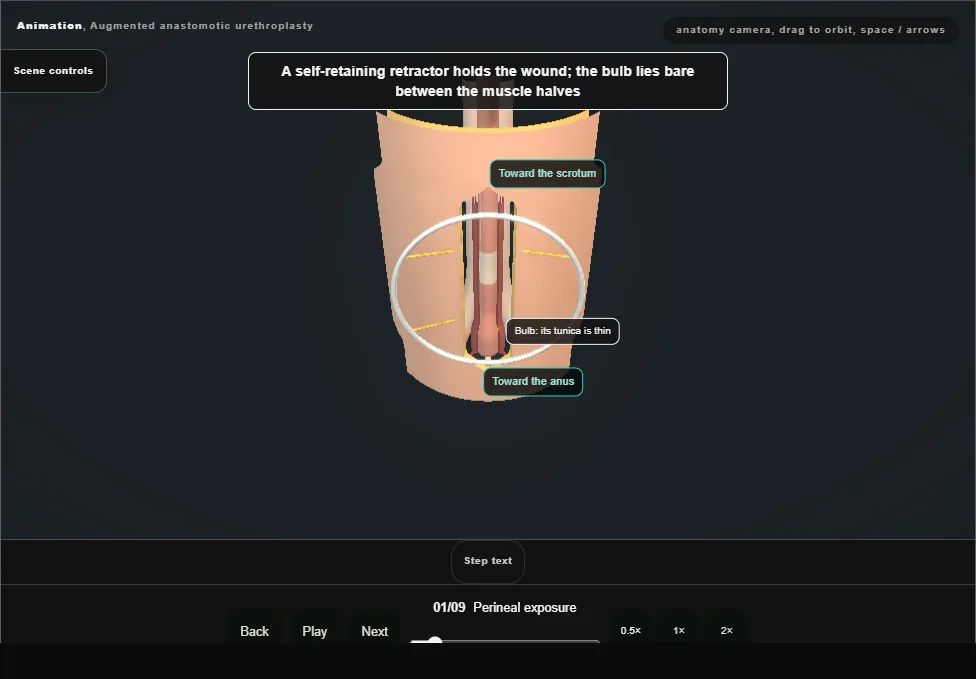
- High lithotomy.
- A vertical midline incision from the base of the scrotum to just above the anus; Colles fascia is opened with diathermy.
- Bulbospongiosus is divided in the midline and dissected off the bulb without perforating its thin tunica.
- A self-retaining retractor holds the wound.
- 02
The stricture
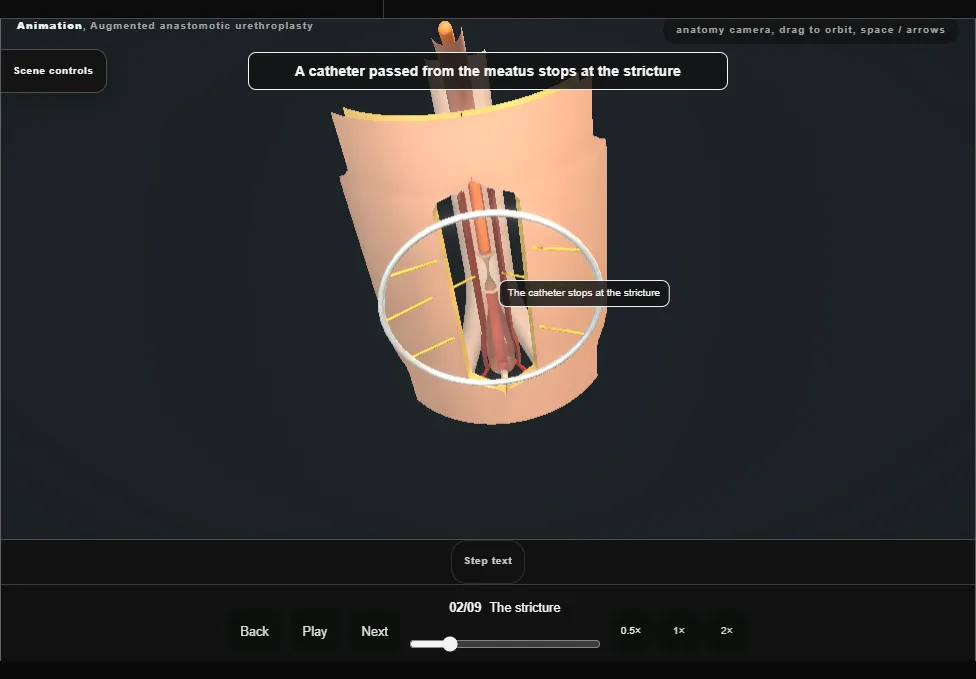
- A catheter passed from the meatus stops at the stricture and marks its distal end.
- The radiographs are in the room: the site and length of the scar were settled before the incision.
- 03
Transect and excise
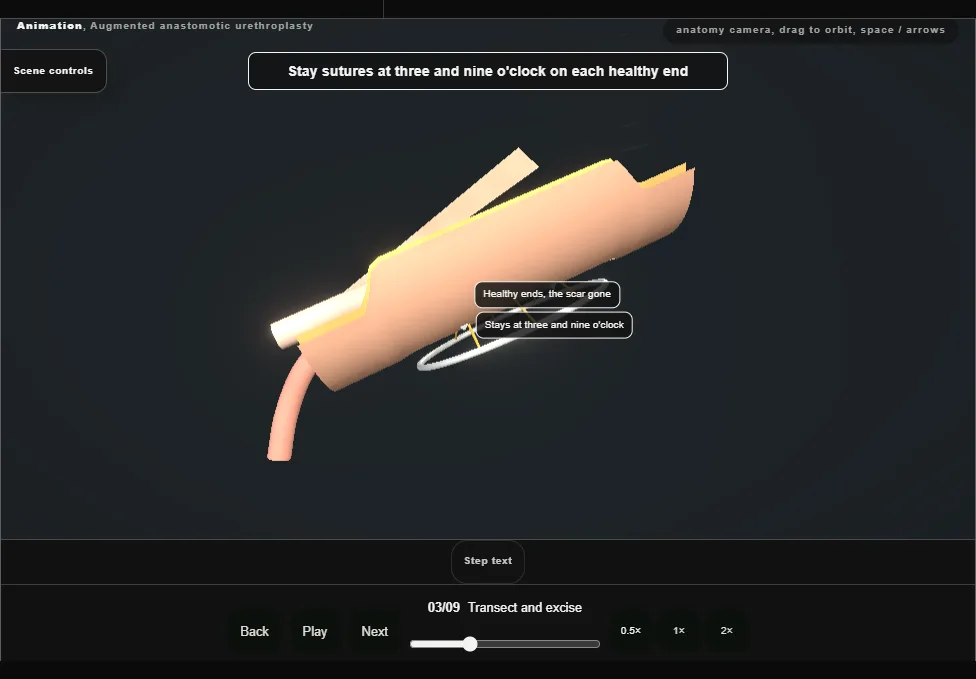
- The urethra is dissected all the way round just distal to the stricture and freed dorsally from the corporal bodies, then cut across at the stricture.
- The whole scar is excised.
- Stay sutures go at three and nine o'clock on each healthy end, and bougies à boule calibrate both ends.
- 04
Inspect and mobilise
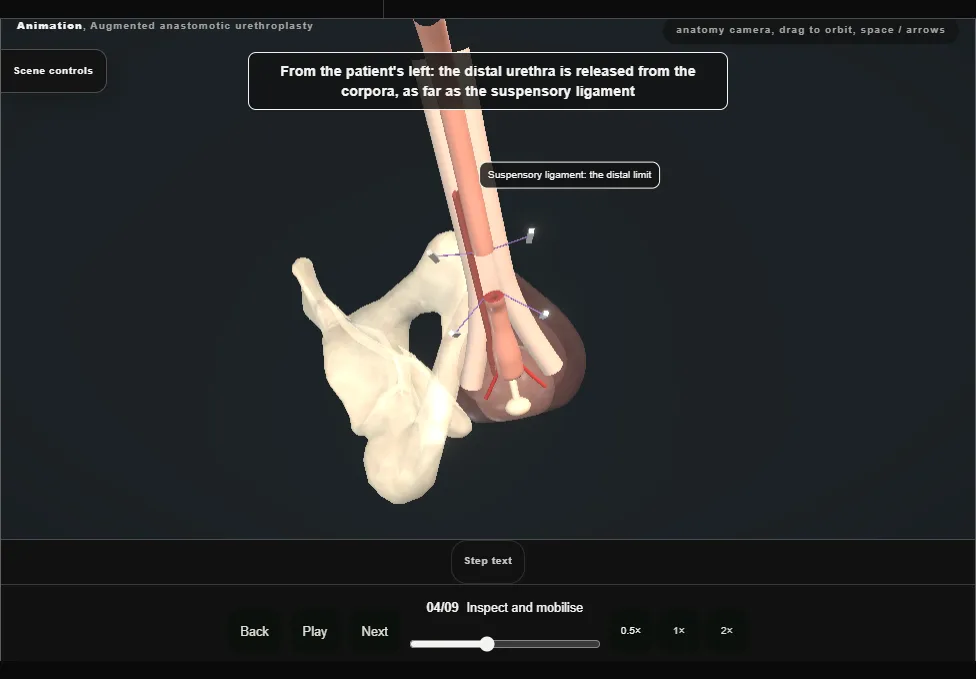
- Cystourethroscopy through the proximal end excludes proximal urethral and bladder pathology.
- The distal urethra is released from the corpora no further than the suspensory ligament, and the bulb from its posterior midline attachments.
- The bulbar arteries are preserved.
- 05
Spatulate and measure
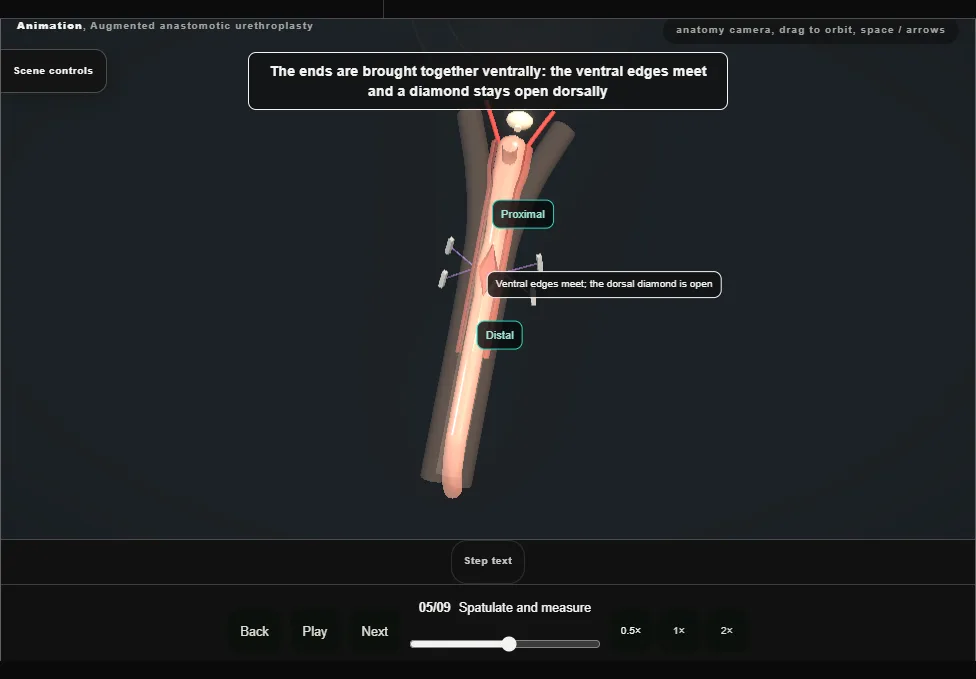
- Both ends are spatulated dorsally.
- Brought together, the ventral edges meet and a diamond is left open on the dorsal side.
- That defect is measured and the graft tailored to it.
- 06
Oral graft harvest
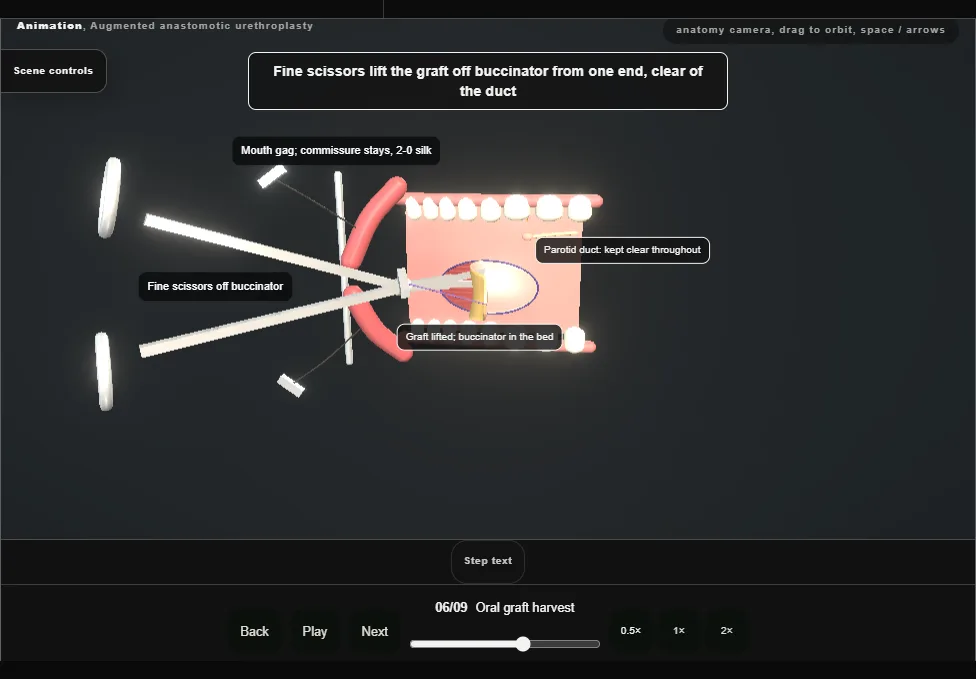
- In the mouth: a gag, stay sutures at the commissure, and the parotid duct papilla identified opposite the upper second molar.
- The marked mucosa is raised with lidocaine and adrenaline, incised, and lifted off buccinator with fine scissors.
- The graft is defatted and kept in saline.
- 07
Graft on the corpora
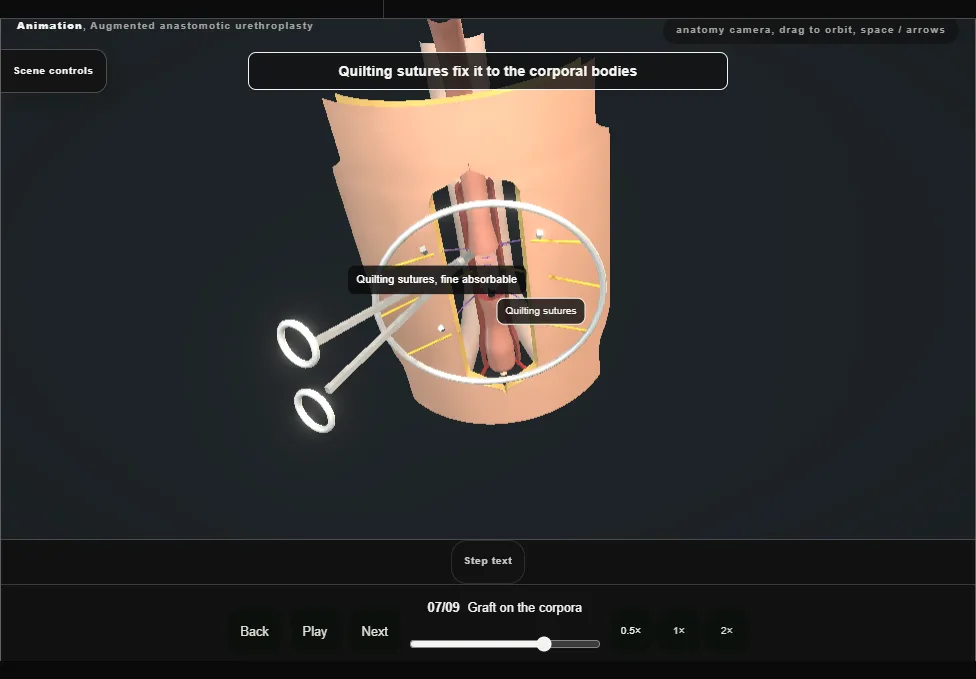
- The tailored graft is placed dorsally, spread on the corporal bodies and fixed with quilting sutures.
- Its proximal and distal apices are sutured, full thickness, to the spatulated dorsal wall of each end.
- 08
Ventral anastomosis
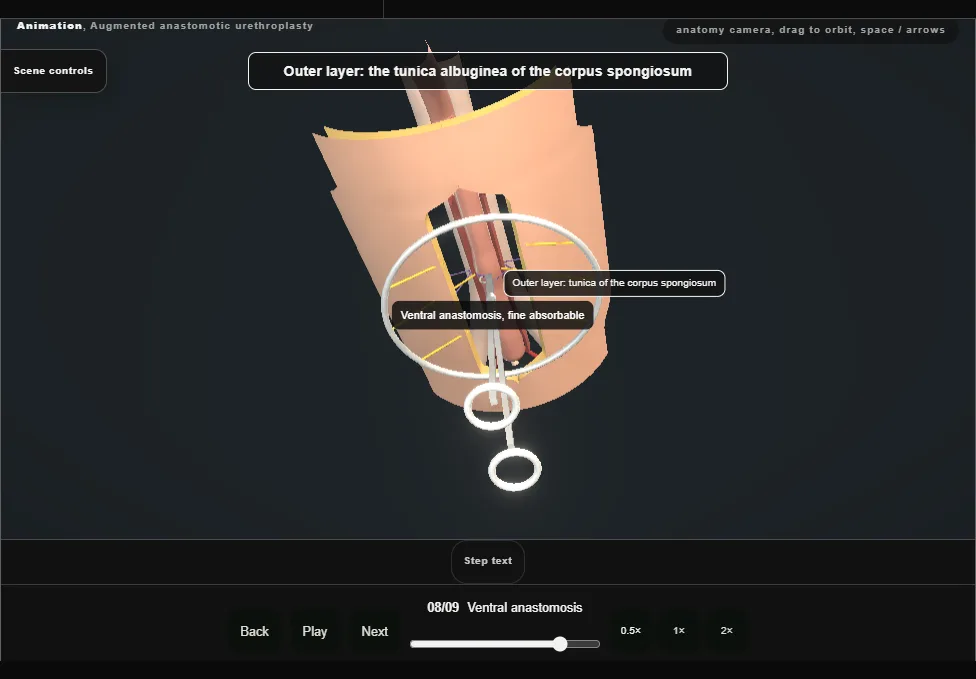
- Ventrally the ends are joined in two layers: the inner takes mucosa only, the outer the tunica of the corpus spongiosum, which limits injury to the spongiosal blood supply.
- Each lateral spongiosal edge is run to the graft edge with the corporal tunica beneath.
- A catheter is passed to the bladder before the repair is completed.
- 09
Layered closure
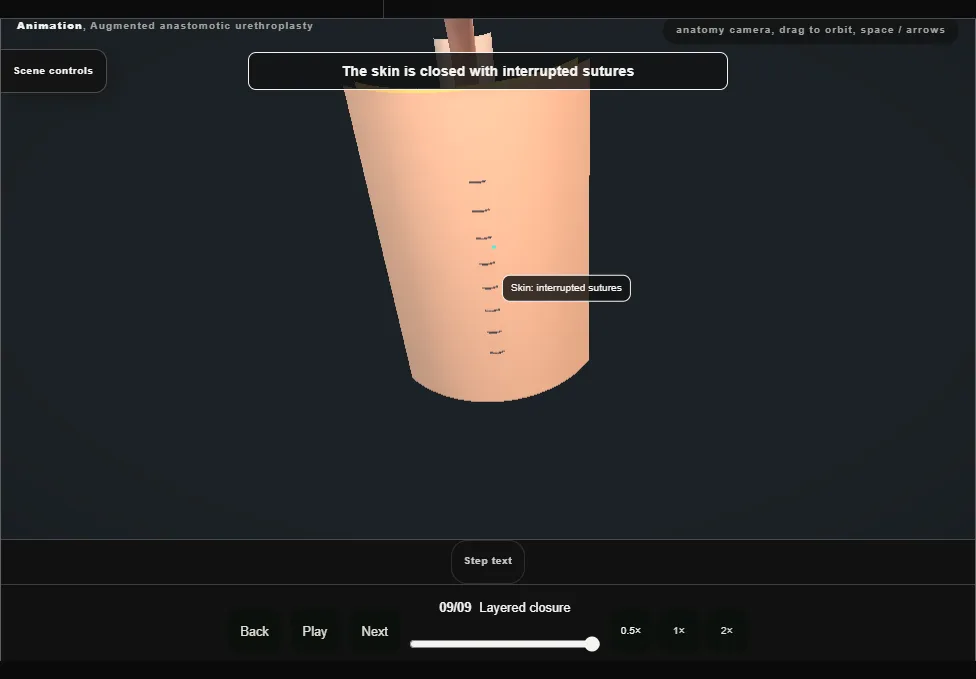
- The retractor is removed and the wound irrigated.
- Bulbospongiosus is closed with a running suture, Colles fascia and the subcutaneous tissue separately to leave no dead space, and the skin with interrupted sutures.
- The catheter goes on free drainage.
Derived from pelvis/AugmentedAnastomoticScene.tsx at build time: every step title and caption above is the authored
ProcedureDef text, reproduced verbatim, and this page shares its readable-points renderer with the animation
itself. 9 of 9 steps have a captured frame.
Text fingerprint 7d9c05ea5b4f280f. A caption edit without a re-capture fails the production
check, so the sheet and the animation cannot drift apart silently.