
Revision sheet
Bulbar urethroplasty
7 steps, each one the authored title and caption from the interactive animation, with the frame captured from that step. Read it before the case, or print it and work through the steps in order.
Teaching only, not for diagnosis or treatment decisions. The text on this sheet is the animation's own step copy, reproduced verbatim.
UrOops3D · UroRef · © Nity G
- 01
Exaggerated lithotomy
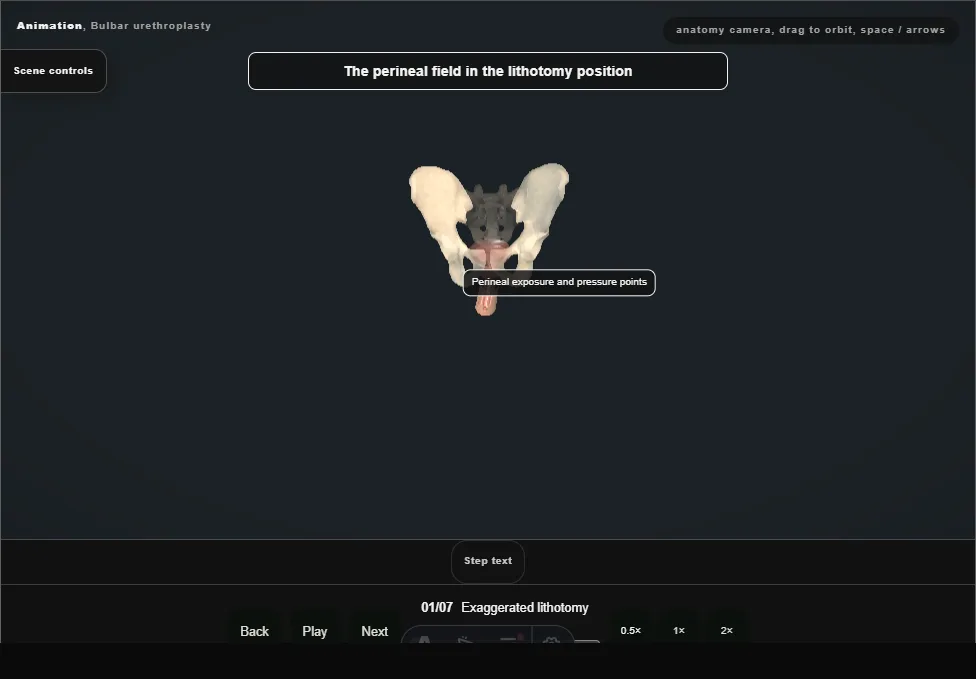
- The legs are raised into the exaggerated lithotomy that buys the perineal exposure, with the common peroneal nerves padded off the fibular heads and the calves checked before, during and after.
- The exposure and the nerve injury are the same position.
- 02
Perineal exposure
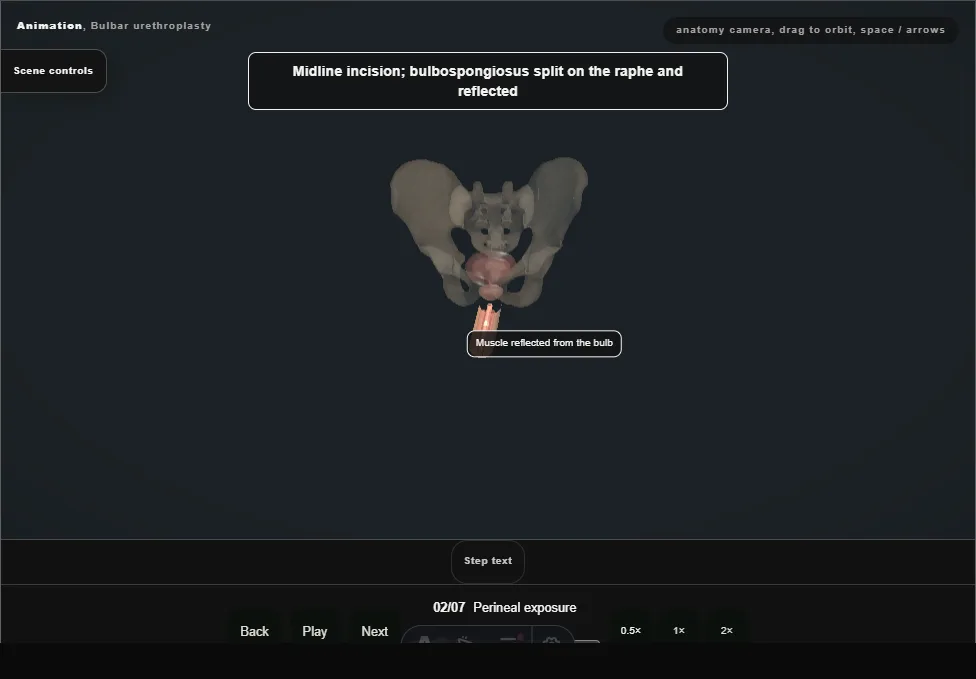
- A midline perineal incision opens onto the bulbospongiosus, which is divided in the midline and reflected off the bulb to expose the strictured bulbar urethra.
- 03
Assess + calibrate
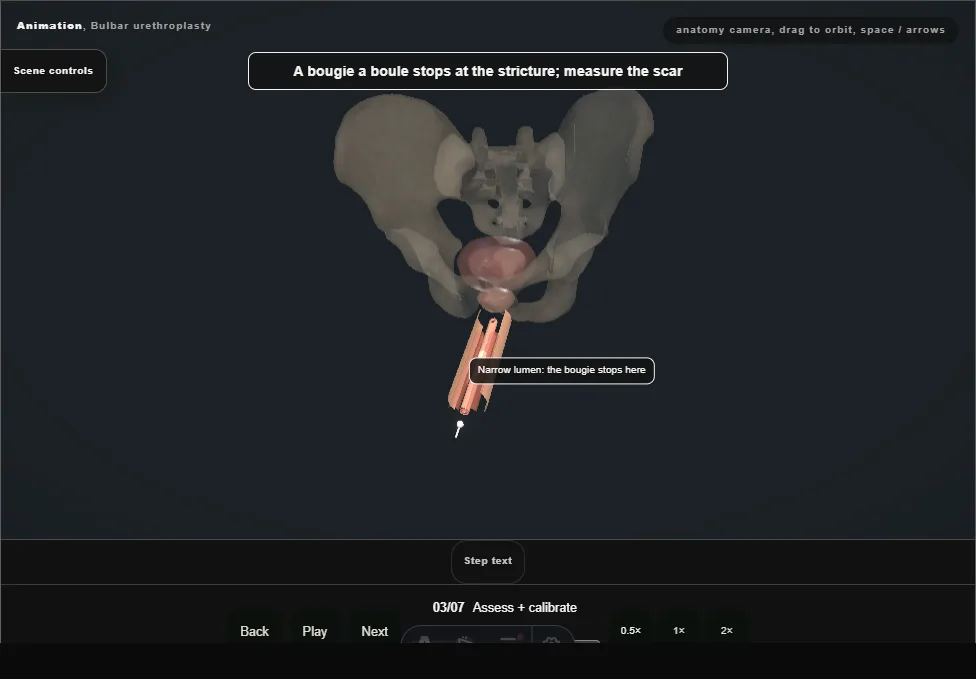
- Calibrate and characterise the stricture.
- Length, aetiology, obliteration and spongiofibrosis, together with tissue quality and surgeon expertise, determine the reconstruction.
- 04
Branch A: transecting EPA
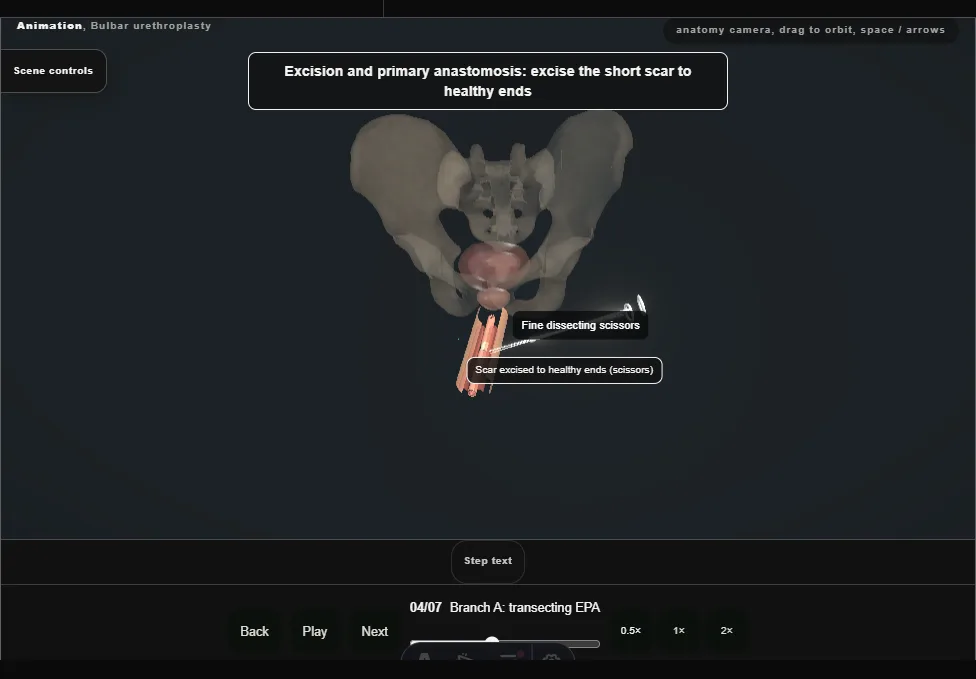
- For an appropriate short, near-obliterative or post-traumatic bulbar pattern, the scarred segment is excised to healthy ends.
- This is one selected branch, not the default for every short stricture.
- 05
Branch A: tension-free anastomosis
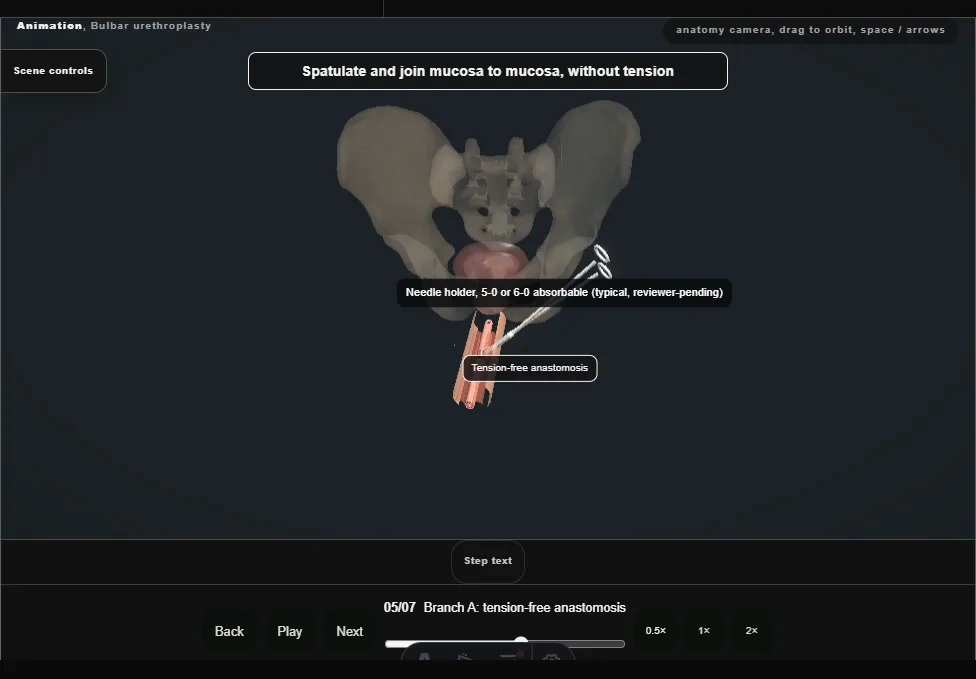
- The healthy ends are spatulated and joined mucosa to mucosa without tension.
- If they do not meet comfortably, this branch is abandoned rather than forced.
- 06
Branch B (reset): augmentation graft
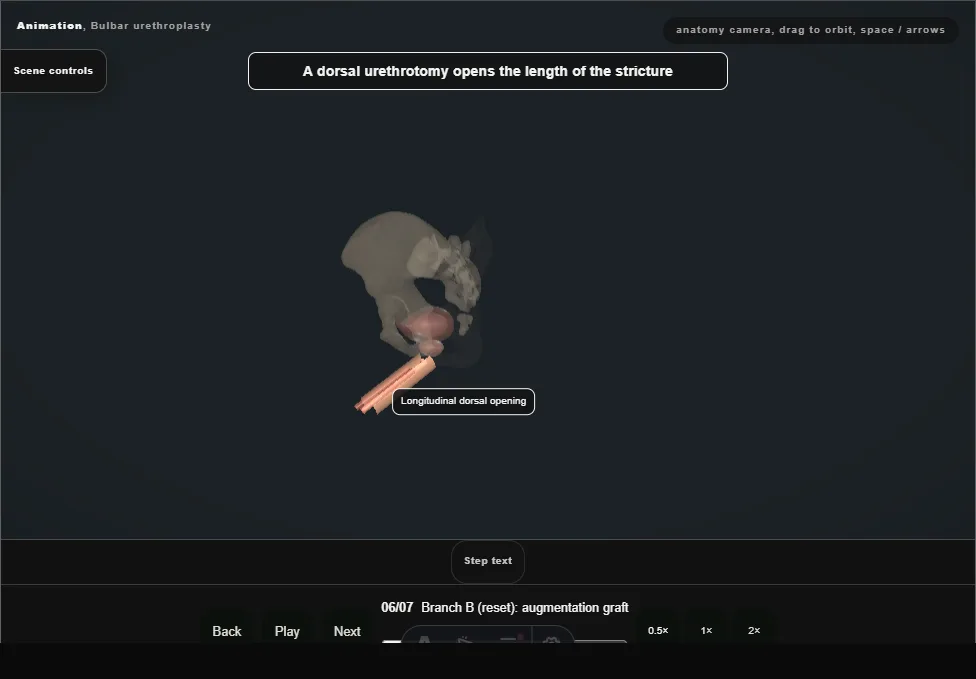
- The field resets to the untransected stricture for an alternative augmentation branch: a longitudinal urethrotomy is opened and buccal mucosa, harvested clear of Stensen's duct, is quilted longitudinally as a dorsal onlay.
- 07
Closure + catheter
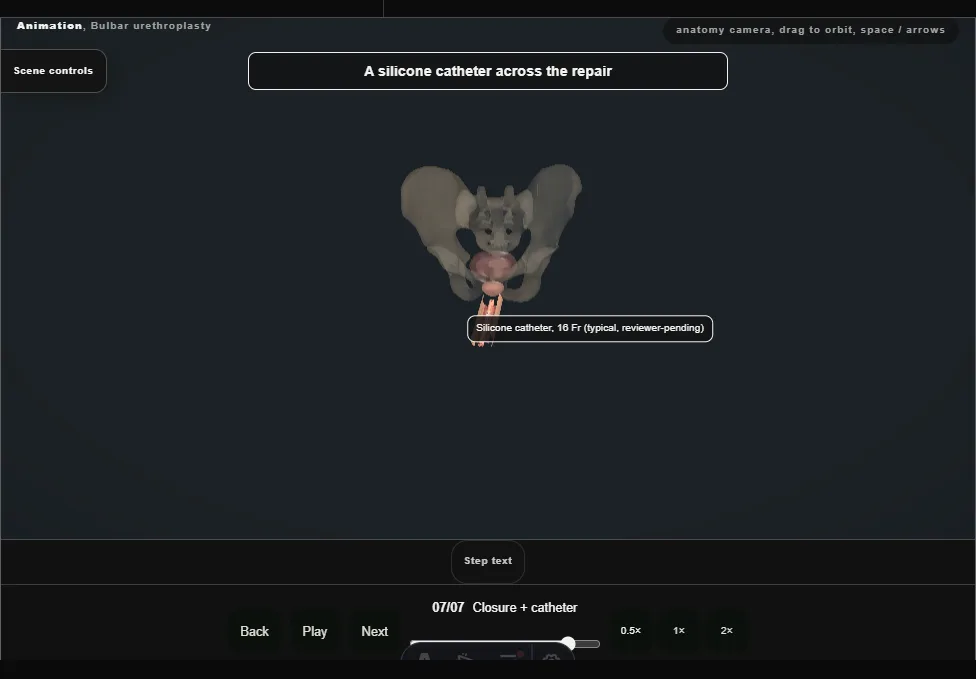
- The bulbospongiosus is reapproximated, the perineum closed over a drain, and a catheter left across the repair, with the pericatheter study planned before the patient leaves theatre.
Derived from UrethroplastyScene.tsx at build time: every step title and caption above is the authored
ProcedureDef text, reproduced verbatim, and this page shares its readable-points renderer with the animation
itself. 7 of 7 steps have a captured frame.
Text fingerprint 28e4d66aec473bb0. A caption edit without a re-capture fails the production
check, so the sheet and the animation cannot drift apart silently.